absolutely, marvellous I think you both gave all of us some kinda love back into it, meaning the restoring a mini that is. well done. now I have to live up to this standart, thanks!!

Speed Mini Building
Started by
emalee
, Jan 23 2010 07:36 PM
283 replies to this topic
#196

minimuk
-

- Members
-

- 1,946 posts
Camshaft & Stage Two Head
- Location: Midlands
Posted 15 March 2010 - 03:31 PM
#197
emalee
-
- Members
-
- 813 posts
One Carb Or Two?
- Local Club: west of england
Posted 15 March 2010 - 10:02 PM
So is it ok to seal the seams with paint like that then? I thohught they were supposed to be filled with flexible something or other
*runs away and hides*

you had better run!!! LOL
#198
the-green-monkey
-

- Members
-
- 255 posts
Mini Mad
- Local Club: Durham mini club
Posted 15 March 2010 - 11:14 PM
My girlfriend thought ud painted it orange after seeing the first pictures 
#199
emalee
-
- Members
-
- 813 posts
One Carb Or Two?
- Local Club: west of england
Posted 16 March 2010 - 11:15 PM
My girlfriend thought ud painted it orange after seeing the first pictures
LOL
Orange is our club colours, so we kept threatening to paint it orange..... - Red is much easier tho - no sparying inside
 - or removing/replacing the headlining - happy days!!!
can't wait to paint the roof tomorrow night
#200
vasiliskalogeris
-
- Noobies
-
- 11 posts
Learner Driver
- Local Club: Cyprus Mini Club
Posted 17 March 2010 - 12:16 PM
lovely paint job!!!!
doing great on the resto!
have you got any specs on the paint? (color code, brand ect??)
keep on kickin!
doing great on the resto!
have you got any specs on the paint? (color code, brand ect??)
keep on kickin!
#201
emalee
-
- Members
-
- 813 posts
One Carb Or Two?
- Local Club: west of england
Posted 17 March 2010 - 10:28 PM
lovely paint job!!!!
doing great on the resto!
have you got any specs on the paint? (color code, brand ect??)
keep on kickin!
Thanks
the paint code is COF - not too sure on the make but the is 2K - the toxic nasty stuff not the newer aryic stuff
and the White is Ford Diamond White again 2k - not too sure on the code for it....
#202
emalee
-
- Members
-
- 813 posts
One Carb Or Two?
- Local Club: west of england
Posted 17 March 2010 - 10:30 PM
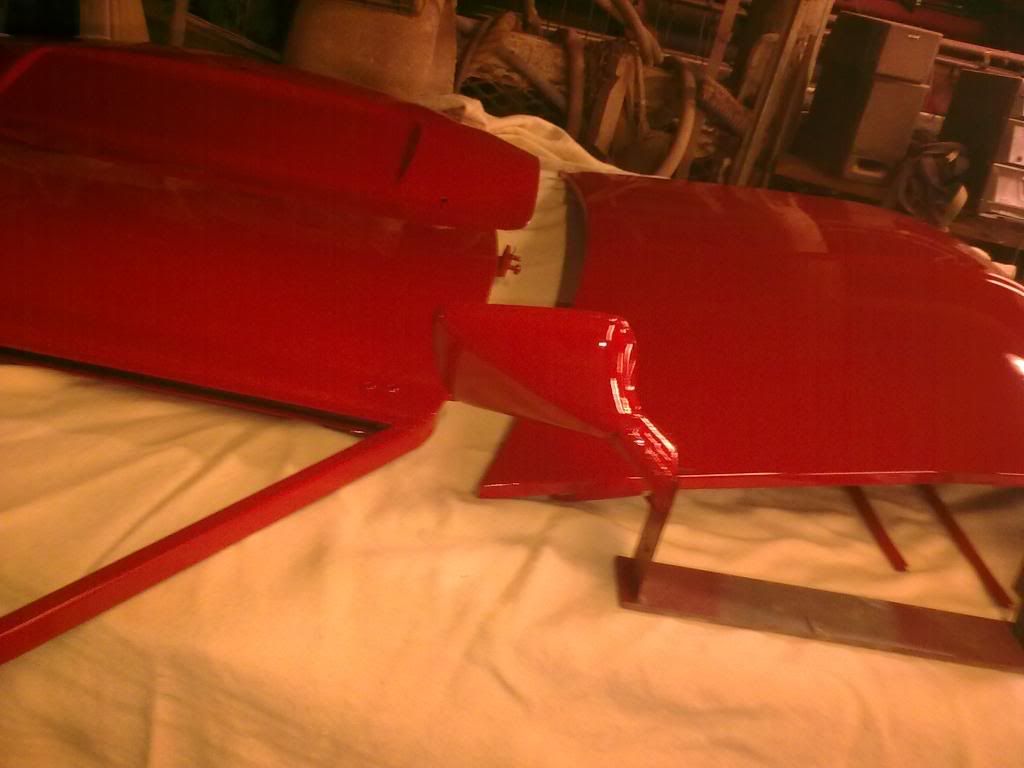
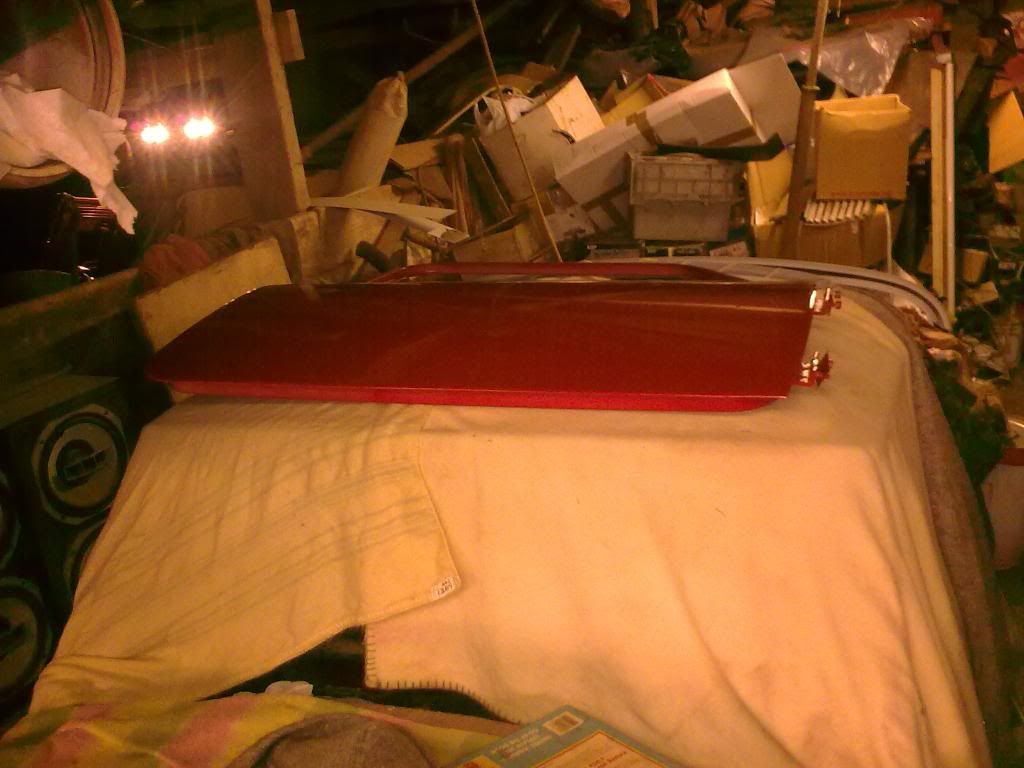
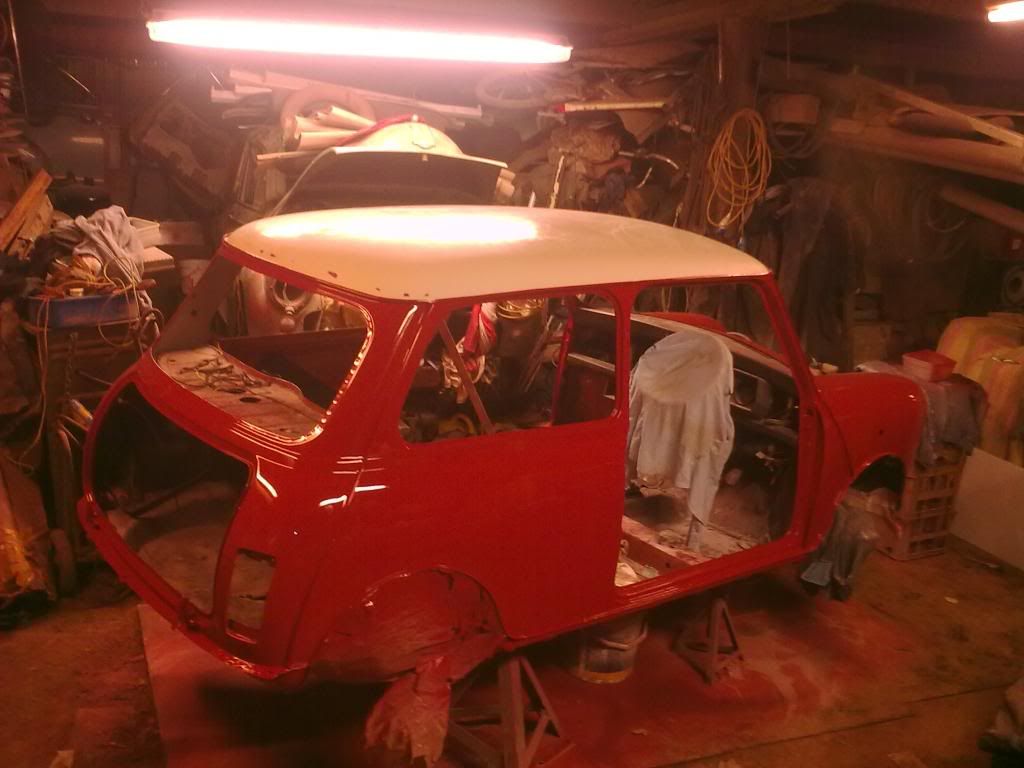
Day 53......
Roof is painted
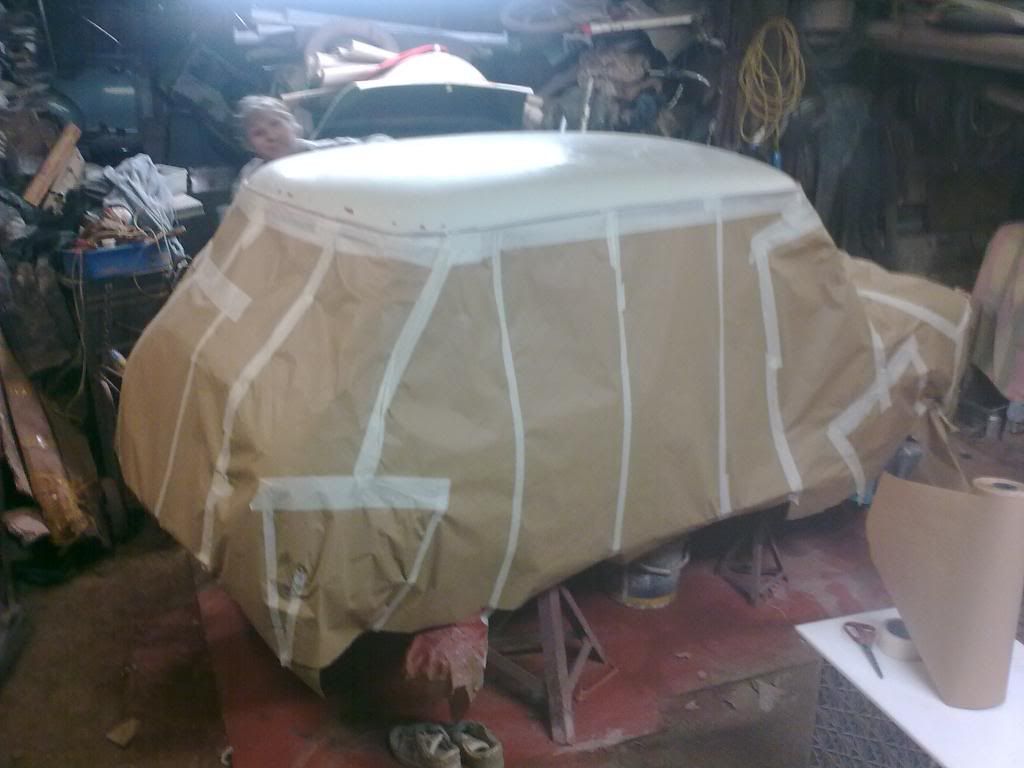
Doors boot and bonnet safety stashed away
then start to take off the masking
and mostly off
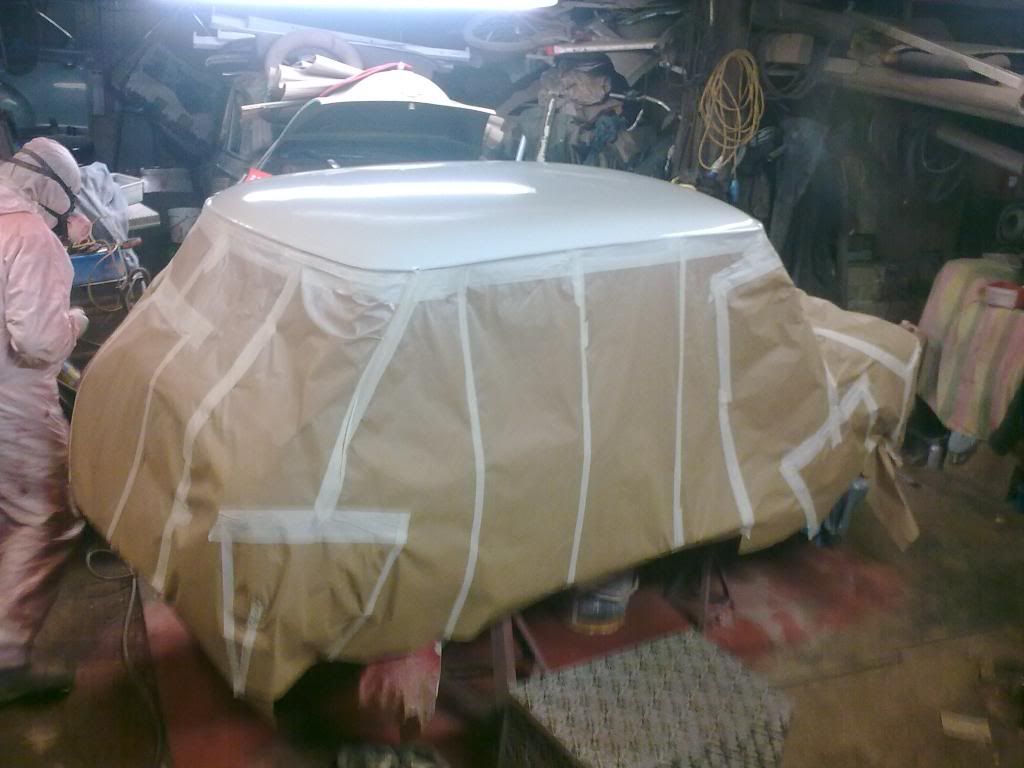
then remasked for the roof
i think we did quite a good job....
then fonzy painted it

and i played my my speakers again for my mini!!
All Fibreglassed up
on friday we'll start putting it all back together - can't wait to unwrap it!!!
Roof is painted
Doors boot and bonnet safety stashed away
then start to take off the masking
and mostly off
then remasked for the roof
i think we did quite a good job....
then fonzy painted it
and i played my my speakers again for my mini!!
All Fibreglassed up
on friday we'll start putting it all back together - can't wait to unwrap it!!!
#203
the-green-monkey
-
- Members
-
- 255 posts
Mini Mad
- Local Club: Durham mini club
Posted 17 March 2010 - 10:32 PM
As usual looks luuuuush! 
#204
emalee
-
- Members
-
- 813 posts
One Carb Or Two?
- Local Club: west of england
Posted 17 March 2010 - 10:59 PM
As usual looks luuuuush!
thanks
SOOOOOOOOOOOO can't wait to unwrap it!!!
I'm gonna hate to hand it over to Tanya at the end

#205
the-green-monkey
-
- Members
-
- 255 posts
Mini Mad
- Local Club: Durham mini club
Posted 17 March 2010 - 11:01 PM
 Just hide it somewhere and say you lost it then keep it for yourself
  muahahaha
#206
emalee
-
- Members
-
- 813 posts
One Carb Or Two?
- Local Club: west of england
Posted 19 March 2010 - 11:39 PM
might have to.... no one will ever notice.....
#207
emalee
-
- Members
-
- 813 posts
One Carb Or Two?
- Local Club: west of england
Posted 19 March 2010 - 11:40 PM
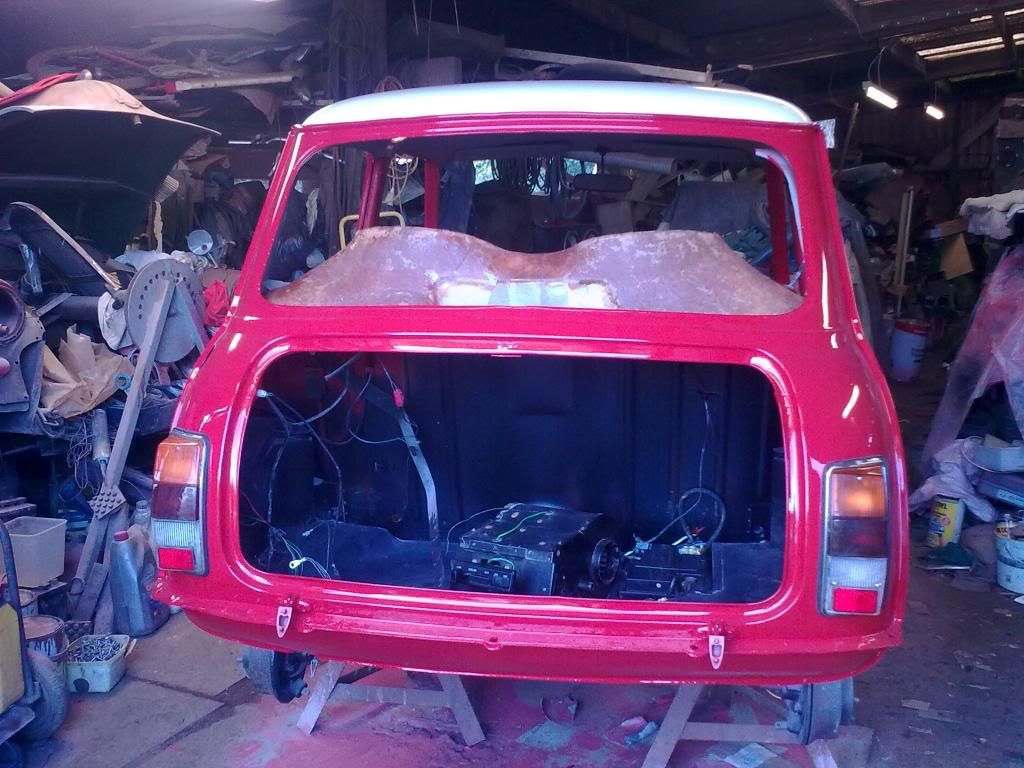
Day 55....
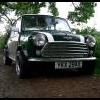
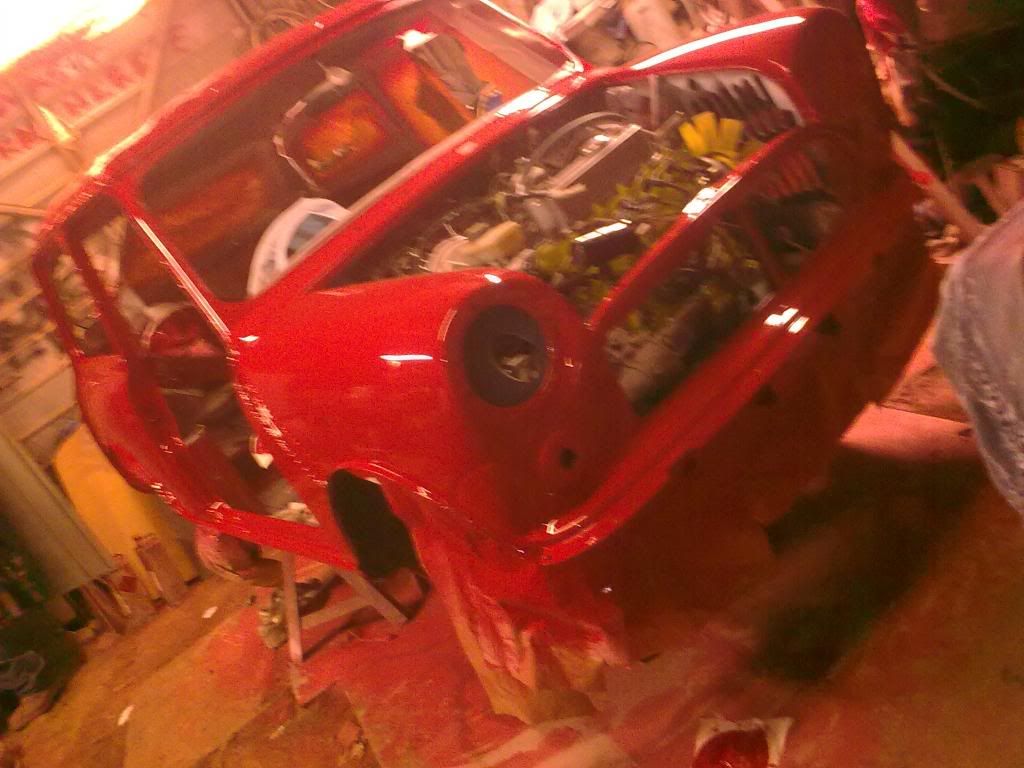
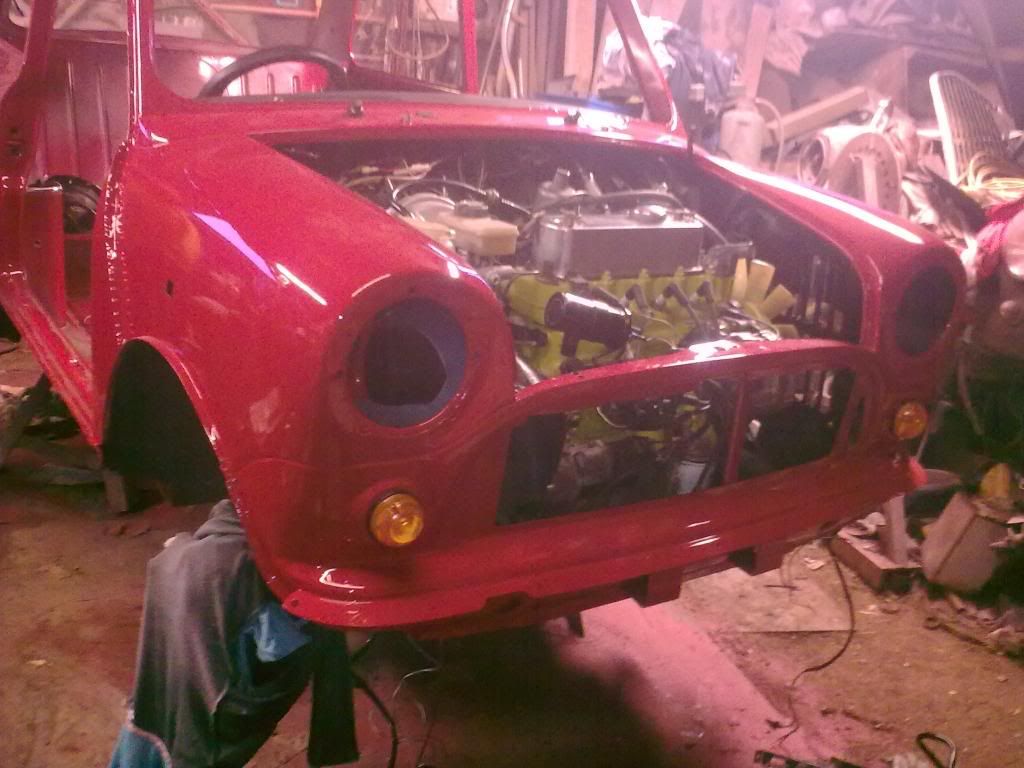
and in just 55days the mini has gone from this
to
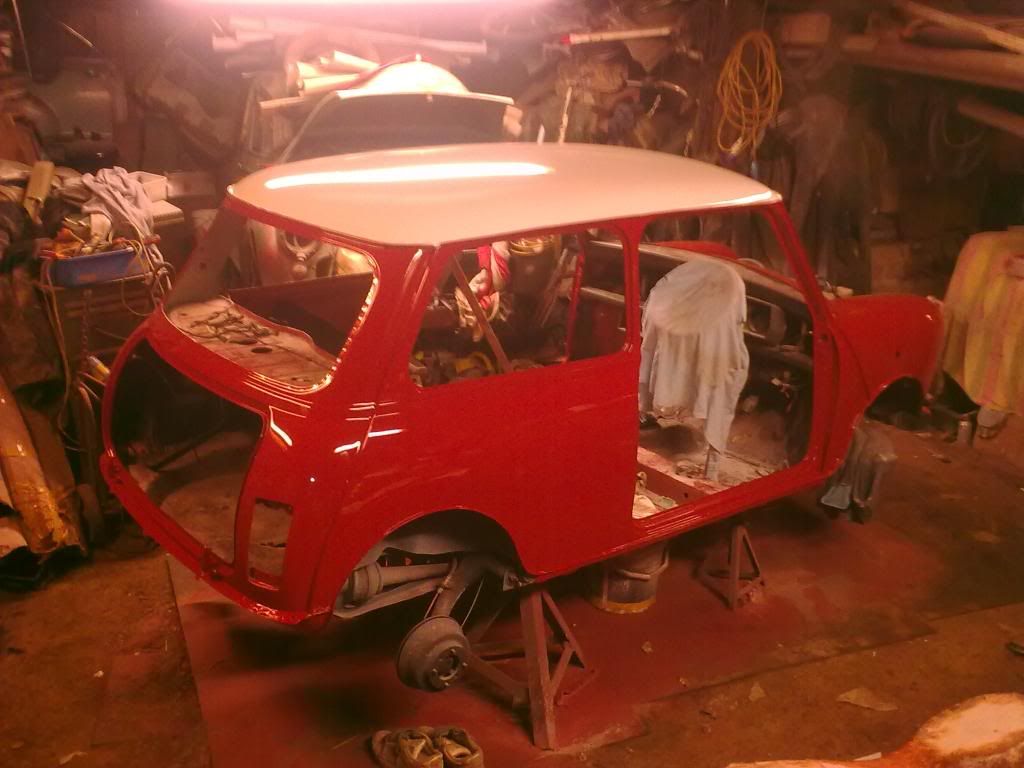
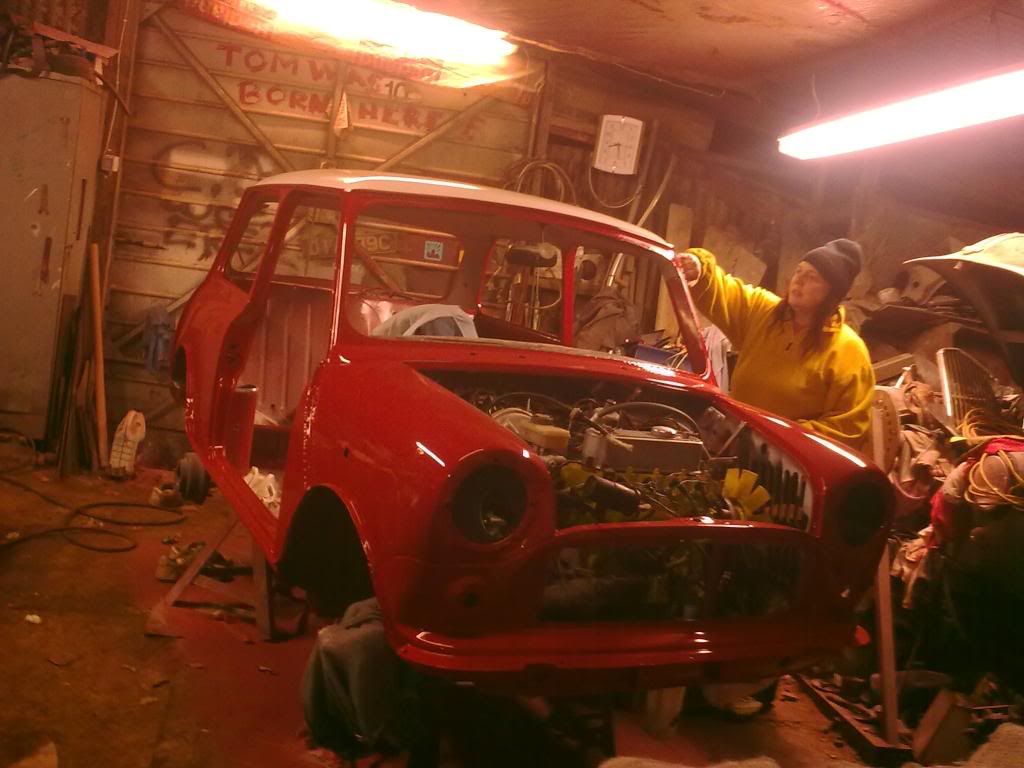
SHINEY!!!!!
we had great fun wrapping it - well punching all the windows through!! LOL
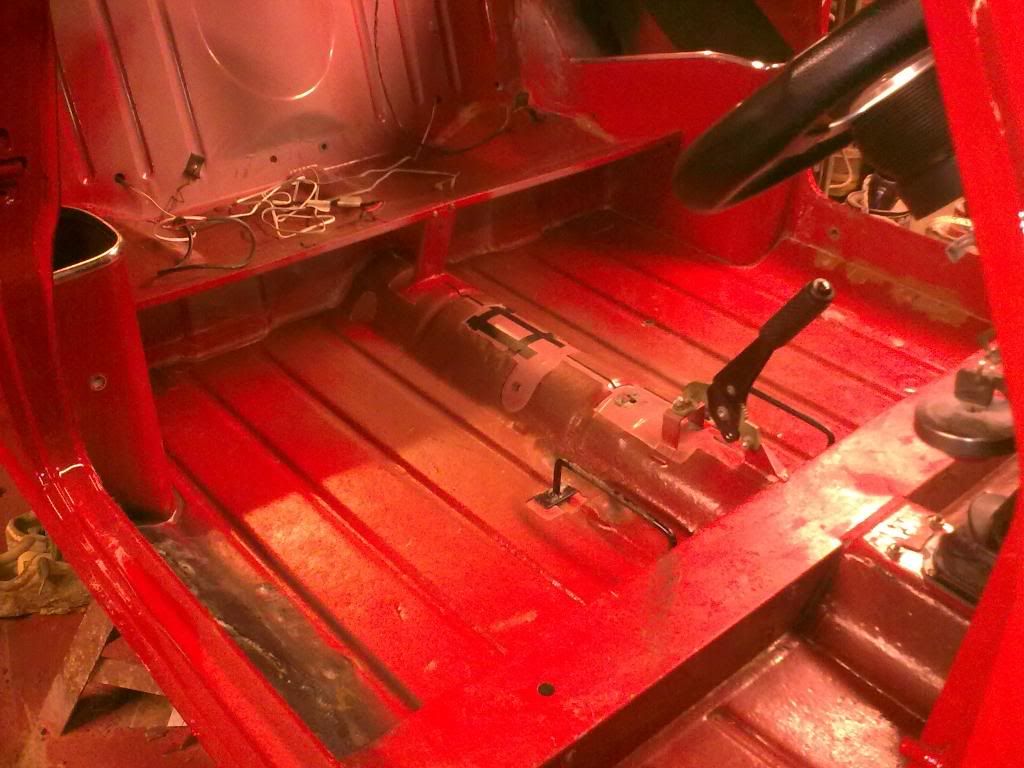
then Pecks had great fun cleaning inside
while i made a start on the wiring and repairing the previous dodgy repairs - moving the horn wire to the relay for the air horns, and retaping damaged sections
so now i've gotta add a few connectors in for the indicators and oil pressure switch - renew the wiper wiring and run a wire for the fuse box down to the coil for the electronic iginitic which needs a 12V feed rather than the 8V ballast feed.... then feed a few wires inside for the cig light - alarm when we fit it and stereo
the pecks painted the inner wings
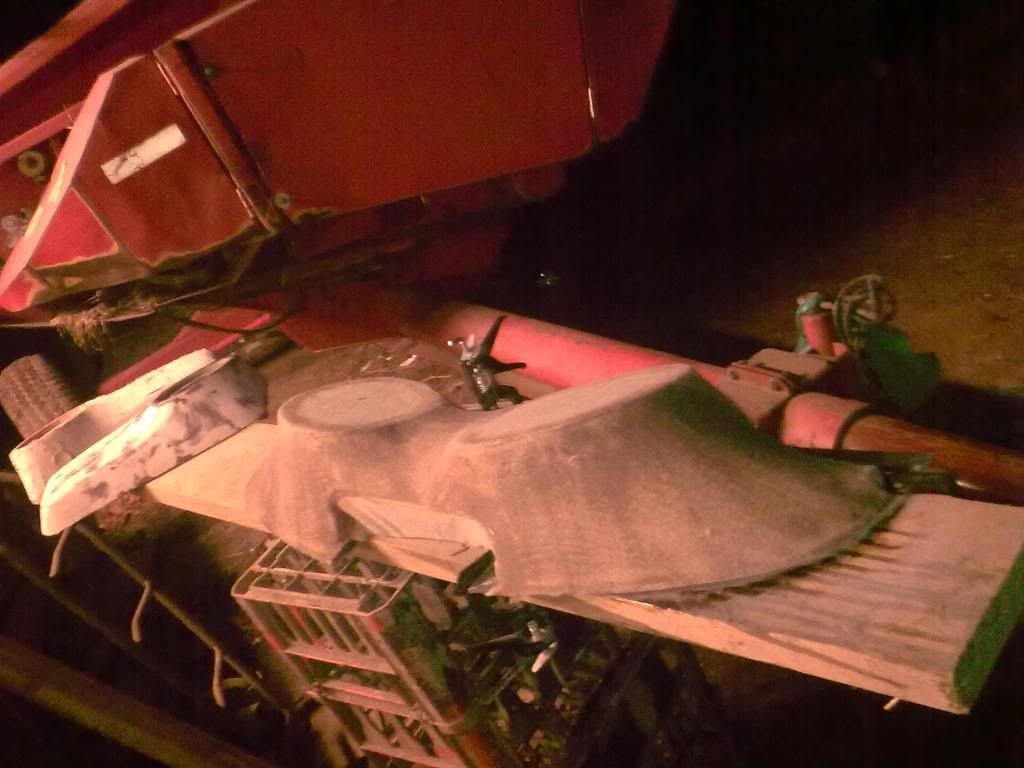
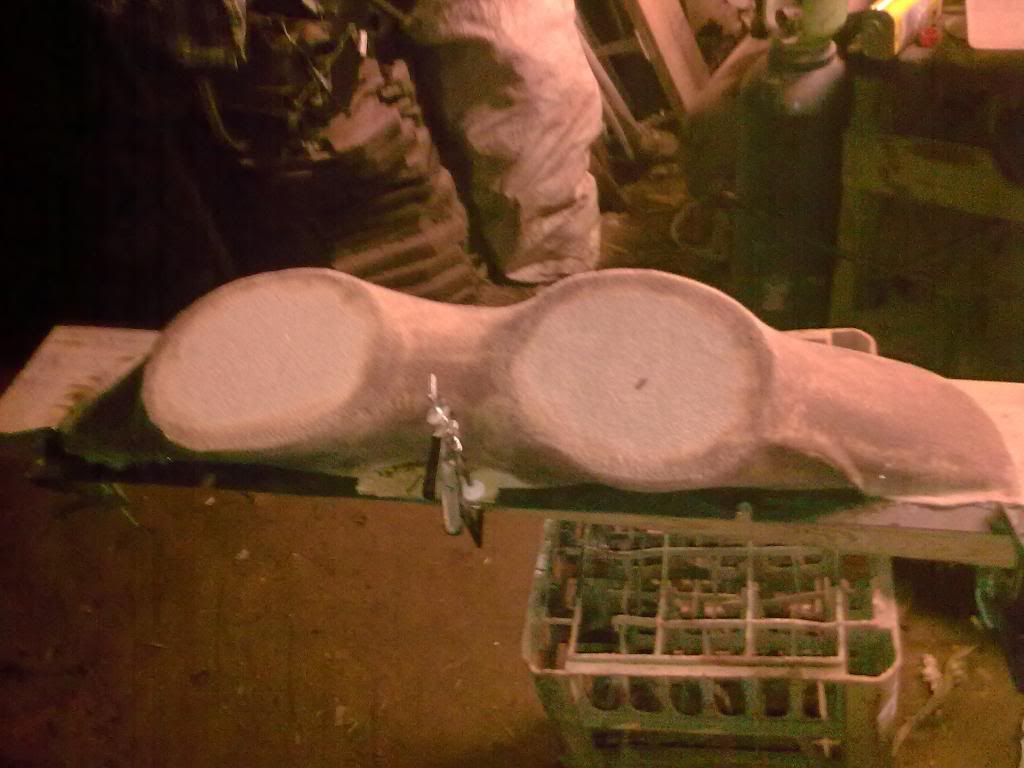
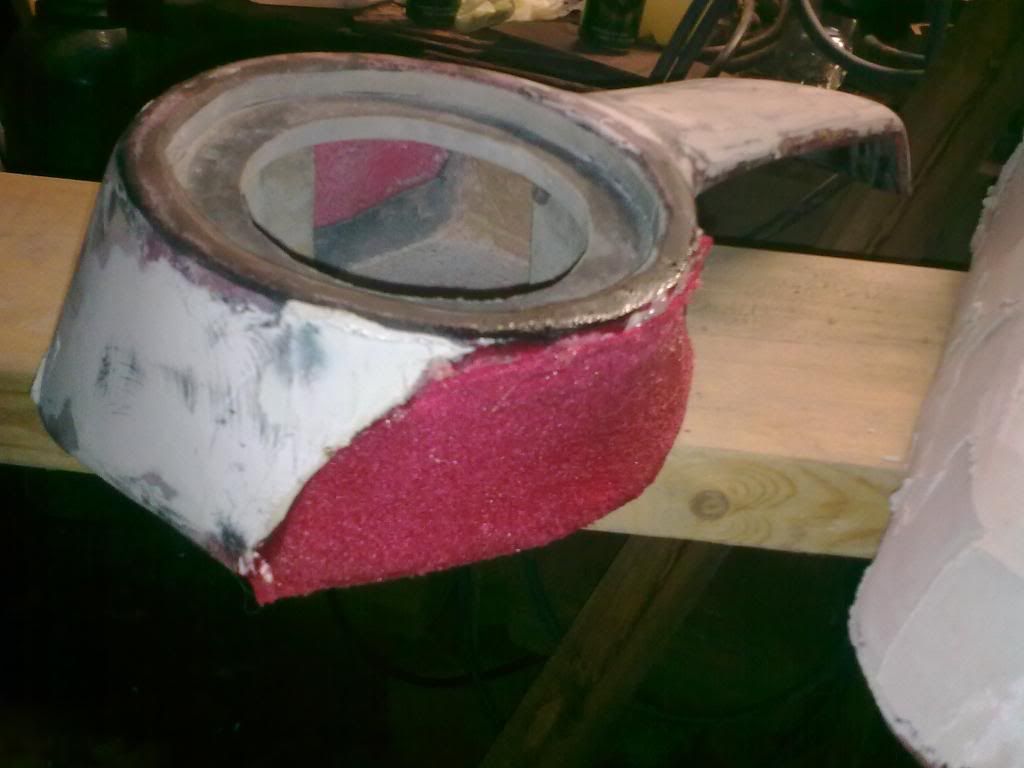
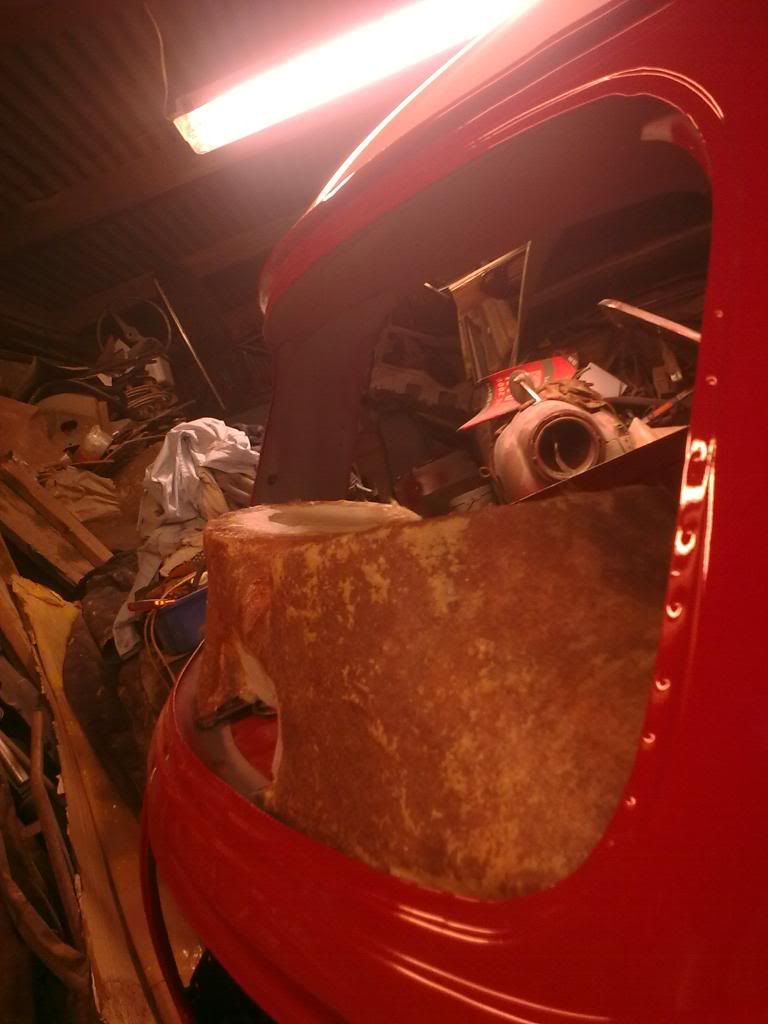
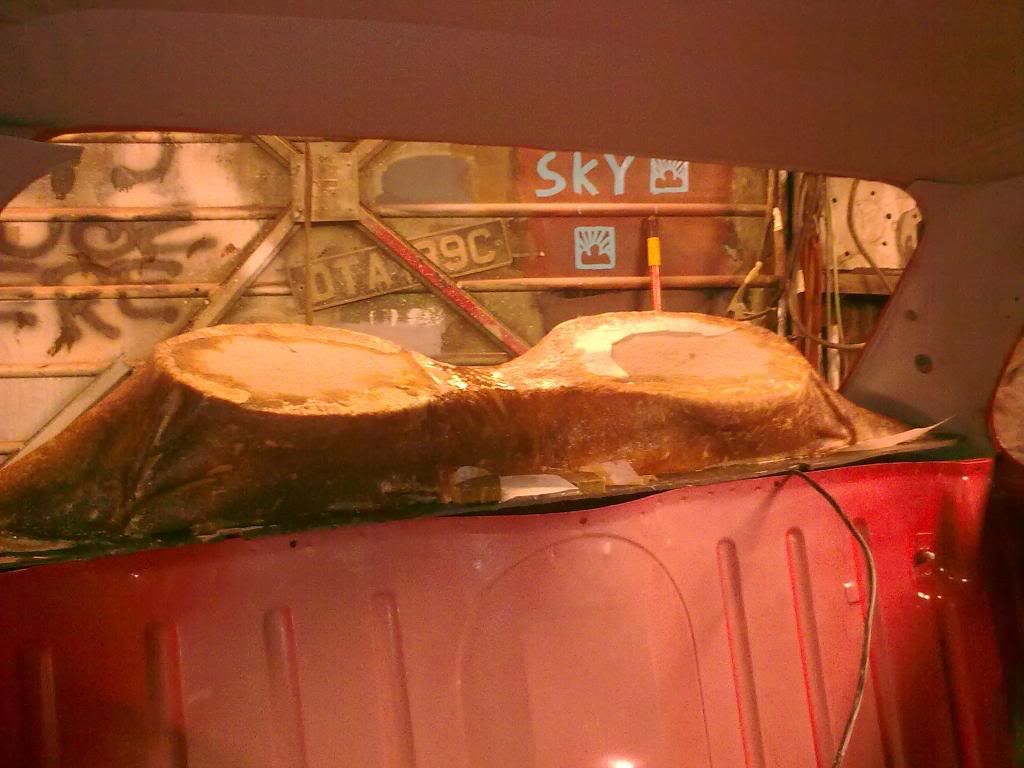
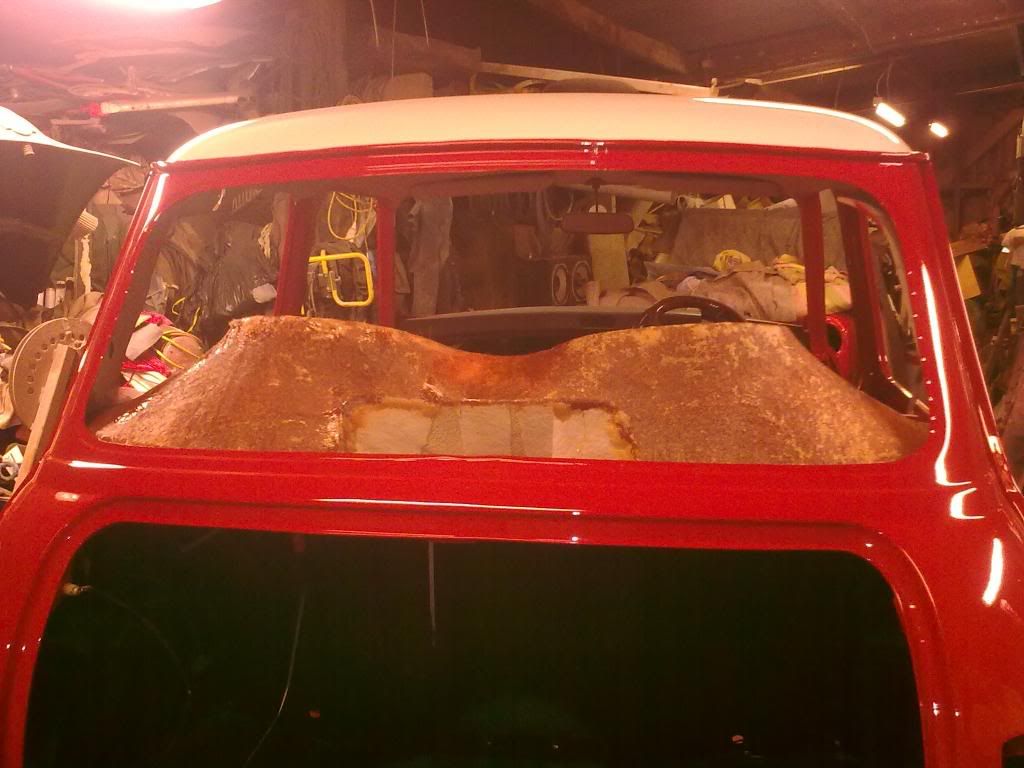
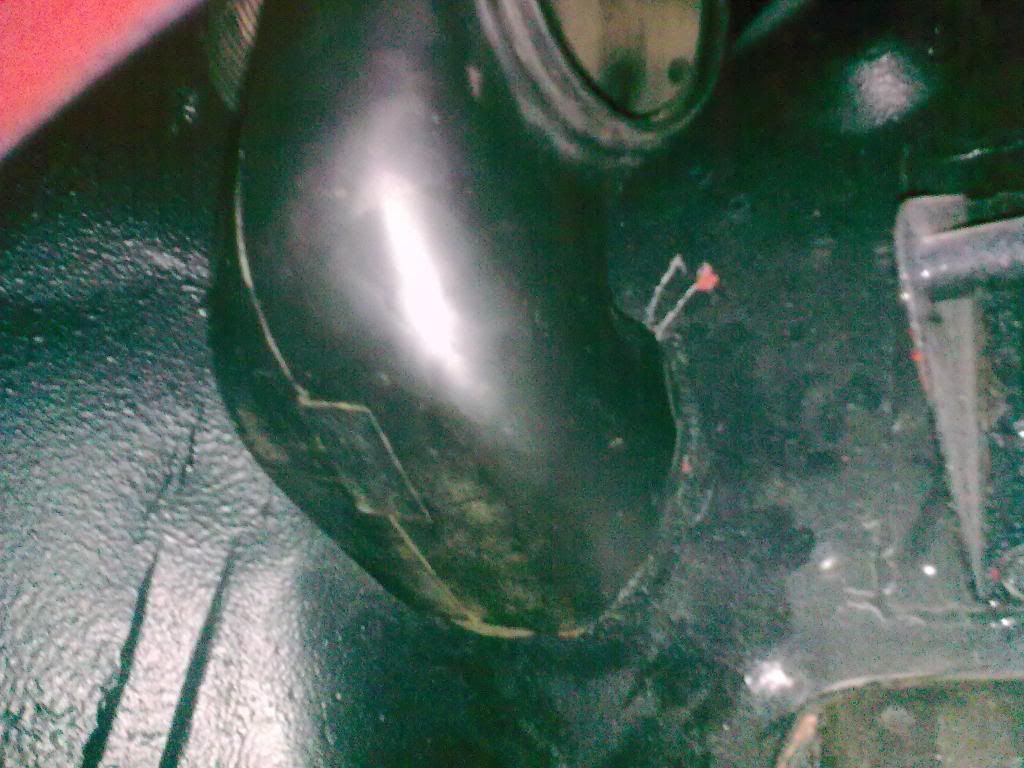
and i also refibreglassed my pod as i didn't put enough resin on the first time and not enough hardner -so i used some tissue fibreglass and resin and its done the trick - and a trail fit - it still needs grinding back so it will fit - its still too wide at the mo - is quite big tho....
big cool!!!!!
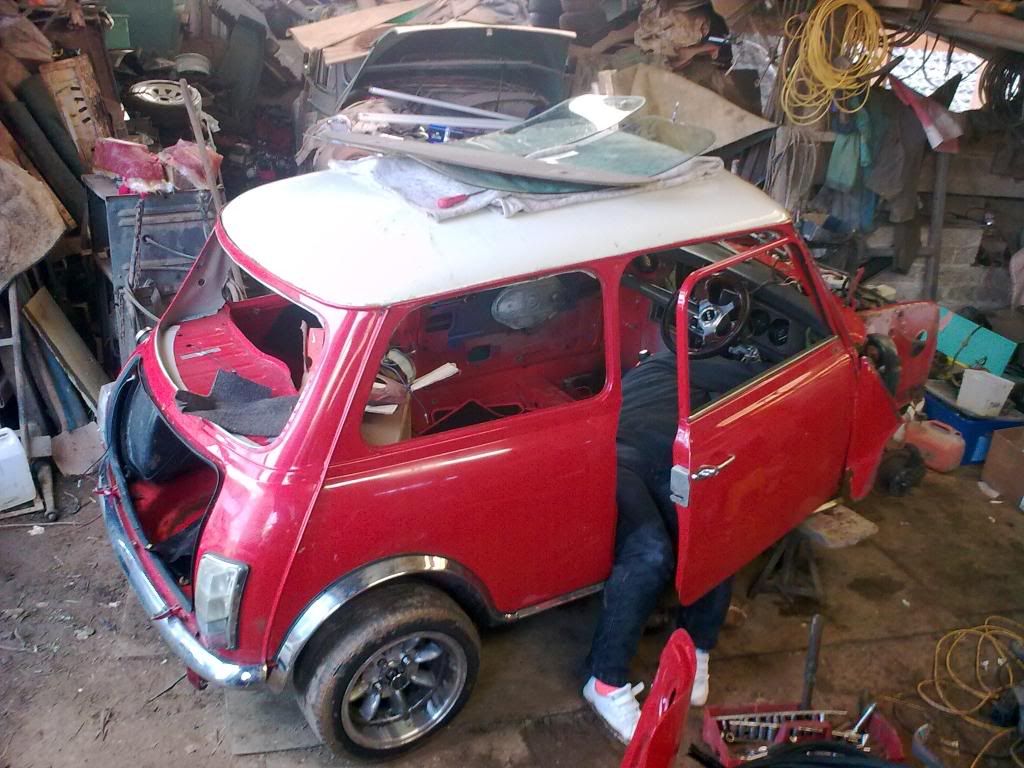
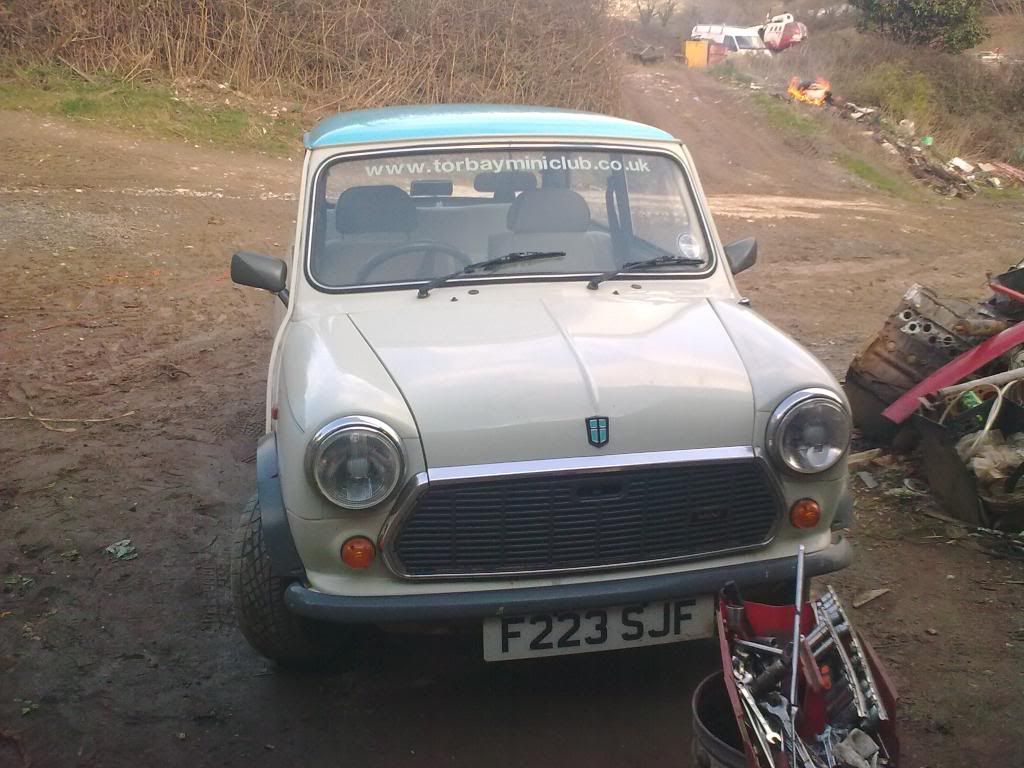
then i thought the 2 red minis together.....
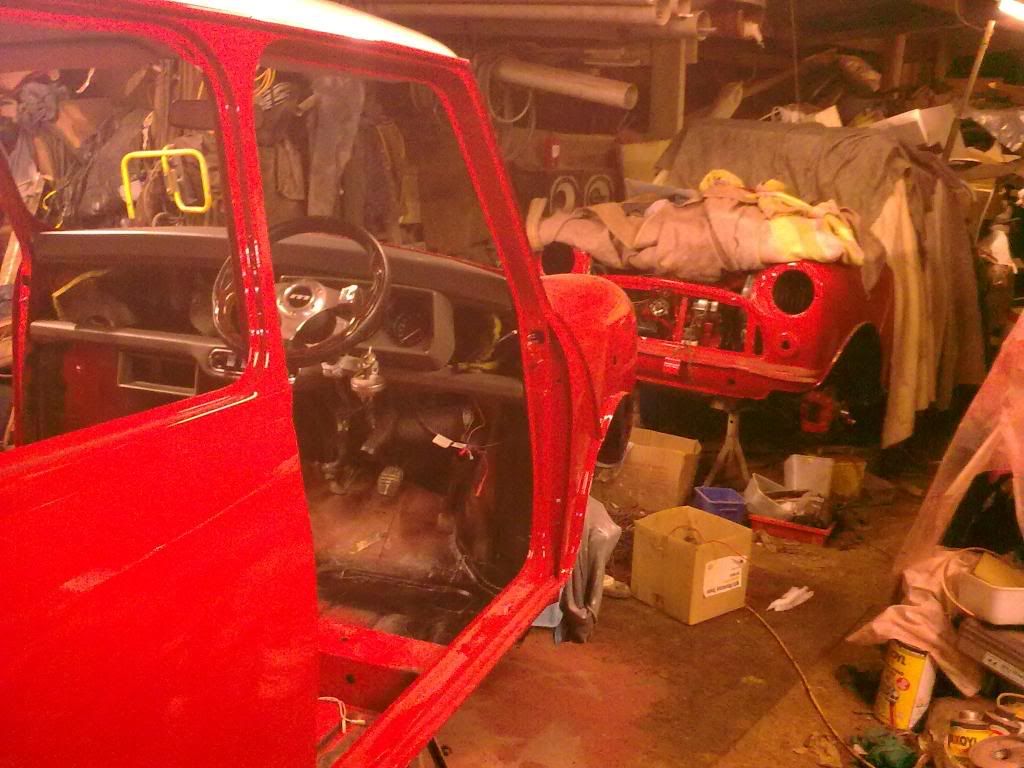
i was using it for reference for the wiring!!!! LOL
and in just 55days the mini has gone from this
to
SHINEY!!!!!
we had great fun wrapping it - well punching all the windows through!! LOL
then Pecks had great fun cleaning inside
while i made a start on the wiring and repairing the previous dodgy repairs - moving the horn wire to the relay for the air horns, and retaping damaged sections
so now i've gotta add a few connectors in for the indicators and oil pressure switch - renew the wiper wiring and run a wire for the fuse box down to the coil for the electronic iginitic which needs a 12V feed rather than the 8V ballast feed.... then feed a few wires inside for the cig light - alarm when we fit it and stereo
the pecks painted the inner wings
and i also refibreglassed my pod as i didn't put enough resin on the first time and not enough hardner -so i used some tissue fibreglass and resin and its done the trick - and a trail fit - it still needs grinding back so it will fit - its still too wide at the mo - is quite big tho....
big cool!!!!!
then i thought the 2 red minis together.....
i was using it for reference for the wiring!!!! LOL
#208
sazal
-

- Members
-
- 3,512 posts
Up Into Fourth
- Local Club: DCMOC
Posted 20 March 2010 - 09:29 PM
Wow, it's getting so close now and is looking fab
#209
emalee
-
- Members
-
- 813 posts
One Carb Or Two?
- Local Club: west of england
Posted 21 March 2010 - 09:48 AM
day 56......
its always good to have a list - shame i made it before we painted it tho!! LOL
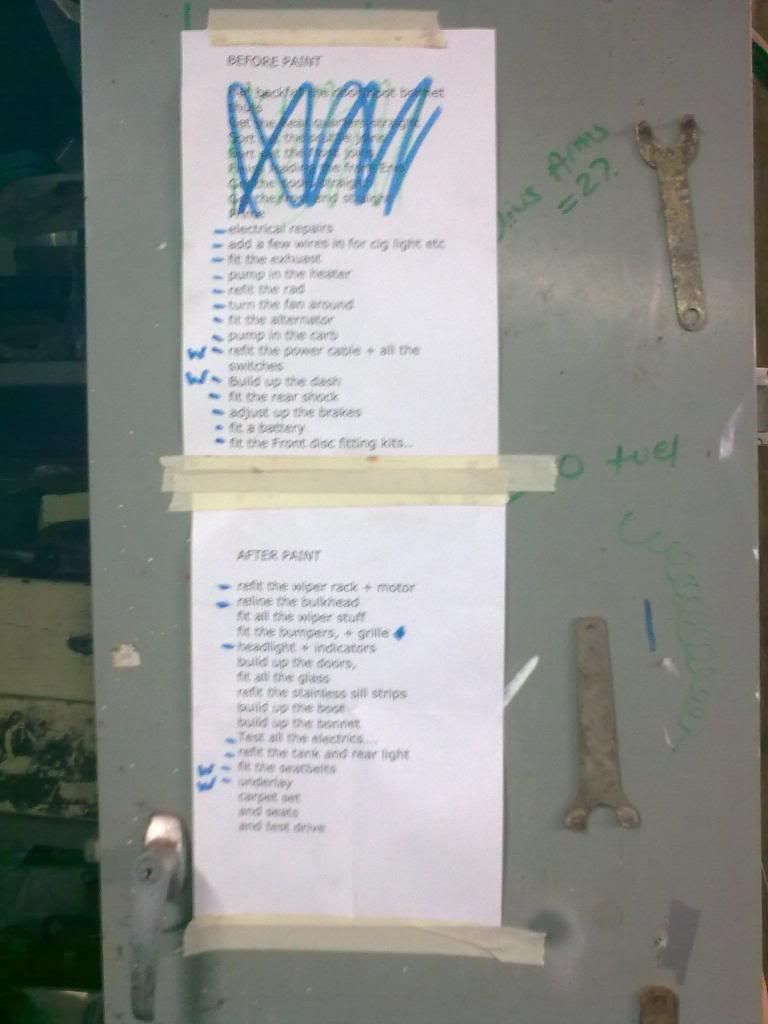
the things with dashes by are to be done before things without dashes on.. hopefully....
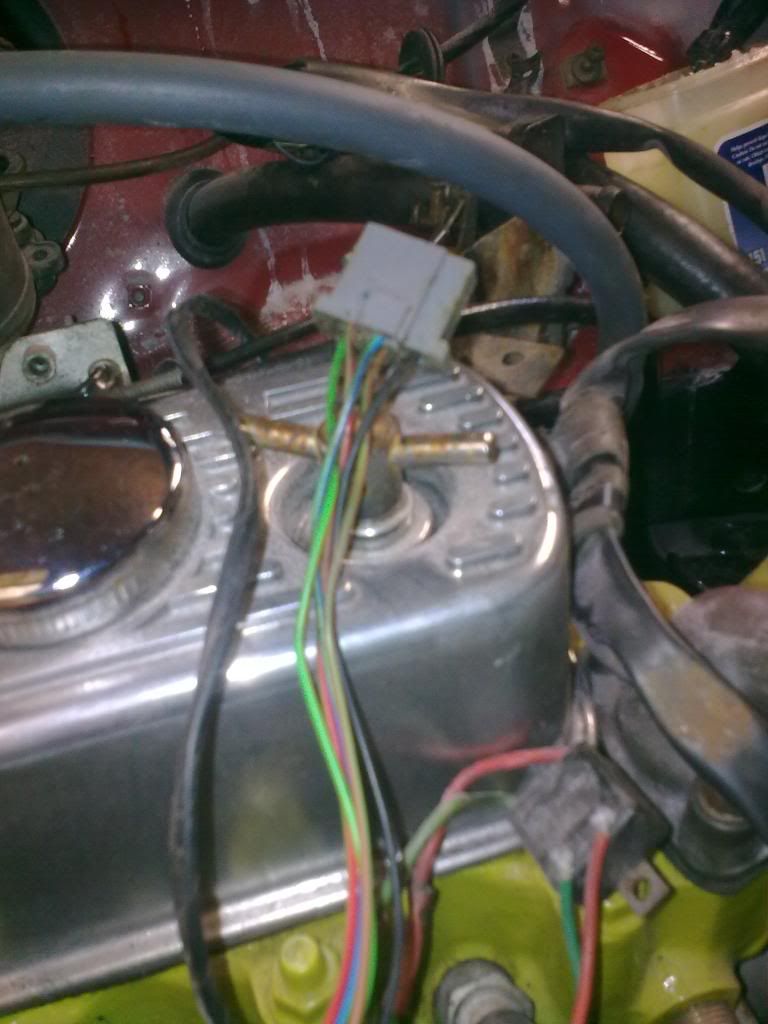
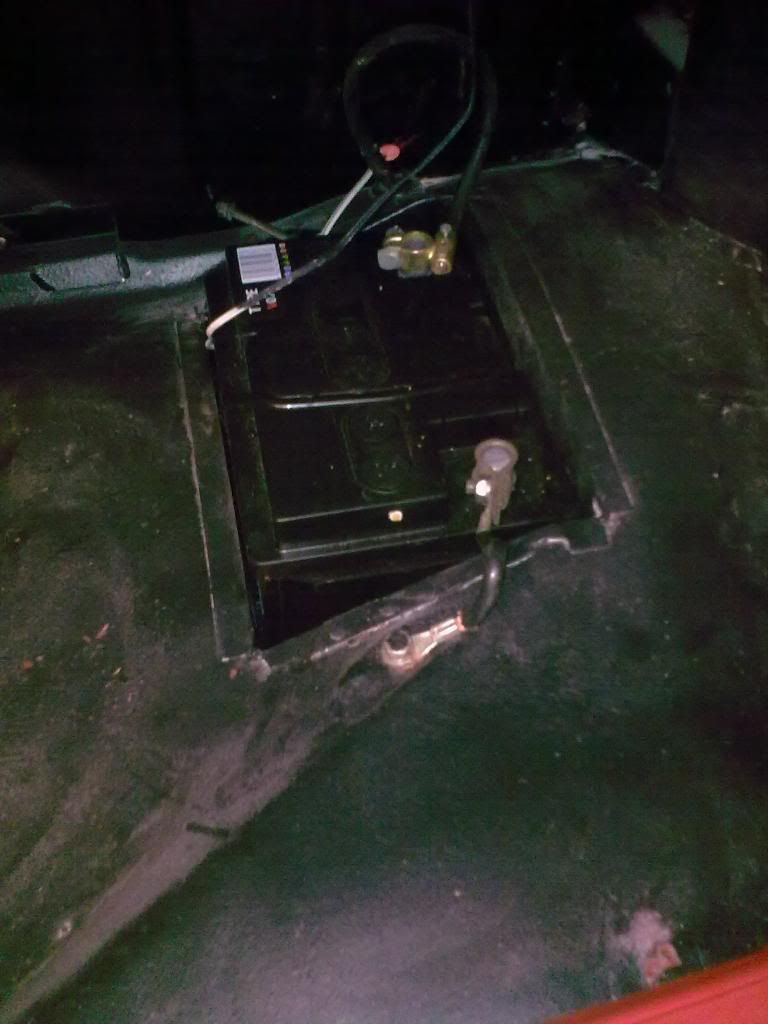
i carried on with my electrical repairs today, inc adding a wiring in for the electronic ignition, seiren for the alarm, air horn wiring - and general repairs, i partly liked this bodge - god only knows what this box did....
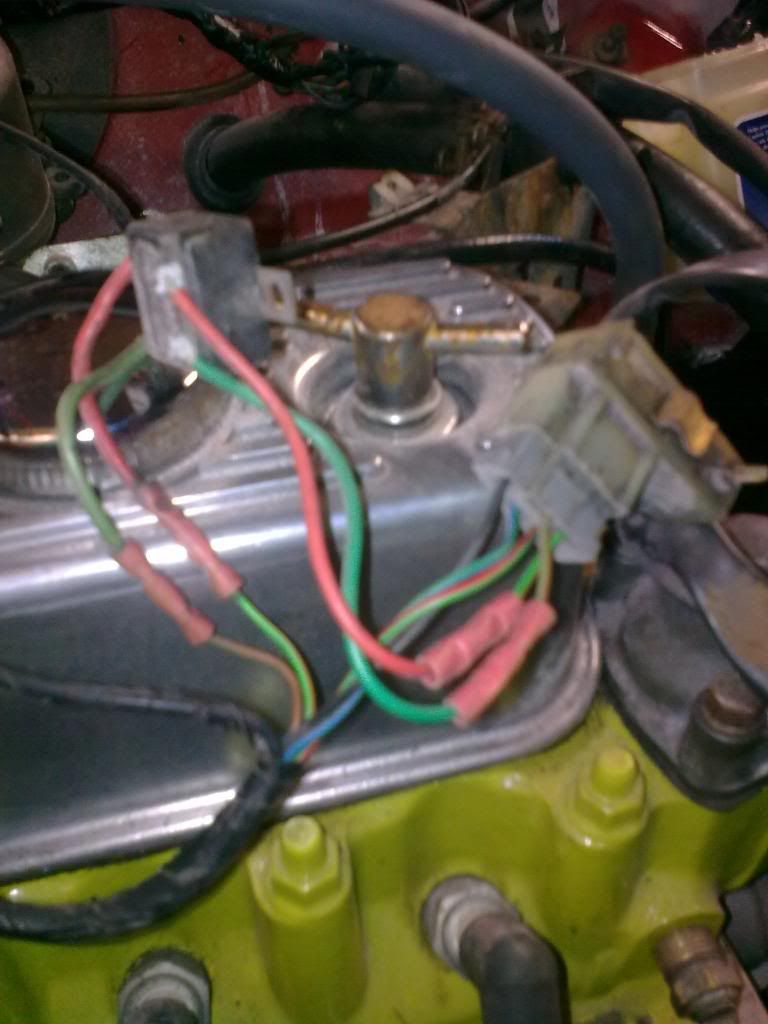
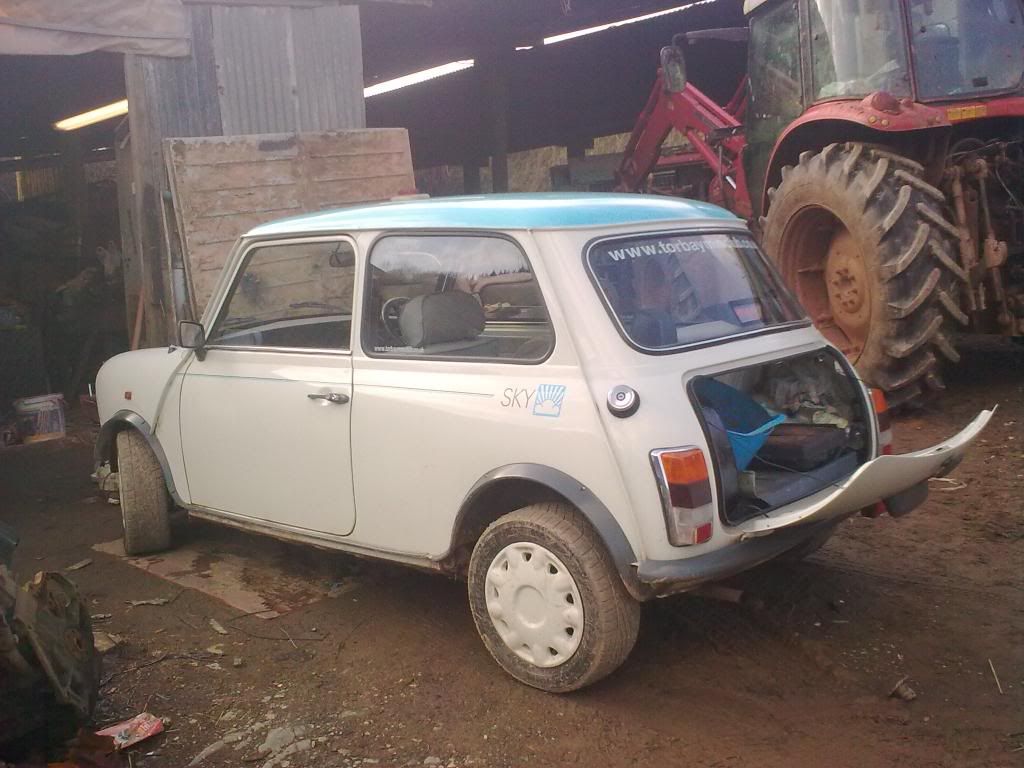
and the replacement section from the mini in the scrap yard
the i refitted the airhorn in the holes we drilled eariler, and connected everything to the carb
added a fuel filter
refited the wiper rack and motor - just need to screw the mounting in
refitted the fuse box
connected up all of the loom in the engine bay
turned the fan around and fitted the alternator
refitted the air intake for the air vents and washer bottle, and new servo hose....
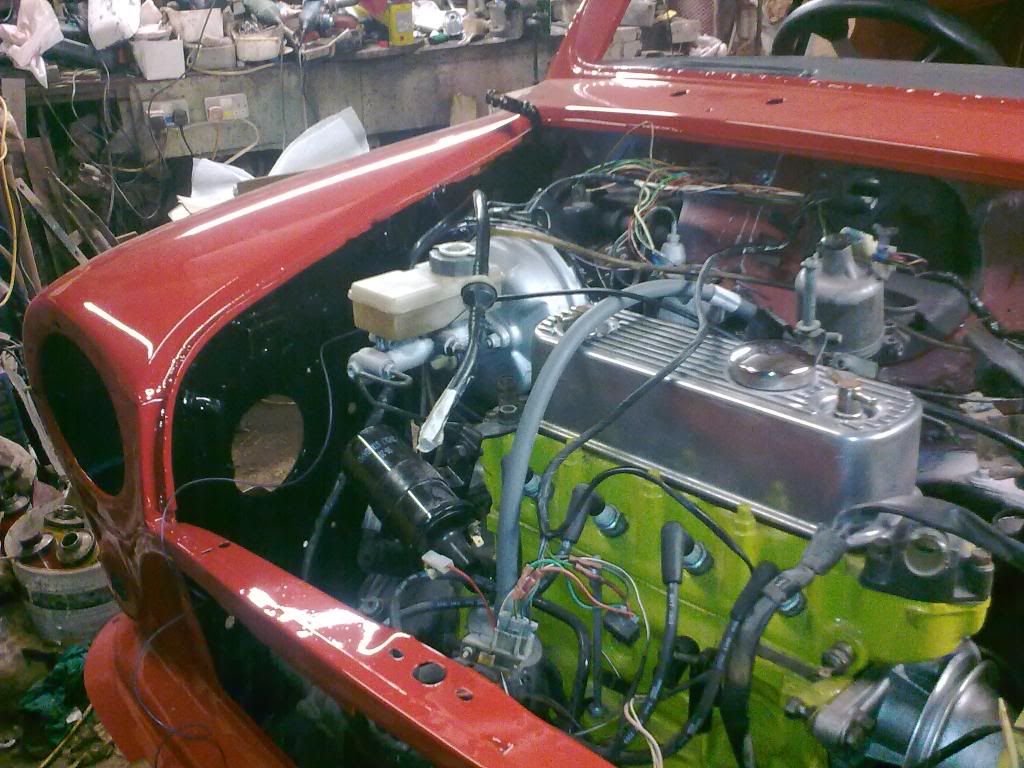
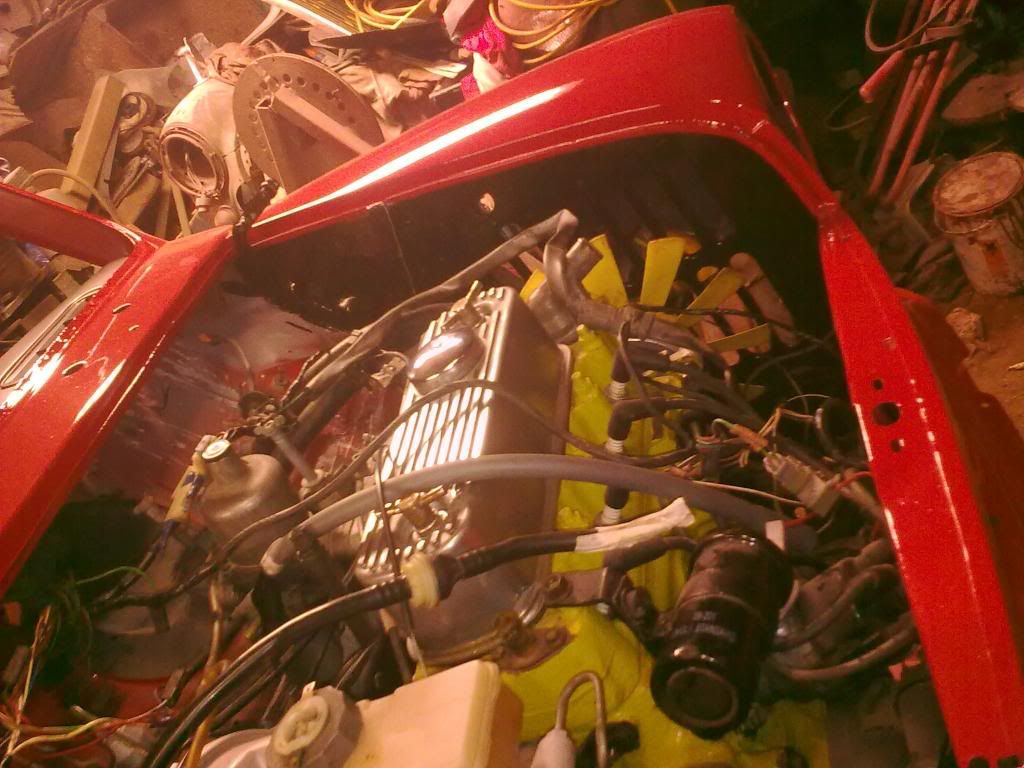
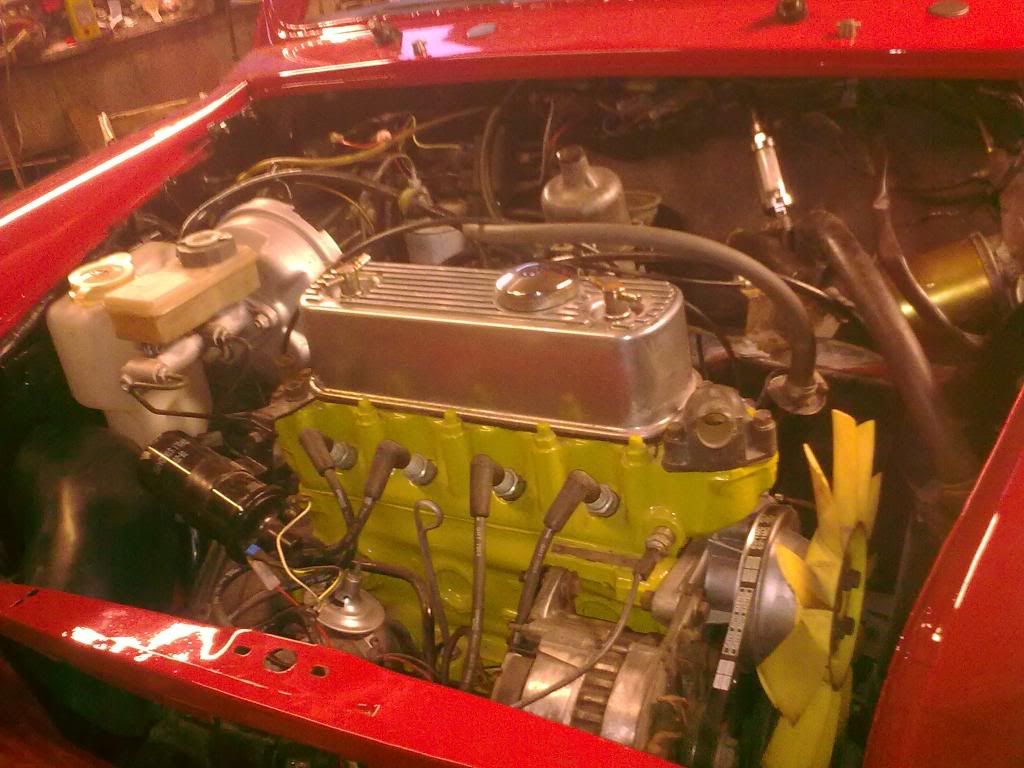
so the engine bay now looks like this
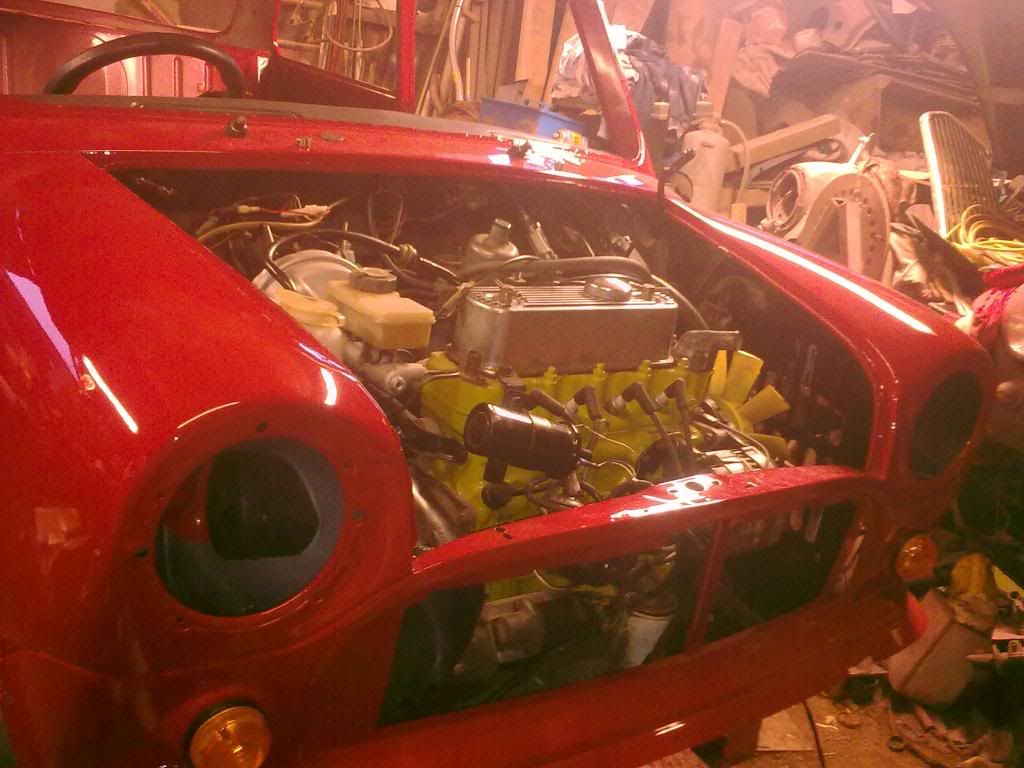
and pecker
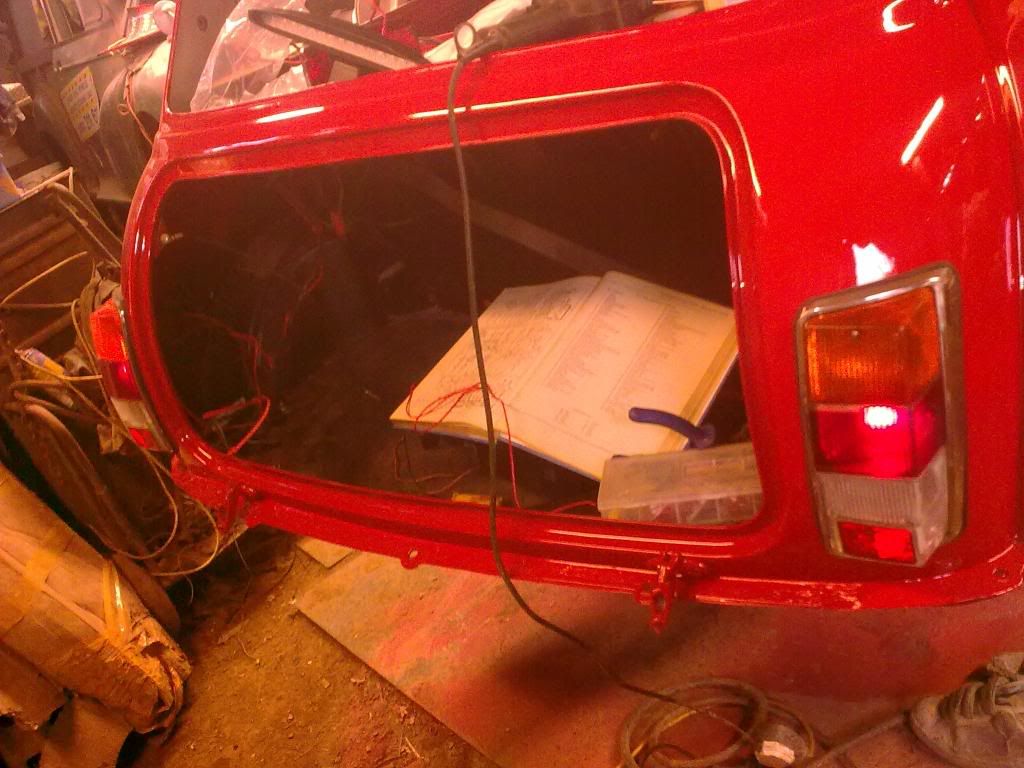
relined the bulkhead, fited the back lights
and battery
and the air vent thing under the wing
and front indicators
as well as the main power cable,
the headlight would of gone on, but we had no fittings for them at the garage - but i've found some at home and a few other bits and bobs we didn't have at the garage - so hopefully she'll have a more producive day today!!
but i won't because i gotta fit a electronic iginition to the sky and change the rad and vasine up all my electrics as they have both taken a allegic reaction to the rain at the moment :roll: FAIL!!!
and the list looked like this at the end of the day
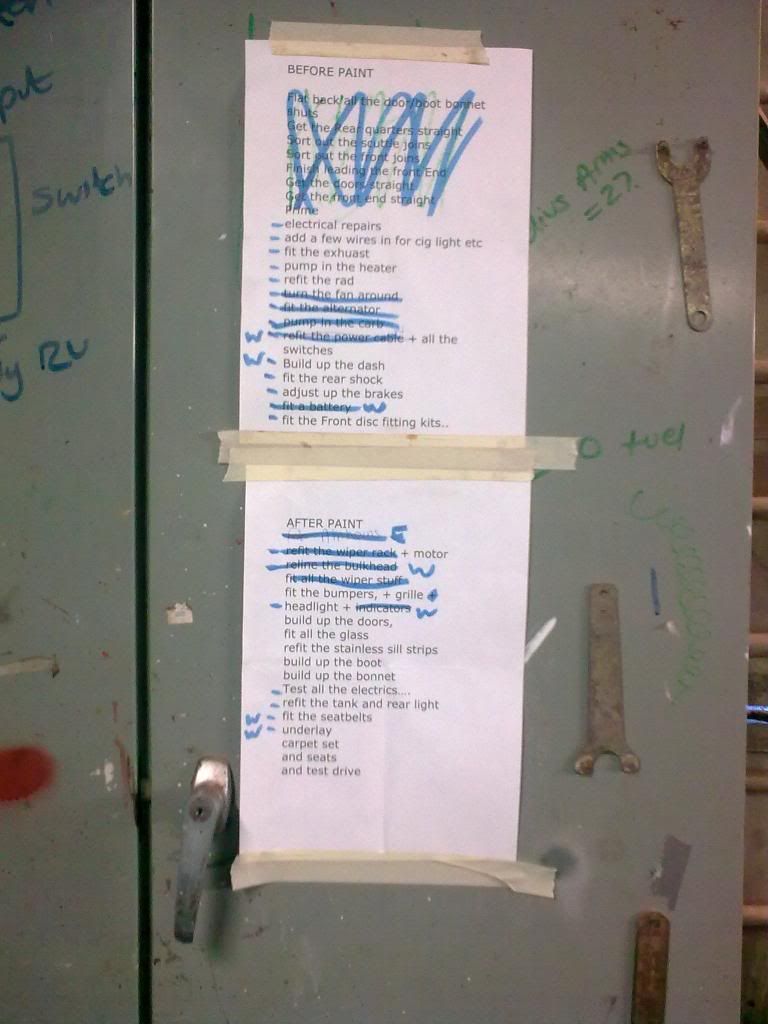
its always good to have a list - shame i made it before we painted it tho!! LOL
the things with dashes by are to be done before things without dashes on.. hopefully....
i carried on with my electrical repairs today, inc adding a wiring in for the electronic ignition, seiren for the alarm, air horn wiring
- and general repairs, i partly liked this bodge - god only knows what this box did....and the replacement section from the mini in the scrap yard
the i refitted the airhorn in the holes we drilled eariler, and connected everything to the carb
added a fuel filter
refited the wiper rack and motor - just need to screw the mounting in
refitted the fuse box
connected up all of the loom in the engine bay
turned the fan around and fitted the alternator
refitted the air intake for the air vents and washer bottle, and new servo hose....
so the engine bay now looks like this
and pecker
relined the bulkhead, fited the back lights
and battery
and the air vent thing under the wing
and front indicators
as well as the main power cable,
the headlight would of gone on, but we had no fittings for them at the garage - but i've found some at home and a few other bits and bobs we didn't have at the garage - so hopefully she'll have a more producive day today!!
but i won't because i gotta fit a electronic iginition to the sky and change the rad and vasine up all my electrics as they have both taken a allegic reaction to the rain at the moment :roll: FAIL!!!
and the list looked like this at the end of the day
#210
emalee
-
- Members
-
- 813 posts
One Carb Or Two?
- Local Club: west of england
Posted 21 March 2010 - 08:53 PM
day 57........
i had to spend most of the day fixing both my minis - new needed another rad and the other a electronic iginition kit....
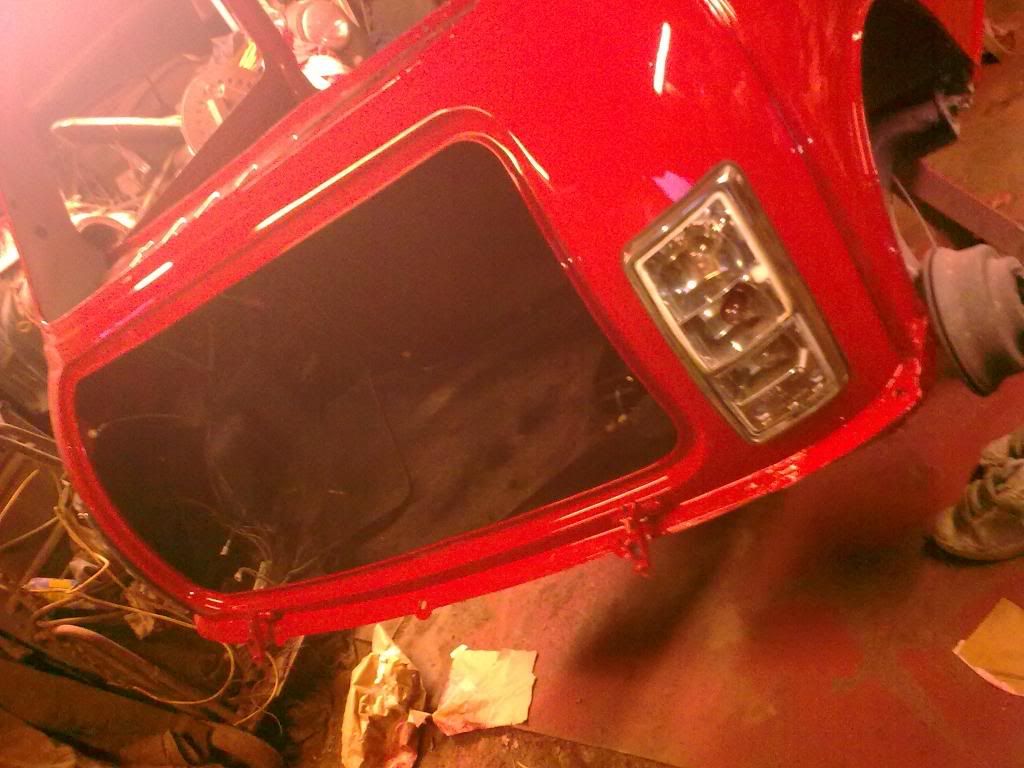
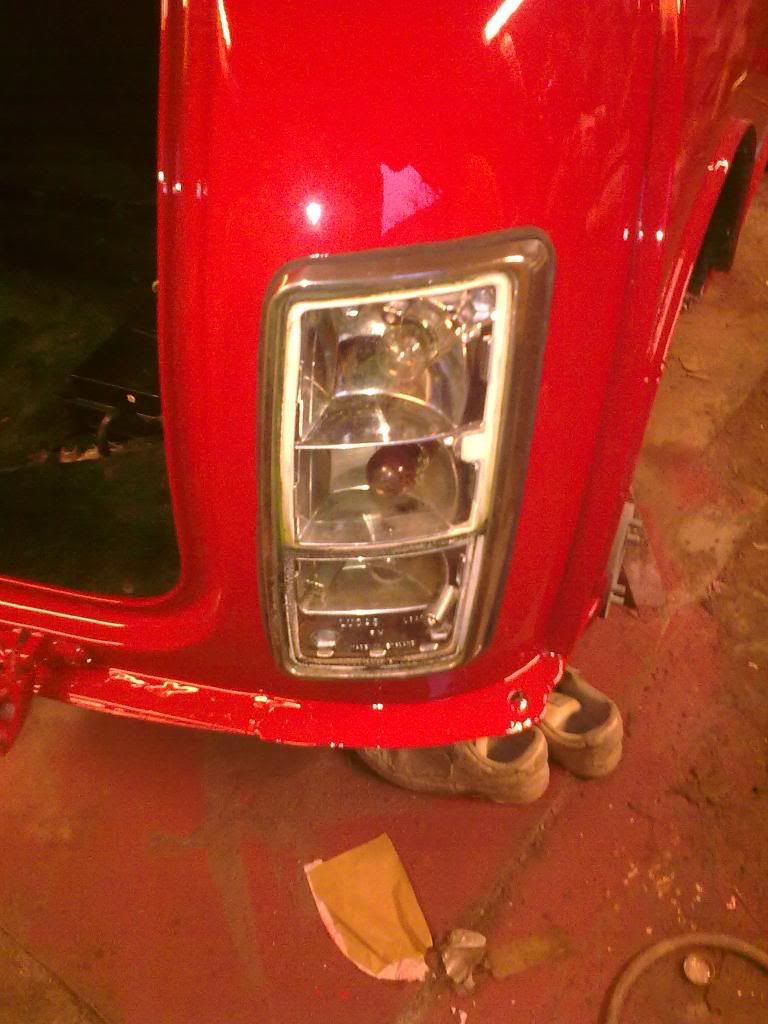
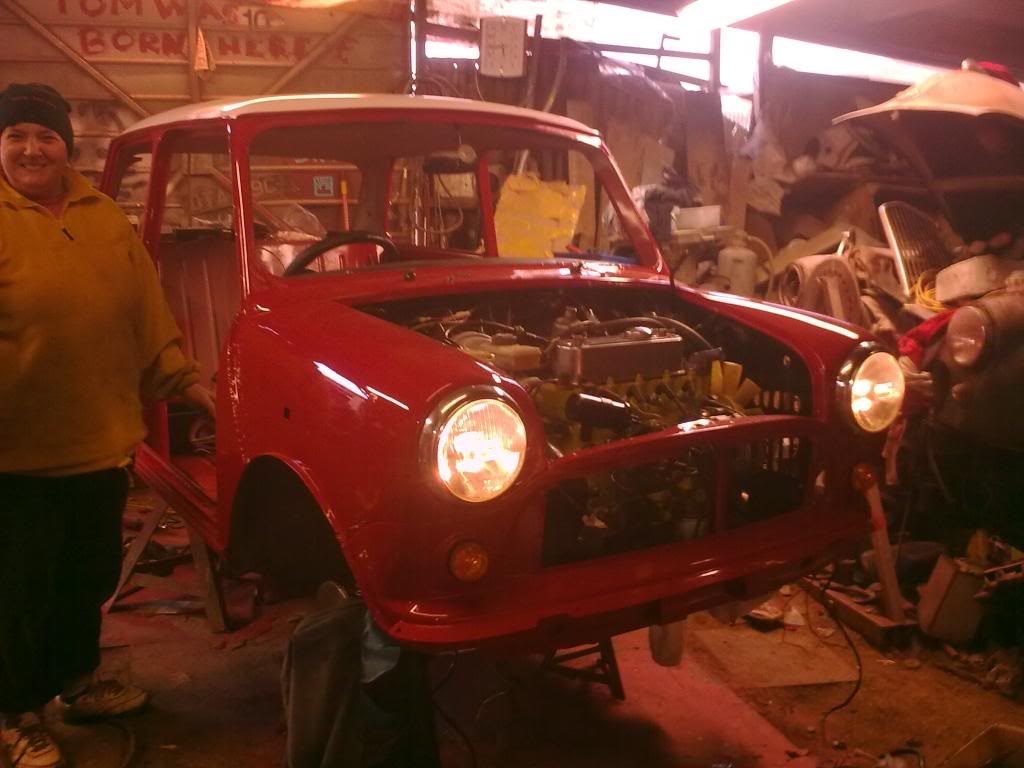
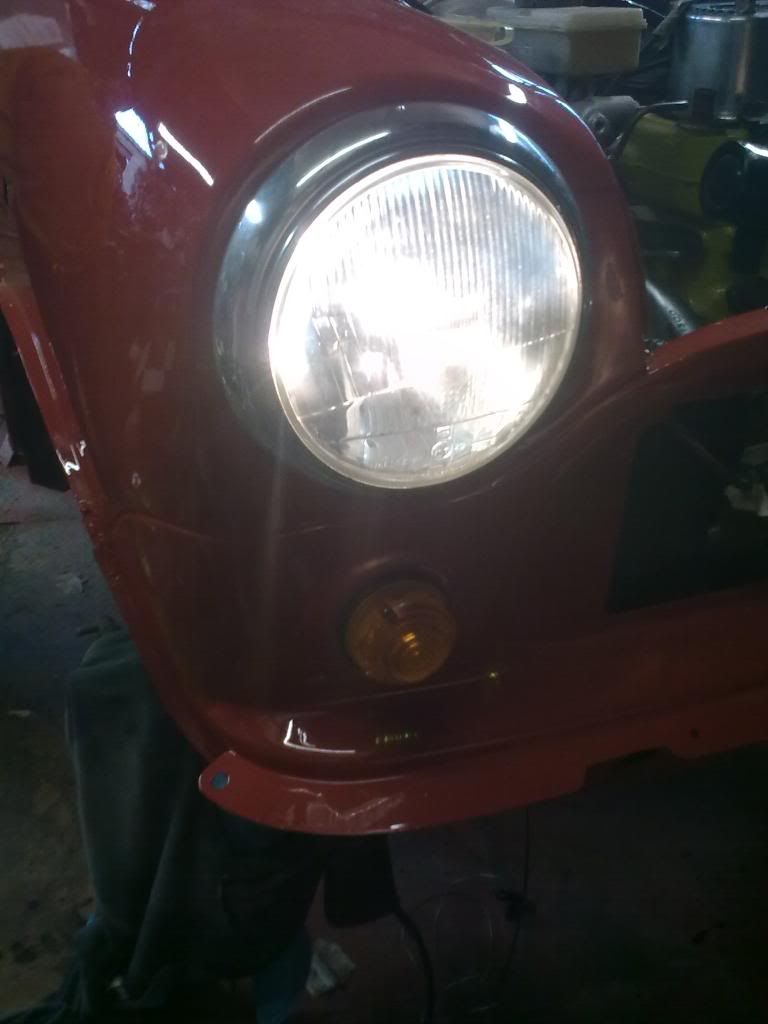
but anyway, pecks fitted the headlights

and the back lights..
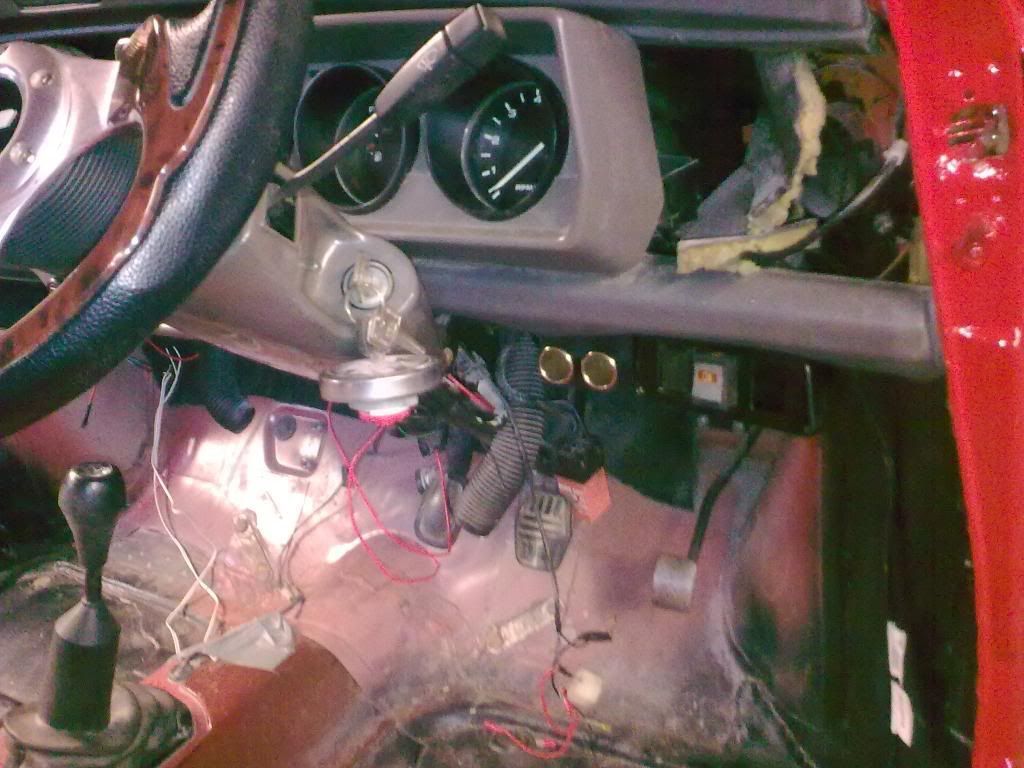
then i took the steering wheel off to change the stalks as it only had one on and it was bent, so when push it up to indicate it just spun around FAIL but i got a steering coloumn with a good set of stalks the other day - so those went on - i was REALLY shocked hat how lose the wheel was on the boss the allen key bolts where only finger tight..... and the wheel moved around on the boss...... really won't want to drive it like that!! LOL
then i put the cowling back on and pecks plugged in all the switched
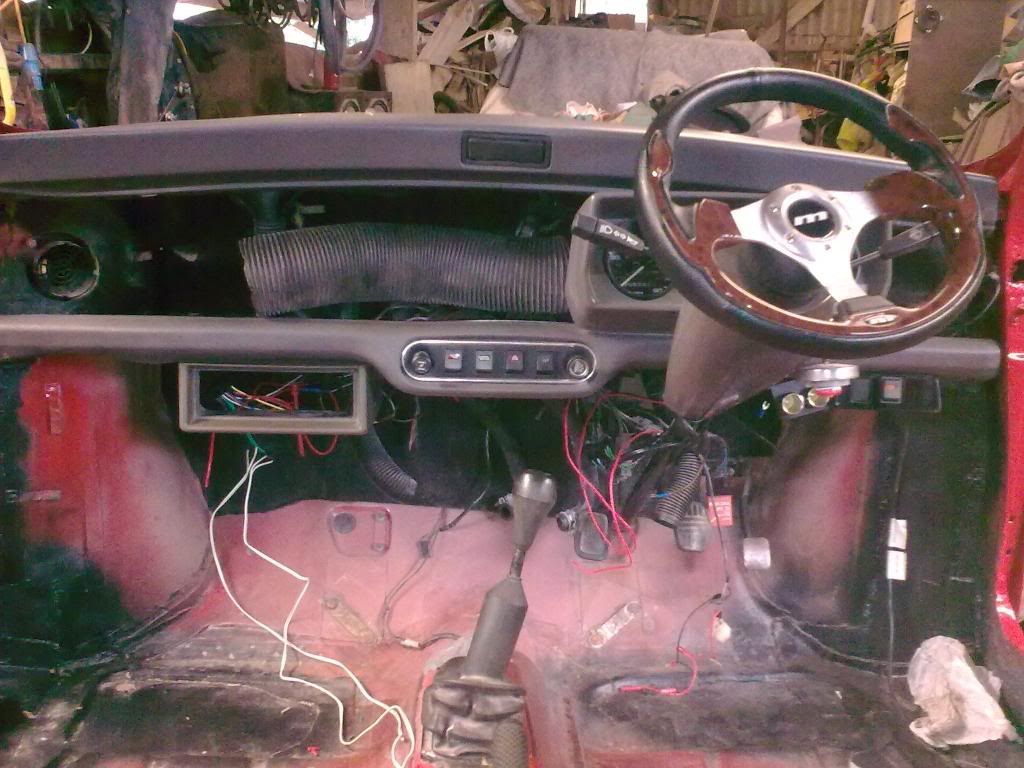
then i started wiring inside and sorted out the wiring for the stereo and other random bits
and pecks refitted the extra switch panel after i had found one.. and then fitted a cig light double socket - which i've gotta wire in yet
then i fitted a high level brake light - its a really good kit - i must recover a parcel shelf for the mini tho - Red or Black that is the question.... then i can fit the light properly - but its all wired in and working
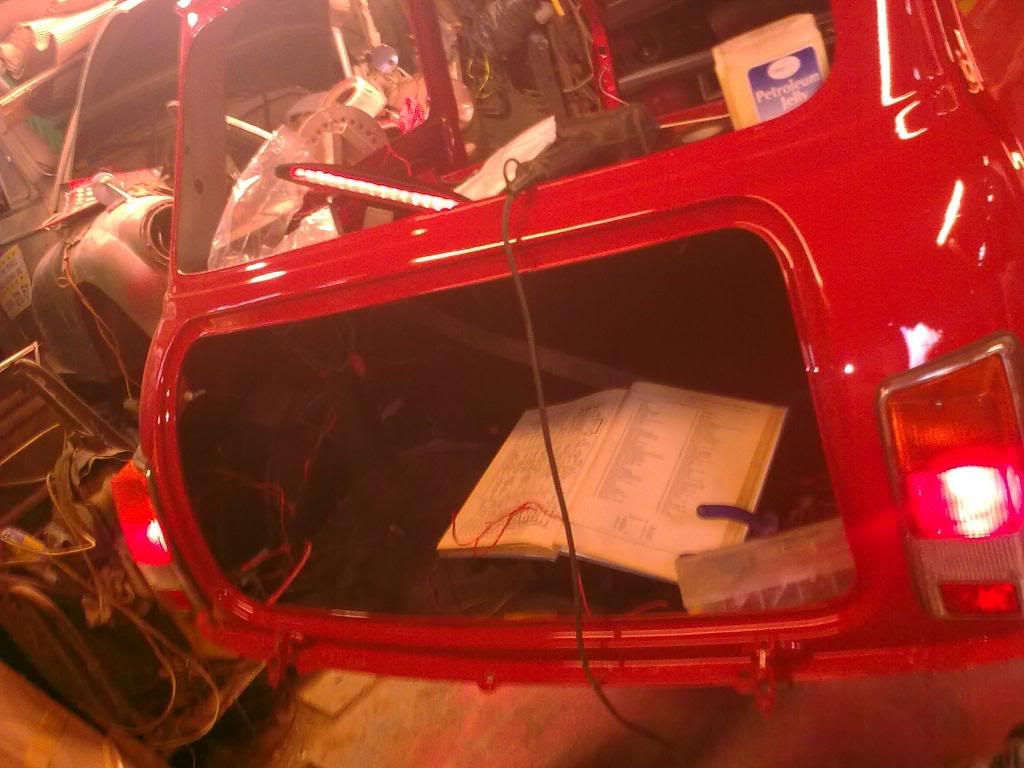
and sides
headlights
all the wipers, washers, side lights, dash lights, brake lights, headlights, HORN!! all work - thats as far as we have got with plugging things in.... oh and the engine turns over on the key....
and i also stuck a litre of waxoil on it all underneath and floors and front wings and in the B posts rear bins and as far in the sills as what i could get - we still need to do the doors and rear subframe tho.....
the plan for tomorrow is to fit the new rear shocks (that we need to get) and then the tank and i'll carry on with the wiring - getting board now!!! LOL
and my sky looking rather dirty!!!!
i had to spend most of the day fixing both my minis
- new needed another rad and the other a electronic iginition kit....but anyway, pecks fitted the headlights
and the back lights..
then i took the steering wheel off to change the stalks as it only had one on and it was bent, so when push it up to indicate it just spun around
FAIL but i got a steering coloumn with a good set of stalks the other day - so those went on - i was REALLY shocked hat how lose the wheel was on the boss the allen key bolts where only finger tight..... and the wheel moved around on the boss...... really won't want to drive it like that!! LOLthen i put the cowling back on and pecks plugged in all the switched
then i started wiring inside and sorted out the wiring for the stereo and other random bits
and pecks refitted the extra switch panel after i had found one.. and then fitted a cig light double socket - which i've gotta wire in yet
then i fitted a high level brake light - its a really good kit - i must recover a parcel shelf for the mini tho - Red or Black that is the question.... then i can fit the light properly - but its all wired in and working
and sides
headlights
all the wipers, washers, side lights, dash lights, brake lights, headlights, HORN!! all work - thats as far as we have got with plugging things in.... oh and the engine turns over on the key....
and i also stuck a litre of waxoil on it all underneath and floors and front wings and in the B posts rear bins and as far in the sills as what i could get - we still need to do the doors and rear subframe tho.....
the plan for tomorrow is to fit the new rear shocks (that we need to get) and then the tank and i'll carry on with the wiring - getting board now!!! LOL
and my sky looking rather dirty!!!!


2 user(s) are reading this topic
0 members, 2 guests, 0 anonymous users


