I wouldnt weld because of the heat generated would peel and bubble the paint in a bigish area. I would personally grind the stud carefully back flat with the bulkhead. Starting with a 2 or3 mm bit drill through the centre of the stud. After this keep stepping upthe size untill the hole is big enough for the bolt. If the engine isnt in u should be able to acces the hole ti put the bolt through. When drilling try and wedge a piece of wood between the subframe and the bulkhead to stop the drill bit damaging the subframe.

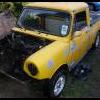
Penny The Pickup
Started by
crazirob
, Feb 01 2010 09:47 PM
427 replies to this topic
#181

pickupmad87
-
- Members
-

- 273 posts
Previously adampadmore
- Location: woking
Posted 10 July 2013 - 09:37 AM
#182
crazirob
-
- TMF+ Member
-
- 650 posts
Super Mini Mad
Posted 10 July 2013 - 01:09 PM
That means subframe out then to do it as its right behind a tower ! So pissed off ! If I do lots of little welds and allow to cool down it shouldn't damage the paint too much ? The stud sits flush in the outer of thr braket so that should take some of the heat so that way I'm welding the remaining part of the stud back to the braket so hopefully won't get too hot.
#183
DugganC17
-
- Members
-
- 359 posts
Speeding Along Now
Posted 10 July 2013 - 05:44 PM
i have had this problem before and had to weld it as a tempory fix but i wouldnt recommend it as is a pain in the ass to remove after
Dan
#184
crazirob
-
- TMF+ Member
-
- 650 posts
Super Mini Mad
Posted 13 July 2013 - 07:41 PM
Got a little bit done today went to mini speed to collect my brake Line kit was very good, also got distracted with other goodies, t bars for the rocker cover, a facet solid state fast road pump, ad also re adjusted my carbs as the jet wasn't centred properly,first went shopping for bling ! Got home and go most of the rear brakes in and run properly, ton moto's to finish them of and run the fuel lines too !
Maybe an update tomorrow, does it matter what way I have the fuel pump, I know they only flow one way but could I have it upside down ? Thanks
Robbie
Maybe an update tomorrow, does it matter what way I have the fuel pump, I know they only flow one way but could I have it upside down ? Thanks
Robbie
#185
crazirob
-
- TMF+ Member
-
- 650 posts
Super Mini Mad
Posted 16 July 2013 - 08:55 PM
Problem, I'm using a twin banjo bolt and 2 goodridge hose to do a direct split from front to rear, however the banjo bolts I have been supplied go into the brake unions, but once tight don't seal, as if the don't go deep enough, anyone done this before thanks Robbie
#186
ToM 2012
-

- Members
-
- 4,066 posts
Up Into Fourth
- Location: halesowen
Posted 16 July 2013 - 09:12 PM
looks superb this does excellent build and nice and clean.
#187
baker_boy
-
- Members
-
- 971 posts
One Carb Or Two?
- Local Club: "wot no brakes"
Posted 17 July 2013 - 07:41 PM
really like the project build on this, looks great! on a side note, does the pickup use just a standard saloon rear subframe?
#188
DugganC17
-
- Members
-
- 359 posts
Speeding Along Now
Posted 17 July 2013 - 08:32 PM
yeah use the same rear subframe as a saloon
#189
yeti21586
-

- TMF+ Member
-
- 3,740 posts
He's A Lumberjack And He's OK
- Name: Chris
- Location: Hampshire
- Local Club: None
Posted 17 July 2013 - 08:40 PM
were you the guy in minispeed the other week, who had to go and sit in his car to decide wether or not you wanted to buy the more expensive item or the cheaper ones, while i was buying gaskets etc???
YetI
#190
pickupmad87
-
- Members
-
- 273 posts
Previously adampadmore
- Location: woking
Posted 17 July 2013 - 11:22 PM
Have you put the copper washers either side of the banjo?
#191
littlenelly69
-

- Noobies
-
- 18 posts
Learner Driver
- Location: durham
Posted 28 July 2013 - 10:23 AM
so first things first i decided to attack the engine bay ! so i went to halfords brought a wire wheel brush to go on my grinder 2.5 litres of red oxide paint from tool station for £8.74 and some white primer paint.
yesterday i started to attack it! mwahah ! rust here i come ! >
The first job i had to do was to remove eveything from the engine bay, main problem being the old master cylinder was still on and wouldnt budge, after a quick shout on here i was given the awnser and it was all resolved, clevis pins out, pedals out, cylinders out. i then started to sand and after about 1 hours of grinding (sanding) i had this.
majoraty done but i had to get under the scuttle with sand paper and my hand !LONG !
this is the state it was in, i sanded down everything so there was no surface rust and i then used a halfords paint preporation wipe to get ready for the Red oxide paint.
i no its running down the undersealer, but i will redo this.
whilst the paint was drying i tidyed out the cabin, which was full of paper shreddings due to the mouse that had made its home in it.
so i managed to take out the seat belts, that is it, i came up for a coffee and got writing on here, so i will go down now finish of the cabin, and then prime the bay for tommorow,
should i do 2 coats of red oxide ????
Cheers Robbie


I wasn't to sure what primer to use on the bare metal on my Clubby, would you recommend the red oxide and where's the best place to get it? Fantastic build by the way :)
Edited by littlenelly69, 28 July 2013 - 10:34 AM.
#192
olds_kool_lews
-

- Traders
-
- 3,602 posts
Up Into Fourth
Posted 28 July 2013 - 10:36 AM
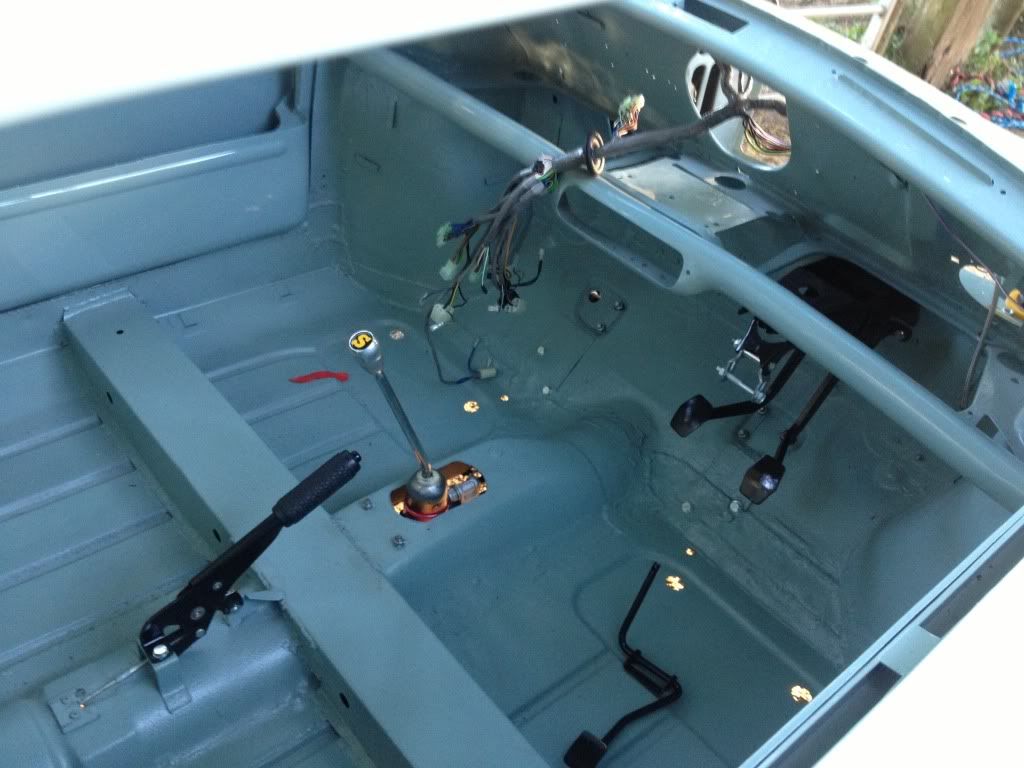
Really annoying day today, went to fit the handbrake it's and the wrong Clevis pins too fat do though ill fit the accelerator pedal and snapped off one of the studs ! Very anoyed either have to take the subframe out or just weld the pedal plate on to the snapped stud .....
When this happens to us, we just use a punch and knock the remaining bit of stud out (need to drop the subframe) as the studs are pressed in, not welded, then knock in a new stud :) hope this helps!
#193
crazirob
-
- TMF+ Member
-
- 650 posts
Super Mini Mad
Posted 19 August 2013 - 08:48 PM
Well much to my disgust I had to drop the subframe out! LONG ! I have put a new stud in, I haven't fitted the offending pedal as I need to clean up the other stud, ill show what's happened lately !
Got these goodies from swiftune
Massive news I GOT ENGAGED !!!!

So that's what 700£ looks like in mini bits :-( wanted more for the money lol
So far so good !
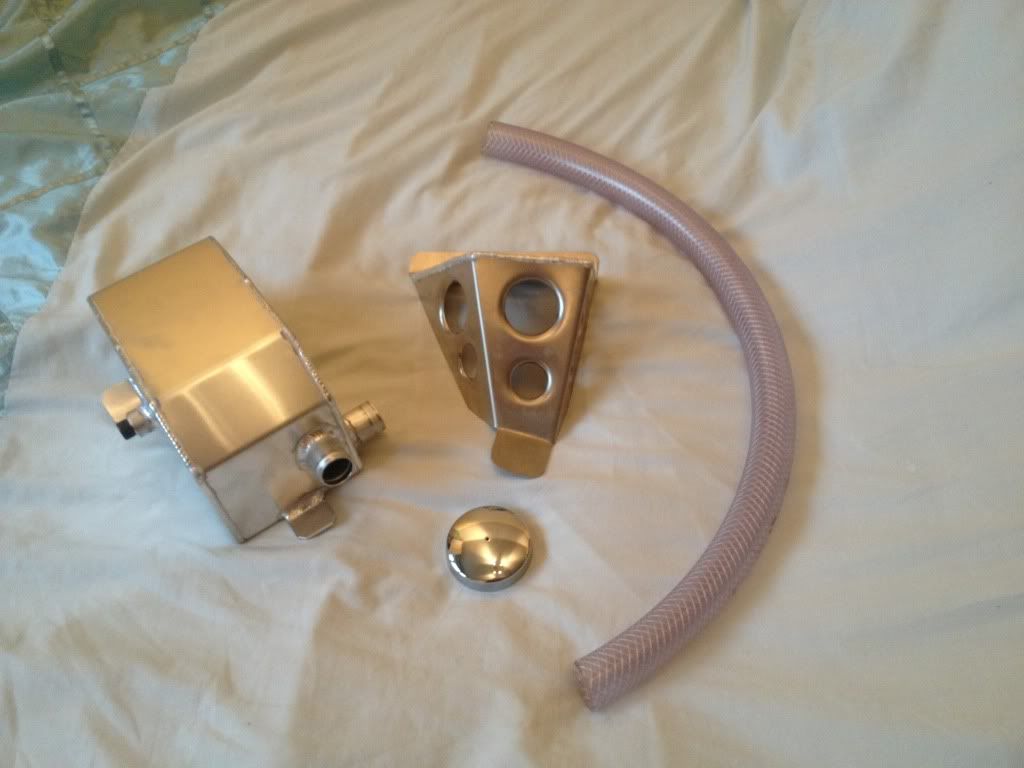
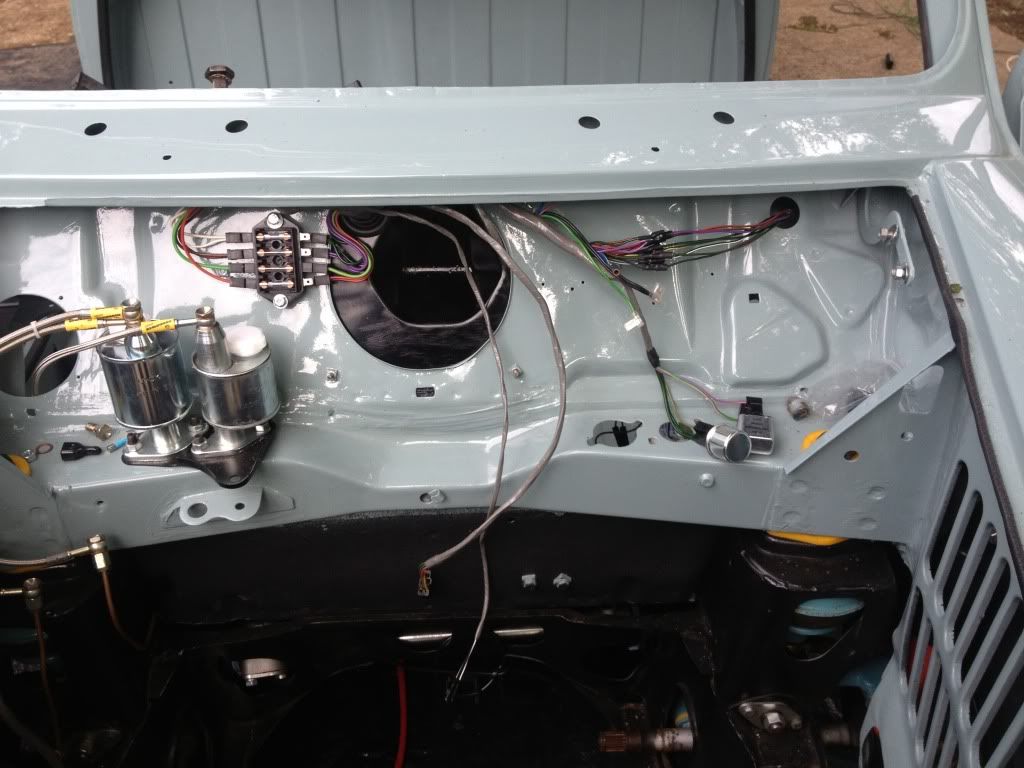
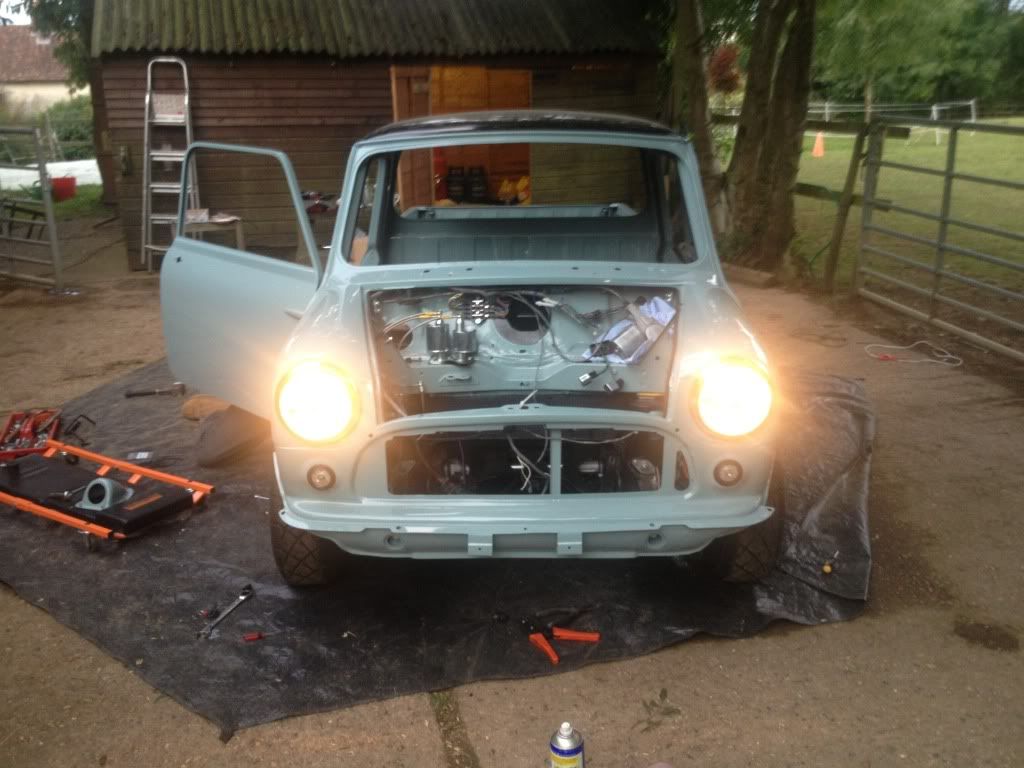
80% of my wiring is now done and complete, also my beautiful rocker cover has failed me, it doesn't clear the alloy inlet manifold......... What a shame time for a shines steel maniflow on that does allow clearance
Thanks and questions if u notice anything wrong please let me know thanks
Got these goodies from swiftune
Massive news I GOT ENGAGED !!!!
So that's what 700£ looks like in mini bits :-( wanted more for the money lol
So far so good !
80% of my wiring is now done and complete, also my beautiful rocker cover has failed me, it doesn't clear the alloy inlet manifold......... What a shame time for a shines steel maniflow on that does allow clearance
Thanks and questions if u notice anything wrong please let me know thanks
#194
domdee
-

- Members
-
- 1,183 posts
Formally known as dominicdee
- Location: hull
- Local Club: hull clubs on FB
Posted 20 August 2013 - 05:49 AM
Bloody hell, you'll have no money now if your planning a wedding!
ours just cost us (my in-laws) £25k and that was budgeted and kept cheap!
Just tell her, 'after the mini is finished, we'll start planning it'
and dont let her make you sell it! hahaha
the pick up looks fantastic though!
#195
mahesket
-
- Members
-
- 197 posts
Mini Mad
- Location: Sheffield
Posted 20 August 2013 - 10:31 AM
Great build, the pick up looks class.
dominicdee: You must be mad spending £25k getting married!!! Ours was £6.5k and £5k of that was the honeymoon lol.


0 user(s) are reading this topic
0 members, 0 guests, 0 anonymous users


