
Disassembled and cleaned inertia starter. Oil was practically dripping from the brushes. Had been turning over slowly with a fully charged battery. Turned over strongly and started right up after reassembly, after stood for 3 weeks.


What Did You Do To Your Mini Today
Started by
Ipod
, Apr 10 2010 07:06 PM
9954 replies to this topic
#4322

ADRay
-

- Noobies
-

- 138 posts
Mini Mad
- Location: Berwick, Maine USA
Posted 08 September 2014 - 03:14 AM
Rye, NH

#4323
exuptoy
-

- TMF+ Member
-
- 674 posts
Super Mini Mad
Posted 08 September 2014 - 08:17 AM
Just got in after fixing my Autoplas Louver with the fitting kit, I must admit I like it a lot
autoplas louver2.JPG
Man, how retro does that look?
#4324
finch661
-

- Members
-
- 2,340 posts
Up Into Fourth
- Location: Kirkwall
- Local Club: none
Posted 08 September 2014 - 08:23 AM
stripped my mini down ready for some body repair and a paint job
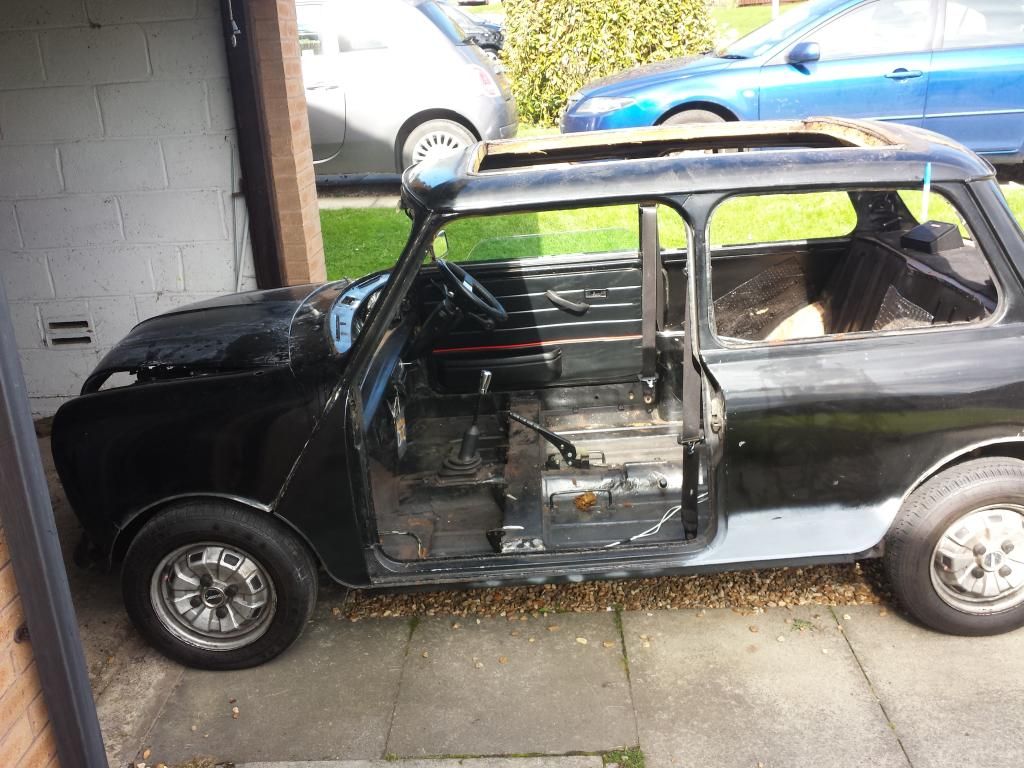
Also finally took a photo of the a-panel i replaced!

#4325
joyce1bro
-

- Members
-
- 231 posts
Mini Mad
- Location: Hamilton
- Local Club: Waikato Mini Club
Posted 08 September 2014 - 11:40 AM
Engine out for a freshin up and some much needed power upgrades
Attached Files
-
 IMG_2991.JPG 64.08K
7 downloads
IMG_2991.JPG 64.08K
7 downloads
-
IMG_2992.JPG 70.18K
7 downloads
-
IMG_2993.JPG 49.32K
4 downloads
Edited by joyce1bro, 08 September 2014 - 11:41 AM.
#4326
RooBoonix
-
- Members
-
- 1,225 posts
One Carb Or Two?
- Location: Essex
Posted 08 September 2014 - 02:53 PM
So far... got a nice order from MiniSpares with the rest of the gear to get mine running again  I'm so excited
Cam.
I'm so excitedCam.
#4327
BronkoMini
-

- Members
-
- 1,485 posts
One Carb Or Two?
- Location: Wiltshire
- Local Club: Mini Fixers
Posted 08 September 2014 - 03:39 PM
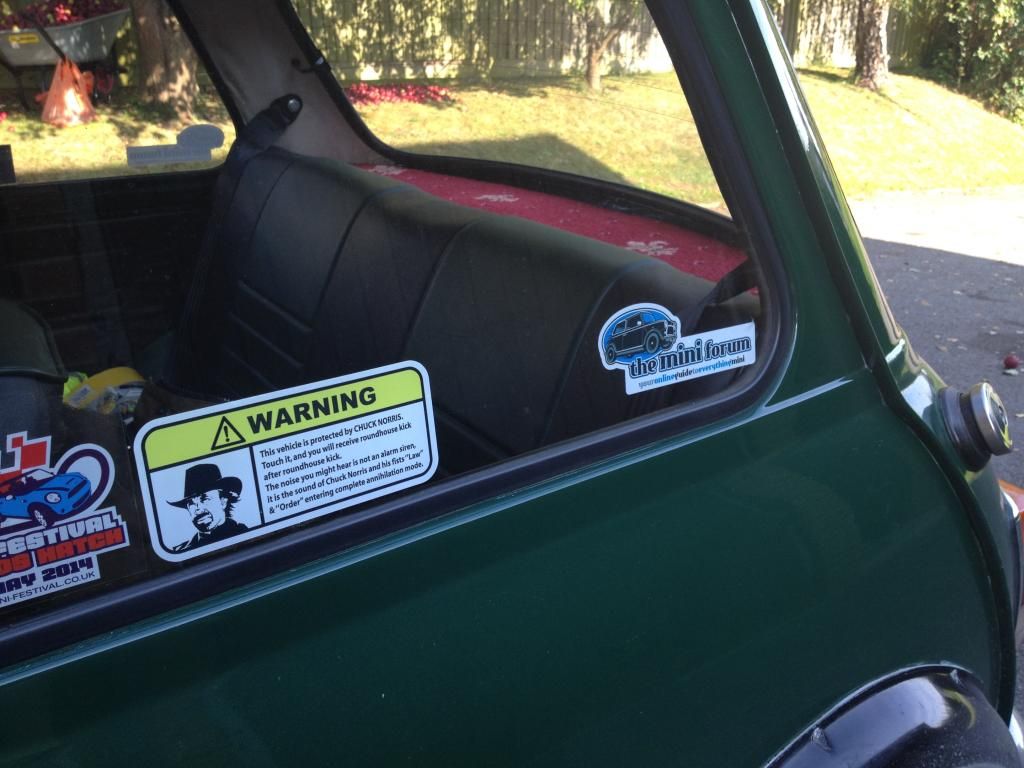
Finally got round to sticking my new security sticker on thanks to sticky fingers.

#4328
RooBoonix
-
- Members
-
- 1,225 posts
One Carb Or Two?
- Location: Essex
Posted 08 September 2014 - 03:43 PM
Finally got round to sticking my new security sticker on thanks to sticky fingers.
This is brilliant! 
#4329
leeuk
-

- Members
-
- 681 posts
Super Mini Mad
- Location: Wednesbury
Posted 08 September 2014 - 05:28 PM
Just got in after fixing my Autoplas Louver with the fitting kit, I must admit I like it a lot
Man, how retro does that look?
Cheers mate, Hers a picture of the front of my Mini, A little more retro stylie lol 
visor 5 small.jpg 119.9K
12 downloads
visor 1 small.jpg 132.4K
18 downloads
#4330
exuptoy
-
- TMF+ Member
-
- 674 posts
Super Mini Mad
Posted 08 September 2014 - 06:46 PM
Well, got a few deliveries this morn from mini spares (wings and A panels), Huddersfield (group 2's), Bilt Hamber (etchweld, deox gel and deox C) and some body work suppliers (gravitex stone chip and a schutz gun). Blooming well skint now!!
Made a start this evening ripping off the passenger side wing. Very surprised with how solid it all is!
S'got a touch of the Terminator about it now!

What rust!

More tomorrow!
Made a start this evening ripping off the passenger side wing. Very surprised with how solid it all is!
S'got a touch of the Terminator about it now!
What rust!
More tomorrow!
#4331
Mini Manannán
-

- Members
-
- 2,860 posts
Well I'll be buggered if I can find it
- Location: Middle of the Irish Sea
- Local Club: man Estate
Posted 08 September 2014 - 10:06 PM
Well, got a few deliveries this morn from mini spares (wings and A panels), Huddersfield (group 2's), Bilt Hamber (etchweld, deox gel and deox C) and some body work suppliers (gravitex stone chip and a schutz gun). Blooming well skint now!!
Made a start this evening ripping off the passenger side wing. Very surprised with how solid it all is!
S'got a touch of the Terminator about it now!
What rust!
More tomorrow!
Let us see some of that Deox gel in action! Befores and afters please 
#4332
exuptoy
-
- TMF+ Member
-
- 674 posts
Super Mini Mad
Posted 08 September 2014 - 10:14 PM
Will do chap. I love pics!
#4333
brownspeed
-

- Members
-
- 451 posts
Speeding Along Now
- Location: Manchester- Gods favourite city
Posted 09 September 2014 - 10:53 AM
last weekend; finished the doorstep welding, dressed back the welds, filled then primered.
Last night while i had the grinder handy i had a good idea; i'll clean some of the rust off the underside before i jet wash it and waxoyl.
OOOPS! ; while i checked the rear subframe when i bought the car i clearly didn't prod everywhere.
in the quest for bright metal i uncovered a rotten section where the longitudinal flanges meet the crossmember at the front.
and there was me thinking i'd be painting her in a week or so............. 
ahh well- may as well do it right first time.
#4334
exuptoy
-
- TMF+ Member
-
- 674 posts
Super Mini Mad
Posted 09 September 2014 - 08:26 PM
Unpicked all the spot welds and tidied up the edges. I needed to make a few localised repairs then offered up the wing. Man it was poor. I ended up scoring the line of the bonnet to copy through other side then slit the wing and closed up the cut.i also burst a few spit welds and tried to reshape it!!!!!
Original

New with the scored mark. I needed to slit it then bring the edge back down.

In progress

Done (although I ground it too thin so it needs another repair!!!!!!)

A few localised repairs


How it stands tonight.

Didn't bother with the Deox as it was pretty good under there.
Original
New with the scored mark. I needed to slit it then bring the edge back down.
In progress
Done (although I ground it too thin so it needs another repair!!!!!!)
A few localised repairs
How it stands tonight.
Didn't bother with the Deox as it was pretty good under there.
Edited by exuptoy, 09 September 2014 - 08:28 PM.
#4335
RooBoonix
-
- Members
-
- 1,225 posts
One Carb Or Two?
- Location: Essex
Posted 09 September 2014 - 08:49 PM
Was rebuilding my cylinder head read to put it back on... tightening the thermostat housing bolts (which were tight due to rusty threads) and suddenly had a chip of my cylinder head come off... handy!
Luckily it's right on the edge and did no serious damage. Bit of chemical metal shoved and shaped and hopefully that should sort it! Next stop... washers
Cam.
Luckily it's right on the edge and did no serious damage. Bit of chemical metal shoved and shaped and hopefully that should sort it! Next stop... washers
Cam.


4 user(s) are reading this topic
0 members, 4 guests, 0 anonymous users


