Jump to content


Photo
- - - - -

Mini Virgin Rebuild Of 83 Mayfair.


  • Please log in to reply
1006 replies to this topic

#196 grahama

grahama

    Up Into Fourth

  • Members
  • PipPipPipPipPipPipPipPipPip
  • 2,442 posts
  • Location: Warrington
  • Local Club: None in my area !!

Posted 14 June 2011 - 09:41 PM

Hi all and ''Happy birthday to me'' !! (send cash to me by PM) !!!

got some fabrication done mid rain yesterday, and today, well, sunny or what !! Full 7 hours playing outside. I had a steady stream of neighbours asking me how it was going, not the git the other day, but people genuinely interested from the arrival. Obviously I lied through my teeth and said only 6 month to go !!

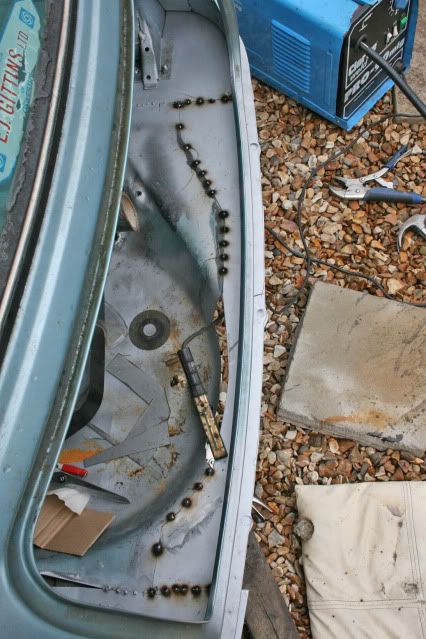
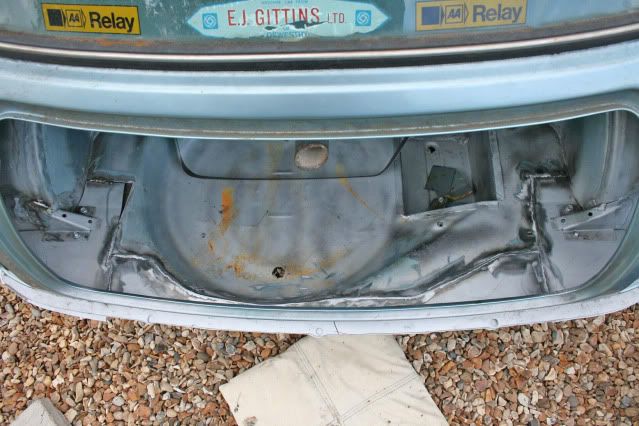
Anyway been busy fabricating as far too tight to buy new panels!!! My areas of work over the last couple of days were the boot floor corners and atached stuff !!

Posted Image

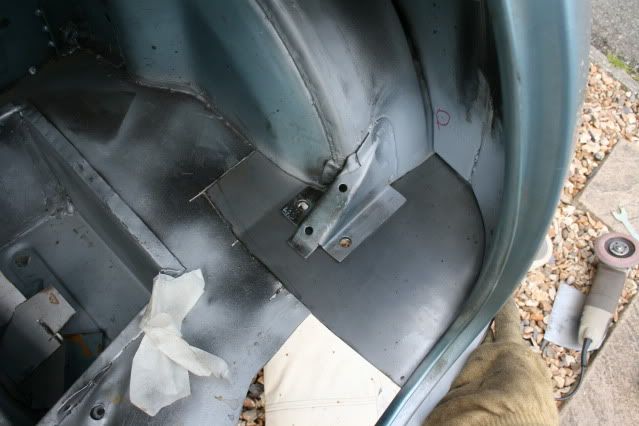
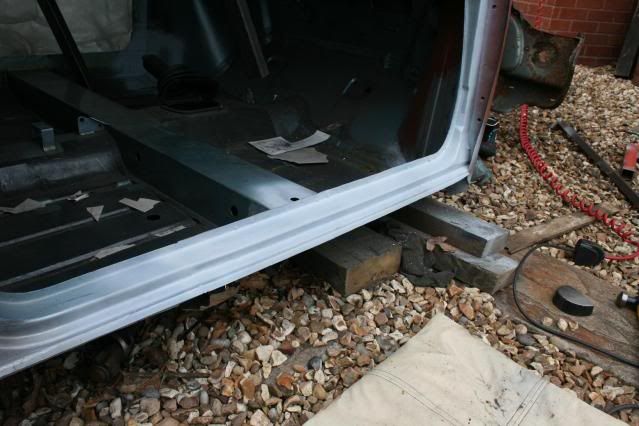
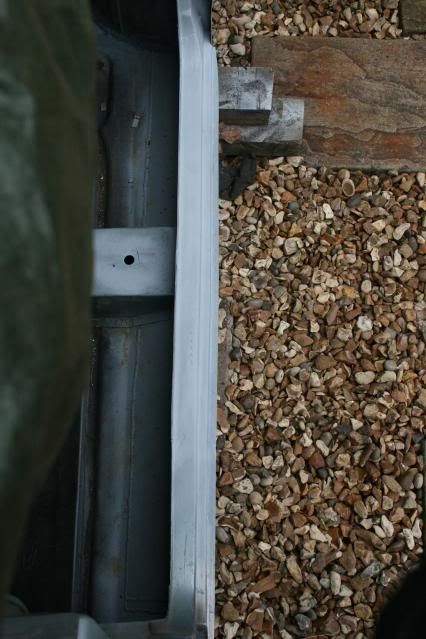
This is the area I was working on, and the NS too.

Posted Image

Posted Image

Posted Image

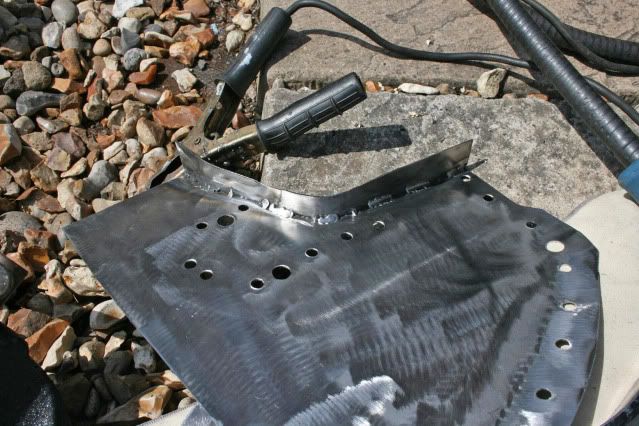
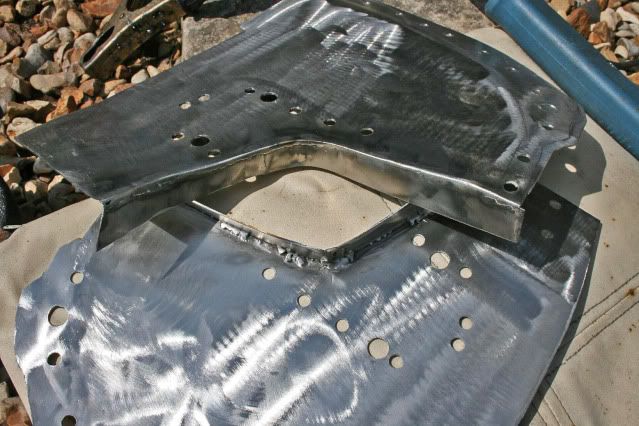
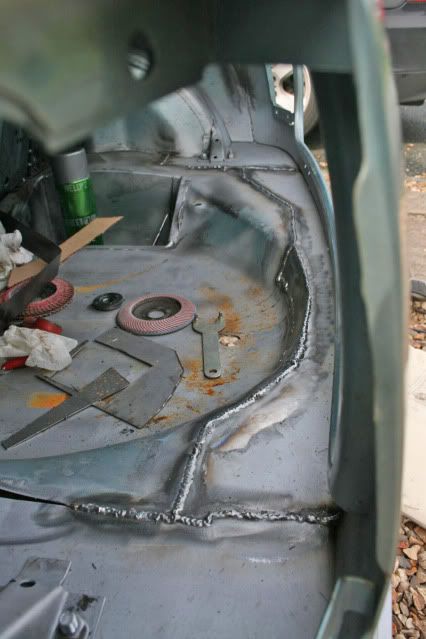
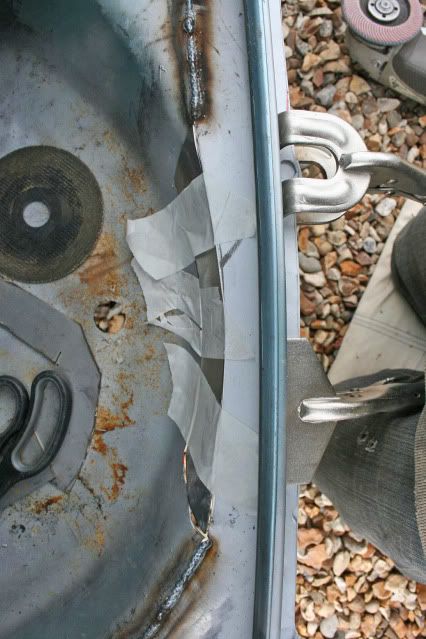
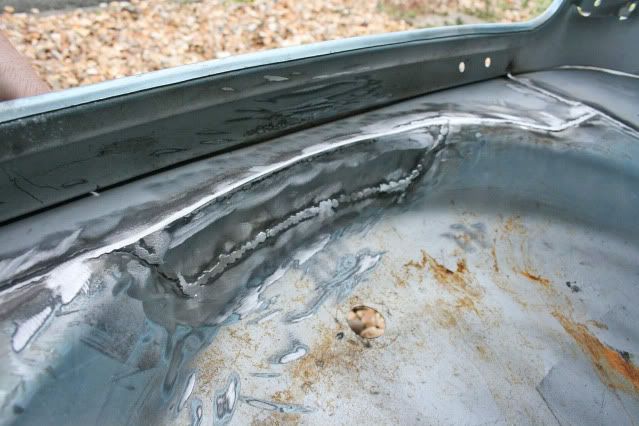
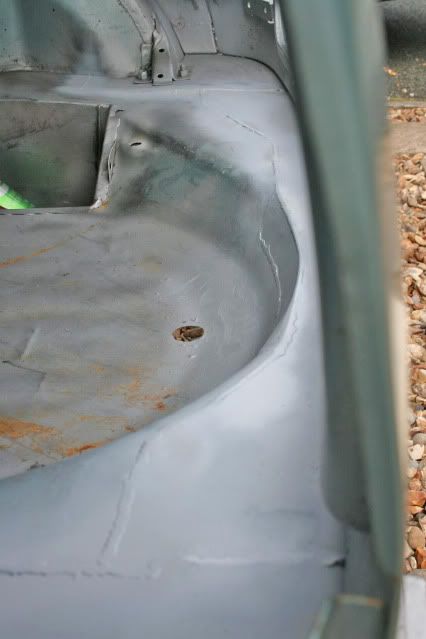
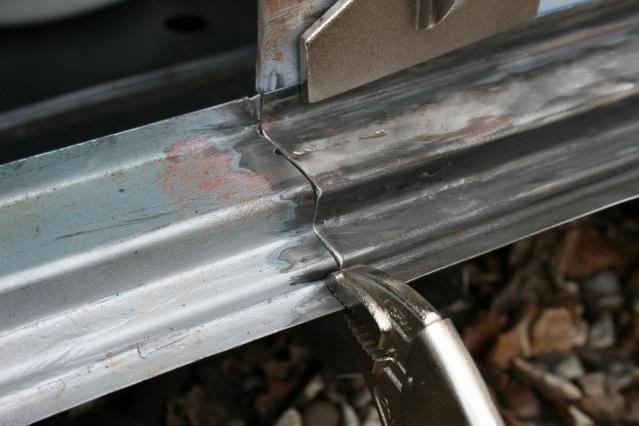
I made a template, as usual, and cut steel ready. The fit was fine but it had no lip to weld to the arch and that was measured and cut up, welded and finished.

The OS rust was not too bad but worthy of replacement so I did the NS too,

Posted Image

I wont bore you with all the cutting away pics but is was pretty much as the OS under the strengthening plates.

Posted Image

Posted Image

Fabrication mode again, I am really enjoying this stuff, not only am I saving cash on panels, (Hugh I am descended from the Mc donald clan !!), I am learning so much from the metal work.

Posted Image

Posted Image

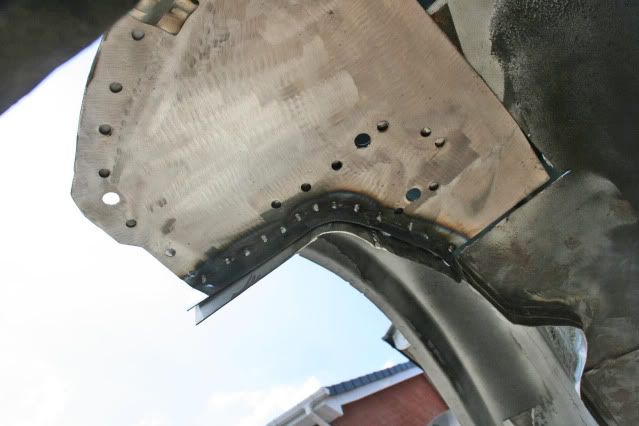
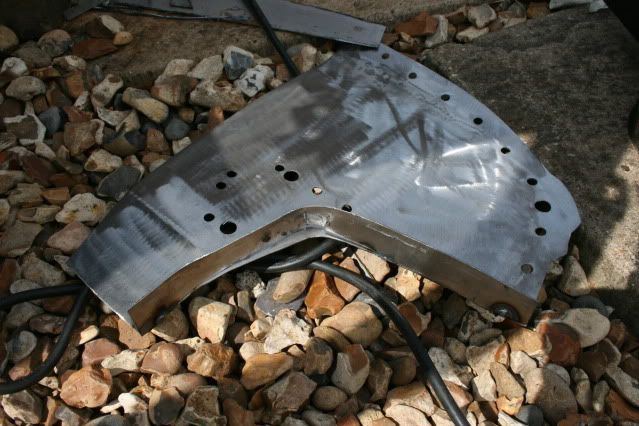
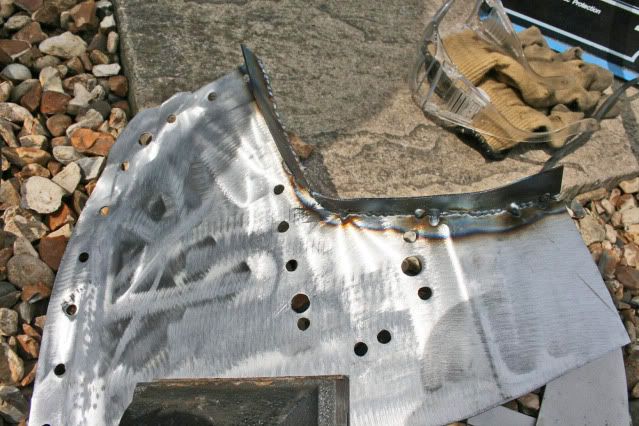
The NS boot floor piece went the same as the OS but the fit was different, (par for the course for minis), but I tacked on the lip in situ so it all lined up. Whether this will cause problems wit the valance I will find out later, but hey ho, I am a master fabricator now !!

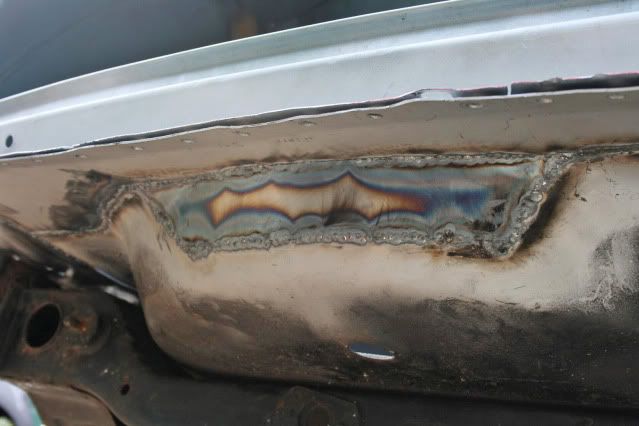
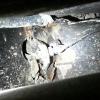
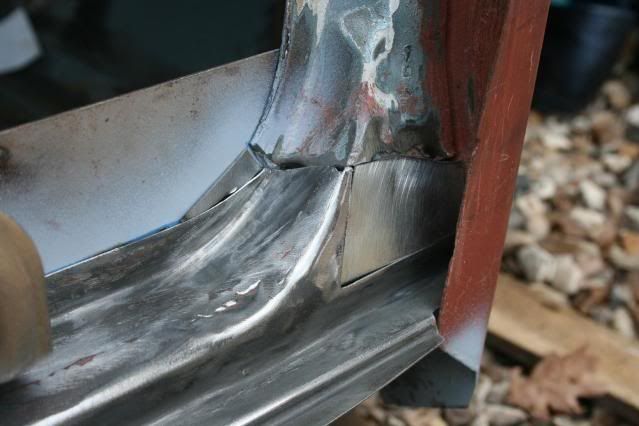
A quick patch was required in the arch as I had forgotten it on the NS

Posted Image

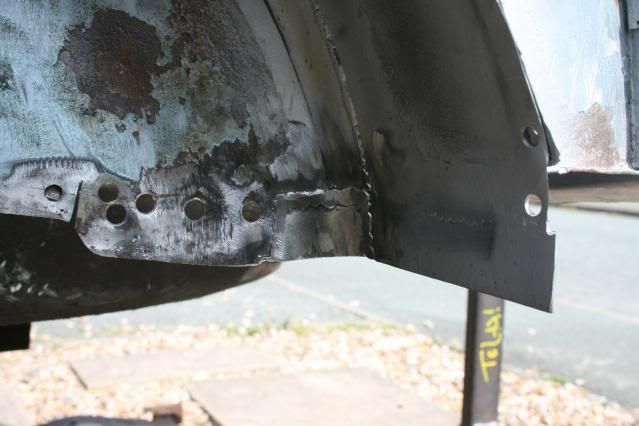
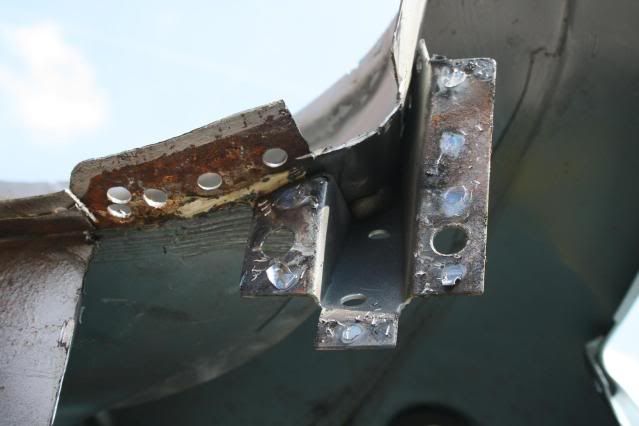
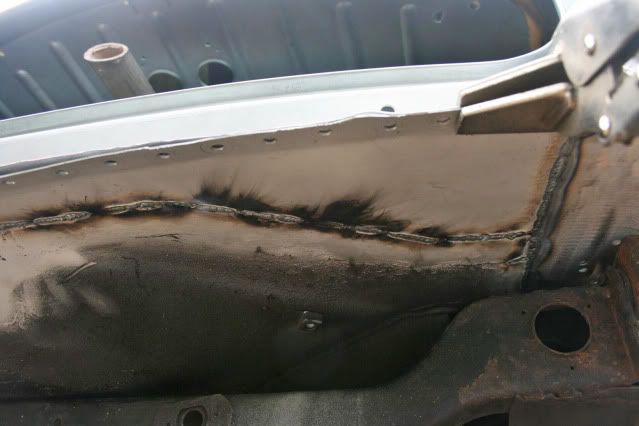
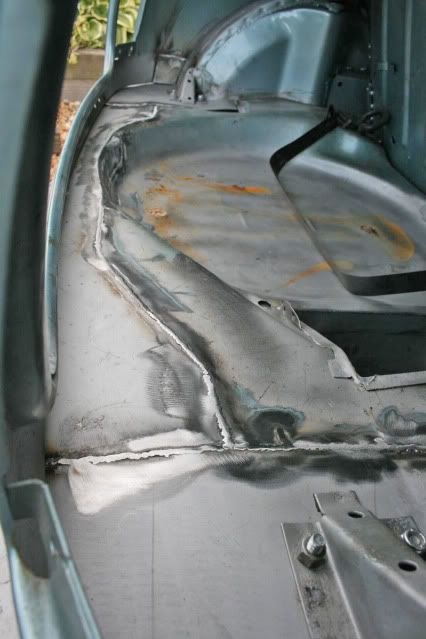
Just as I was ready to weld in the OS and NS boot floor sections I realised I hadn't done the rear quarter patch as I had done with the NS

Posted Image

[img]http://i642.photobucket.com/albums/uu142/walkgraham/mini%20rebuild%202/quarterpatchinandground.jpg[/img]

I found that the radius for the patch was not the same as the OS, again my work probably at fault but it went in fine and will not cause any major problems.

[img]http://i642.photobucket.com/albums/uu142/walkgraham/mini%20rebuild%202/nsbtfloortack.jpg[/img]

[img]http://i642.photobucket.com/albums/uu142/walkgraham/mini%20rebuild%202/osbtpiecetacked.jpg[/img]

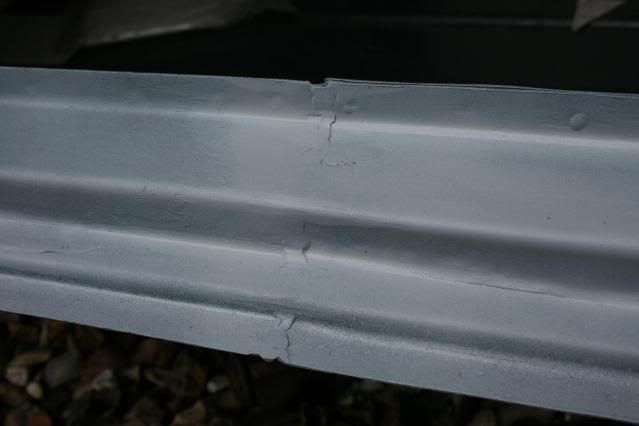
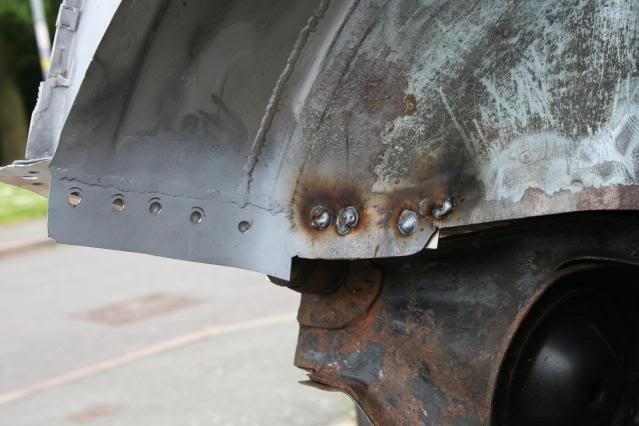
[img]http://i642.photobuc...lipandplugs.jpg

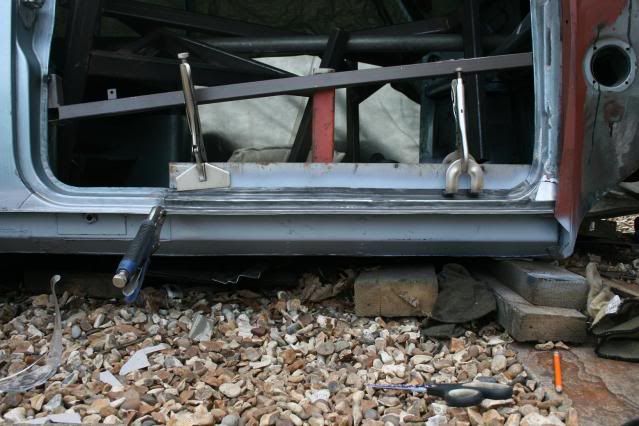
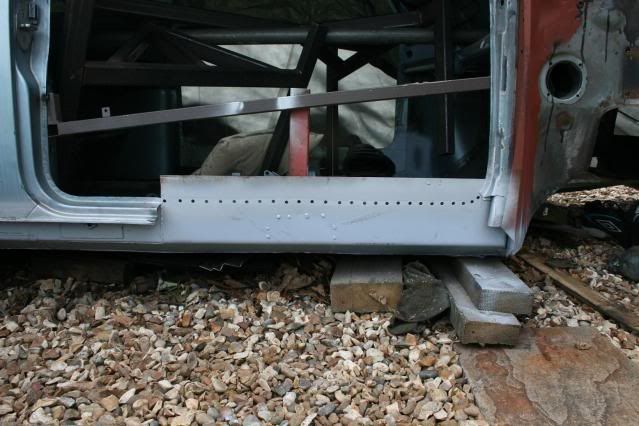
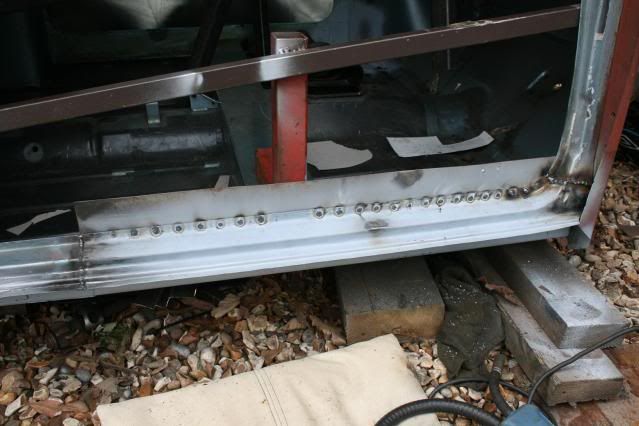
All along the way with these panels I have been using the rear subframe th make sure all was aligned fine. I re atached the subframe before I welded tacks on the OS and NS pieces so all good hopefully, well the bolts went through easy enough so thinking ok !!!. The NS piece had a larger gap to weld to than I like so I will cut a piece out to patch and weld properly. Also a mistake I made was drilling the plug weld holes on the OS, ****, how far can thay be out !!! Measure ten times and drill once, ahhhhhhhhhhhhhhhhhhhhhhhhhhhhhhhhhhhhhhhhhhhhhhhhhhhhhhhhhhhhhhhhhh, more work tomoz !!!

Happy Birthday to me !!!!!!!!

Graham

Edited by grahama, 14 June 2011 - 09:49 PM.


#197 hughJ

hughJ

    Soldiering Along

  • Members
  • PipPipPipPipPipPipPip
  • 727 posts
  • Location: Highlands, Scotland

Posted 15 June 2011 - 06:55 AM

Hi Graham - a happy birthday. I did read this last night but was too tired (lazy) to reply. I feel so ashamed seeing you fabricating all the repairs when I chickened out and bought the panel. It is super work - most impressed. I know how much time that it all takes. Glad though you are enjoying it. Keep us informed - always interesting and informative to read your posts.

Hugh

#198 grahama

grahama

    Up Into Fourth

  • Members
  • PipPipPipPipPipPipPipPipPip
  • 2,442 posts
  • Location: Warrington
  • Local Club: None in my area !!

Posted 15 June 2011 - 07:18 AM

If I didn't have to fettle pattern pannels to get a good fit I would probably buy them myself, but I have just thrown one away as it was such a crap fit, and heritage panels are too much money except for an odd one ! I know by making the pieces myself they will fit ok, but as you say it takes time, about 10 or 11 hours to do both sides of the boot and the quarter repairs !!

Getting closer to a little primer on the back end now though !

#199 v21ash

v21ash

    Speeding Along Now

  • Members
  • PipPipPipPipPip
  • 421 posts
  • Local Club: HumbersideMiniClub.co.uk

Posted 15 June 2011 - 10:17 AM

Happy Birthday Graham, some nice work there on the flinch panel and boot corner, i had planned to do something similar with my boot floor but i chickened out :cry:
Keep up the good work, at this rate you'll be ready for paint before i am and i've only got the bumper lip to spot weld and that's all my welding done.

#200 grahama

grahama

    Up Into Fourth

  • Members
  • PipPipPipPipPipPipPipPipPip
  • 2,442 posts
  • Location: Warrington
  • Local Club: None in my area !!

Posted 15 June 2011 - 06:15 PM

Hi all,

missed the morning sun due to having post birthday groginess, worth it though !! Out to finish the boot floor though today.

Posted Image

Posted Image

Posted Image

I modified the previously made panel I was going to use for the boot floor repair and tacked it in place. I cut the radius out to follow the spare wheel shape. Followed Neil's guide, (Sonik), and have pretty good penetration along the welds. These will be seam welded along when I next get it on the spit.

Posted Image

Posted Image

Posted Image

Posted Image

The steel sheet I stored under the car was full of surface rust, it's amazing how quick it goes this way. Piece cut for the side of the spare wheel section, welded and ground down. I must remember to ger some of those magnets for holding patches, but masking tape doing quite well for now. Nice penetration again on this piece.

Posted Image

Posted Image

Ground down all the inside welds as far as I like to do, but the small bit I intended to do today remains undone due to the subframe being on and I couldn't be bothered taking it off today, so next time ! Also the gap left to weld is too big for me so will cut and do one larger patch.

Posted Image

Posted Image

New boot floor in all it's glory and etch primed to protect. Very pleased with the past few days work, a big job pretty much done and will get Matt to take off the old underseal just to double check under there. Then will strip, etch and oxide it :cry:

Regards,

Graham

Edited by grahama, 15 June 2011 - 06:18 PM.


#201 sonikk4

sonikk4

    Twisted Paint Polisher!!!

  • Admin
  • PipPipPipPipPipPipPipPipPipPipPip
  • 16,037 posts
  • Name: Neil
  • Location: Oxfordshire

Posted 15 June 2011 - 06:21 PM

Happy belated birthdays wishes Graham 21 again :tumble: :) The boot is looking soo much better i'm glad you are liking the fabrication side of things. Its gives you a warm glow when something you have made looks good ( Bloody hell did i say that i need to get out more. :cry: :unsure: )

#202 hughJ

hughJ

    Soldiering Along

  • Members
  • PipPipPipPipPipPipPip
  • 727 posts
  • Location: Highlands, Scotland

Posted 15 June 2011 - 09:45 PM

Utterly brilliant

Hugh

#203 JustSteve

JustSteve

    Puke-Boy!!

  • Members
  • PipPipPipPipPipPipPipPip
  • 1,883 posts
  • Location: Long Eaton, Nottingham

Posted 15 June 2011 - 09:49 PM

Happy birthday Graham!

It's looking good, though I envy you're project and how you're actually making progress unlike some... :)

Keep it up buddy!


Steve.

#204 benjy_18

benjy_18

    One Carb Or Two?

  • TMF+ Member
  • PipPipPipPipPipPipPip
  • 1,038 posts
  • Local Club: LSMOC

Posted 16 June 2011 - 09:49 AM

graham those repairs look amazing! well worth the effort your going through in my opinion!

you and hugh will be steaming ahead of me now as ive just come out of hospital and im going to be laid up for a few months now.

keep the updates coming!

Ben

#205 grahama

grahama

    Up Into Fourth

  • Members
  • PipPipPipPipPipPipPipPipPip
  • 2,442 posts
  • Location: Warrington
  • Local Club: None in my area !!

Posted 16 June 2011 - 07:10 PM

Ben,

hospital !! What have you been up to?? Hope your welding again soon!

Graham

#206 benjy_18

benjy_18

    One Carb Or Two?

  • TMF+ Member
  • PipPipPipPipPipPipPip
  • 1,038 posts
  • Local Club: LSMOC

Posted 16 June 2011 - 09:33 PM

Ha I've had my leg broken and a wedge inserted to straighten it up! It's due to a 4 year old rugby injury. Sadly it means I won't even be walking for a few months so work on the mini will have to stop until then :D
But I will be following all the builds for ideas and hopefully
I'll have a ton of motivation for when I'm back.

Ben

#207 grahama

grahama

    Up Into Fourth

  • Members
  • PipPipPipPipPipPipPipPipPip
  • 2,442 posts
  • Location: Warrington
  • Local Club: None in my area !!

Posted 21 June 2011 - 02:08 PM

Hi all,

Little update for you, spent a pleasant couple of hours trying to make a doorstep out of 1.2mm steel yesterday, nearly did it but not good enough so I fettled the one I had already fettled to fit !!!

Posted Image

Posted Image

Posted Image

Posted Image

The join is now better than before and I have taken out the bow from when I welded it up before. Also I wasn't happy with the A post end so I welded a couple of small patches in to improve the fit / strength.

Posted Image

Posted Image

Posted Image

Plug weld holes drilled and welded up, and the patches in and joined at the front, not too pretty but the flap disk is one of my best used tools now so they will get better.

Posted Image

With all the care as I have, ahem, I still managed to put too much heat into the steel and the top went all wavy. The join along the door opening level was pretty much unaffected and a hammer and block sorted it. I cut out the bracing at long last and cut away the excess inner sill I welded to.

Posted Image

Posted Image

Posted Image

All ground down and etch primed for now. Not looking too bad but the join area still needs a little work to get it looking neat. The view from above looks fine but I test fitted my door and the new dorstep has not done anything for the fit of the door, so major fettling comming up there.

Posted Image

Quite happy overall, back to the boot soon to finish off there, but wanted a change of scene to work with. Smaller work required on the NS, so hopefully outer sills soon and onto the front end fit !!

Regards,

Graham

Edited by grahama, 21 June 2011 - 03:47 PM.


#208 sonikk4

sonikk4

    Twisted Paint Polisher!!!

  • Admin
  • PipPipPipPipPipPipPipPipPipPipPip
  • 16,037 posts
  • Name: Neil
  • Location: Oxfordshire

Posted 21 June 2011 - 03:39 PM

Graham the doorstep is made from .8mm thick steel not 1.2mm so that could be where you were going wrong.

#209 grahama

grahama

    Up Into Fourth

  • Members
  • PipPipPipPipPipPipPipPipPip
  • 2,442 posts
  • Location: Warrington
  • Local Club: None in my area !!

Posted 21 June 2011 - 03:46 PM

You're telling me Neil !!!

did a few bends with the trusty vice and large impact tool, but it got harder and harder to bend to the point where I couldn't !! Few hours wasted but now I know it isn't doable with my toolset or steel !!

Still there's one in now, but dreading fitting the door!

Graham

Edited by grahama, 21 June 2011 - 03:49 PM.


#210 hughJ

hughJ

    Soldiering Along

  • Members
  • PipPipPipPipPipPipPip
  • 727 posts
  • Location: Highlands, Scotland

Posted 22 June 2011 - 07:39 AM

Another great repair, Graham. You seem to be moving too quickly at the moment!!!

Hugh


1 user(s) are reading this topic

0 members, 1 guests, 0 anonymous users