So, Thank you Graham
 I do hate how good you are though...
 Steve


Puke-Boy!!

Posted 22 June 2011 - 07:39 PM
I do hate how good you are though... Up Into Fourth
Posted 22 June 2011 - 08:26 PM
Edited by grahama, 23 June 2011 - 06:14 AM.
Camshaft & Stage Two Head

Posted 22 June 2011 - 10:07 PM
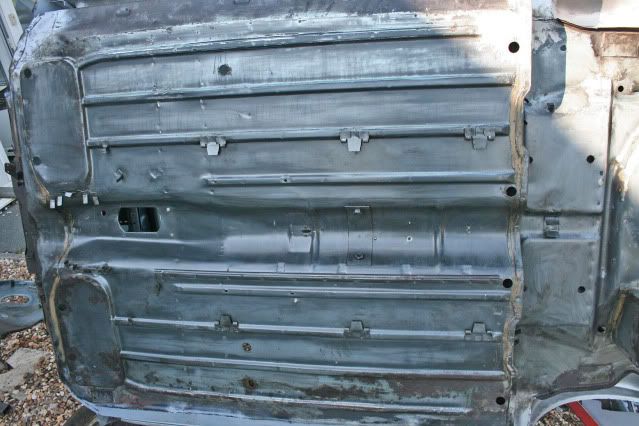
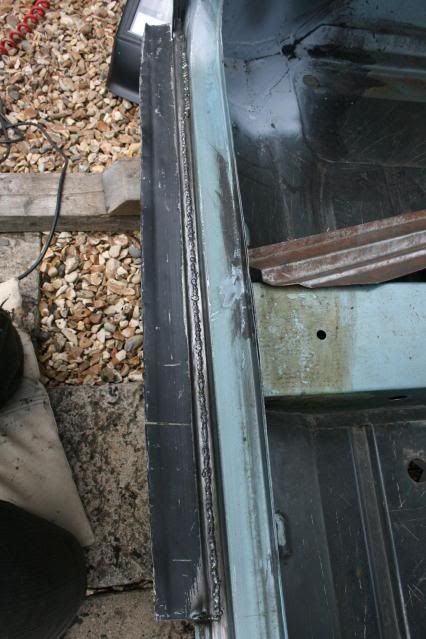
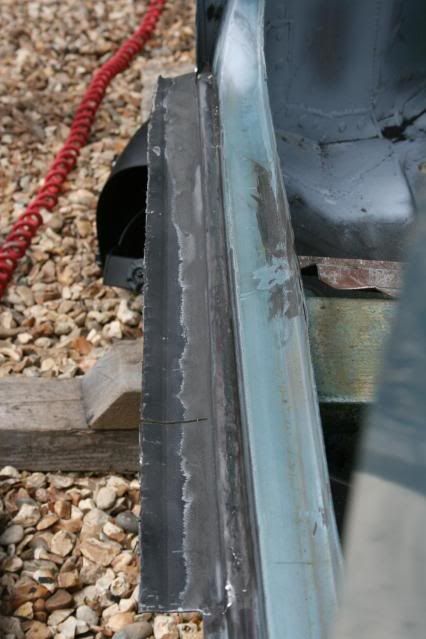
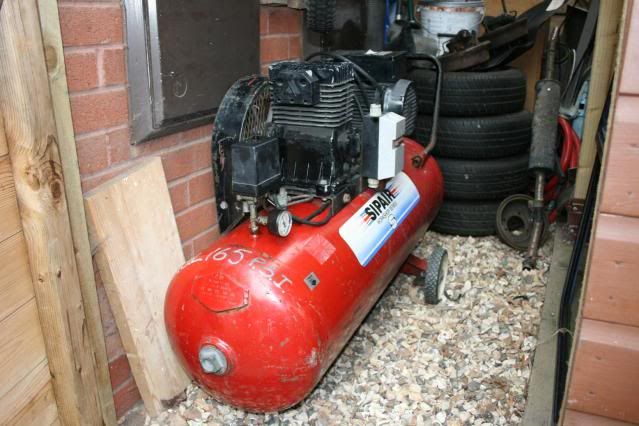
 , 10 out of 10. I can see you are lovin it with your progress, fab job on the doorstep too.
Edited by minimuk, 22 June 2011 - 10:08 PM.
Up Into Fourth
Posted 23 June 2011 - 06:42 PM
Twisted Paint Polisher!!!

Posted 23 June 2011 - 06:58 PM
Up Into Fourth
Posted 23 June 2011 - 07:19 PM
Edited by grahama, 23 June 2011 - 07:22 PM.
One Carb Or Two?

Posted 23 June 2011 - 07:23 PM
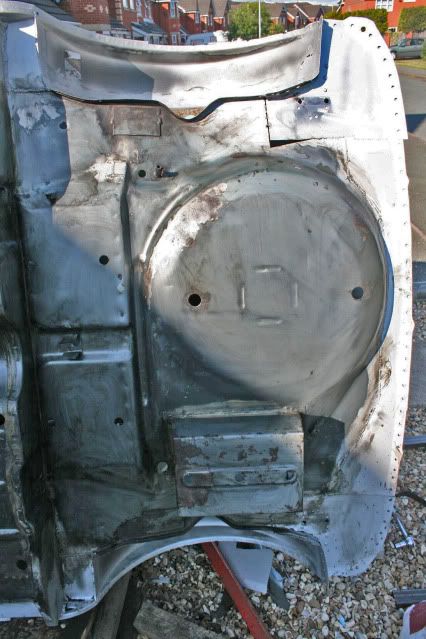
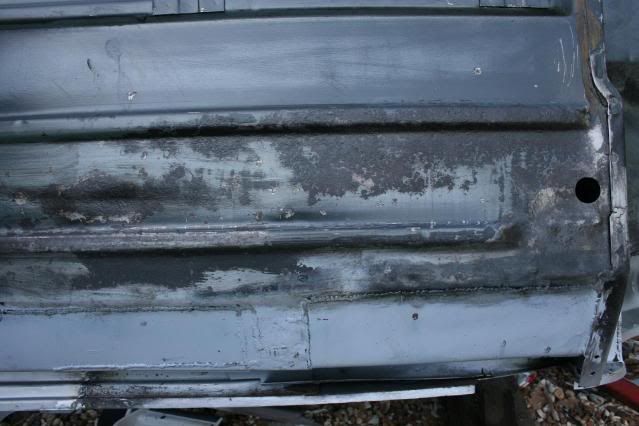
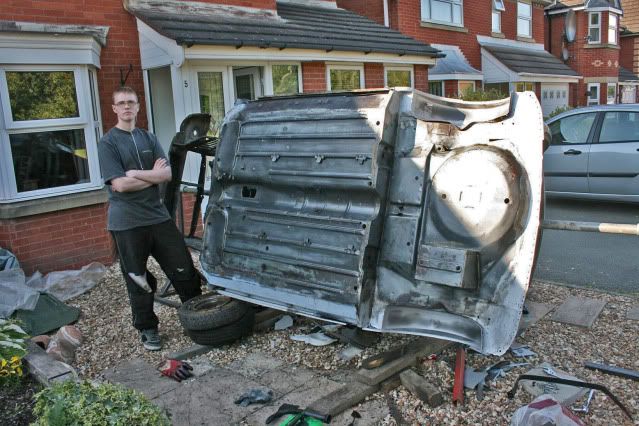
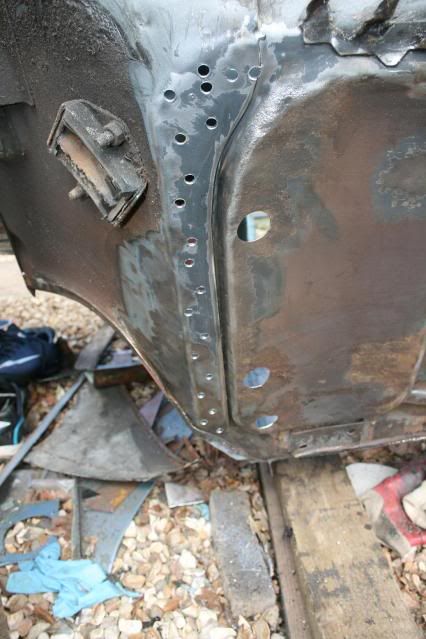
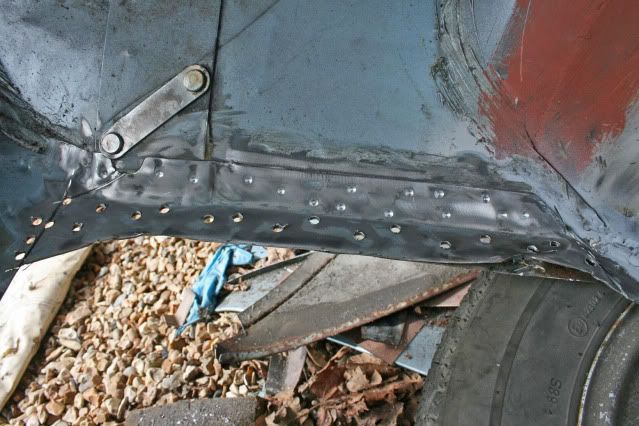
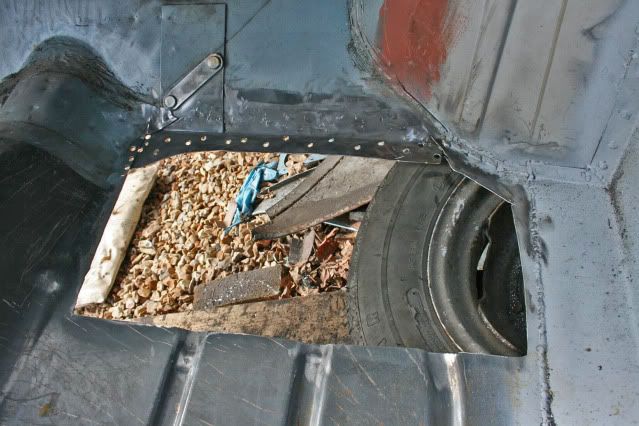
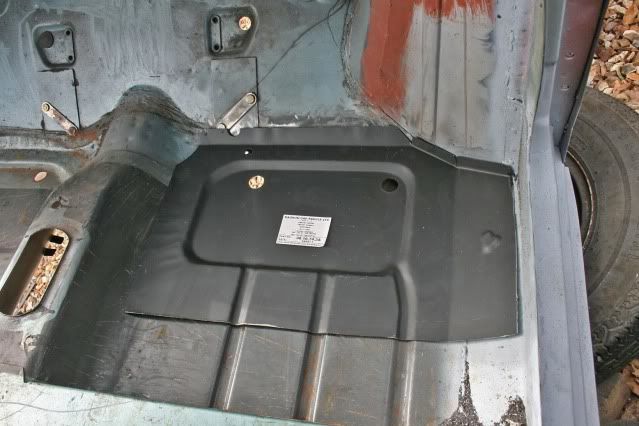
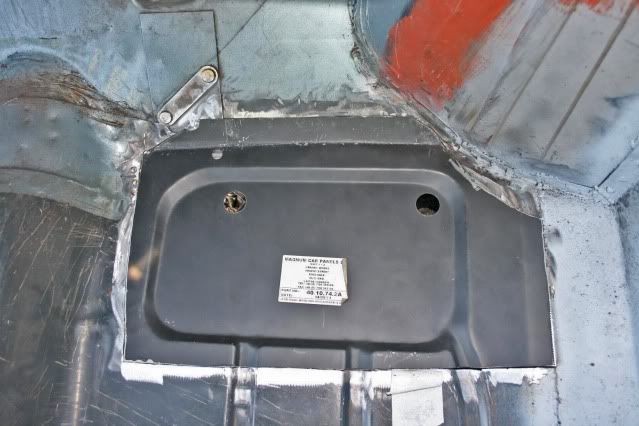
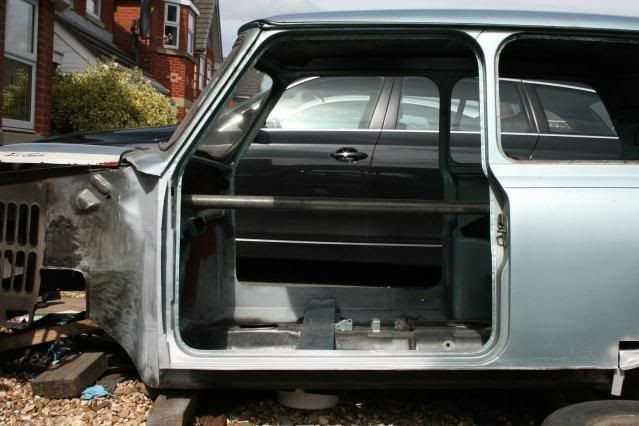
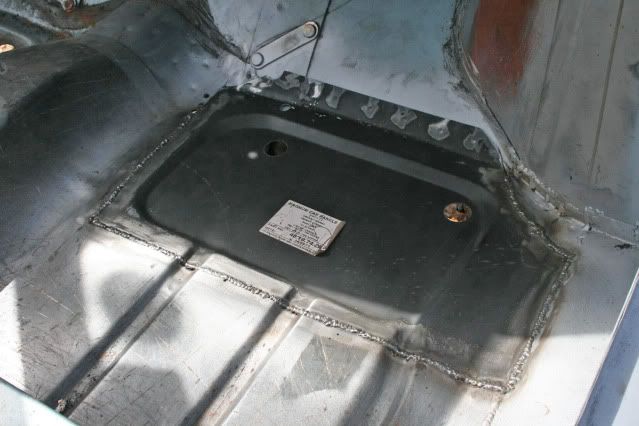
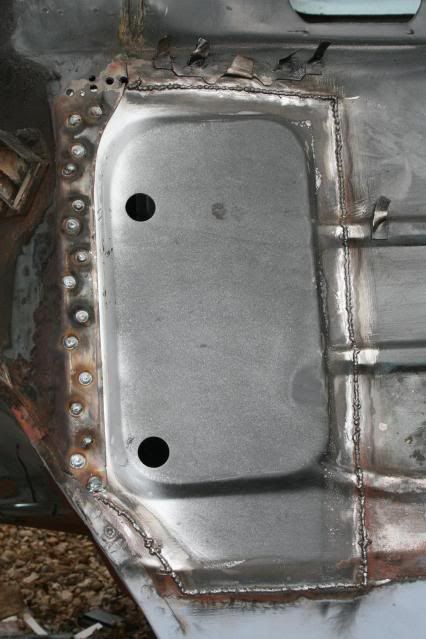
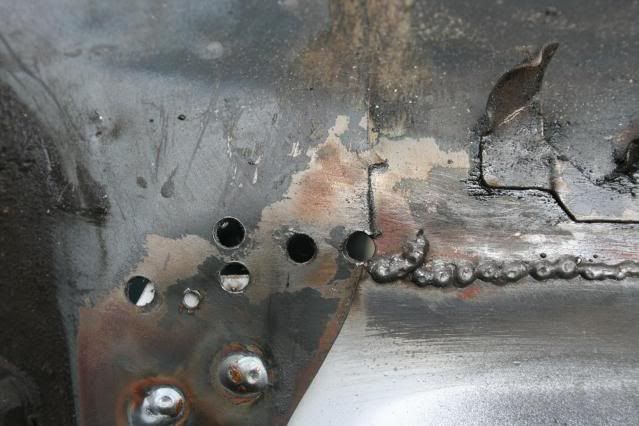
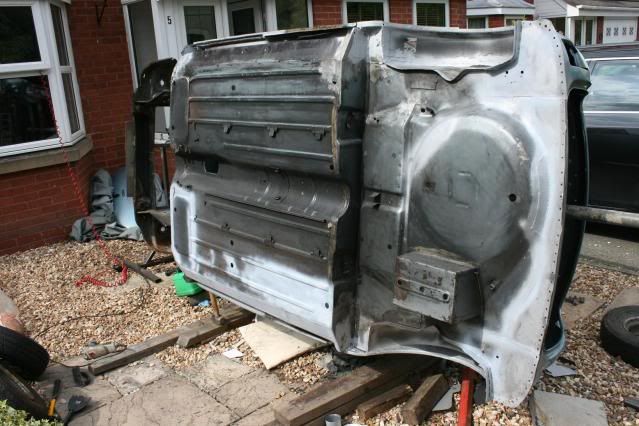
That's looking quite clean under there Graham but to be honest mate i would seriously consider replacing those floor sections especially now you have got the wee beastie on its side. It does make life a whole lot easier welding it that way.
On The Road

Posted 23 June 2011 - 08:10 PM
Camshaft & Stage Two Head
Posted 24 June 2011 - 09:14 PM
Up Into Fourth
Posted 24 June 2011 - 09:29 PM
Edited by grahama, 24 June 2011 - 09:30 PM.
Twisted Paint Polisher!!!
Posted 24 June 2011 - 09:49 PM
Up Into Fourth
Posted 28 June 2011 - 05:48 PM

Camshaft & Stage Two Head
Posted 29 June 2011 - 07:50 AM

Queen of 'shoppin, Voted Miss TMF 2011

Posted 04 July 2011 - 05:30 PM

Up Into Fourth
Posted 14 July 2011 - 07:26 PM
Edited by grahama, 14 July 2011 - 07:43 PM.


0 members, 2 guests, 0 anonymous users


