Jump to content


Photo
- - - - -

Mini Virgin Rebuild Of 83 Mayfair.


  • Please log in to reply
1006 replies to this topic

#226 hughJ

hughJ

    Soldiering Along

  • Members
  • PipPipPipPipPipPipPip
  • 727 posts
  • Location: Highlands, Scotland

Posted 14 July 2011 - 07:44 PM

Hi Graham I do love watching your work. You keep being complimentary about my work but I think your way ahead of me. I also agree with the patching and watching the expenditure. Keep up the good work and enjoy the holiday.

I've had a wee setback. I have an old XS650 which I love and don't use that much. I thought I'd take it for a wee spin today and came off at a corner on gravel. Some of my pupils saw me and very helpfully pulled the bike off me. Great bunch of lads. They had a roll of duct tape on them (as you do!) and they taped my broken bits on. I'm fine but the bikes not. All that's hurt is my pride. But now I've to do a bit of work and put in a wee bit of Mini money to repair the bike.
Such is life.

Hugh

Edited by hughJ, 15 July 2011 - 08:48 AM.


#227 grahama

grahama

    Up Into Fourth

  • Members
  • PipPipPipPipPipPipPipPipPip
  • 2,442 posts
  • Location: Warrington
  • Local Club: None in my area !!

Posted 14 July 2011 - 07:57 PM

Hugh,

our minis look like they will be finished about the same time, (2014), so look forward to getting together if Matt will lend it to me !!

Have have a brush with the gravel myself on a Yam XJ600, not at great speed but still hurt. I do miss my bikes but money is needed elsewhere at the mo. Why oh why did the government have to mess everything up so quickly. Wouldn't mind so much if they were taking a hit themselves !

Well, well, well, school kids now know the wonders of duct tape, wonderous stuff so the bike wont need proper repairs!! If kids know about it now they will ban it for sure !

Graham

#228 andyboy!!

andyboy!!

    Speeding Along Now

  • Members
  • PipPipPipPipPip
  • 365 posts

Posted 15 July 2011 - 08:00 AM

I got one of these for my first car about 11 years ago. I learned to drive in it and it cost me (well my dad) £200. We changed the grill and sprayed it up bright yellow with a white roof! Loved that car and yours bring back memories.

#229 grahama

grahama

    Up Into Fourth

  • Members
  • PipPipPipPipPipPipPipPipPip
  • 2,442 posts
  • Location: Warrington
  • Local Club: None in my area !!

Posted 15 July 2011 - 08:04 AM

How I wish all I had to do was spray it up !!! Nasty rust meant MOT repairs so no chance of that !! Glad you like the thread, it is a put it back together manual aswell when I forget how to !

Graham

#230 grahama

grahama

    Up Into Fourth

  • Members
  • PipPipPipPipPipPipPipPipPip
  • 2,442 posts
  • Location: Warrington
  • Local Club: None in my area !!

Posted 09 September 2011 - 04:28 PM

Hi all,

A very, very belated update. Holiday, apathy and yet more rain has meant little progress. I have been watching you all doing an hour here and an hour there in your garages and getting all naffed off with the lack of one to do the same. Anyway I thought 6 weeks off was way too long and Matt is not working and after driving lessons so no time to waste.

Sun, sun, sun today so it was valance fitting time. Got some magnum panels, as you do, and trial fitted them once home, not bad !!

The sills fitted pretty good really, except at the front of the OS where it wouldn’t quite meet the doorstep.

Posted Image

Posted Image

The problem is the A panel flange, (the bit you bend the a panel round), sits a little low and when adjusted should be fine. At the rear I can sit it inside the heelboard as I think it should be but the fit isn’t tight so may just seam it onto the outside, not decided yet.

Posted Image

Posted Image

The NS was better to be honest so quite pleased on the sill front. Onto the rear. Test fitted the valance and the boot to see if the aperture had changed when doing all the boot floor work.

Posted Image

Posted Image

Boot lid still fits but gaps are not equal all round so will adjust the bolt holes to move it into place. Valance sits nicely, holes lining up but the 3 layers of metal will require solid plugs to keep together.
Plug welded the boot floor to the boot lid panel and ground down for the valance and also prepared the valance for fitting.

Posted Image

Posted Image

Fitted the valance with some bolts and mole grips and plug welded it into place.

Posted Image

Posted Image

Posted Image

Edited by grahama, 09 September 2011 - 04:41 PM.


#231 grahama

grahama

    Up Into Fourth

  • Members
  • PipPipPipPipPipPipPipPipPip
  • 2,442 posts
  • Location: Warrington
  • Local Club: None in my area !!

Posted 09 September 2011 - 04:49 PM

TMF threw a wobbler and had to put the rest here ????? oh well.


Easy peasy, but it did look like it was sitting a little shallow to me, may just be me ?? The gap behind the valance and the spare wheel hole was tight ish, could slide my fingers in the gap but that’s all. How does this compare to your gaps??

Wanted to get a couple of little bits done, patch inside boot that I missed the double seam on before and the petrol tank attaching nut think, you will understand below !! Used the long made template to fit back in position but my homemade boot floor meant that it didn’t sit flush but it was welded in strongly enough for the strap.

Posted Image

Posted Image

All going well till I came to fit my heritage valance closers, mmmmm, no where near, so I am going to make my own. This means I have two closers for sale !!! Made a template but need some more info yet before I make them.

Posted Image

Once all down I test fitted the bootlid again and tried out the bling again.

Posted Image

Posted Image

This was a front bumper I think as it sat perfectly on front but could see the bolt holes on the rear.

Posted Image

Will ask in tech sections to see what to do !!

Remember the sale section for my lovely panels!!

Graham

#232 grahama

grahama

    Up Into Fourth

  • Members
  • PipPipPipPipPipPipPipPipPip
  • 2,442 posts
  • Location: Warrington
  • Local Club: None in my area !!

Posted 23 September 2011 - 06:45 PM

Hi all,

blood, sweat but no tears over the last few days. Am nearing the rear of the car finished now and this is where I am up to. I had to make the valance closers so I did the old template thing again and cut out the closer and subframe nount strengthener. Welded in the strengthener and tagged on flanges for plug welding the closer into place.

Posted Image

Posted Image

Posted Image

So I ended up with this and primed with weld thru in the corner as I wont be able to get in there after, except with loads of waxoil !!

Posted Image

Posted Image

Posted Image

I have not put it in place yet, saving the pleasure till I have made the other side which is half way there. So moved onto the sill area to clean up the under step flange and prime ready for sill fitting.

Posted Image

Posted Image

Posted Image

Posted Image


Too many pics so see next post...

#233 grahama

grahama

    Up Into Fourth

  • Members
  • PipPipPipPipPipPipPipPipPip
  • 2,442 posts
  • Location: Warrington
  • Local Club: None in my area !!

Posted 23 September 2011 - 06:46 PM

Part 2...

Put two coats of hammerite on the inner sill and behind the heel board captive nut areas so they will have some protection before waxoil. However, amidst all the great progress the grinder slipped and left me with...

Posted Image

All the way through skin and could see things moving in there !!! Strapped up by wifey, (nurse by trade), and got on to repairing the front of the quarter panels both sides.

Posted Image

Posted Image

Posted Image

Plug welded the sill strengthener in the rear bin and made the hole neater for template and patch making. Did the same both sides one after the other.

Templates done I went from

Posted Image

to

Posted Image

but I did do this deliberate mistake in between !!!

Posted Image

The patches were clamped in place and spot/pulse welded very slowley to avoid as much heat distortion as possible in the pannel.

Posted Image

Posted Image

Posted Image


In the inner part of the patch I ground it close using a 1mm cutting disc, a great tip by Sonik on Hugh's thread, ta fellas, and it came out not too bad.

Posted Image

However the ugly rust has got a grip inside the rear bin, my mistake, no primer !!

Posted Image

I forgot to take a pic of the ground down driver side but this is how the pass side ended up, both just as good as eachother and will need only a light skim of filler to finish off.

Posted Image

Posted Image

All ready for the sills to go on and the valance closers then the rear is done, weh hey !!! Then onto the front Doh !!

Regards,

Graham

Edited by grahama, 23 September 2011 - 06:53 PM.


#234 hughJ

hughJ

    Soldiering Along

  • Members
  • PipPipPipPipPipPipPip
  • 727 posts
  • Location: Highlands, Scotland

Posted 23 September 2011 - 07:10 PM

Graham you are good!! This is just so much more precise than me. Makes me a bit sick. Great to see you back at it. Done the grinder trick often. I think that's how you recognise a Mini restorer. Their hands are all cuts and scars. A badge of honour.

Hugh

#235 grahama

grahama

    Up Into Fourth

  • Members
  • PipPipPipPipPipPipPipPipPip
  • 2,442 posts
  • Location: Warrington
  • Local Club: None in my area !!

Posted 23 September 2011 - 07:23 PM

Don't know about precise Hugh, I was trying to plug weld the pass side curved bit to the wheel arch bit already there and there was a 3mm gap. So as I was persuading it into place with a lot of loud banging, my neighbour came home and I shouted "it will fit" !!! So, precise in the end, but there are various ways of getting there lol !!

#236 grahama

grahama

    Up Into Fourth

  • Members
  • PipPipPipPipPipPipPipPipPip
  • 2,442 posts
  • Location: Warrington
  • Local Club: None in my area !!

Posted 29 September 2011 - 03:36 PM

Hi all,

some bits and pieces done, and a few steps closer to being done. Firstly was to alter the outer sills so they do not have a jacking point on or all the little holes.

Posted Image

Posted Image

Posted Image

Cut out lots of small patches and seamed them all in. Then ground down and etch primed before giving a couple of coats of hamerite black for future protection. Also sealed the welds inside with tiger seal for added measure.

Posted Image

Posted Image

Finished off the passenger closer for the valance and they fit nicely. Cut some drain holes in the front so moisture can drain out rather like the outer sill vents. That's my thinking anyway, with lots of waxoil in there too they should be fine.

Posted Image

Posted Image

Couple of missed pics of the OS qtr repair all primed but I have since noticed a pinhole that I need to sort. The rear quarter looks fine to me now, all filled in and straightish !!

Posted Image

Posted Image

I took the remaining part of the NS wing off to see how the top of the inner wing looked, not too bad but may replace a small section of the top lip. Only 1 rusty panel remaining to go, rest of the front end panels coming on Friday so on to that soon I hope.

Posted Image

Posted Image

Posted Image

The valance closers had a lick of top coat from a rattle can as did the inside of the valance before they get closed off for good. The outer sills had thier two coats of top coat and just need fitting. However the underneath was showing a little rust already so I attacked it with a new wire brush attachment for the grinder to sort it.

Posted Image

A thorough de-grease and then I did this

Posted Image

Posted Image

Posted Image

Think I am getting way ahead of myself here but sick of thinks needing doing three times !! Used an industrial non porus primer called Micaceous Lead Oxide. The stuff they use to paint the big bridges in, but silver. Needs another coat then should be fine for ages!! Looks so much better all one colour but can't quite reach behind the spare wheel bin into the valance so will have to get creative tomorrow.

I am thinking of using it up top too but it does have a slight texture to it, and as such will be doing a test piece and seeing how it flats down and looks with a little colour first.

Regards,

Graham

#237 minimuk

minimuk

    Camshaft & Stage Two Head

  • Members
  • PipPipPipPipPipPipPipPip
  • 1,946 posts
  • Location: Midlands

Posted 30 September 2011 - 10:24 PM

looking good there Graham, excellent progress good finish on the belly, how's yr finger?

#238 grahama

grahama

    Up Into Fourth

  • Members
  • PipPipPipPipPipPipPipPipPip
  • 2,442 posts
  • Location: Warrington
  • Local Club: None in my area !!

Posted 01 October 2011 - 07:08 AM

Healing up nicely but I have a groove across the knuckle, as Hugh said, a badge of honour now !!! Getting quite inspired now the belly turned out well, put some seam sealant on yesterday then hopefully get the back finished off this weekend.

#239 grahama

grahama

    Up Into Fourth

  • Members
  • PipPipPipPipPipPipPipPipPip
  • 2,442 posts
  • Location: Warrington
  • Local Club: None in my area !!

Posted 03 October 2011 - 04:17 PM

Hi all,

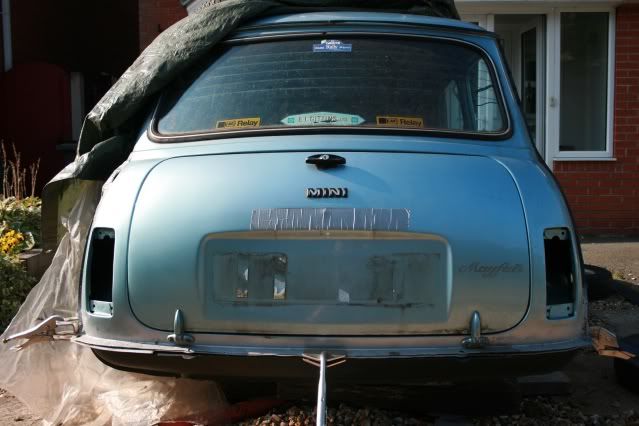
Well wasn't the last week ace, off work, wife out, kids at school or work, so lots done on the mini. Had the last of the heritage front end panels delivered over the weekend so ready to go there but had to finish off the rear first. Started off today well but boy did the wind get up and blow the gas away!!

Posted Image

Posted Image

Posted Image

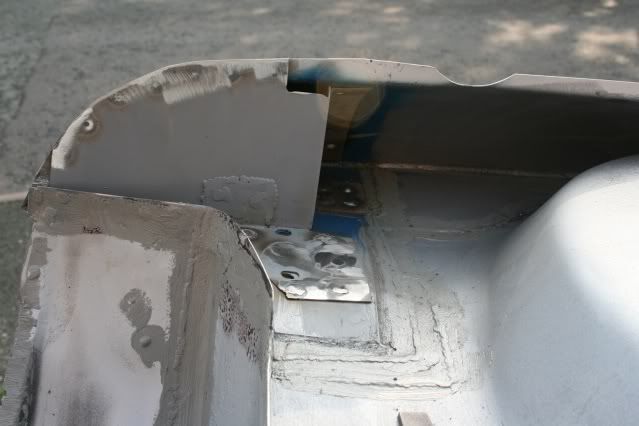
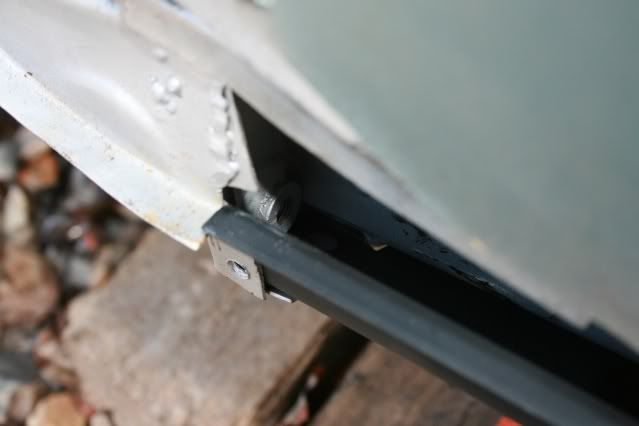
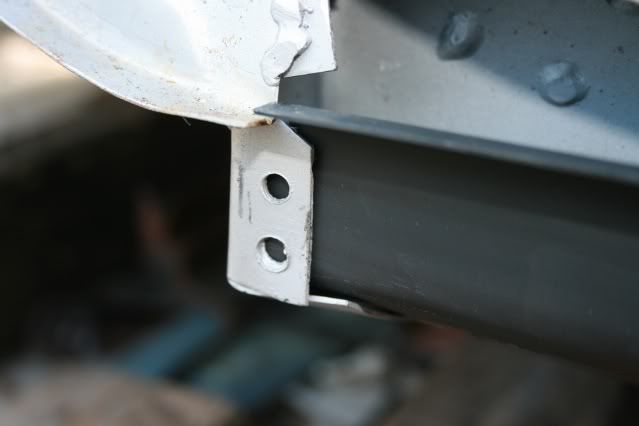
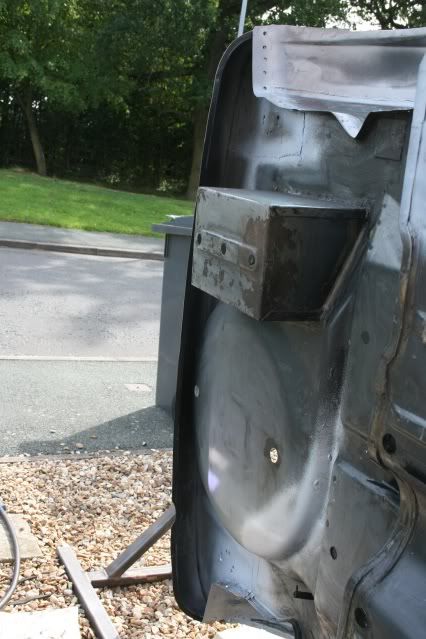
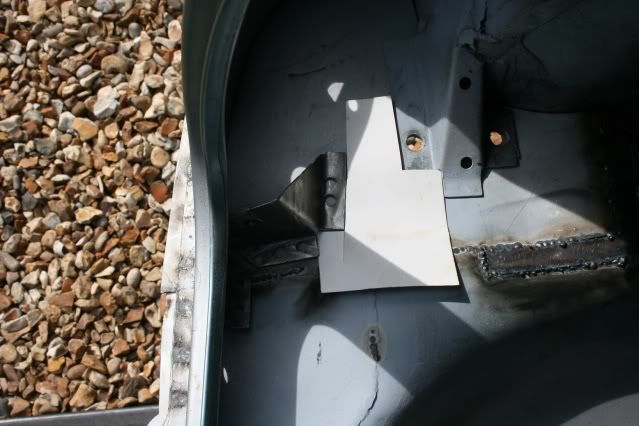
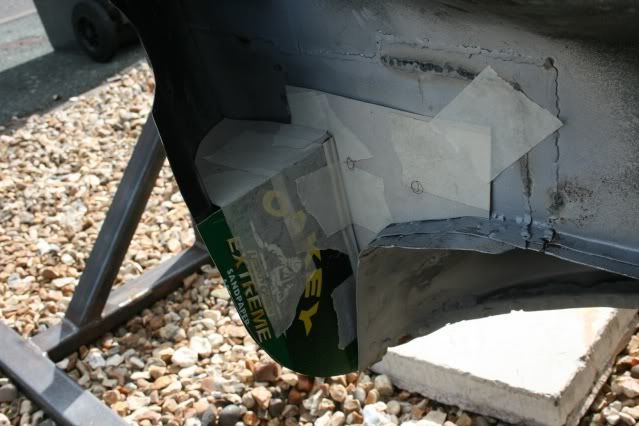
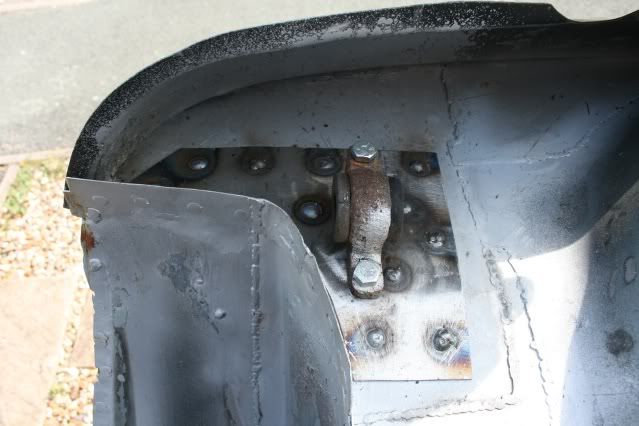
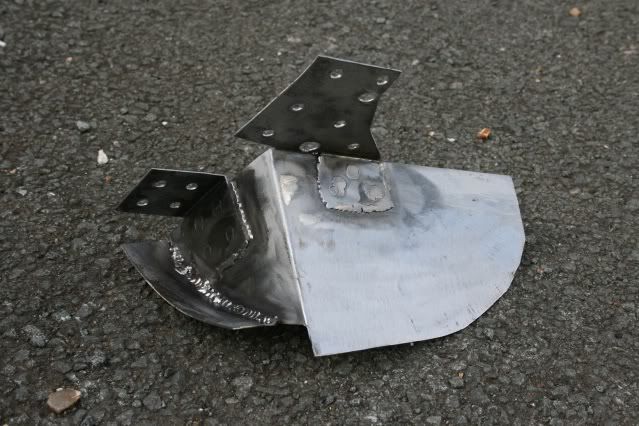
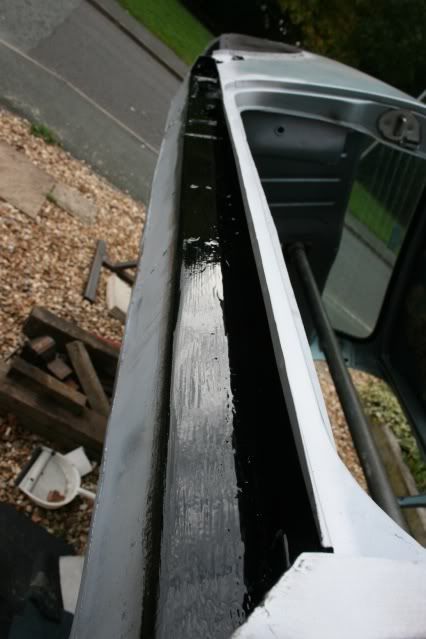
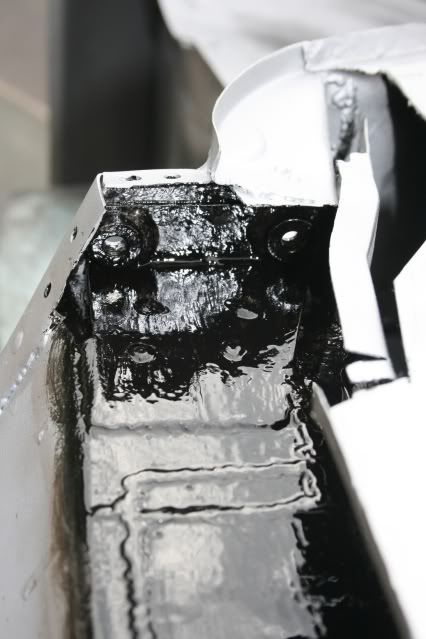
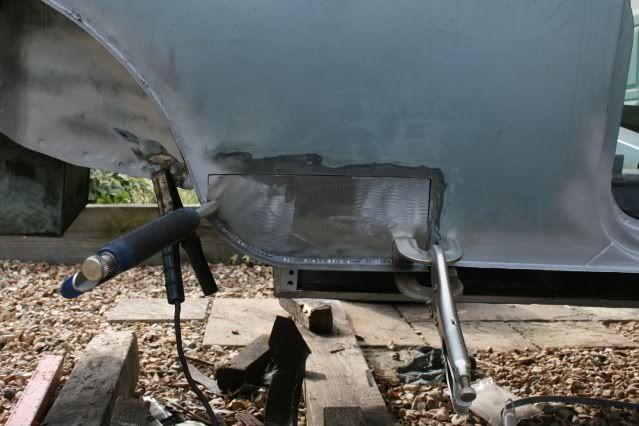
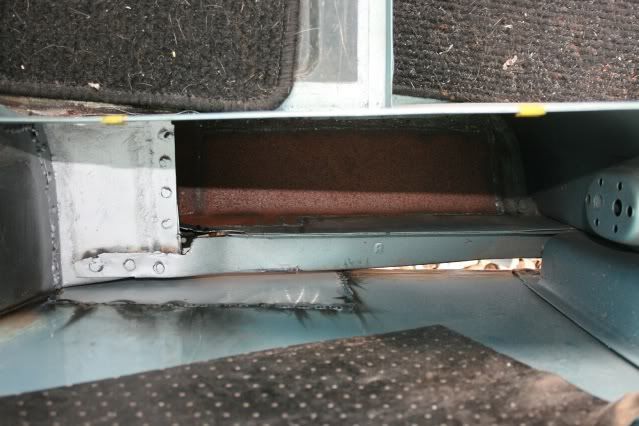
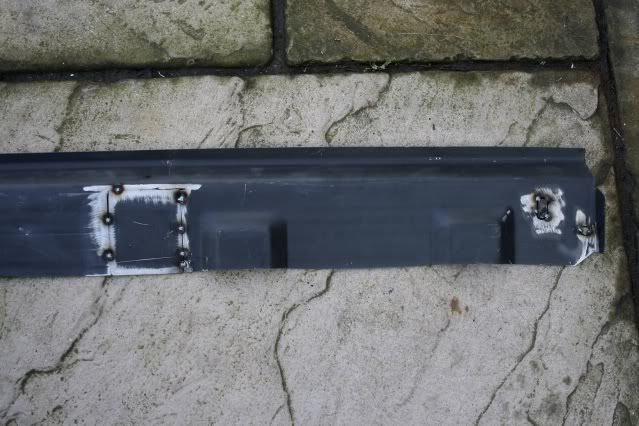
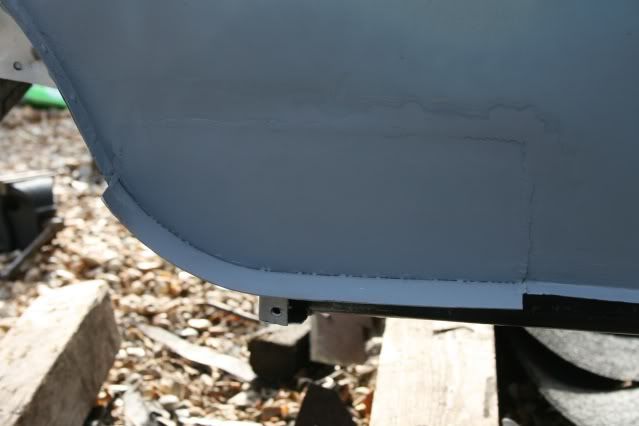
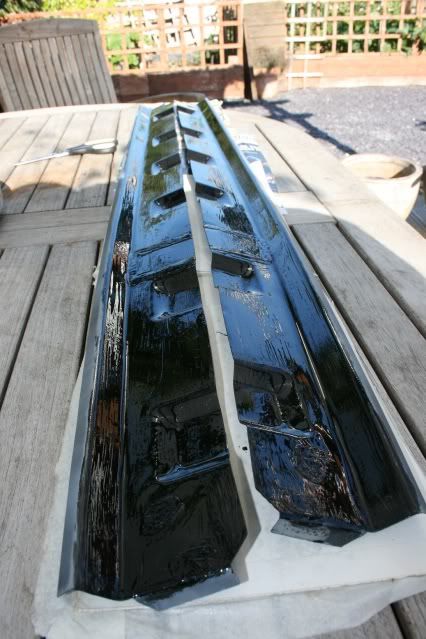
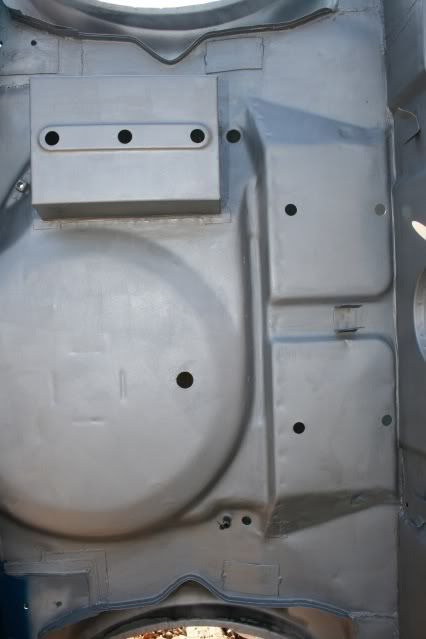
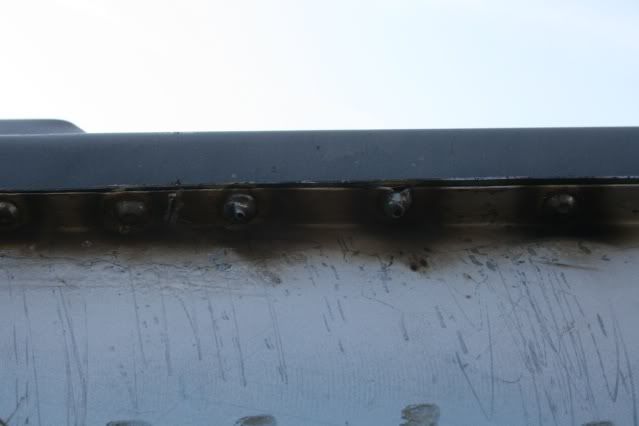
Plug welded the last strengthener for the rear subframe mounts in with the valance closers, not the prettiest but they will do the job fine. All ground down and the plug welds on the outside of the valance came out fine too, just a skim of filler to hide. Maybe there was another way of doing it but I couldn't bend the welder to plug from the inside so outside it was!!

Posted Image

Posted Image

Posted Image

Posted Image

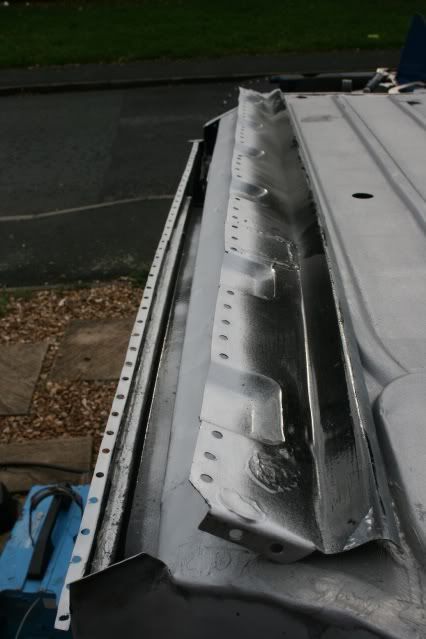
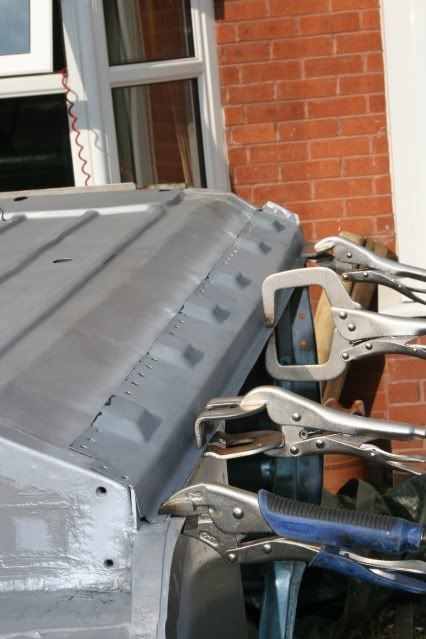
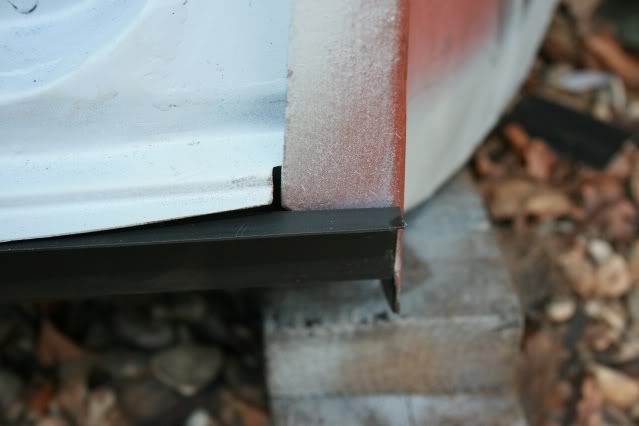
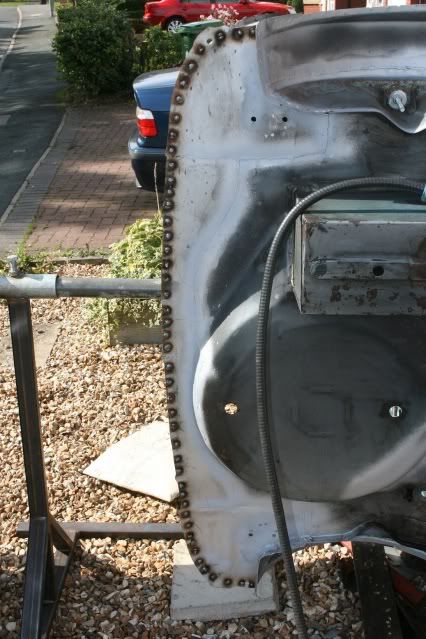
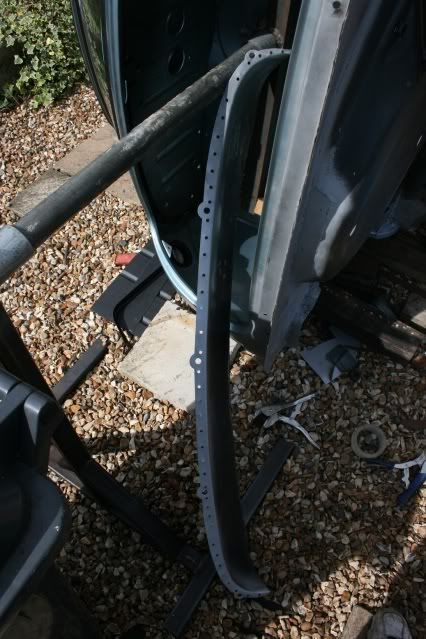
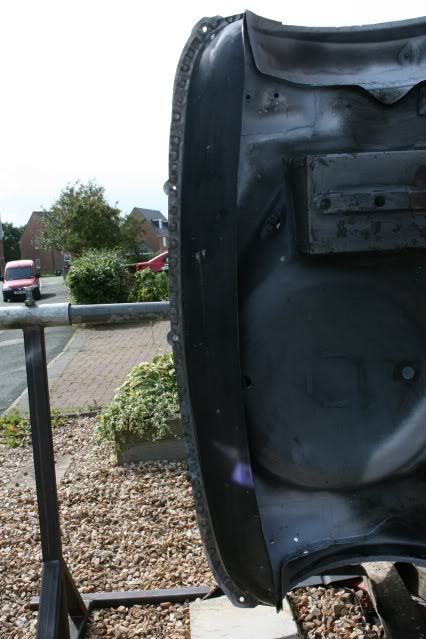
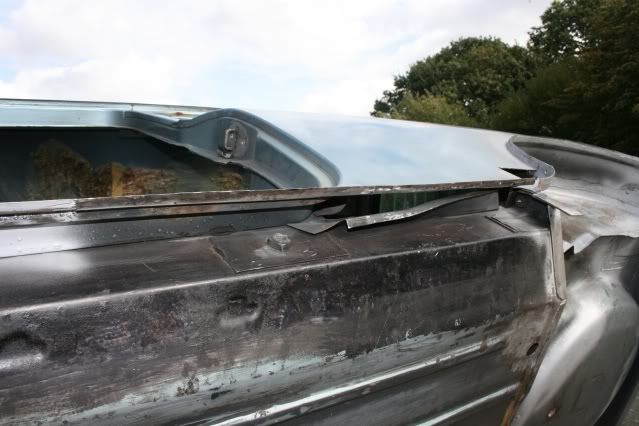
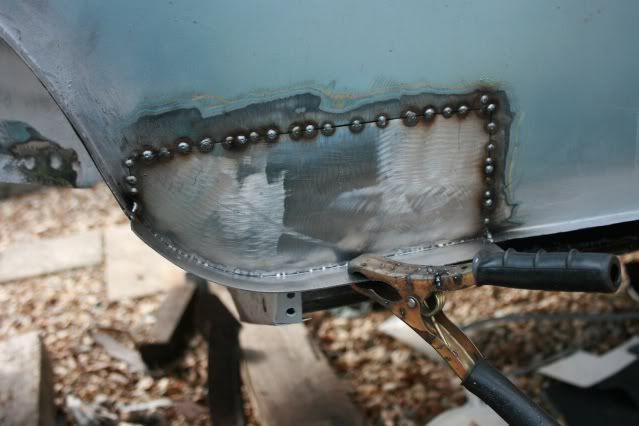
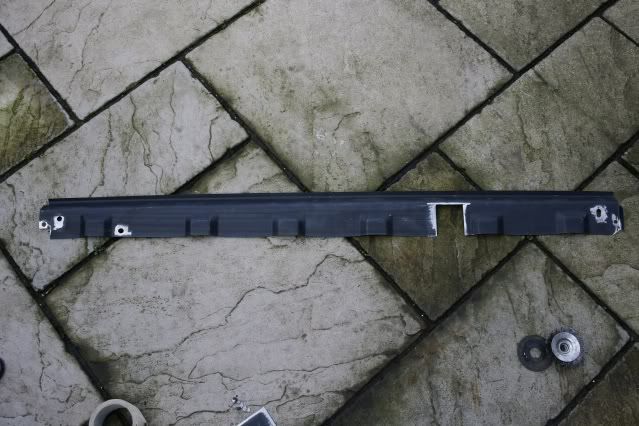
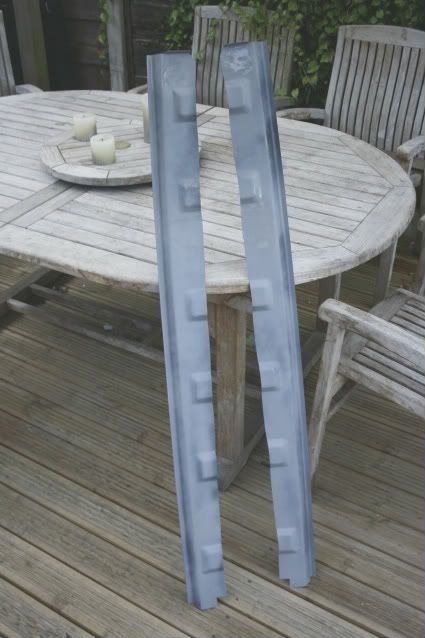
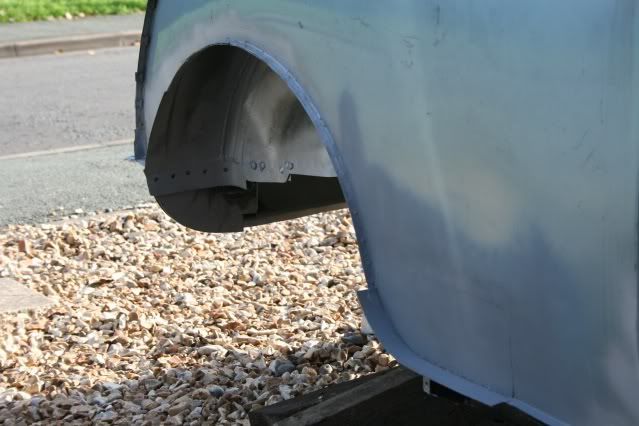
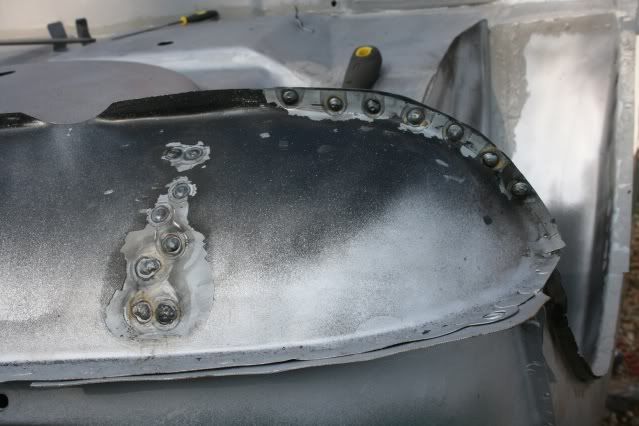
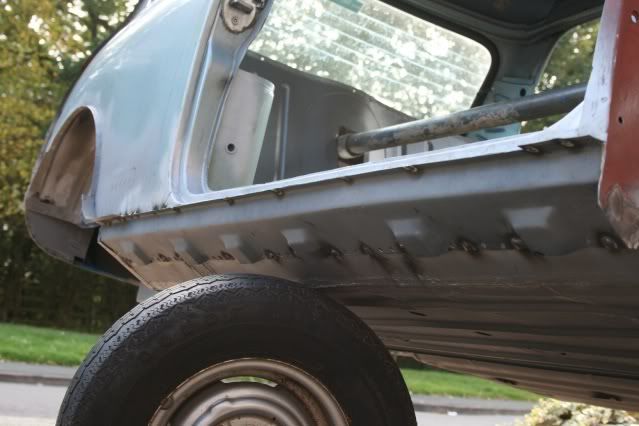
The pattern sills were a little bit of a problem to get to fit round my bespoke mini frame but they relented in the end and pluged them into submission but the wind was blowing !!

Posted Image

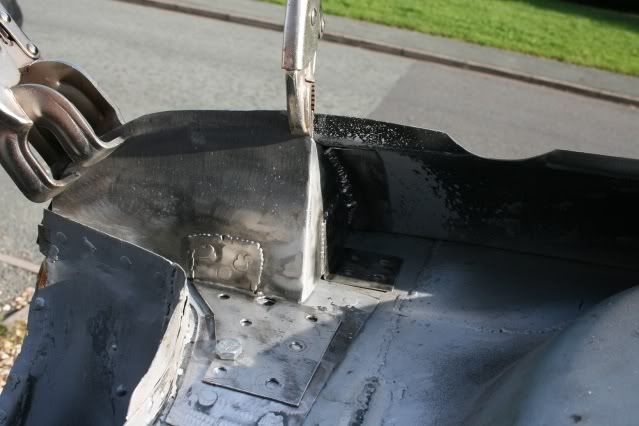
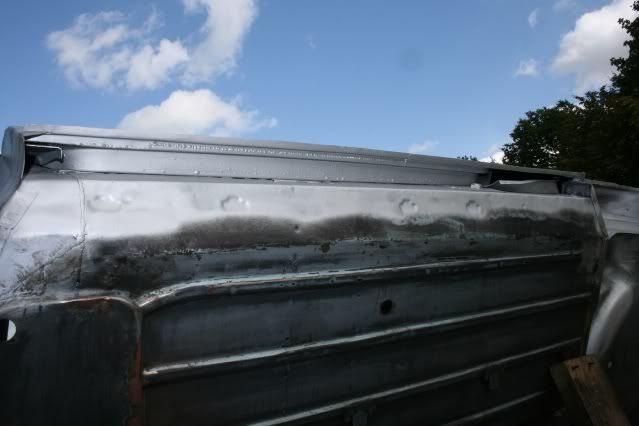
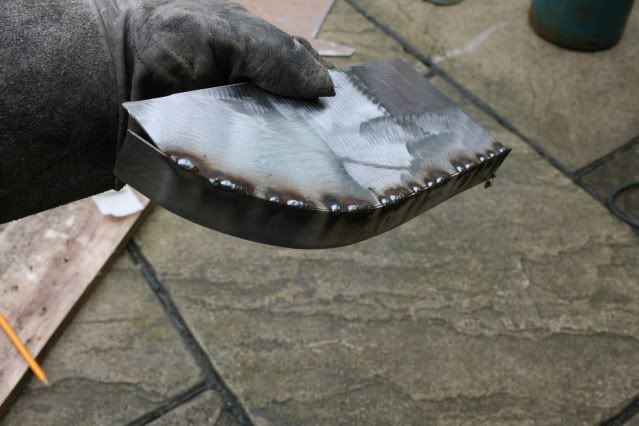
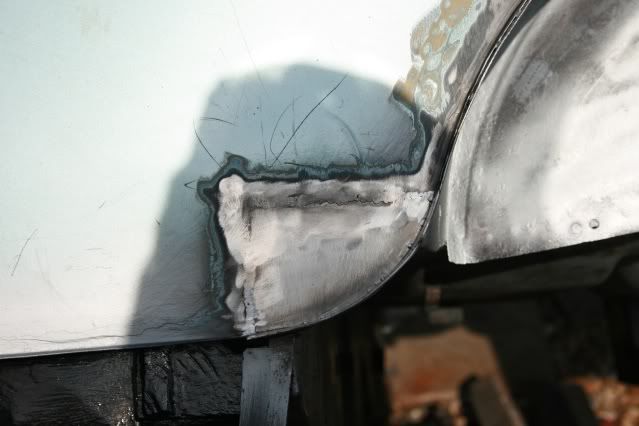
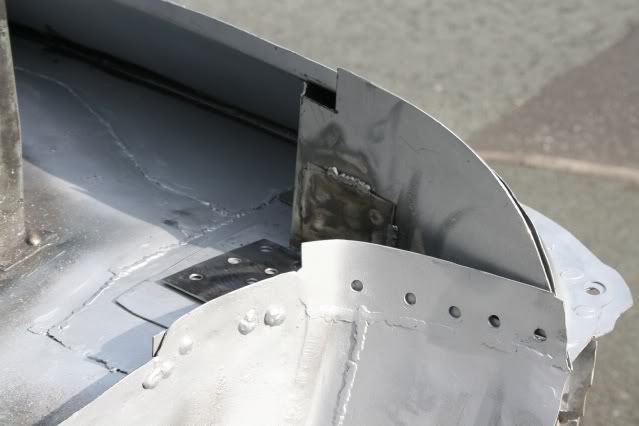
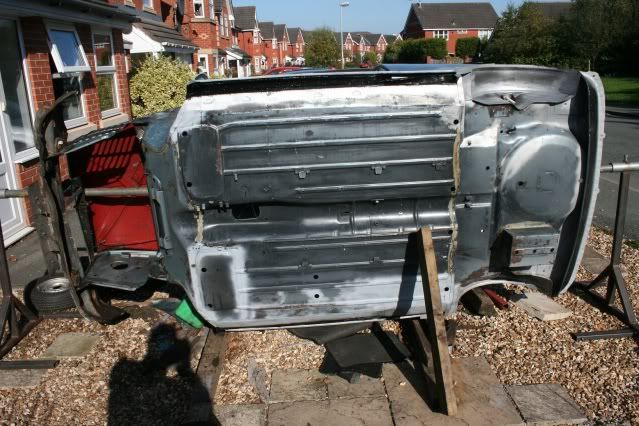
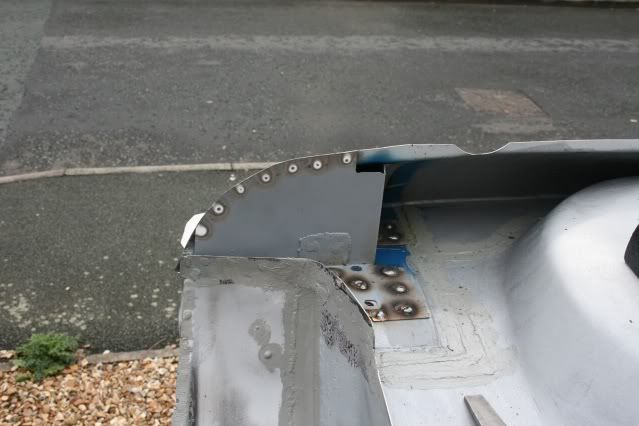
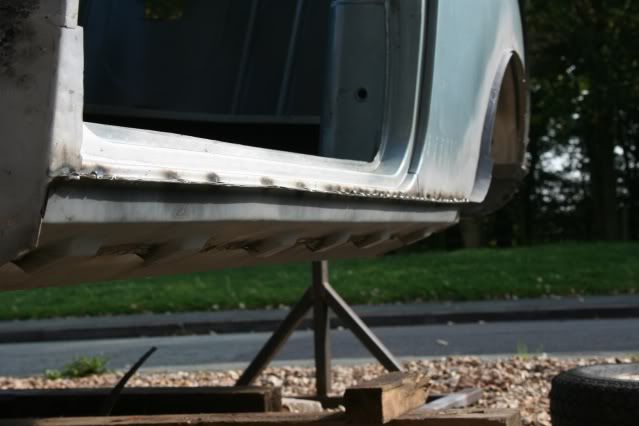
As you can see some pretty ugly, no gas welds, but I will grind them down and go over them to make sure they are solid, but they are holding all in place for now, hopefully re-do tomorrow. Even had Jan holding a car cover over me in true 'Batman' style to try and get by, but no use, bloody wind. It's ripped my cover too so a new tarp on order!

Posted Image

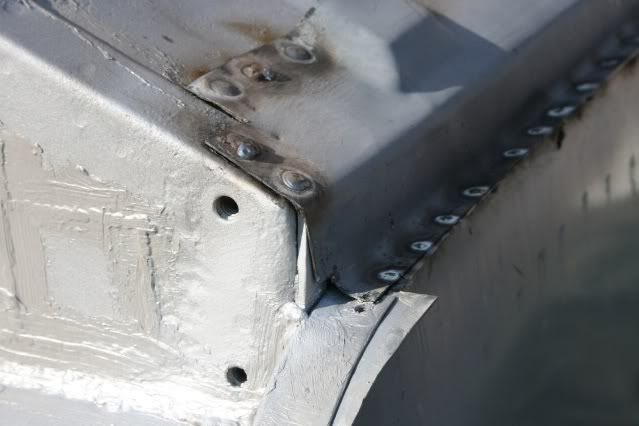
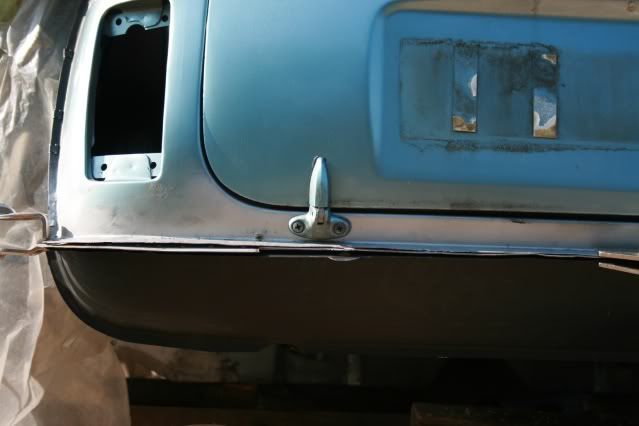
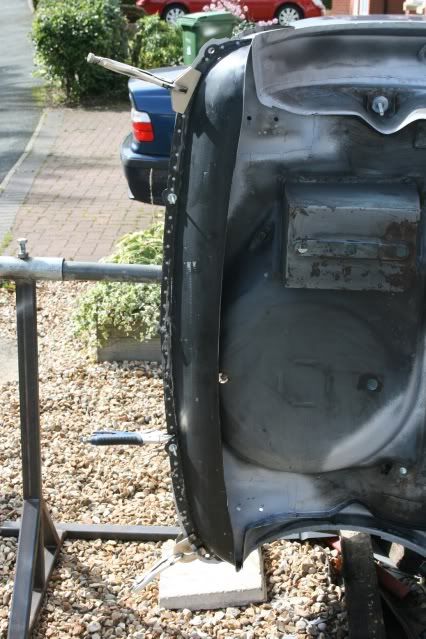
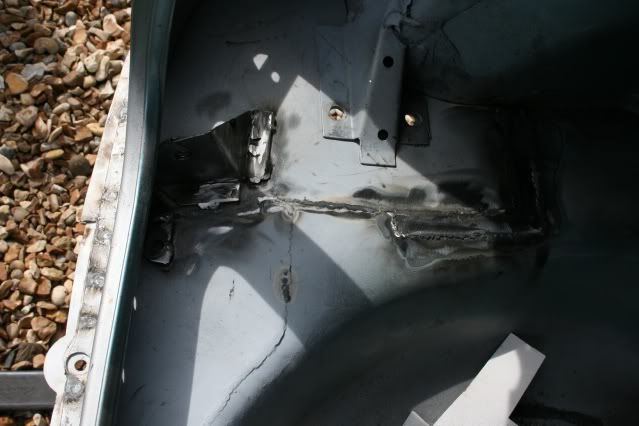
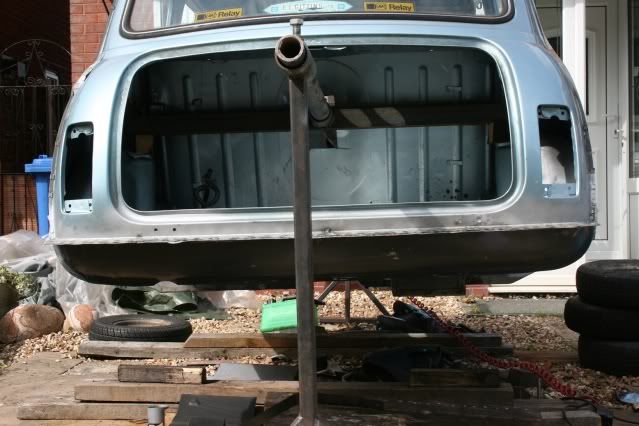
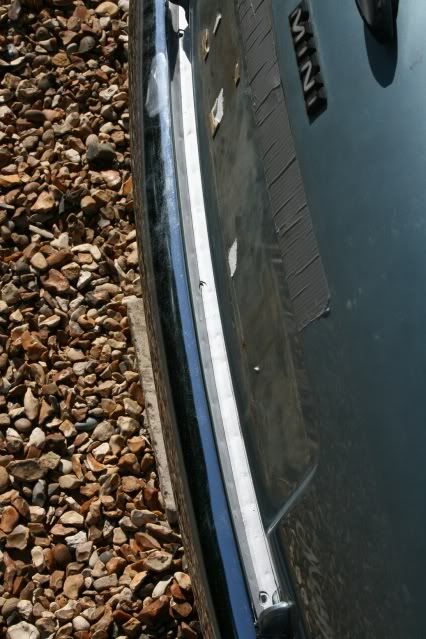
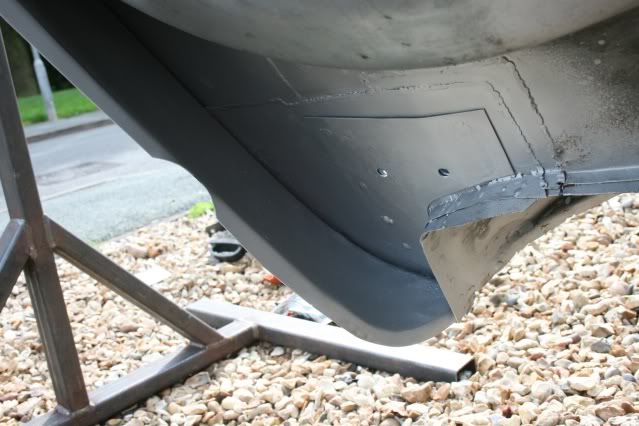
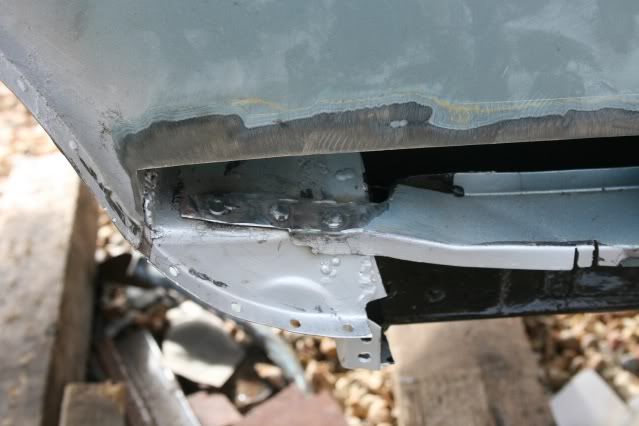
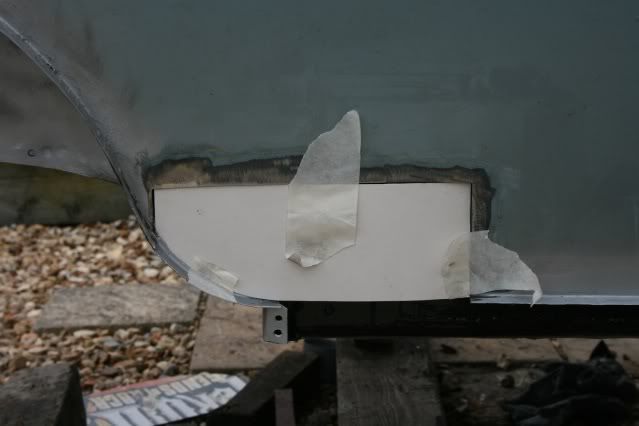
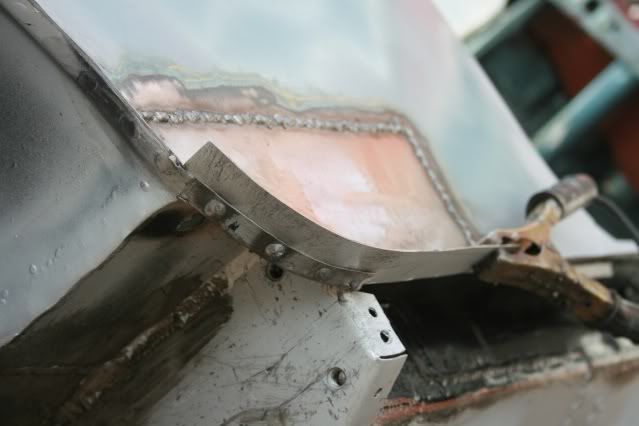
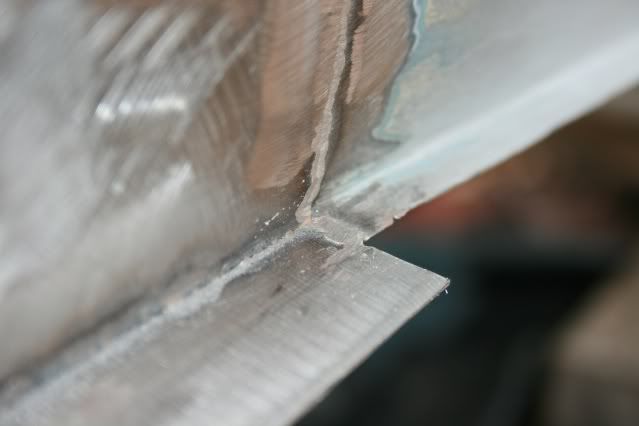
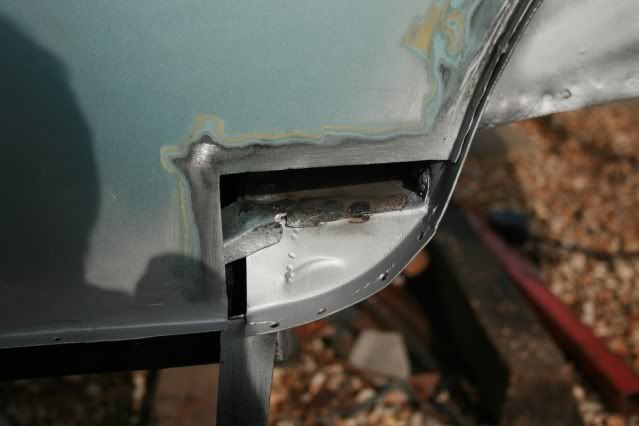
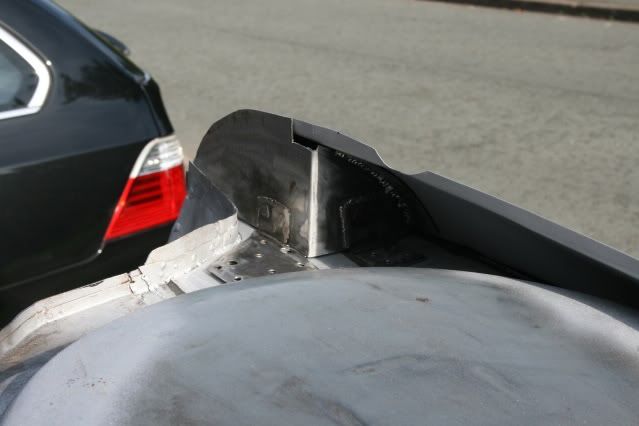
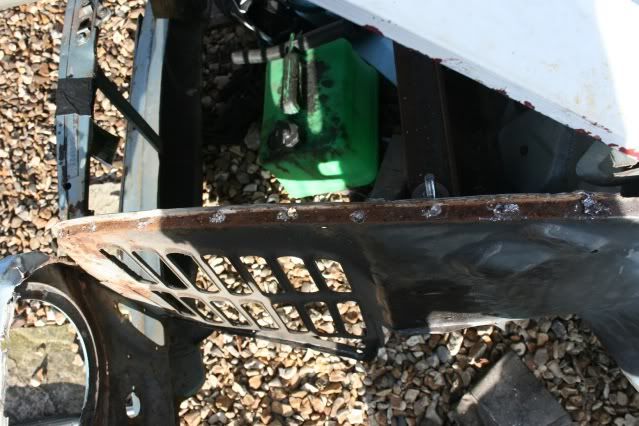
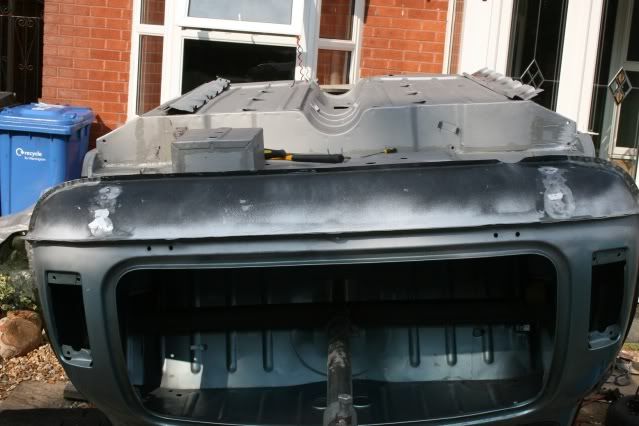
As you can see the NS sill had to be fitted outside the heelboard due to things that went on beforehand. Bit dissapointed really but knew I wouldn't get away with it. Will seam round the ends to ensure all sealed up and then lather up with seam sealer and primer. OS is better at the heelboard but part in, part out. Guess it's more care and attention next time and maybe heritage panels !

Posted Image

Posted Image

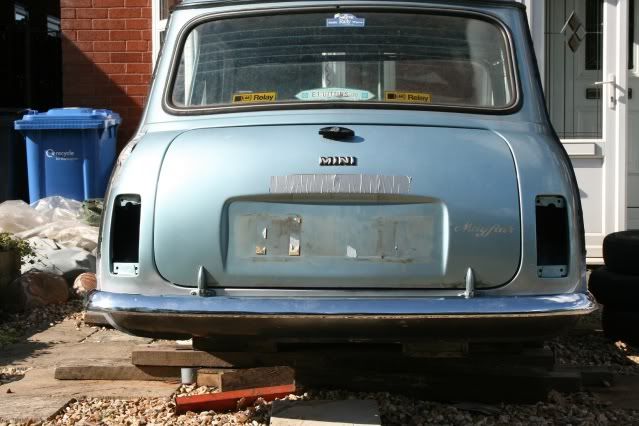
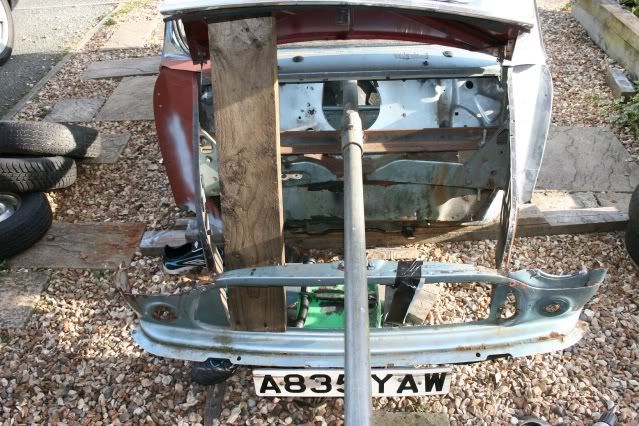
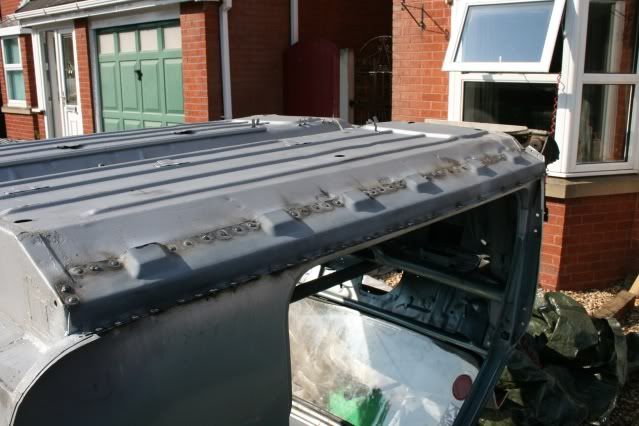
Well that's how I left it, on, but in need of the final touches. Will hopefully get to do them tomorrow and dress, seal and prime ready for front end.

Regards,

Graham

Edited by grahama, 03 October 2011 - 04:22 PM.


#240 Andrew O

Andrew O

    Previously known as Andrewo330.

  • Members
  • PipPipPipPipPipPipPip
  • 1,425 posts

Posted 03 October 2011 - 04:19 PM

Looking really good keep it up


0 user(s) are reading this topic

0 members, 0 guests, 0 anonymous users