fair play, i'd say ur delighted! doesnt seem like 2 months never mind 2 years since you started the build thread! now on to body work and paint....enjoy!!


Mini Virgin Rebuild Of 83 Mayfair.
Started by
grahama
, May 22 2010 05:09 PM
1006 replies to this topic
#526

danie garry
-

- Members
-

- 2,296 posts
I love BMW minis
- Location: malmo
- Local Club: IMOC-Irish Mini Owners Club
Posted 11 June 2012 - 05:53 PM
#527
grahama
-
- Members
-
- 2,442 posts
Up Into Fourth
- Location: Warrington
- Local Club: None in my area !!
Posted 11 June 2012 - 06:11 PM
Cheers Danny, believe me it feels like 2 years !!
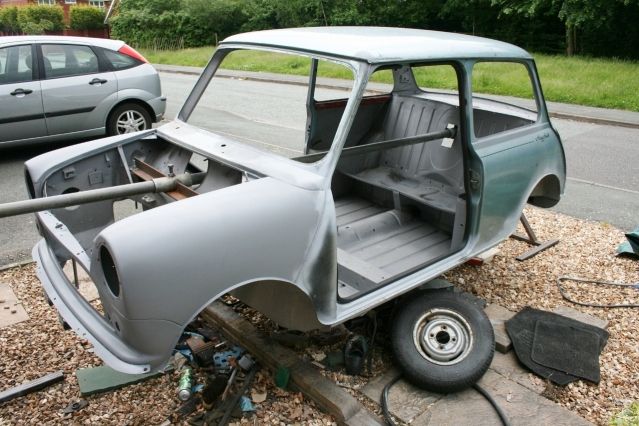
Well, next is to stonechip and paint underneath and get it rolling. I am getting a tent to spray it in, but once rolling the big rub down will begin.
That may well be next year tho lol.
Graham
Well, next is to stonechip and paint underneath and get it rolling. I am getting a tent to spray it in, but once rolling the big rub down will begin.
That may well be next year tho lol.
Graham
Edited by grahama, 11 June 2012 - 06:12 PM.
#528
Andrew O
-

- Members
-
- 1,425 posts
Previously known as Andrewo330.
Posted 11 June 2012 - 06:30 PM
Sounds good.
I'm Going to be spraying mine in an old tent we have
I'm Going to be spraying mine in an old tent we have
#529
grahama
-
- Members
-
- 2,442 posts
Up Into Fourth
- Location: Warrington
- Local Club: None in my area !!
Posted 11 June 2012 - 06:33 PM
That's my idea. Am looking for a tunnel tent, just cheap one that I can stand up in and get round. Tape a ground sheet to the walls and there you go, spray booth. Can't have paint going over next door's car or the wife's either so looks like a great option.
#530
IwanDavies95
-
- Noobies
-
- 78 posts
Stage One Kit Fitted
- Location: Ammanford
Posted 12 June 2012 - 10:27 AM
tent!!! Thank you, my dad been bugging me for ages about where we could paint it (even though i got a long way to go)
good idea lads, might steal it
Iwan
good idea lads, might steal it
Iwan
#531
danie garry
-
- Members
-
- 2,296 posts
I love BMW minis
- Location: malmo
- Local Club: IMOC-Irish Mini Owners Club
Posted 12 June 2012 - 11:22 AM
does anyone else keep picturing people painting in little 2 man tents and getting high as kites??!!!
#532
grahama
-
- Members
-
- 2,442 posts
Up Into Fourth
- Location: Warrington
- Local Club: None in my area !!
Posted 12 June 2012 - 08:27 PM
Hi all,
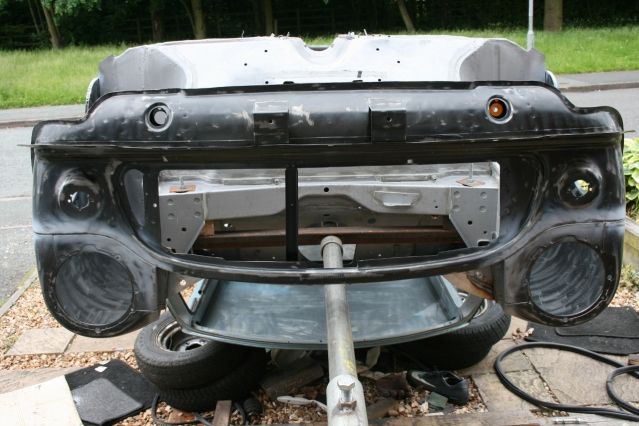
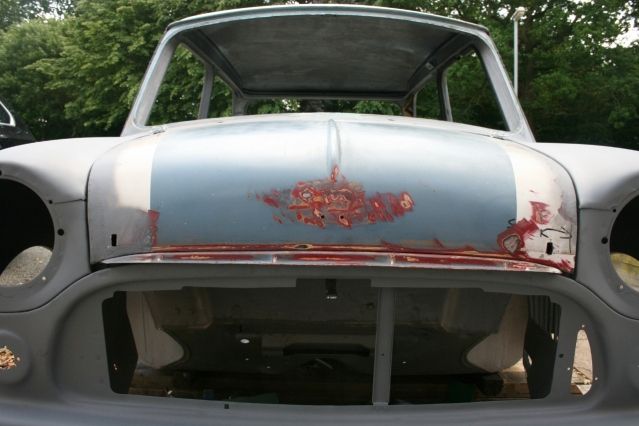
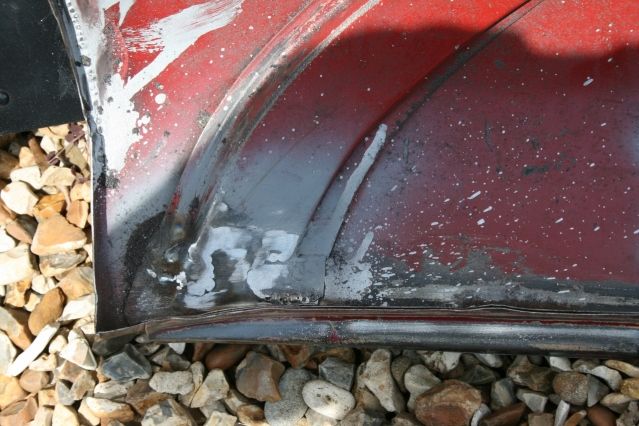
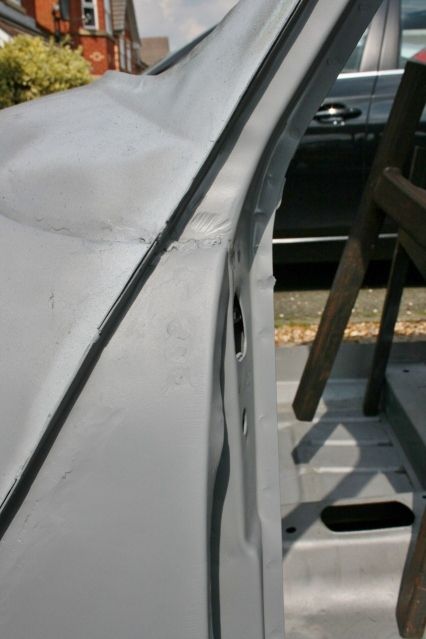
Yes I did speak too early WELDING NOT DONE, AHHHHHHHHHHHHHHHHHH !! As I suspected the front bonnet pins were indeed far too close to the chrome bonnet strip and I have to move them. Not too big a job I thought so set about it

Pretty ugly I know, not happy at all and seeing as though kicked over my bottle of gas and busted the gas feep pipe to the welder, my crap fix is going no further.
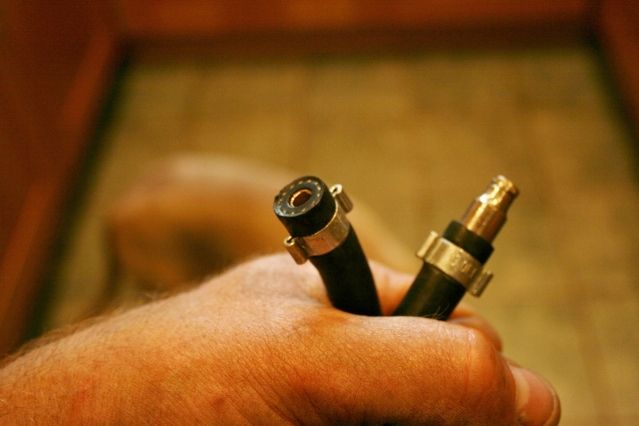
This will give me some time to think of a solution, unless you guys have one??
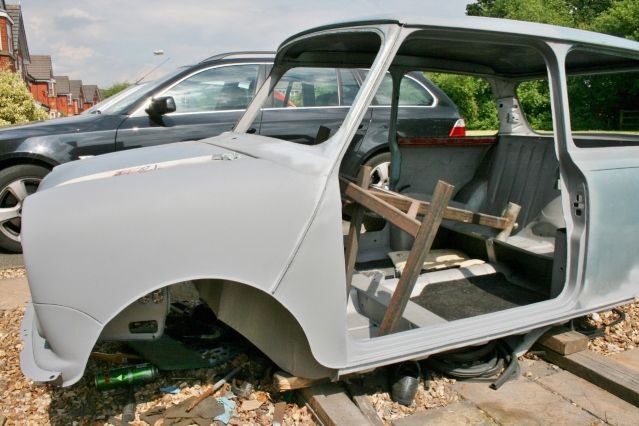
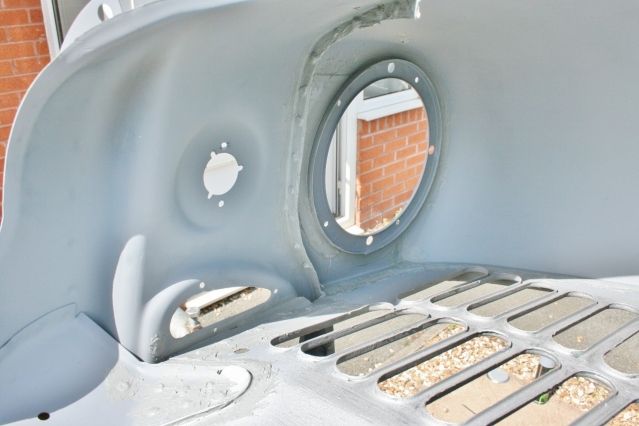
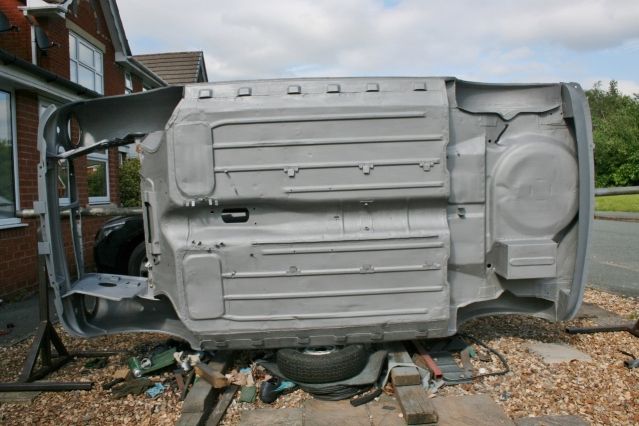
So as not to waste the day I rubbed down the front end to scuff up the E coat a bit and get some etch primer on there.
I used scotch pads for the front tricky bits and an 80 grit flexible pad for the inside wing areas. However I got carried away and did this too,
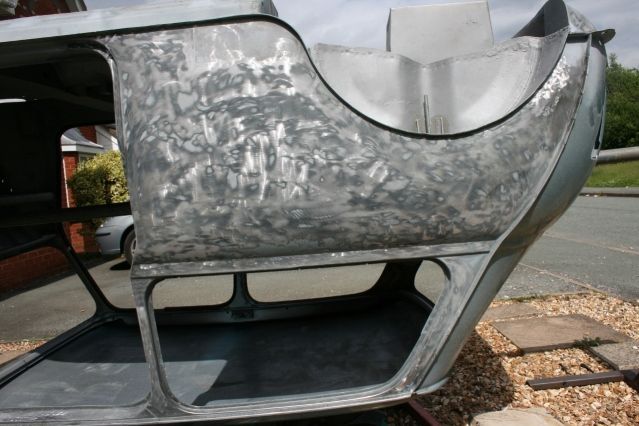
The paint seems to be a bit thick and on rubbing it down it cracked all the time giving me steps which would have meant loads of filling so off it came.
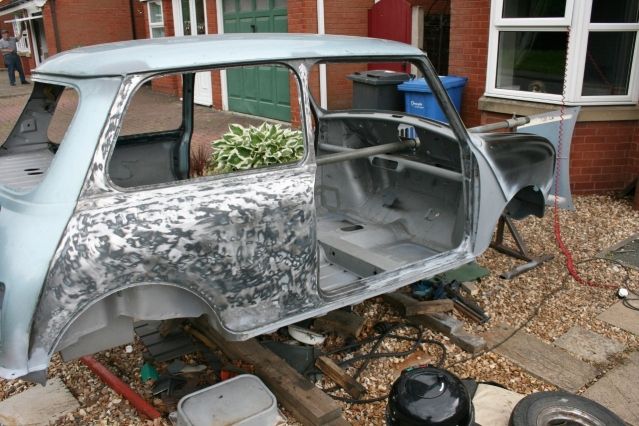
Carried on and got the driver side down to pretty much bare metal, but the disk does leave a swirl pattern if you are too heavy handed like I am !! Nothing that some high build primer and wet and dry wont sort.
Liberal spraying of etch primer left me with a nice looking front end and inner wings.
Also etched the side seeing as though it was stripped.
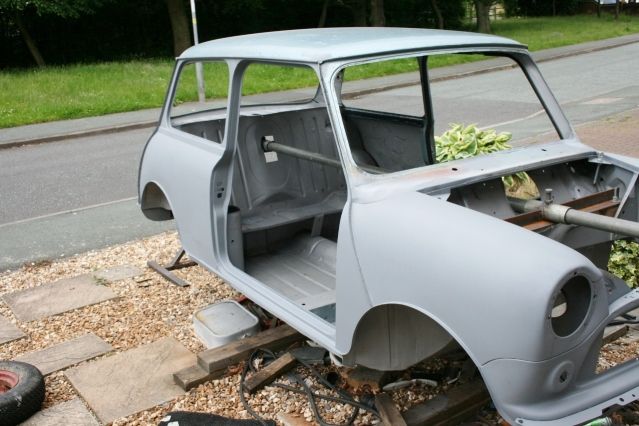
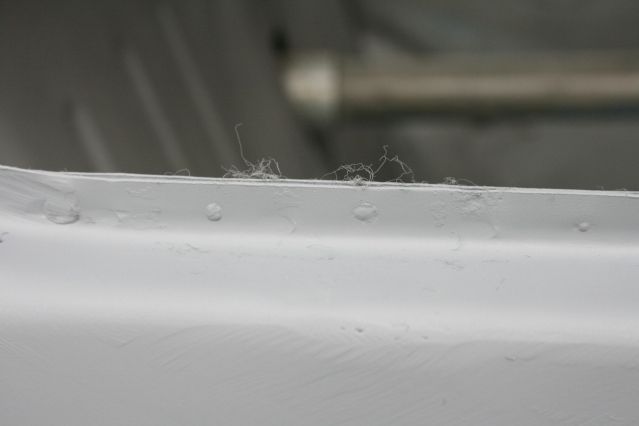
Looks nice at a distance but the dreaded hair from the cloth I wiped down with got everywhere and wiping it off with my fingers proved a little crappy, finish wise, again nothing some wet and dry wont sort lol !!
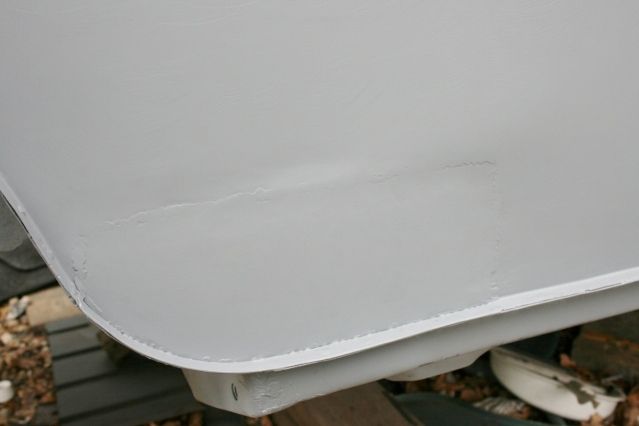
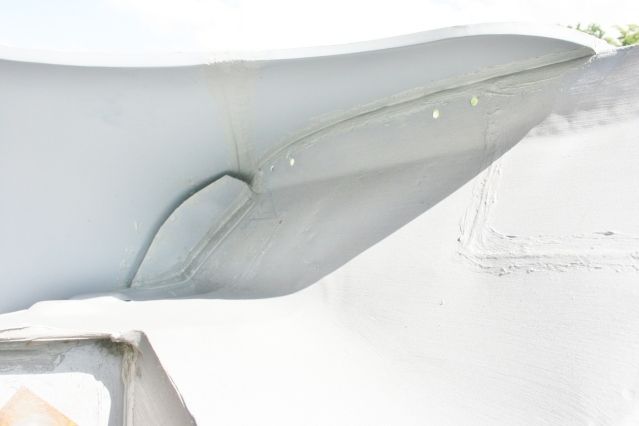
Quite pleased with the bottom of the rear qtr panel, turned out neat after all and will only need a small skim of filler to hide. Passenger side to do tomorrow along with seam sealing the front end up and maybe some primer, we'll see how time goes.
Getting there,
Graham
Yes I did speak too early WELDING NOT DONE, AHHHHHHHHHHHHHHHHHH !! As I suspected the front bonnet pins were indeed far too close to the chrome bonnet strip and I have to move them. Not too big a job I thought so set about it
Pretty ugly I know, not happy at all and seeing as though kicked over my bottle of gas and busted the gas feep pipe to the welder, my crap fix is going no further.
This will give me some time to think of a solution, unless you guys have one??
So as not to waste the day I rubbed down the front end to scuff up the E coat a bit and get some etch primer on there.
I used scotch pads for the front tricky bits and an 80 grit flexible pad for the inside wing areas. However I got carried away and did this too,
The paint seems to be a bit thick and on rubbing it down it cracked all the time giving me steps which would have meant loads of filling so off it came.
Carried on and got the driver side down to pretty much bare metal, but the disk does leave a swirl pattern if you are too heavy handed like I am !! Nothing that some high build primer and wet and dry wont sort.
Liberal spraying of etch primer left me with a nice looking front end and inner wings.
Also etched the side seeing as though it was stripped.
Looks nice at a distance but the dreaded hair from the cloth I wiped down with got everywhere and wiping it off with my fingers proved a little crappy, finish wise, again nothing some wet and dry wont sort lol !!
Quite pleased with the bottom of the rear qtr panel, turned out neat after all and will only need a small skim of filler to hide. Passenger side to do tomorrow along with seam sealing the front end up and maybe some primer, we'll see how time goes.
Getting there,
Graham
#533
Carlos W
-

- TMF+ Member
-
- 10,115 posts
Mine is purple, but I have been told that's normal
- Location: Sittingbourne, Kent
Posted 12 June 2012 - 08:40 PM
I'm so jealous!
Fancy a trip to Kent to do some work on mine?
Fancy a trip to Kent to do some work on mine?
#534
minimuk
-

- Members
-
- 1,947 posts
Camshaft & Stage Two Head
- Location: Midlands
Posted 12 June 2012 - 08:44 PM
well yeal here.........Graham it does look fab, as you said little niggles will show now when dealt with yr no far away from a good coat of yr favourite paint.......this time next year I hope to do the same perhaps.......
#535
grahama
-
- Members
-
- 2,442 posts
Up Into Fourth
- Location: Warrington
- Local Club: None in my area !!
Posted 12 June 2012 - 08:51 PM
Long, long, long way to go yet lol !!
#536
davej
-

- Members
-
- 985 posts
Kelly Jones
- Location: North Wales
Posted 13 June 2012 - 04:15 PM
Maybe a long way to go yet but it`s looking great, you`re making really good progress.
#537
grahama
-
- Members
-
- 2,442 posts
Up Into Fourth
- Location: Warrington
- Local Club: None in my area !!
Posted 18 June 2012 - 04:16 PM
Hi all,
missed the sunny days again and was off during torrential rain, typical, so out today in my first dry day for a bit.
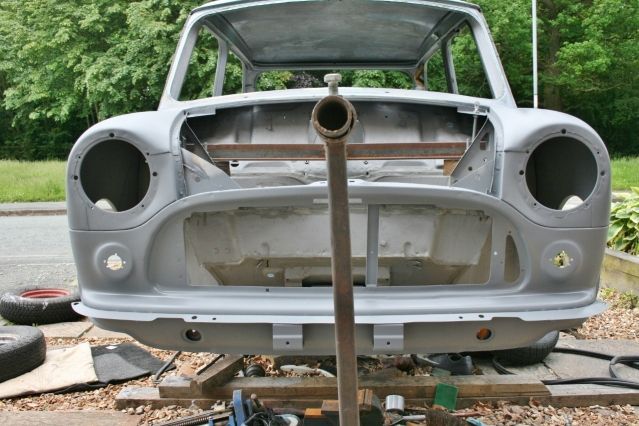
I have been thinking about my crappy front bonnet pin efforts, not impressed by them, so the old grey matter came up with the solution. Re use the old bonnet catch and get rid of the pins on the front, a good compromise.

I took the front pin mounts off, at last, and fitted the rescued bonnet catch. Because I had cut the bonnet about to get better gaps I had to move the catch from the original position to get a central bonnet fit. Worked out fine in the end though.
The front of the bonnet however sticks out more than I like but that is the trade off for ditching the pins. It may look better when the chrome trim is on !!
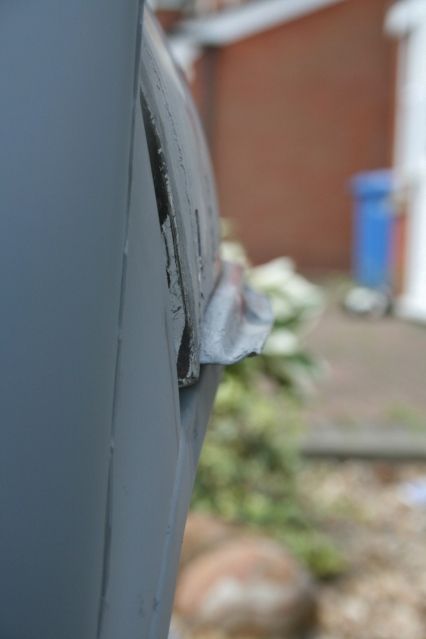
Not sure if this is normal or not ??

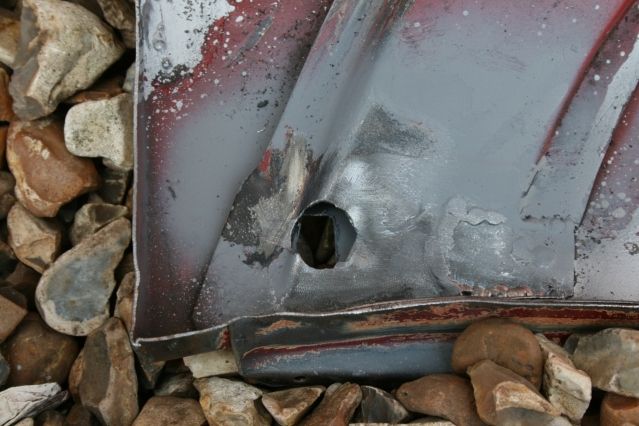
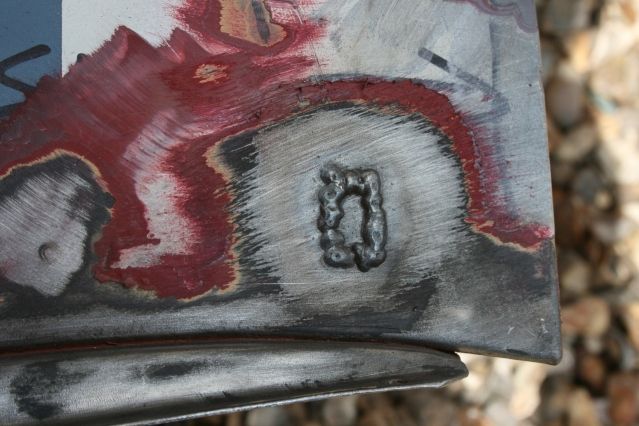
In deciding this course of action I therefore needed to weld up the bonnet holes I hacked in for the pins. Quite an easy job for a two year mini veteran but the bonnet needs a general skim of filler before paint.

This is the next item to rescue as Ithink it is required for mot as it is a safety catch should the bonnet open when driving. I think !! That's tomorrow's job. I didn't use the original bonnet as the front is absolutely cruddy, too much work to save but the parts are useable. So glad I didn't throw away the old front panel too or that would have meant yet more expense to correct a novice mistake.
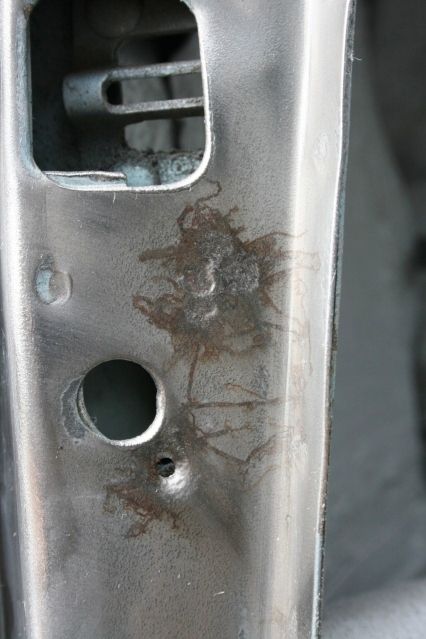
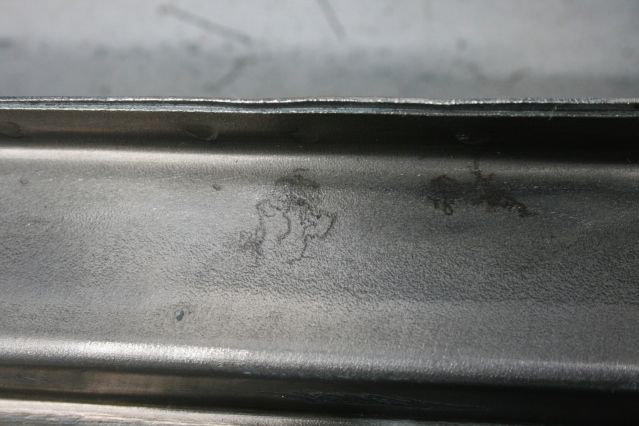
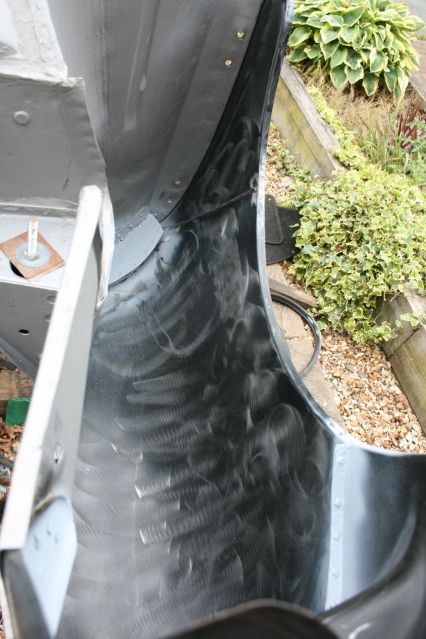
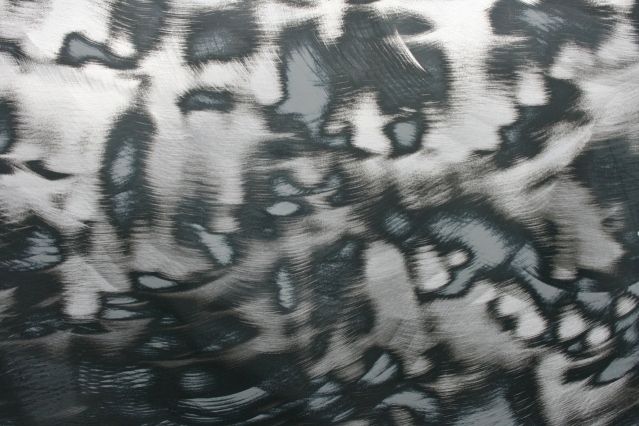
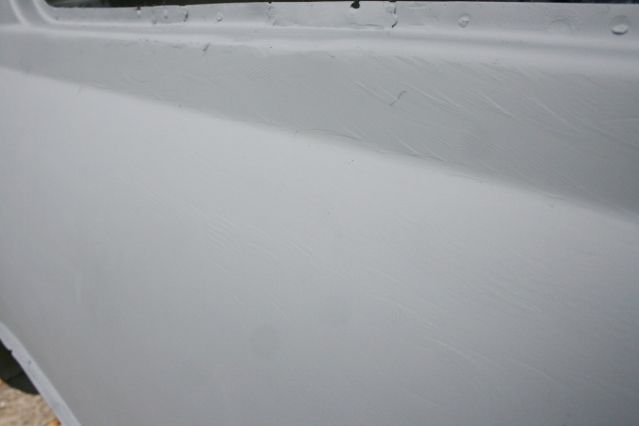
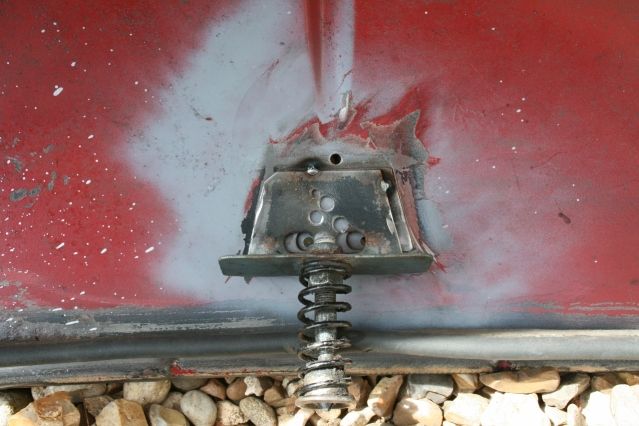
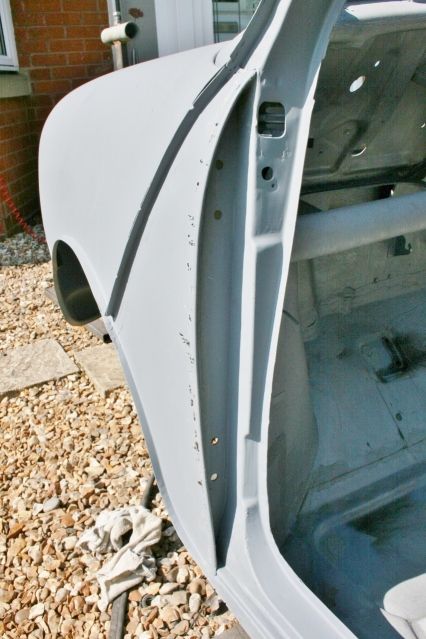
I also stripped the passenger door frame to bare metal with the wire brush and found the curly marks. I first though of rust but they wouldn't go so not sure what they are to be honest. I have etched over them for now till I get an answer in the bodywork section.
All etched up and will do the rear quarter tomorrow. I am starting to see 'filler fequired' areas all over the place now, very frustrating, but needed to get the finish I want. That finish I want is also described as ' WORKING ' lol !!
Comming along.
Graham
missed the sunny days again and was off during torrential rain, typical, so out today in my first dry day for a bit.
I have been thinking about my crappy front bonnet pin efforts, not impressed by them, so the old grey matter came up with the solution. Re use the old bonnet catch and get rid of the pins on the front, a good compromise.
I took the front pin mounts off, at last, and fitted the rescued bonnet catch. Because I had cut the bonnet about to get better gaps I had to move the catch from the original position to get a central bonnet fit. Worked out fine in the end though.
The front of the bonnet however sticks out more than I like but that is the trade off for ditching the pins. It may look better when the chrome trim is on !!
Not sure if this is normal or not ??
In deciding this course of action I therefore needed to weld up the bonnet holes I hacked in for the pins. Quite an easy job for a two year mini veteran but the bonnet needs a general skim of filler before paint.
This is the next item to rescue as Ithink it is required for mot as it is a safety catch should the bonnet open when driving. I think !! That's tomorrow's job. I didn't use the original bonnet as the front is absolutely cruddy, too much work to save but the parts are useable. So glad I didn't throw away the old front panel too or that would have meant yet more expense to correct a novice mistake.
I also stripped the passenger door frame to bare metal with the wire brush and found the curly marks. I first though of rust but they wouldn't go so not sure what they are to be honest. I have etched over them for now till I get an answer in the bodywork section.
All etched up and will do the rear quarter tomorrow. I am starting to see 'filler fequired' areas all over the place now, very frustrating, but needed to get the finish I want. That finish I want is also described as ' WORKING ' lol !!
Comming along.
Graham
#538
minimuk
-
- Members
-
- 1,947 posts
Camshaft & Stage Two Head
- Location: Midlands
Posted 18 June 2012 - 07:26 PM
nice work, yep the etching shows all....jobs still to be done  ...... don't know them worms, if it is in the metal I probably would cut it out and put a repair piece in, just to be sure. could possibly be steel fatigue.
...... don't know them worms, if it is in the metal I probably would cut it out and put a repair piece in, just to be sure. could possibly be steel fatigue.
#539
grahama
-
- Members
-
- 2,442 posts
Up Into Fourth
- Location: Warrington
- Local Club: None in my area !!
Posted 25 June 2012 - 05:56 PM
Hi all,
got a few bits done, seam sealing, sanding and painting.
All sealed up under the car now, front end and I bent over the passenger a panel with some sealer inside for good measure.

Bent over nicely enough but the a panel face suffered some what in the process. A rag wrapped pair of plumbers pliers for the job but not enough protection. I have also primed the underside for the final time over the seam sealer which had hardened for a day or so.
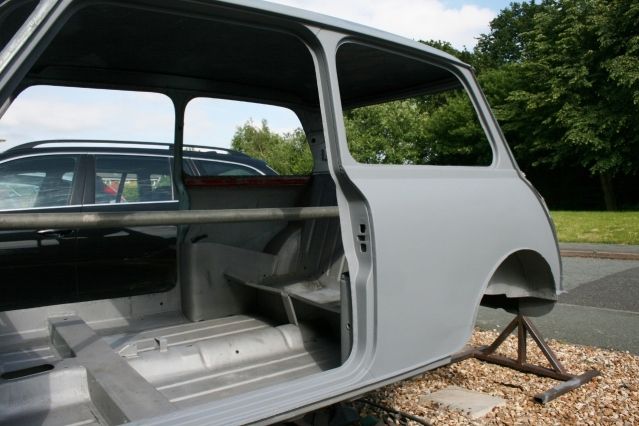
Stripped and etched the passenger side qtr panel so just rear, scuttle and roof to go but need a new wire wheel first as it's been taking a hammering.
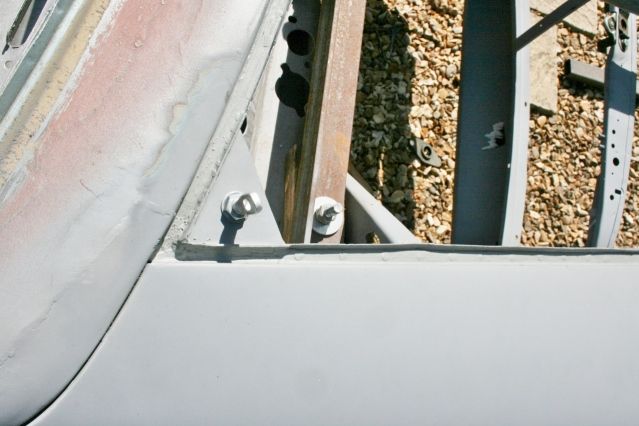
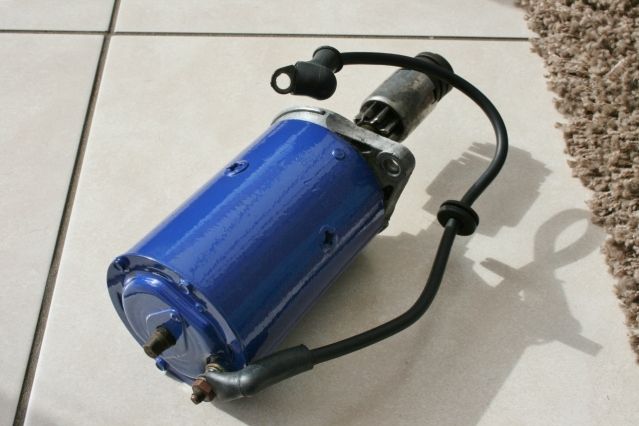
I won sone kyb gas adjust shocks on fleabay for £40 so a bargain but they needed a coat of looking at.


The afore mentioned hammered wire wheel did the buisness but I tried to save the stickers but couldn't. Would like some new ones but don't know where to get them!!
Onto paint in the loft and hey presto

Like new !! I also stripped, cleaned and painted the starter motor. After it was all back together I tested it and it seemed to spin well enough.
Not very interesting but progress. If I get time tomorrow it's stonechip time!!
Graham
got a few bits done, seam sealing, sanding and painting.
All sealed up under the car now, front end and I bent over the passenger a panel with some sealer inside for good measure.
Bent over nicely enough but the a panel face suffered some what in the process. A rag wrapped pair of plumbers pliers for the job but not enough protection. I have also primed the underside for the final time over the seam sealer which had hardened for a day or so.
Stripped and etched the passenger side qtr panel so just rear, scuttle and roof to go but need a new wire wheel first as it's been taking a hammering.
I won sone kyb gas adjust shocks on fleabay for £40 so a bargain but they needed a coat of looking at.
The afore mentioned hammered wire wheel did the buisness but I tried to save the stickers but couldn't. Would like some new ones but don't know where to get them!!
Onto paint in the loft and hey presto
Like new !! I also stripped, cleaned and painted the starter motor. After it was all back together I tested it and it seemed to spin well enough.
Not very interesting but progress. If I get time tomorrow it's stonechip time!!
Graham
#540
thelegg
-
- Members
-
- 612 posts
Super Mini Mad
- Location: Forton
Posted 26 June 2012 - 09:06 PM
top job on refurbishing those shocks, been following your build from the start and i must say im amazed at how good it is


2 user(s) are reading this topic
0 members, 2 guests, 0 anonymous users


