


Mini Virgin Rebuild Of 83 Mayfair.
Started by
grahama
, May 22 2010 05:09 PM
1006 replies to this topic
#571

STREET TWEAKS
-

- Traders
-

- 662 posts
Super Mini Mad
Posted 15 July 2012 - 10:15 PM
very well done there mate the underside looks great
#572
Minidarren83
-

- Members
-
- 1,207 posts
One Carb Or Two?
- Location: Stanford Le hope
Posted 18 July 2012 - 05:00 AM
Hi I've followed your built for quite a long time now just watching and learning and I've got to say you have done an outstanding job it's the people like you that spured me on to get my own project and detail my failing on here lol so thanks
regards Darren
regards Darren
#573
grahama
-
- Members
-
- 2,442 posts
Up Into Fourth
- Location: Warrington
- Local Club: None in my area !!
Posted 18 July 2012 - 02:34 PM
Well, praise indeed, many thanks. Look forward to your thread.
Graham
Graham
#574
hughJ
-

- Members
-
- 727 posts
Soldiering Along
- Location: Highlands, Scotland
Posted 18 July 2012 - 02:48 PM
Graham - brilliant - I just love it. I love that colour and it looks such a great job you've done. I wish I could swap with you!!! Your work is so much tidier than mine. Keep up the good work.
Hugh
Hugh
#575
grahama
-
- Members
-
- 2,442 posts
Up Into Fourth
- Location: Warrington
- Local Club: None in my area !!
Posted 27 July 2012 - 03:28 PM
Hi all,
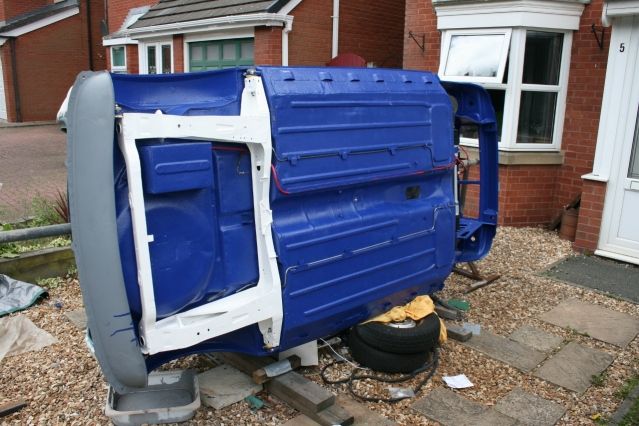
thanks for the comments about the underside, looks nice but the time has come to see if it will go back together. I want it on the wheels before prepping for paint on the top so I tried the rear subframe in place.
Fit it did not !!! I think the stone chip and layers of paint have taken thier toll on the clearances and I have scratched the paintwork so some touching up will be required.
Less on the otherside but very annoying. I tried it before paint and it was tight but fitted, lesson learnt I suppose. Anyway two hours and plenty of chips to the underside and subframe later I had it on.
I have also put the fuel line and brake line inplace and threaded the battery cable through.
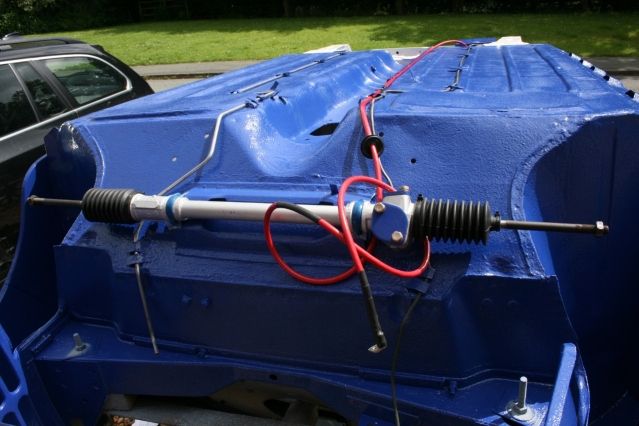

The steering rack has had a regrease and new gaitors put on and fitted on before the sub frame which I put the brake line on.
I tried the ball joint kits on the swivel hubs and was less than impressed with t he feel of them so decided to lap them in
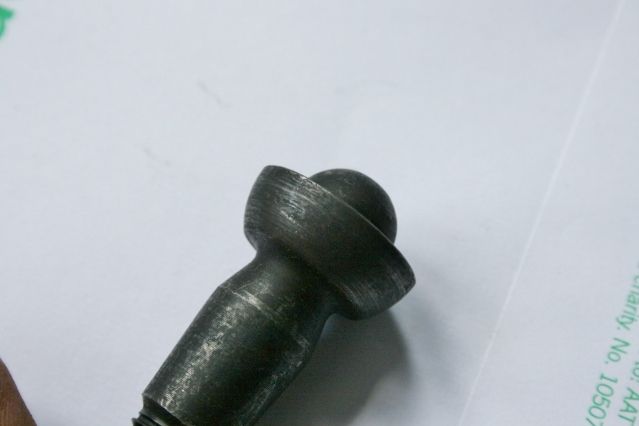
Quite a rough finish to the ball joint and after some gentle lapping with 400 grit valve paset I got them moving quite smoothly. All the surfaces looked far better.
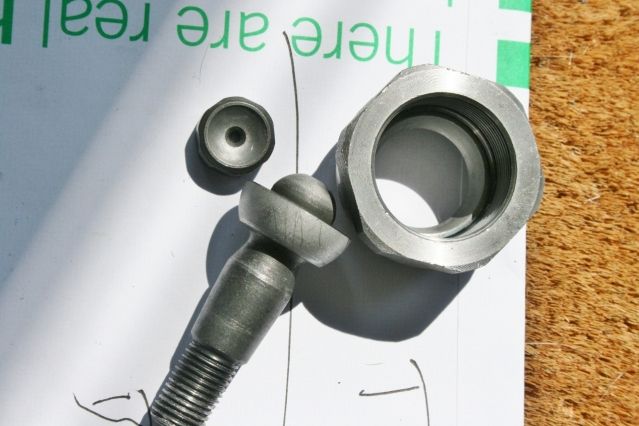
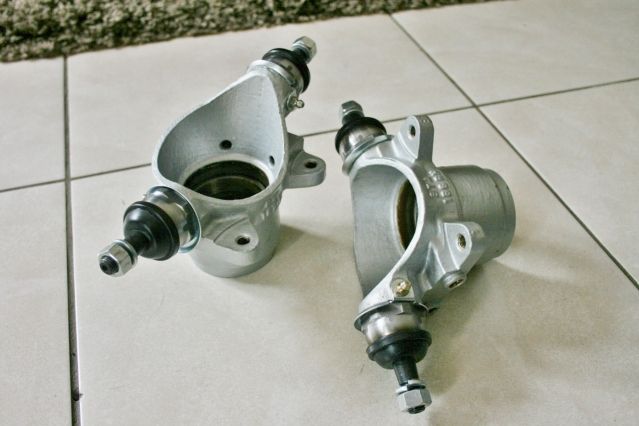
All shimmed up which was a nightmare getting them slackish when torqued up, they just need greasing fram a gun but I dont have one yet.
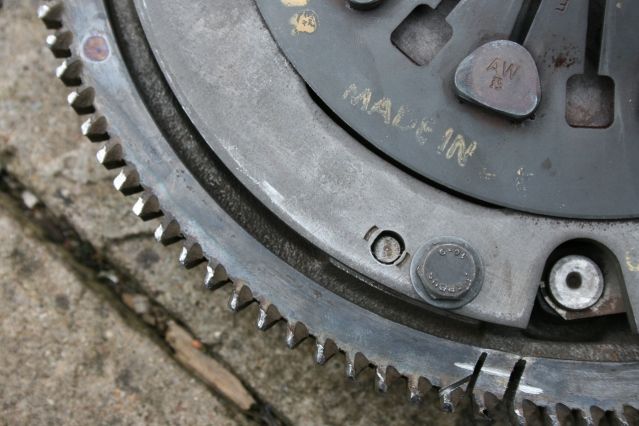
When I was up at Minisport getting the rebuild kits for the suspension arms, tomorrows job, I picked up a new ring gear for the flywheel. Getting the old one off was simple enough, heat and hit, but it didn't work so I did a couple of relief cuts to weaken it and off it came with the next few blows.
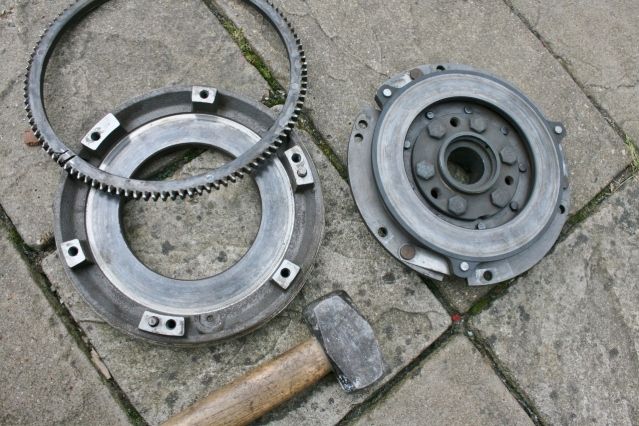
The clutch plate was a little worn so will replace it when I can get hold of one.
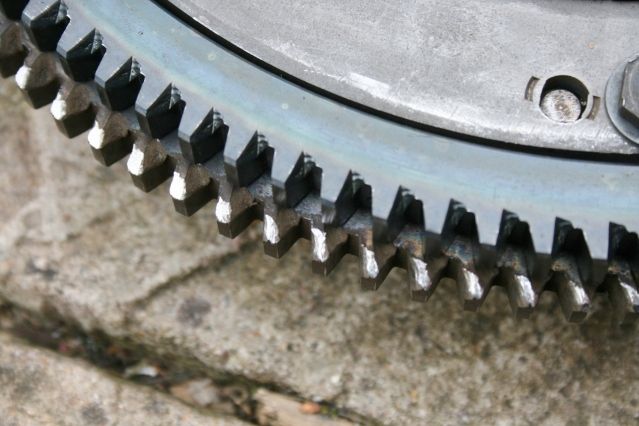
One showing the teeth of the old one and new one for a comparison.
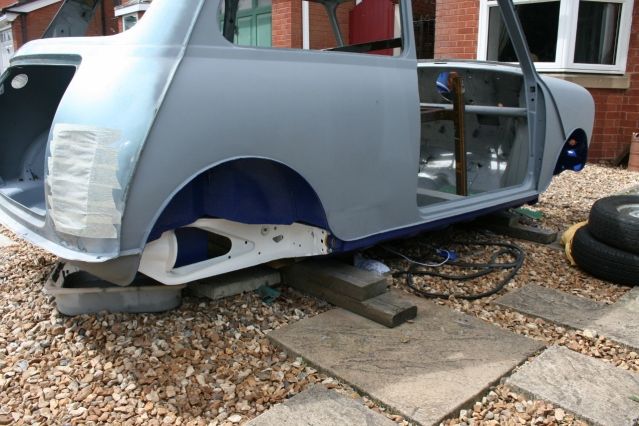
Hopefully re painted and rolling over the weekend and then I can see if it is still straight. I do hope so as it's going to be job stopped if not !!
Graham
thanks for the comments about the underside, looks nice but the time has come to see if it will go back together. I want it on the wheels before prepping for paint on the top so I tried the rear subframe in place.
Fit it did not !!! I think the stone chip and layers of paint have taken thier toll on the clearances and I have scratched the paintwork so some touching up will be required.
Less on the otherside but very annoying. I tried it before paint and it was tight but fitted, lesson learnt I suppose. Anyway two hours and plenty of chips to the underside and subframe later I had it on.
I have also put the fuel line and brake line inplace and threaded the battery cable through.
The steering rack has had a regrease and new gaitors put on and fitted on before the sub frame which I put the brake line on.
I tried the ball joint kits on the swivel hubs and was less than impressed with t he feel of them so decided to lap them in
Quite a rough finish to the ball joint and after some gentle lapping with 400 grit valve paset I got them moving quite smoothly. All the surfaces looked far better.
All shimmed up which was a nightmare getting them slackish when torqued up, they just need greasing fram a gun but I dont have one yet.
When I was up at Minisport getting the rebuild kits for the suspension arms, tomorrows job, I picked up a new ring gear for the flywheel. Getting the old one off was simple enough, heat and hit, but it didn't work so I did a couple of relief cuts to weaken it and off it came with the next few blows.
The clutch plate was a little worn so will replace it when I can get hold of one.
One showing the teeth of the old one and new one for a comparison.
Hopefully re painted and rolling over the weekend and then I can see if it is still straight. I do hope so as it's going to be job stopped if not !!
Graham
#576
hughJ
-
- Members
-
- 727 posts
Soldiering Along
- Location: Highlands, Scotland
Posted 27 July 2012 - 06:36 PM
Graham - great great job. I like the white subframes and you know I like the blue. So its not just me that scratches and damages newly painted parts! I don't mean to be mean but its a relief!! You will get it touched up and then you'll forget. It looks great.
Hugh
Hugh
#577
alex-95
-

- Members
-
- 6,078 posts
I am THE CLAMP MAKER
- Location: l
Posted 27 July 2012 - 06:50 PM
Look's great Graham, I had to replace Balljoint's the other week and was a nightmare to get them right.
Would you be able to take a measurement for me, from the valance closure to the heelboard mounting point?
Alex
Would you be able to take a measurement for me, from the valance closure to the heelboard mounting point?
Alex
#578
grahama
-
- Members
-
- 2,442 posts
Up Into Fourth
- Location: Warrington
- Local Club: None in my area !!
Posted 27 July 2012 - 08:05 PM
M
Edited by grahama, 27 July 2012 - 08:13 PM.
#579
grahama
-
- Members
-
- 2,442 posts
Up Into Fourth
- Location: Warrington
- Local Club: None in my area !!
Posted 27 July 2012 - 08:10 PM
Hugh, I was gutted to have to scrape away good work, but will, like u say, be ok soon.
Alex, will pm u tomorrow. I had loads of shim sets and still couldn't get it right. Spent about 4 hours doing them and the lapping in was 20 mins of that !!!
Alex, will pm u tomorrow. I had loads of shim sets and still couldn't get it right. Spent about 4 hours doing them and the lapping in was 20 mins of that !!!
#580
alex-95
-
- Members
-
- 6,078 posts
I am THE CLAMP MAKER
- Location: l
Posted 27 July 2012 - 08:13 PM
Cheer's, The ball joints that were bought only had 6 shim's with it, so we ran out even with the old one's so we ended up making one.Hugh, I was gutted to have to scrape away good work, but will, like u say, be ok soon.
Alex, will pm u tomorrow. I had loads of shim sets and still couldn't get it right. Spent about 4 hours doing them and the lapping in was 20 mins of that !!!
#581
minimuk
-

- Members
-
- 1,947 posts
Camshaft & Stage Two Head
- Location: Midlands
Posted 27 July 2012 - 10:06 PM
excellent work Graham, scratces happen when rebuilding it, now easy to handle a subby but hey ,...you can repaint the easy, steering rack looks just like new. keep it going and soon you will be on the road....
#582
grahama
-
- Members
-
- 2,442 posts
Up Into Fourth
- Location: Warrington
- Local Club: None in my area !!
Posted 28 July 2012 - 05:47 PM
Hi all,
thanks for the kind words about my heavy handedness with a large hammer, which is what caused most of the scrapes !! Anyway sun out and paint tin by my side i repaired the damage, etch and top coat the sun to bake.
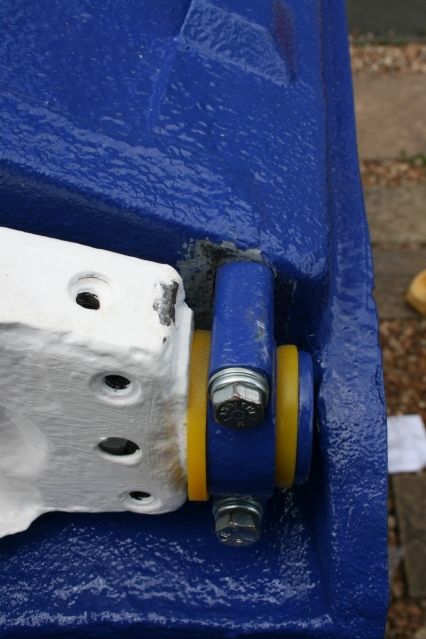
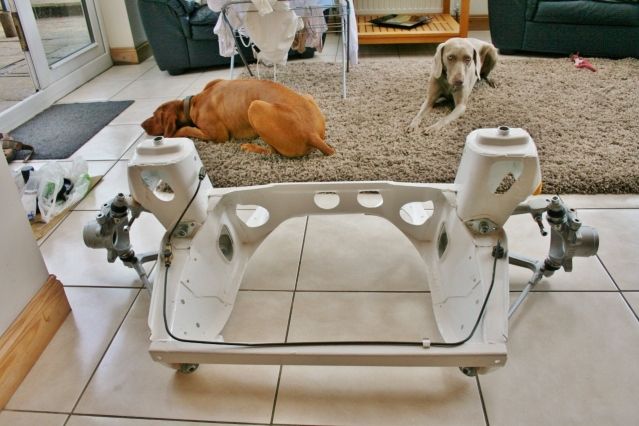
Happy and baked I proceded to 'carefully' put the rear subby on and slopped a load of grease in the bolt holes just for the future. Also decided to put the rear subby brake lines on now rather than struggling later on.
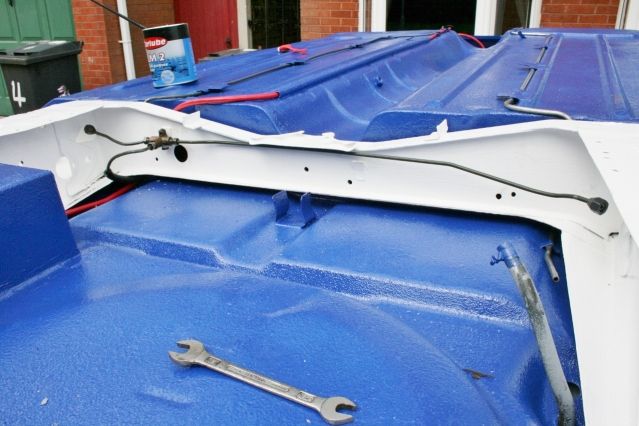
That done we had showers so all under cover again. Inside, despite the olympics destracting me, I starthe to build up the front subby ready for bolting on.
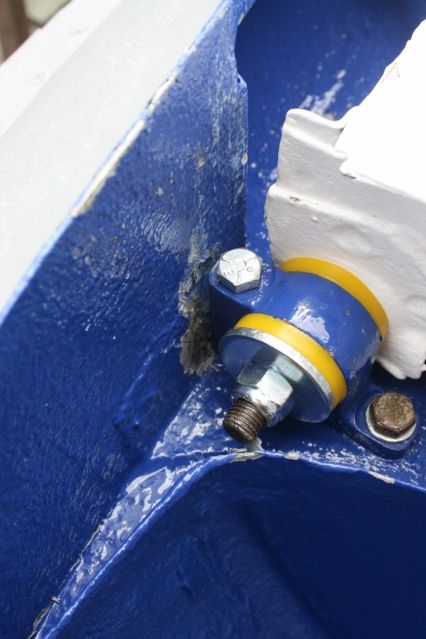
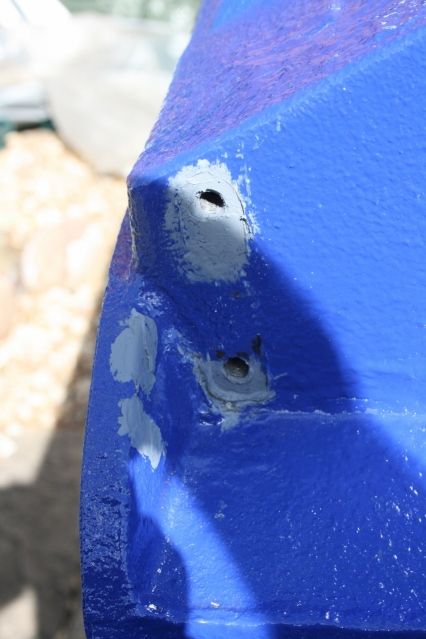
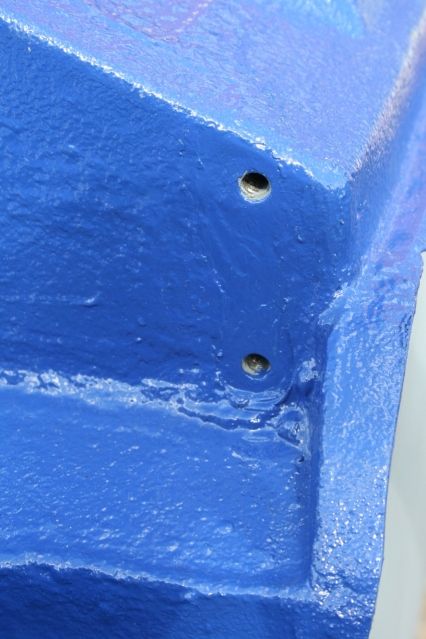
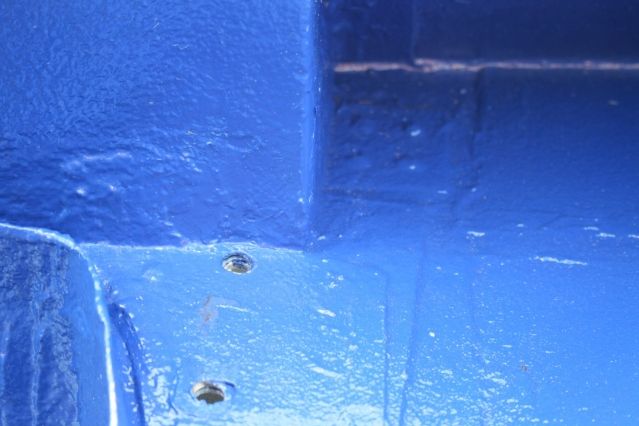
However everything I tried to bolt on had far too much paint on so I had to scrape it off, as shown !!
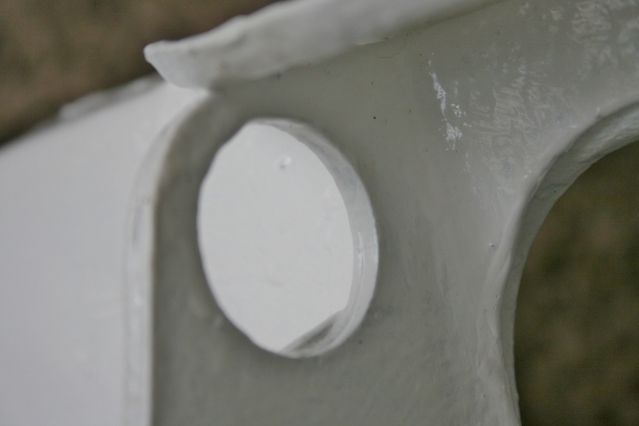
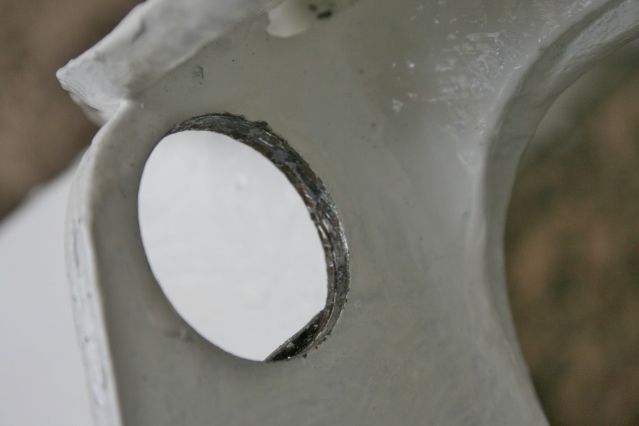
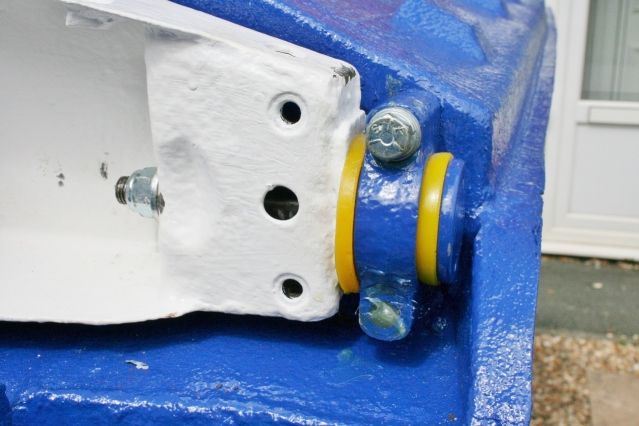
I had to do this on many, many, holes and painted parts, very, again, dissapointed to undo work !! A while later this was the result

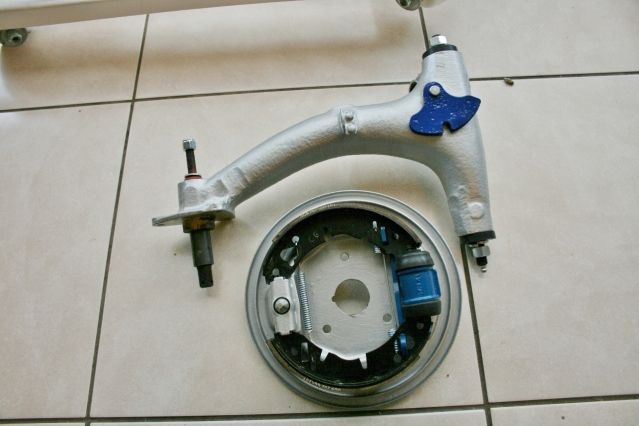
I had issues with missing bolts and lack of knowledge about what I needed progress was slow, but got there and I also tried the radius arm rebuild kit in the arm, nice and snug and built up the backplate for that side.
As Hugh would probably and correctly say, chipping paint along !!!!
Graham
thanks for the kind words about my heavy handedness with a large hammer, which is what caused most of the scrapes !! Anyway sun out and paint tin by my side i repaired the damage, etch and top coat the sun to bake.
Happy and baked I proceded to 'carefully' put the rear subby on and slopped a load of grease in the bolt holes just for the future. Also decided to put the rear subby brake lines on now rather than struggling later on.
That done we had showers so all under cover again. Inside, despite the olympics destracting me, I starthe to build up the front subby ready for bolting on.
However everything I tried to bolt on had far too much paint on so I had to scrape it off, as shown !!
I had to do this on many, many, holes and painted parts, very, again, dissapointed to undo work !! A while later this was the result
I had issues with missing bolts and lack of knowledge about what I needed progress was slow, but got there and I also tried the radius arm rebuild kit in the arm, nice and snug and built up the backplate for that side.
As Hugh would probably and correctly say, chipping paint along !!!!
Graham
Edited by grahama, 28 July 2012 - 05:49 PM.
#583
hughJ
-
- Members
-
- 727 posts
Soldiering Along
- Location: Highlands, Scotland
Posted 28 July 2012 - 07:37 PM
Graham whatever rubbish I say, this is great. You are getting through a lot of work and it looks smashing. See you've done the repairs, in a couple of months they will be forgotten!
Hugh
Hugh
#584
grahama
-
- Members
-
- 2,442 posts
Up Into Fourth
- Location: Warrington
- Local Club: None in my area !!
Posted 28 July 2012 - 08:51 PM
Hugh, the 'ode to Hugh' was nothing but complimentary lol !! Don't know about getting through loads, seems to be one step forward, run out of the correct bolts, none in the 'save for later box' , curse and step backward in progress !!
#585
minimuk
-
- Members
-
- 1,947 posts
Camshaft & Stage Two Head
- Location: Midlands
Posted 29 July 2012 - 09:41 PM
nice work Graham, attention to detain, I would pack those boltholes with grease after scraping paint off..


3 user(s) are reading this topic
0 members, 3 guests, 0 anonymous users


