you ideally want to have etch primer between the bog and the metal
i know most people just put it over bare metal .. but you really dont want to the moisture can get under the bog and stright on the steel and them it starts to come off
panel shops dont have time to prime them bog them prime again .. thats why its just stright over the top


Mini Virgin Rebuild Of 83 Mayfair.
Started by
grahama
, May 22 2010 05:09 PM
1006 replies to this topic
#601

new_zealand _minis
-
- Members
-

- 654 posts
Super Mini Mad
- Local Club: wellington new zealand
Posted 07 August 2012 - 07:50 AM
#602
hughJ
-

- Members
-
- 727 posts
Soldiering Along
- Location: Highlands, Scotland
Posted 07 August 2012 - 08:03 AM
Graham I am all sympathy. I hate, hate, really hate filling and sanding. I built it up in thin layers sanding back each time but it took months as you know. And it still wasn't perfect. Just do it a wee bit at a time so as not to sicken yourself. Have a great holiday and come back revitalised. I usually come back not wanting to go near the garage.
Kind wishes
Hugh
Kind wishes
Hugh
#603
grahama
-
- Members
-
- 2,442 posts
Up Into Fourth
- Location: Warrington
- Local Club: None in my area !!
Posted 07 August 2012 - 08:26 AM
Ahhhhhhhhhhhhhhhhhhhhhhhhh !!!! Had etch under there to begin with but read that it is better over bare metal so scrubbed it all off. So many conflicting views on what to use and how to use it. For a nivice it is very frustrating to know what to do for the best. Not having a go NZ mini just a general comment lol.
Will leave the scuttle ends and go over etch in the other areas. At least it will give me a comparrison for the futurre to see what works best !!
Graham
Will leave the scuttle ends and go over etch in the other areas. At least it will give me a comparrison for the futurre to see what works best !!
Graham
#604
danie garry
-

- Members
-
- 2,296 posts
I love BMW minis
- Location: malmo
- Local Club: IMOC-Irish Mini Owners Club
Posted 07 August 2012 - 01:23 PM
if you're using filler in warm weather when it'l go off quick and go all grainy like you said just put a dribble of 2k thinners into it, thats what i did as a little experiment and it was alot easier to work with and it hasnt had any adverse affects a year and a bit on!
its the most horrible job no matter what though!! its getting there so enjoy the trip and hurry up and get back for an update on this!!
its the most horrible job no matter what though!! its getting there so enjoy the trip and hurry up and get back for an update on this!!
#605
thelegg
-

- Members
-
- 612 posts
Super Mini Mad
- Location: Forton
Posted 07 August 2012 - 06:35 PM
back tracking a little, i have the same coil springs yet bought from Huddersfield Mini Spares and after a year of everyday/fast road use they are fine with a noticeable difference over the rubber cones but thats pretty much the only good word i can give Huddersfield mini spares as the HI-LO's i bought from them kept snapping !!!
By the way stunning work as per usual this car is going to be a beauty once finished :)
By the way stunning work as per usual this car is going to be a beauty once finished :)
#606
AaronRimmington
-

- Noobies
-
- 62 posts
Stage One Kit Fitted
Posted 08 August 2012 - 08:18 PM
as danie said, in warm weather the filler will go off faster, but it also goes of faster on increased ammount of hardner, sometimes its better to get it on smoothish, and leave it to harden rather than fettling with it a few times and ending up with a grainy texture,
also try do long smooth strokes, from end to end i found that always helped me apply filler relatively smoothly
looking forward to seeing this in paint :)
also try do long smooth strokes, from end to end i found that always helped me apply filler relatively smoothly
looking forward to seeing this in paint :)
#607
minimuk
-

- Members
-
- 1,947 posts
Camshaft & Stage Two Head
- Location: Midlands
Posted 13 August 2012 - 04:46 PM
Graham, I se you are getting to a bitta nightmare wiv the fillering,......dno bout 2k thinner, all I know is not to do filling in to warmer wheather or defo not in the sun,and less hardener in warm wheather then the winter. aslong the bare metal is clean and grease free slap it on, I never etch prime first (but then I am an amatuer)the rest is just practice......it will come to you.....
#608
grahama
-
- Members
-
- 2,442 posts
Up Into Fourth
- Location: Warrington
- Local Club: None in my area !!
Posted 13 August 2012 - 09:53 PM
Hi all,
Photobook have messed my account up so not sure when the old pics will be back as all out of order now so could be a while getting the thread back on track. However todays pics may work !!
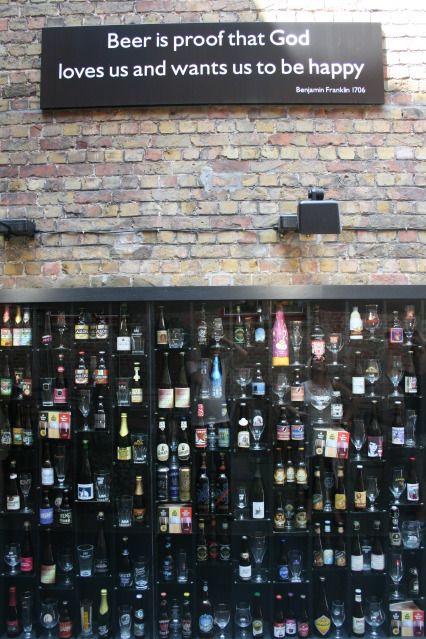
Back from hols in Brugges with wifey Jan in the sun, restaurants and most importantly beer emporiums !!


Anyway back on the mini, more dreaded sanding to the scuttle and a panels !
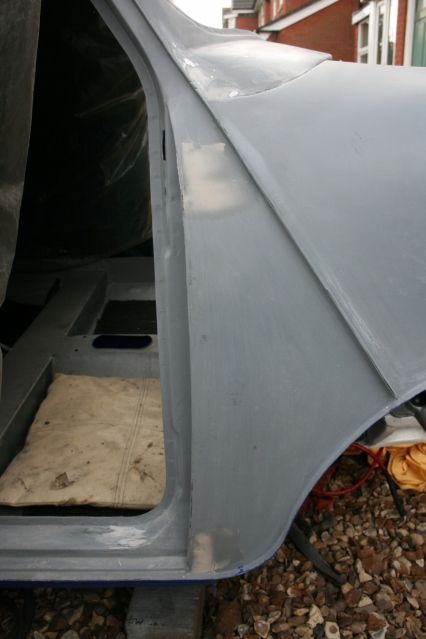
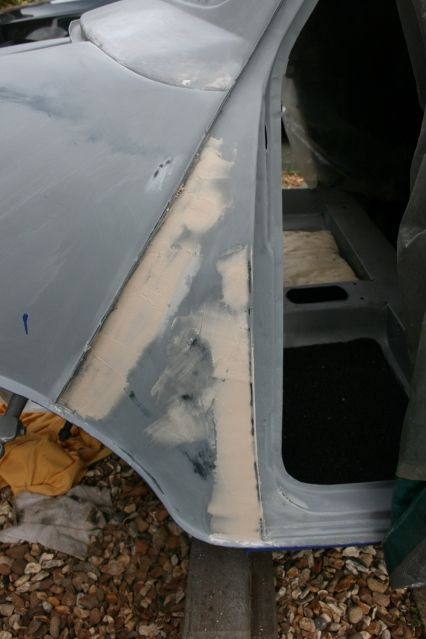
Driver side a panel didn't need much except over the welds but the passenger side I had to cut and weld to fit so it needed some more work to get right, but the sanding is getting easier lol !!
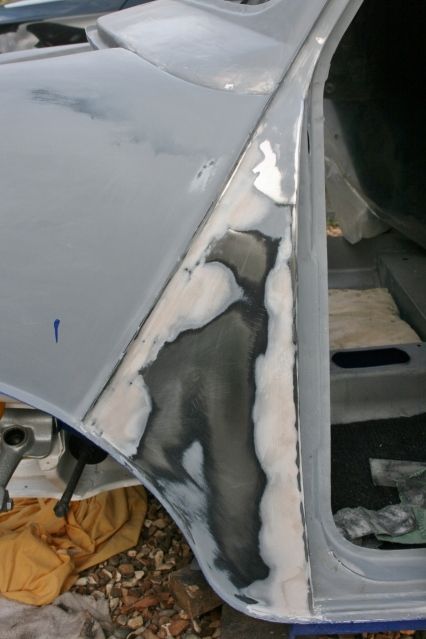
Pass a panel turned out ok and a second go at the scuttle ends gave me these
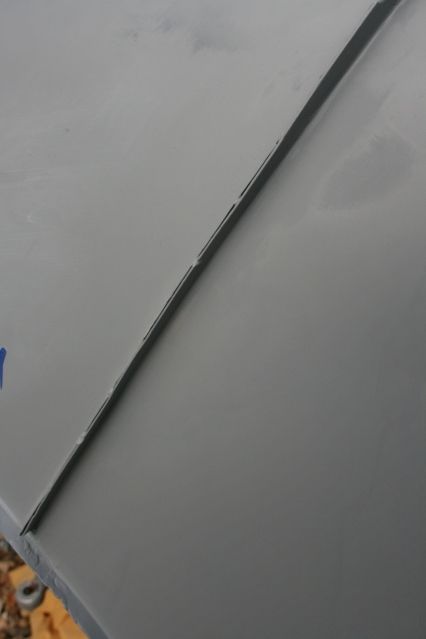
Passenger side looks pretty good but there is still a small step on the driver side. As I may have mentioned I hate sanding lol, so may well just work with it if it does not nag at me as it is smooth and looks presentable for a first go !!
Gave it all a good etch priming and put it to bed. Working front to back on the filler side of things, rear quarters next then strip the rear panel and do that, phew, getting there !!
Graham
Photobook have messed my account up so not sure when the old pics will be back as all out of order now so could be a while getting the thread back on track. However todays pics may work !!
Back from hols in Brugges with wifey Jan in the sun, restaurants and most importantly beer emporiums !!
Anyway back on the mini, more dreaded sanding to the scuttle and a panels !
Driver side a panel didn't need much except over the welds but the passenger side I had to cut and weld to fit so it needed some more work to get right, but the sanding is getting easier lol !!
Pass a panel turned out ok and a second go at the scuttle ends gave me these
Passenger side looks pretty good but there is still a small step on the driver side. As I may have mentioned I hate sanding lol, so may well just work with it if it does not nag at me as it is smooth and looks presentable for a first go !!
Gave it all a good etch priming and put it to bed. Working front to back on the filler side of things, rear quarters next then strip the rear panel and do that, phew, getting there !!
Graham
Edited by grahama, 14 August 2012 - 09:32 AM.
#609
minimuk
-
- Members
-
- 1,947 posts
Camshaft & Stage Two Head
- Location: Midlands
Posted 14 August 2012 - 09:26 PM
A few more goes wiv fillering nd sanding and you should be fine, it is an art, start sanding with 80grit then 240 then, if yr happy with it, finish with 600, it's bit like making a cake without sand paper........
by the way that beer yr where drinking there in Brugges was that 'Mort Subite'?
by the way that beer yr where drinking there in Brugges was that 'Mort Subite'?
#610
grahama
-
- Members
-
- 2,442 posts
Up Into Fourth
- Location: Warrington
- Local Club: None in my area !!
Posted 15 August 2012 - 04:52 PM
Hi all,
Muk, the beer in the picture was called 'Kwak'. It is always served in that glass and that is the small one but they are strong so just that for starters. Many beers later each day my eyes were not that focussed lol !!
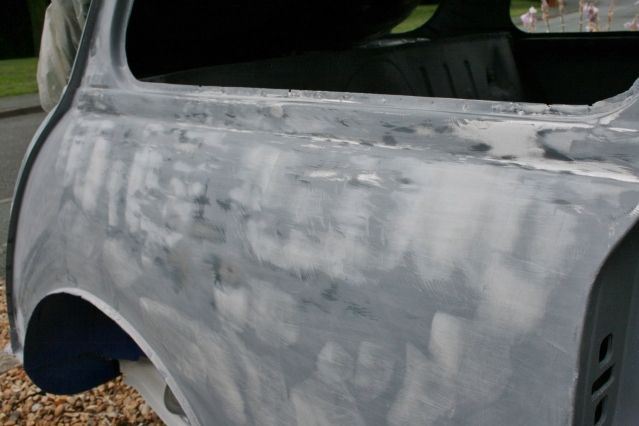
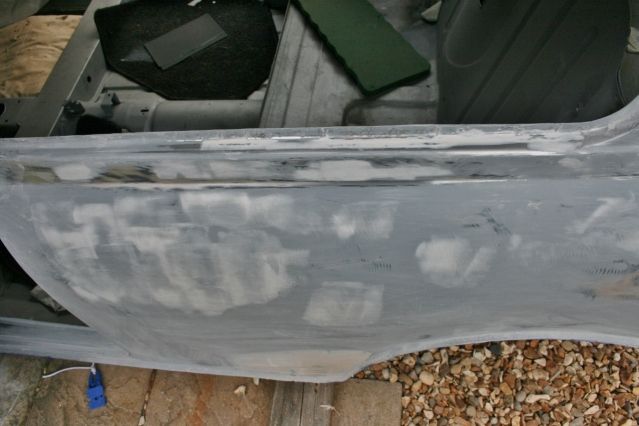
Back to the buisness at hand, more sanding !! To the rear quarters this time my process on all the filler is this
start
first slop on
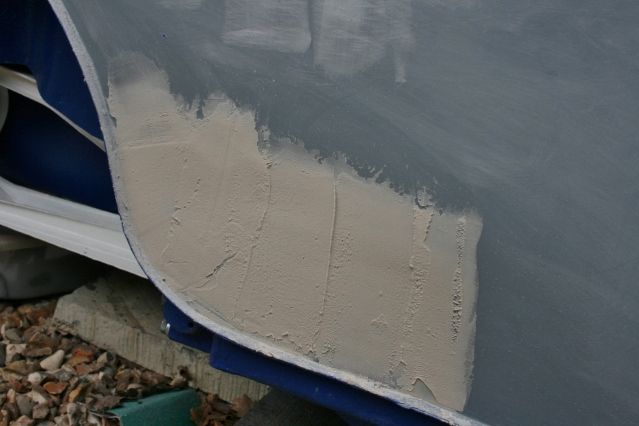
second pass
third if needed and it usually is lol
to etch

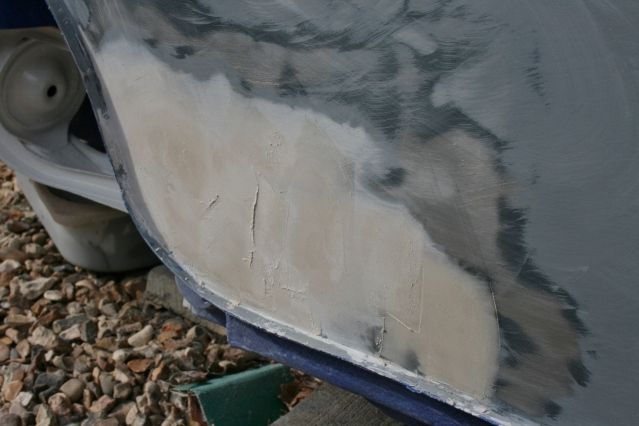
I am sanding with 80 grit to get the initial filler smooth and on the following layers I use the old paper which is significantly smoother but not sure the grit, probably should use the correct grit as everyone suggests and take the guess work out of it. The end product comes out ok though, and am still learning this stuff !!
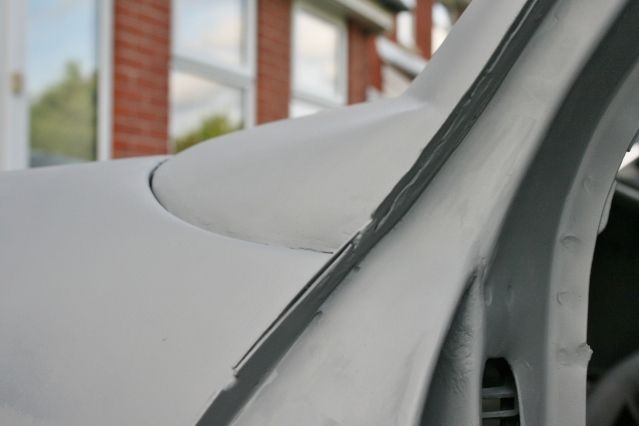
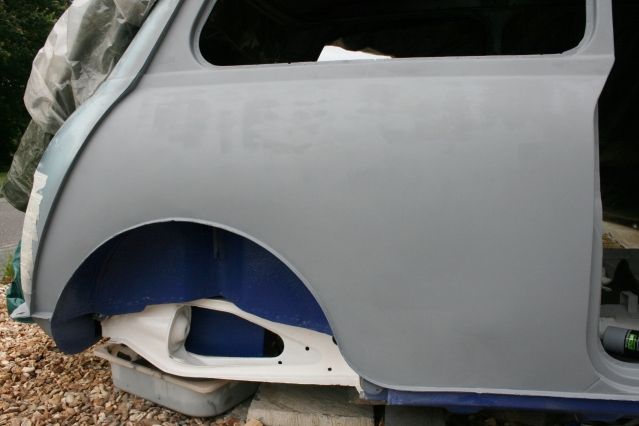
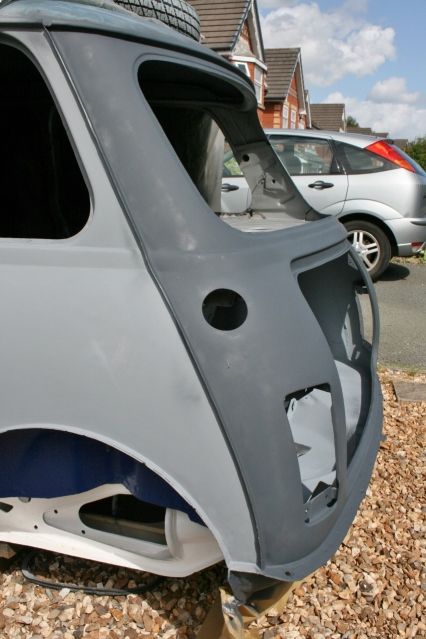
Window surrounds also had some coats and the actual panels too as I marked the metal stripping the paint off.

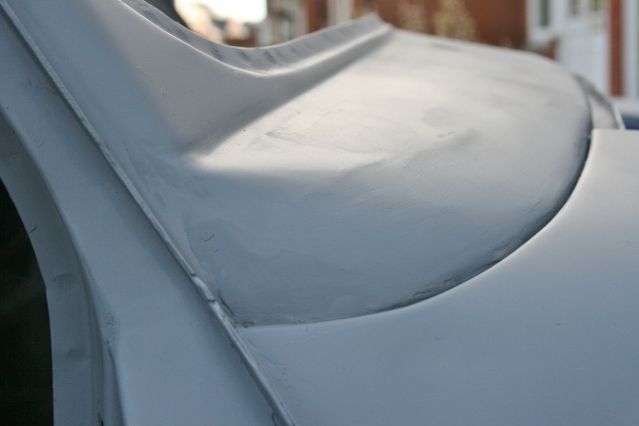
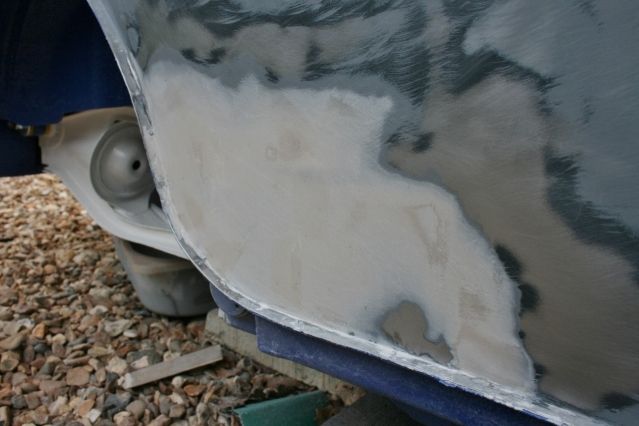
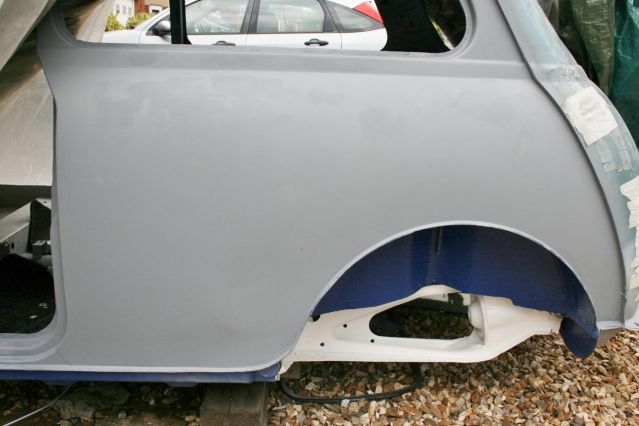
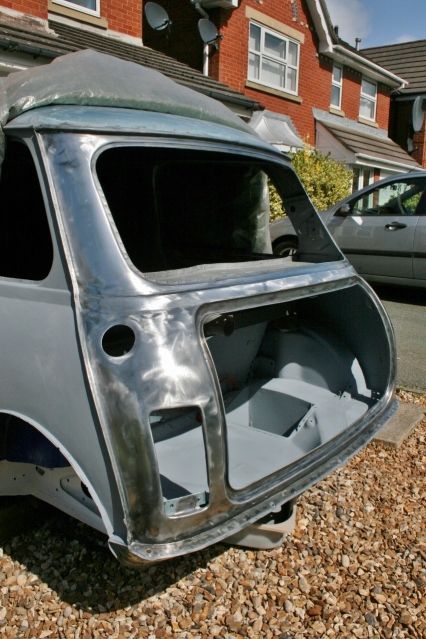
Which left me with two rear quarters pretty much done, couple of pin holes in the window filler to sort but quite pleased apart from a little overspray of etch on the sill.
As with working outside on the day I get revved up to do loads it promptly rained just as I started to strip the boot panel, c'est la vie !!
Graham
Muk, the beer in the picture was called 'Kwak'. It is always served in that glass and that is the small one but they are strong so just that for starters. Many beers later each day my eyes were not that focussed lol !!
Back to the buisness at hand, more sanding !! To the rear quarters this time my process on all the filler is this
start
first slop on
second pass
third if needed and it usually is lol
to etch
I am sanding with 80 grit to get the initial filler smooth and on the following layers I use the old paper which is significantly smoother but not sure the grit, probably should use the correct grit as everyone suggests and take the guess work out of it. The end product comes out ok though, and am still learning this stuff !!
Window surrounds also had some coats and the actual panels too as I marked the metal stripping the paint off.
Which left me with two rear quarters pretty much done, couple of pin holes in the window filler to sort but quite pleased apart from a little overspray of etch on the sill.
As with working outside on the day I get revved up to do loads it promptly rained just as I started to strip the boot panel, c'est la vie !!
Graham
Edited by grahama, 15 August 2012 - 04:54 PM.
#611
Shifty
-

- Admin
-
- 13,154 posts
Sponsored by Fosters (tm)
- Name: Sean
- Location: Shropshire(sunny)
- Local Club: TMF
Posted 15 August 2012 - 05:01 PM
Filling is time consuming!!
My tips...
- Use a good filler, upol Fantastic is the best I've ever used
- I have always only used the filler on bare metal, any paint underneath can promote sinkage.
- Don't use etch on top of the filler, that can cause reaction.
- For large areas use a steel ruler to help level off the filler.
- For curved surfaces, wrap the sand paper around a filler spreader.
- If you see a bit you are unhappy, don't think"It will look better with paint", it won't!! Any defects look a 1000x worse when painted.
I actually quite enjoy filler work, its quite satisfying!!
#612
Minidarren83
-

- Members
-
- 1,207 posts
One Carb Or Two?
- Location: Stanford Le hope
Posted 15 August 2012 - 05:19 PM
That rear quarter turned out fantastic I would also second on the filler choice give the upol fantastic a go it goes on smooth and sands easy with an almost perfect finish
#613
grahama
-
- Members
-
- 2,442 posts
Up Into Fourth
- Location: Warrington
- Local Club: None in my area !!
Posted 15 August 2012 - 05:44 PM
Too late to change for this project as have a massive tin lol. Conflicting views on bare metal or over etch, and Shifty I have no idea what sinkage is lol !! Did the scuttle bare metal and the qtrs over etch, am not taking it off to re do so will have to cross fingers. Will be a comparison for the future for me anyway to see if one way works better than the other. This project is my first and very much a learning process in all areas so many thanks for the tips.
Graham
Graham
#614
grahama
-
- Members
-
- 2,442 posts
Up Into Fourth
- Location: Warrington
- Local Club: None in my area !!
Posted 16 August 2012 - 05:48 PM
Hi all,
getting there !!! A minor set back but nothing unsurmountable for my amateur skills lol.
sun was out but forecast was rain by early afternnon so out I went when the neighbours were up, grinder in hand and the noise started.
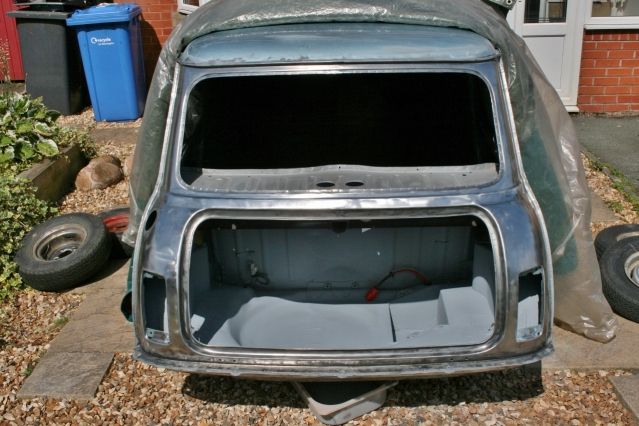
A couple of hours later the rear panel was stripped, the valance I was not so particular about as it is quite unseen, but it was smooth. I have to say I do like the chrome look of bare metal, but on a mini it is just about the most ridiculous thing you could do lol.
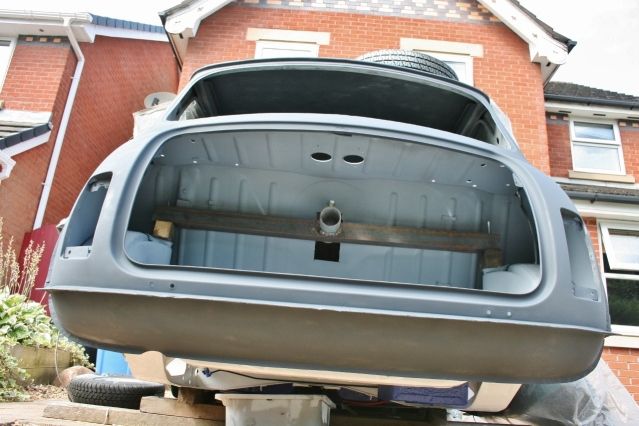
I did find some pitted metal on the roof gutter but it was strong and it got a good kurusting and etching. All this area will be thoroughly seam sealed when I paint the roof aswell for additional protection.
I stripped off the seam sealer off the welds on the valance so I re did this. Also I ground down the the layers of metal from the boot floor, rear panel and vallance join as I had forgotten it and it looked very untidy, so the sparks flew for the last time hopefully and I seam sealed the joint to help keep the water out !!!
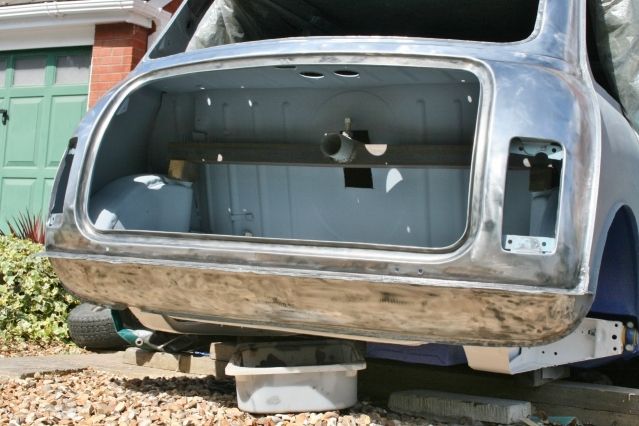
I ran out of my bargain ebay etch, which covers very well and is half the shop price so got some upol stuff.
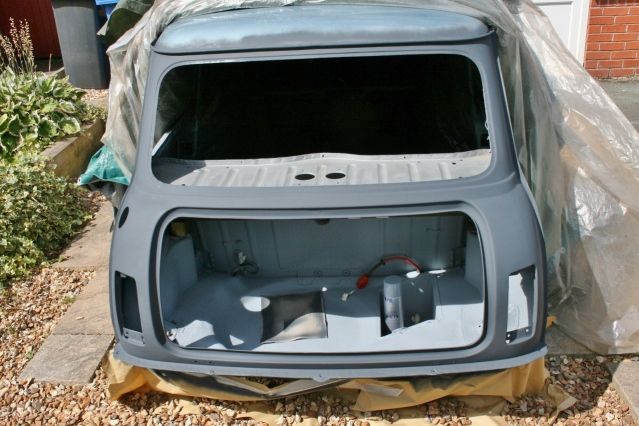
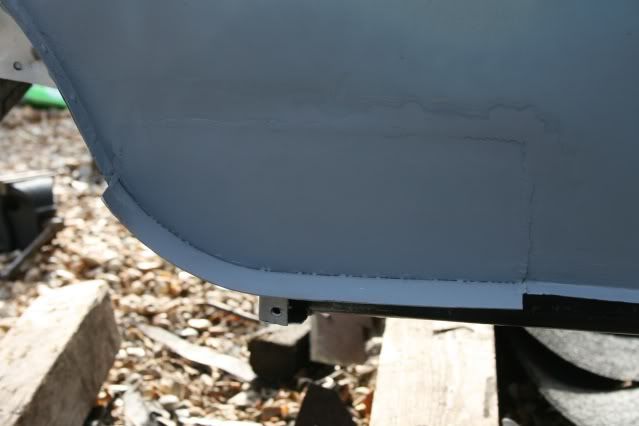
I got quite a surprise when it was dark grey !! I will be putting a couple of high build coats on the whole car so hopefully it will all look the same eventually. I also like the valance shot here, a deseamed valance is my prefered look but it's not my car. Minis look meaner with the seam gone imo.
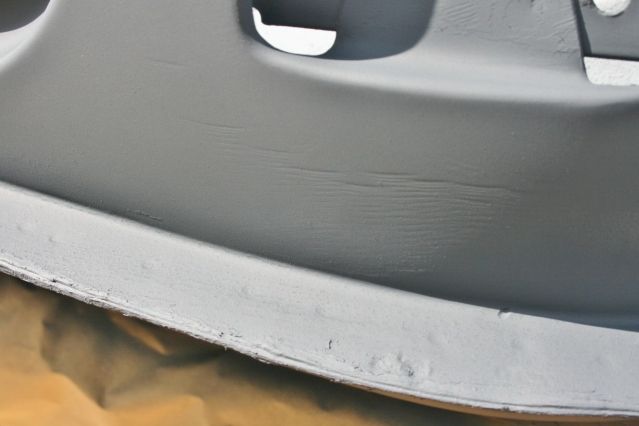
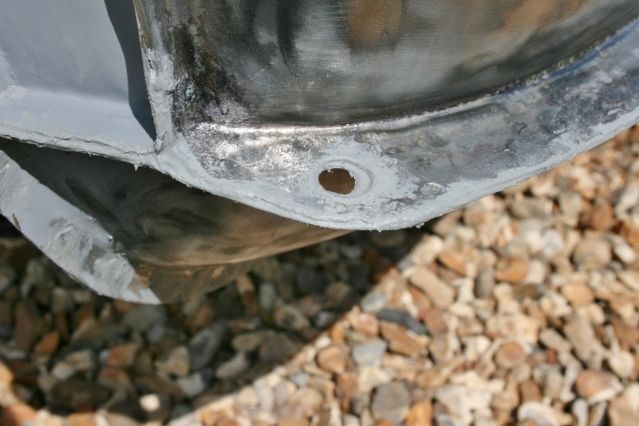
The only filler required on the rear panel is here where I was too agressive with a strip disk, quick job, but the set back came when I had a look at the other day's filling on the passenger side.

This looked fine from the other direction, probably why I missed it but more time required here. Also looked into the boot and the tiger seal I put along the boot floor to rear panel seam has cracked where the stonechip was sprayed over.
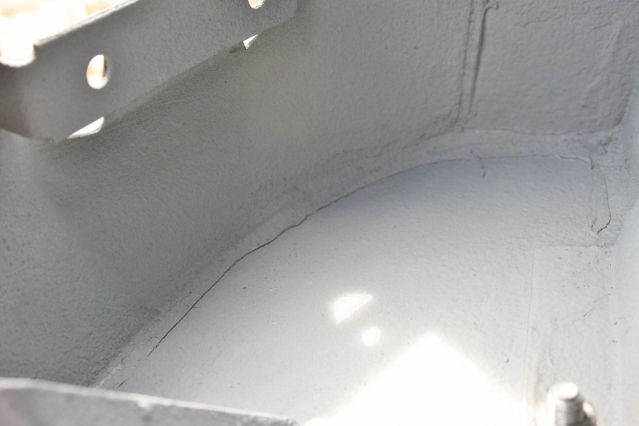
This is pretty much along the whole joint, any ideas why it has cracked and what I can do?
Roof to do then bit of filler then spraying time woo hoo !!! The rain didn't come but need more etch first, however, Matt is very excited !!!
Graham
getting there !!! A minor set back but nothing unsurmountable for my amateur skills lol.
sun was out but forecast was rain by early afternnon so out I went when the neighbours were up, grinder in hand and the noise started.
A couple of hours later the rear panel was stripped, the valance I was not so particular about as it is quite unseen, but it was smooth. I have to say I do like the chrome look of bare metal, but on a mini it is just about the most ridiculous thing you could do lol.
I did find some pitted metal on the roof gutter but it was strong and it got a good kurusting and etching. All this area will be thoroughly seam sealed when I paint the roof aswell for additional protection.
I stripped off the seam sealer off the welds on the valance so I re did this. Also I ground down the the layers of metal from the boot floor, rear panel and vallance join as I had forgotten it and it looked very untidy, so the sparks flew for the last time hopefully and I seam sealed the joint to help keep the water out !!!
I ran out of my bargain ebay etch, which covers very well and is half the shop price so got some upol stuff.
I got quite a surprise when it was dark grey !! I will be putting a couple of high build coats on the whole car so hopefully it will all look the same eventually. I also like the valance shot here, a deseamed valance is my prefered look but it's not my car. Minis look meaner with the seam gone imo.
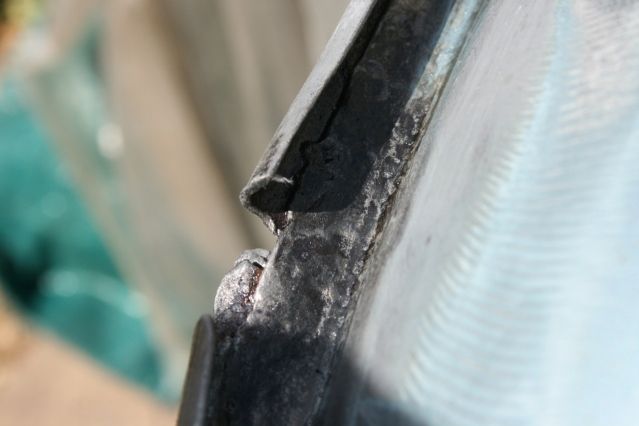
The only filler required on the rear panel is here where I was too agressive with a strip disk, quick job, but the set back came when I had a look at the other day's filling on the passenger side.
This looked fine from the other direction, probably why I missed it but more time required here. Also looked into the boot and the tiger seal I put along the boot floor to rear panel seam has cracked where the stonechip was sprayed over.
This is pretty much along the whole joint, any ideas why it has cracked and what I can do?
Roof to do then bit of filler then spraying time woo hoo !!! The rain didn't come but need more etch first, however, Matt is very excited !!!
Graham
Edited by grahama, 16 August 2012 - 06:05 PM.
#615
hughJ
-
- Members
-
- 727 posts
Soldiering Along
- Location: Highlands, Scotland
Posted 16 August 2012 - 07:54 PM
Graham that is looking just smashing. See our old friend Shifty above, and his quote - "I actually quite enjoy filler work, its quite satisfying!!" Has he some problem?? I truly, truly hate the filling and sanding and can find no satisfaction in any form. What you are doing is looking great. The rear quarters are superb. I'm disappointed you've primed the rear. I thought a few coats of lacquer and then a unique Mini! Great to see you pushing on. We've kind of being going along at the same speed for some time now!
Hugh
Hugh


0 user(s) are reading this topic
0 members, 0 guests, 0 anonymous users


