


Mini Virgin Rebuild Of 83 Mayfair.
Started by
grahama
, May 22 2010 05:09 PM
1006 replies to this topic
#616

alex-95
-

- Members
-

- 6,078 posts
I am THE CLAMP MAKER
- Location: l
Posted 16 August 2012 - 08:00 PM
Look's great Graham, Coming along now
#617
myredmini
-

- TMF+ Member
-
- 3,211 posts
My Mummy Says It's OK
- Name: Dan
- Location: Teesside
- Local Club: BOG MOG
Posted 16 August 2012 - 08:03 PM
Looking good Graham!!
#618
thelegg
-

- Members
-
- 612 posts
Super Mini Mad
- Location: Forton
Posted 22 August 2012 - 09:21 PM
looks smashing as usual and ive got to agree with the de-seamed/de-bumpered look :)
#619
grahama
-
- Members
-
- 2,442 posts
Up Into Fourth
- Location: Warrington
- Local Club: None in my area !!
Posted 23 August 2012 - 07:49 PM
Hi all,
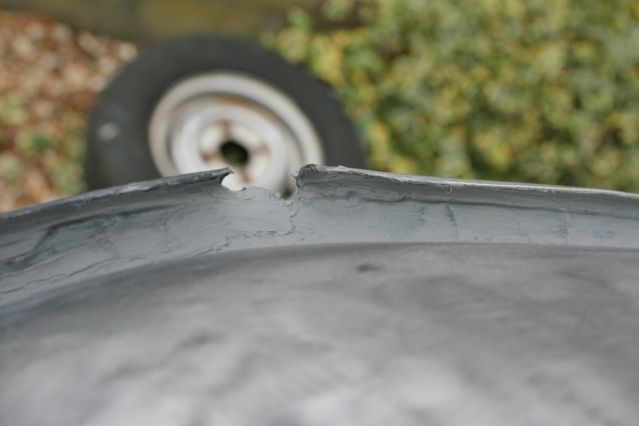
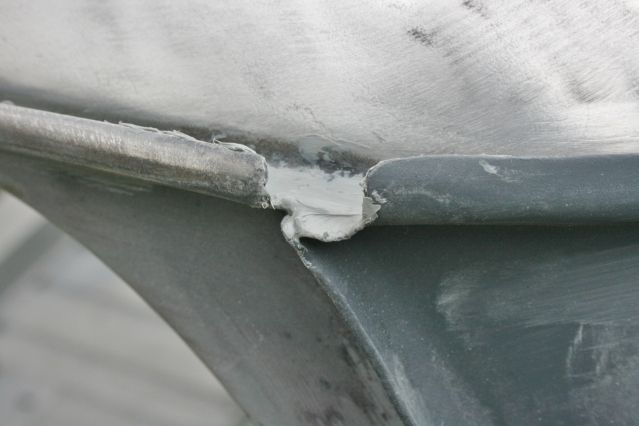
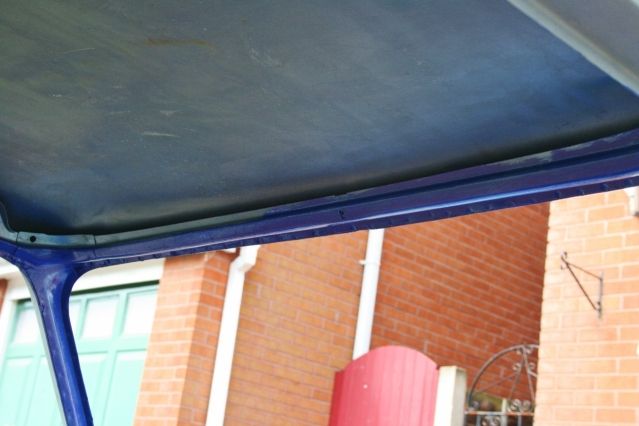
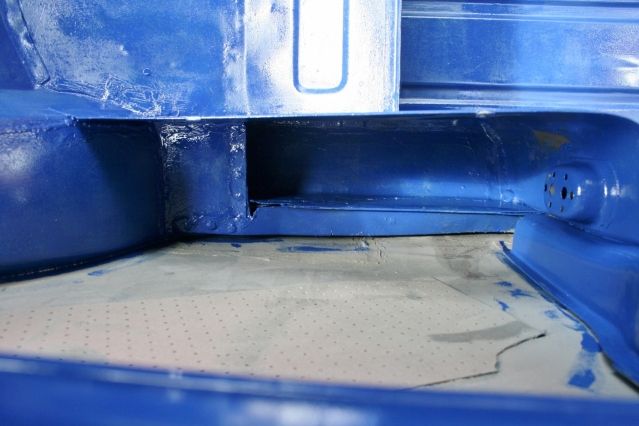
small update but inching along to paint. Stripped the roof the other day, the last bit on the outside that needed taking back to bare metal. Today I guestimated the inside stripping required, ie the parts of metal on show. Decided to strip the crossmember and rear bins and the b posts for starters as I just can't remember how much is bare metal.
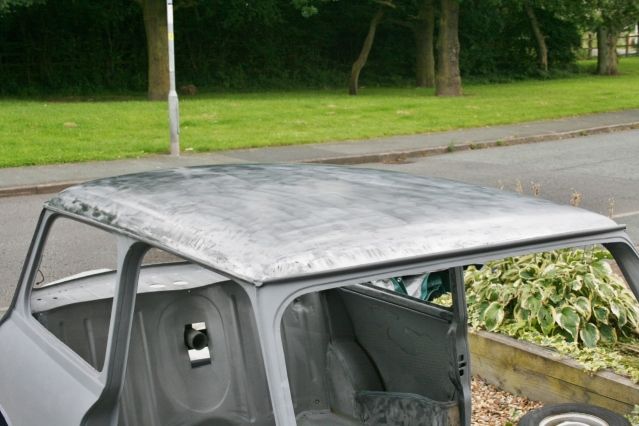

In stripping the roof and drainage channels I think I have taken off the sealer that was between the roof and side panels. I think there was some anyway, so just incase I seam sealed the drainage channels and welds that had been uncovered.
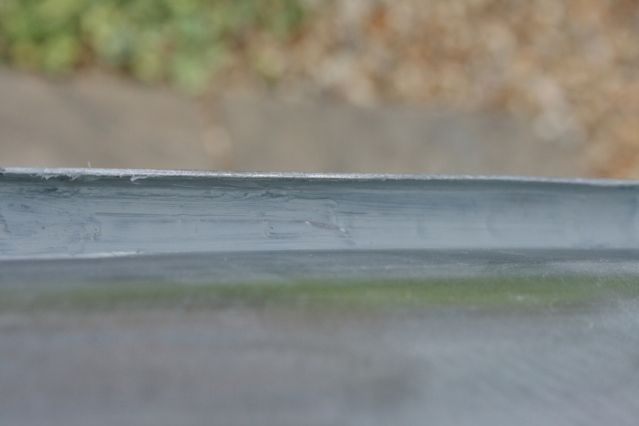
I also definately took out the sealer from the drainage slots so they were too filled in again

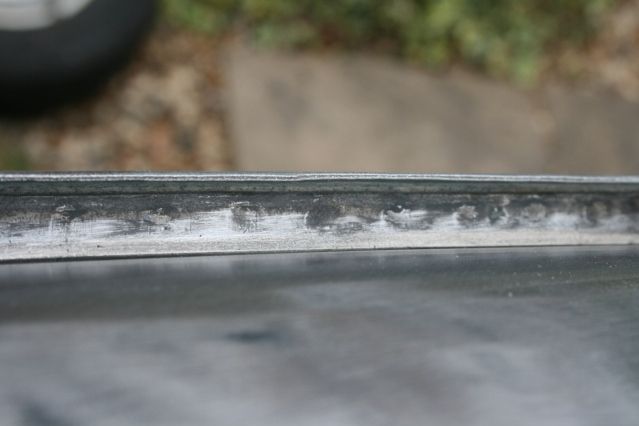
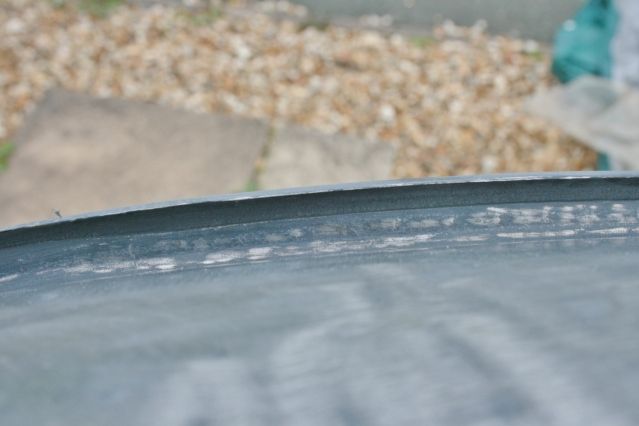
Then after a half hour of drying the rain started, I covered up asap but seconds later the rain had rusted the roof, bloody amazing it can work that fast, but it was easy to sand off. It did left marks though !!

All dry I started to etch and then it started again ahhhhhhhhhhhhhhhhhhhh

Water on top of the drying etch and some under too so it will have to be sanded back tomorrow to redo it, not a massive job but a right pain !! Left it looking ok and the inside etched.

If there is anywhere else inside that shows the coloured bits can you put me a pic up plz or let me know what I need to paint smoothly lol !!
Graham
small update but inching along to paint. Stripped the roof the other day, the last bit on the outside that needed taking back to bare metal. Today I guestimated the inside stripping required, ie the parts of metal on show. Decided to strip the crossmember and rear bins and the b posts for starters as I just can't remember how much is bare metal.
In stripping the roof and drainage channels I think I have taken off the sealer that was between the roof and side panels. I think there was some anyway, so just incase I seam sealed the drainage channels and welds that had been uncovered.
I also definately took out the sealer from the drainage slots so they were too filled in again
Then after a half hour of drying the rain started, I covered up asap but seconds later the rain had rusted the roof, bloody amazing it can work that fast, but it was easy to sand off. It did left marks though !!
All dry I started to etch and then it started again ahhhhhhhhhhhhhhhhhhhh
Water on top of the drying etch and some under too so it will have to be sanded back tomorrow to redo it, not a massive job but a right pain !! Left it looking ok and the inside etched.
If there is anywhere else inside that shows the coloured bits can you put me a pic up plz or let me know what I need to paint smoothly lol !!
Graham
Edited by grahama, 23 August 2012 - 08:00 PM.
#620
Carlos W
-

- TMF+ Member
-
- 10,115 posts
Mine is purple, but I have been told that's normal
- Location: Sittingbourne, Kent
Posted 23 August 2012 - 07:54 PM
Graham, you're doing so well!
I'm so jealous!
I've got some major catching up to do
I'm so jealous!
I've got some major catching up to do
#621
alex-95
-
- Members
-
- 6,078 posts
I am THE CLAMP MAKER
- Location: l
Posted 23 August 2012 - 07:54 PM
Good work Graham, I bet that is annoying with the rain.
#622
hughJ
-

- Members
-
- 727 posts
Soldiering Along
- Location: Highlands, Scotland
Posted 23 August 2012 - 07:57 PM
Aye, he is doing well. Taking it all back to bare metal as well! Makes me feel bad as I have a garage! Good for you Graham. Looks great.
Hugh
Hugh
#623
grahama
-
- Members
-
- 2,442 posts
Up Into Fourth
- Location: Warrington
- Local Club: None in my area !!
Posted 23 August 2012 - 08:09 PM
Thanks fellas,
I do wish I had left it in one piece from time to time and patch welded it up, slapped some paint on and Matt would be driving it now. It would also be out of my hair !! I suppose it will be better when in paint and I am putting things back on. I will however continue on in the rain lol, now I have got this far !!!
Last couple of bits ordered to sort the steering column and suspension out before getting it rolling.
Graham
#624
Carlos W
-
- TMF+ Member
-
- 10,115 posts
Mine is purple, but I have been told that's normal
- Location: Sittingbourne, Kent
Posted 23 August 2012 - 08:15 PM
Patch welded it up, He uses it for a year or two, then it fails an MOT and you have to start again.
A stitch in time saves 9
Or something like that
A stitch in time saves 9
Or something like that
#625
Minidarren83
-

- Members
-
- 1,207 posts
One Carb Or Two?
- Location: Stanford Le hope
Posted 23 August 2012 - 08:29 PM
Looking fantastic but with all the money you have spent rubbing down and putting more primer on you could have bought a gazebo and done it once. I don't know how you have done it all on the drive rust still pops through mine even in the garage so to you sir I tip my hat
Darren
Darren
#626
grahama
-
- Members
-
- 2,442 posts
Up Into Fourth
- Location: Warrington
- Local Club: None in my area !!
Posted 24 August 2012 - 12:33 PM
Hi all,
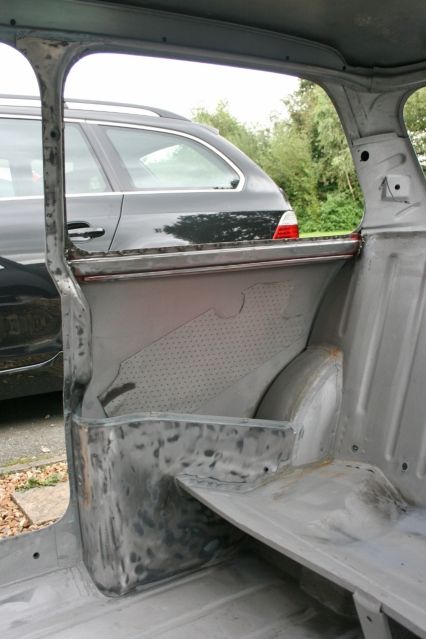
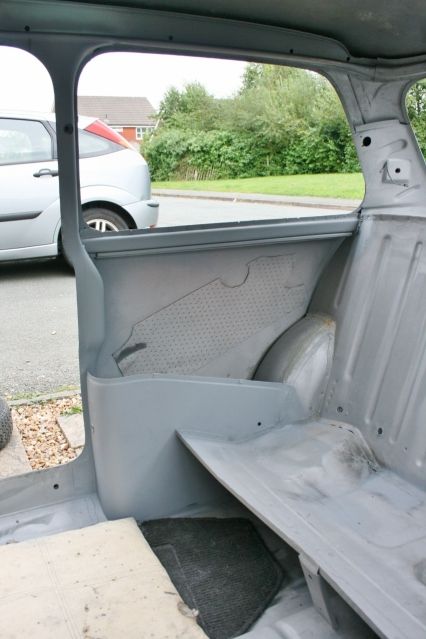
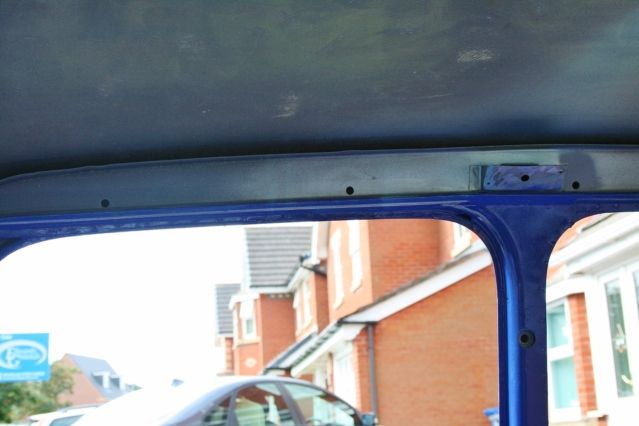
learnt my lesson again yesterday and decided to work in the sun today !! Panel wiped, hoovered and slopped some paint on the inside by roller and brush.
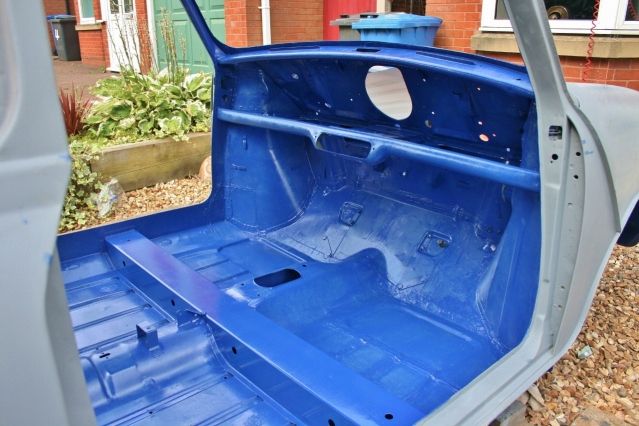
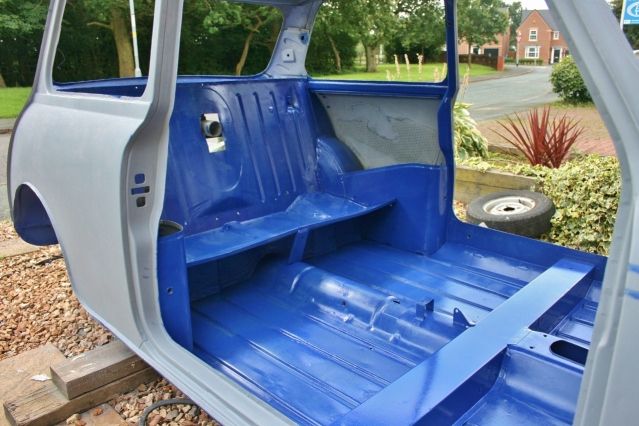
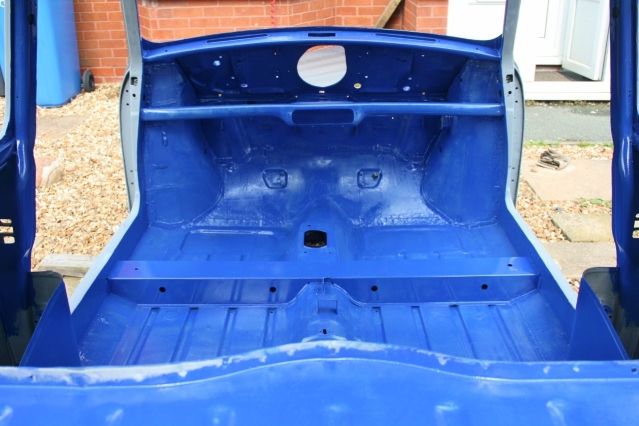

Took these before mixing some more paint so the parcel shelf has some primer showing but after I mixed more I did the window frames and rails where the head lining goes, by brush as the roller sponge disintergrated on me. The little nooks and crannies were brushed too as the roller wouldn't touch them. They are under the carpets so those bits wont be seen !!
The rear bins have had some slopped in there aswell and when all dry I will be slopping more paint and waxoil down there too !!
I have two cats that sleep in the mini all day so I have a problem !! I taped up the bulkhead hole up and taped up paper over the doors to, hopefully, discourage them !!
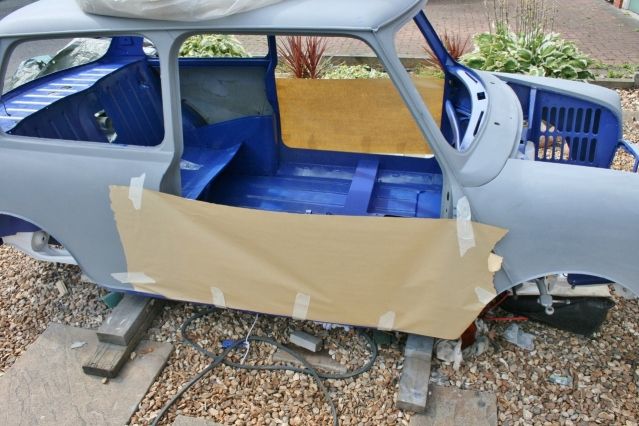
I made them a confy bed up in the engine bay too so they will be warm there instead of inside the car.
Will report back when dry if it worked or if I have paw prints inside lol !! The paint is a little thin after the first coat even though the pictures look quite lush so one more coat required. The inside of the rear quarters need the old sound deadening taking off before I paint there, I just didn't get round to it, but only a quick job.
Graham
learnt my lesson again yesterday and decided to work in the sun today !! Panel wiped, hoovered and slopped some paint on the inside by roller and brush.
Took these before mixing some more paint so the parcel shelf has some primer showing but after I mixed more I did the window frames and rails where the head lining goes, by brush as the roller sponge disintergrated on me. The little nooks and crannies were brushed too as the roller wouldn't touch them. They are under the carpets so those bits wont be seen !!
The rear bins have had some slopped in there aswell and when all dry I will be slopping more paint and waxoil down there too !!
I have two cats that sleep in the mini all day so I have a problem !! I taped up the bulkhead hole up and taped up paper over the doors to, hopefully, discourage them !!
I made them a confy bed up in the engine bay too so they will be warm there instead of inside the car.
Will report back when dry if it worked or if I have paw prints inside lol !! The paint is a little thin after the first coat even though the pictures look quite lush so one more coat required. The inside of the rear quarters need the old sound deadening taking off before I paint there, I just didn't get round to it, but only a quick job.
Graham
Edited by grahama, 24 August 2012 - 12:36 PM.
#627
alex-95
-
- Members
-
- 6,078 posts
I am THE CLAMP MAKER
- Location: l
Posted 24 August 2012 - 01:14 PM
Look's good graham. If you heat the sound deadening then you can use a scraper to take it off easily.
#628
Brams96
-

- Members
-
- 2,308 posts
Up Into Fourth
- Local Club: Kentish Mini Club
Posted 24 August 2012 - 05:56 PM
Cellulose thinners on a rag is excellent for taking off the remaining little bits of deadening, much better than white spirits. Did you thin down the paint at all or use it neat? It's looking really good from your pics, I'm jellous!
#629
myredmini
-
- TMF+ Member
-
- 3,211 posts
My Mummy Says It's OK
- Name: Dan
- Location: Teesside
- Local Club: BOG MOG
Posted 24 August 2012 - 06:01 PM
I think my roofs got rust coming through due to rust like that please make sure you give it a very good rub down and treat it before paint, dont want you going through what I am. Strip and Repaint!
#630
hughJ
-
- Members
-
- 727 posts
Soldiering Along
- Location: Highlands, Scotland
Posted 24 August 2012 - 06:12 PM
That inside looks great. The roller painting on the floor is super. And I still have to keep in mind that all this work is not for yourself! I hope he's grateful.
Hugh
Hugh


1 user(s) are reading this topic
0 members, 1 guests, 0 anonymous users


