Jump to content


Photo
- - - - -

Mini Virgin Rebuild Of 83 Mayfair.


  • Please log in to reply
1006 replies to this topic

#691 grahama

grahama

    Up Into Fourth

  • Members
  • PipPipPipPipPipPipPipPipPip
  • 2,442 posts
  • Location: Warrington
  • Local Club: None in my area !!

Posted 16 October 2012 - 09:43 PM

Hi all,

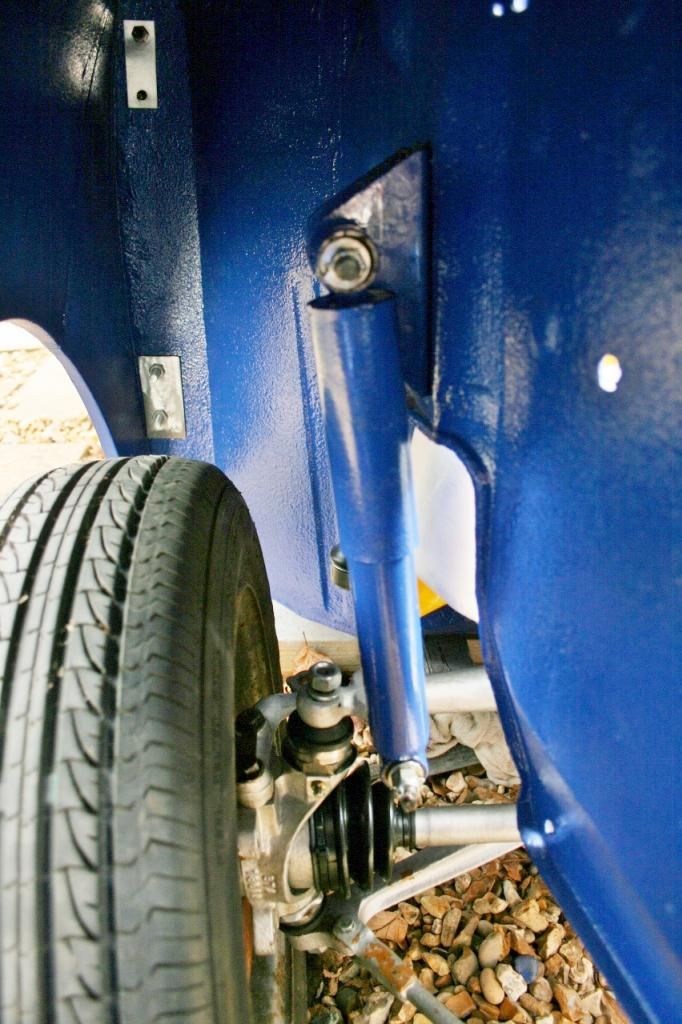
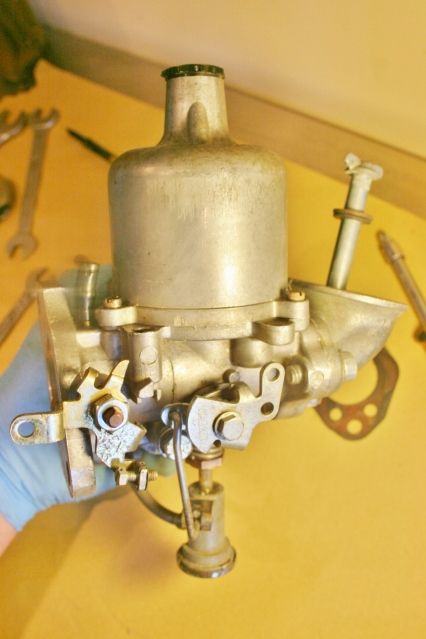
well, track rod ends aside not done much apart from a couple of engine parts painted, not really worth mentioning or showing, rad cowl etc, but I have stripped and cleaned the carb today which is worth mentioning !!

Posted Image

Posted Image

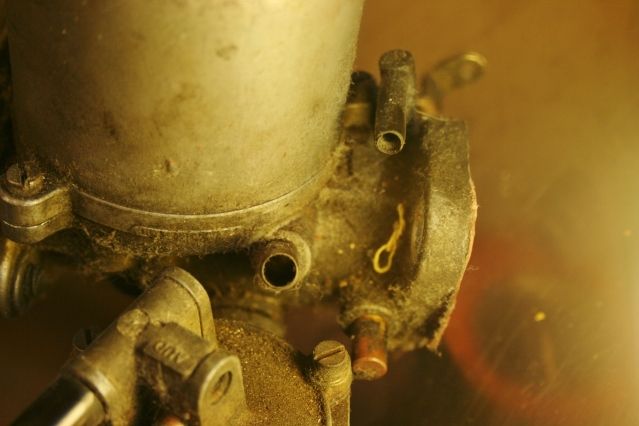
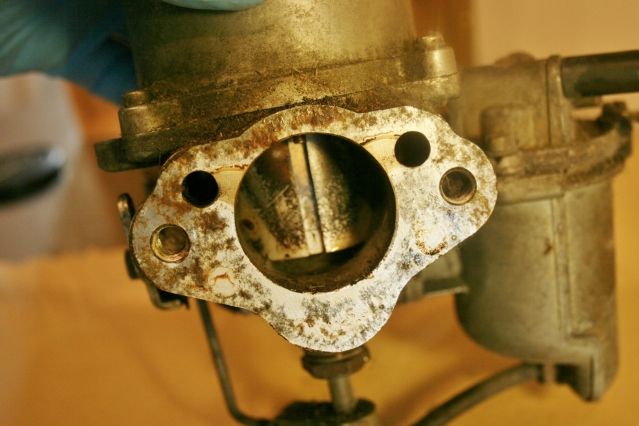
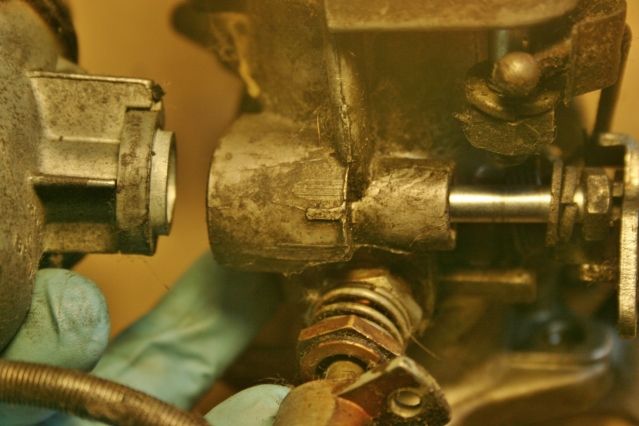
I didn't take a pic of the whole carb grot, but this gives you a taste of the state it was in. The piston inside was moving but sticking which is what prompted me to strip it and clean.

Posted Image

Posted Image

Posted Image

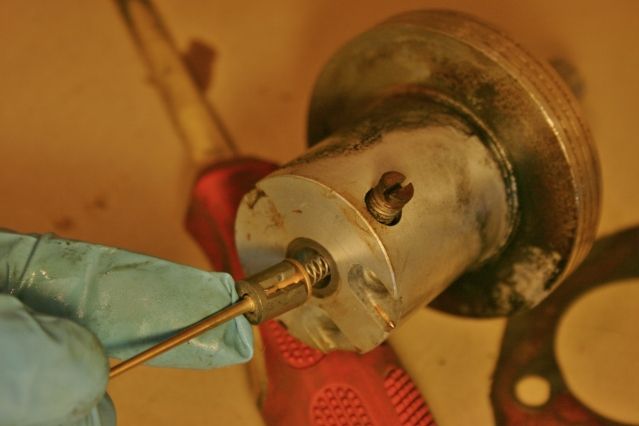
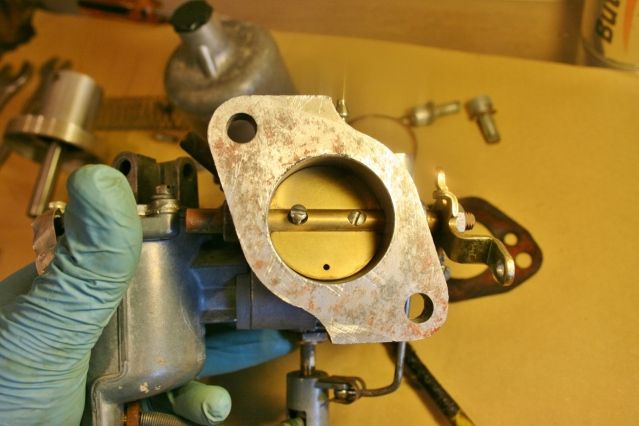
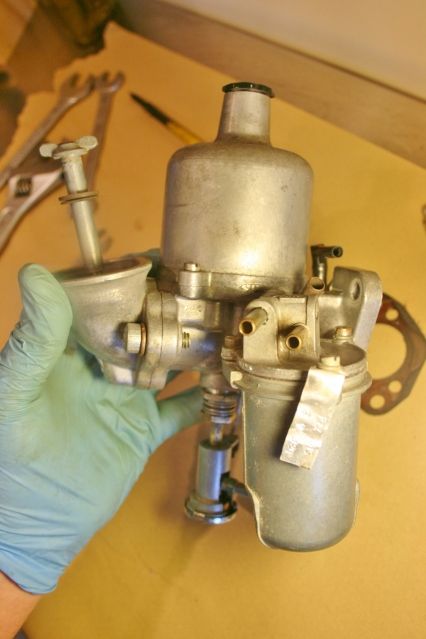
The air intake was first off followed carefully by the piston and needle which was very mucky, no wonder it was sticking.

Posted Image

Posted Image

Posted Image

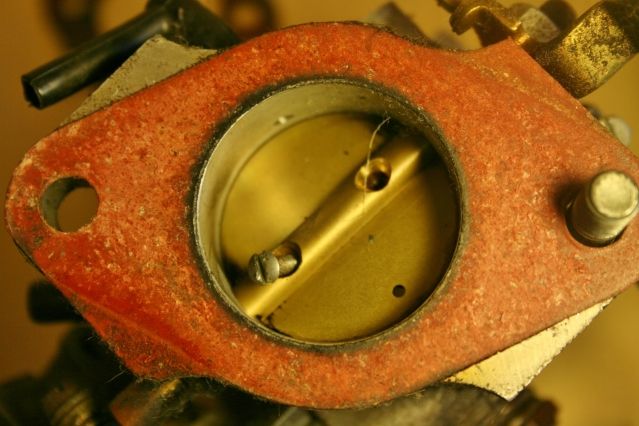
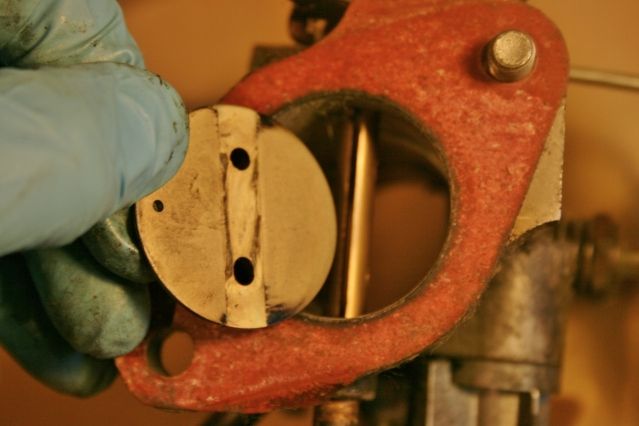
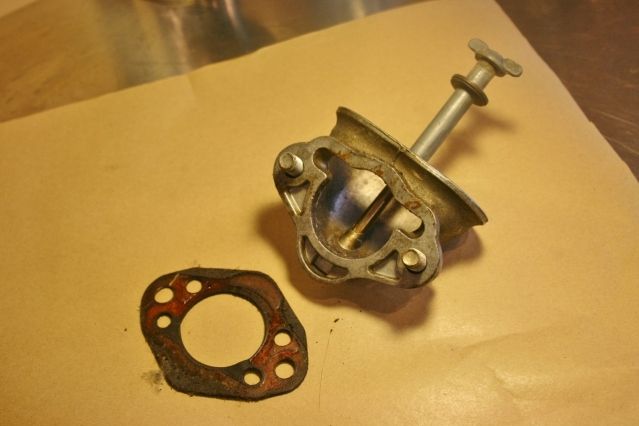
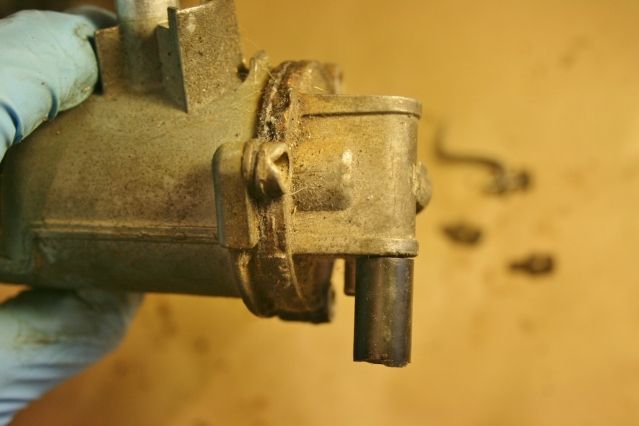
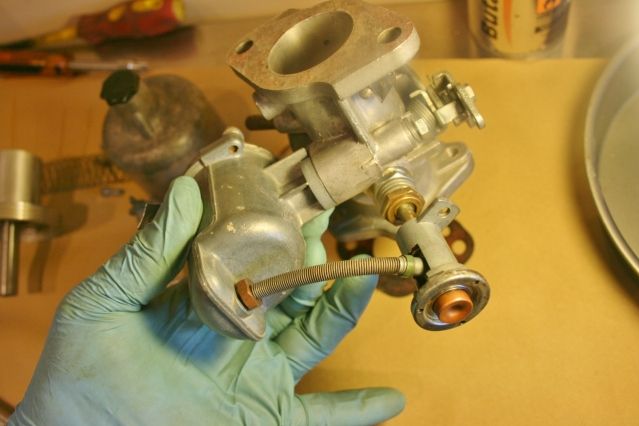
A couple of screws held the butterfly flap in place and once slid out the holding rod came out too for a clean. The float bowl was only held on with a bolt so out it came to reveal a very mucky float bowl.

Posted Image

Posted Image

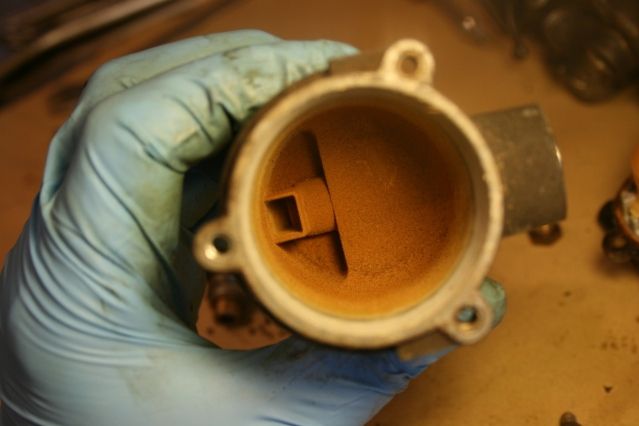
I have no idea what the brown stuff is inside the float bowl, but it was also inside quite a few parts of the carb. White spirit brought it off easily enough but I hope it doesn't come back.

Posted Image

Posted Image


Posted Image

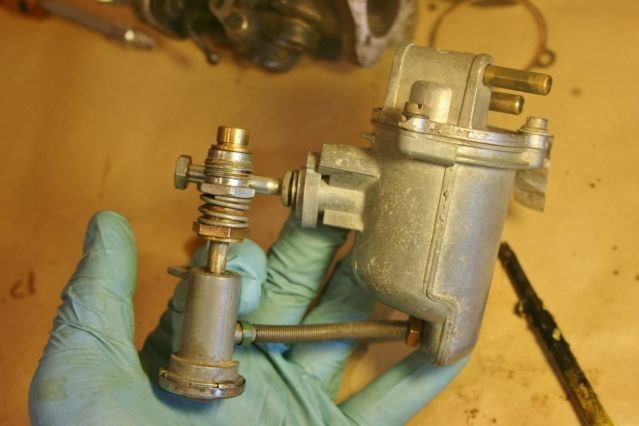
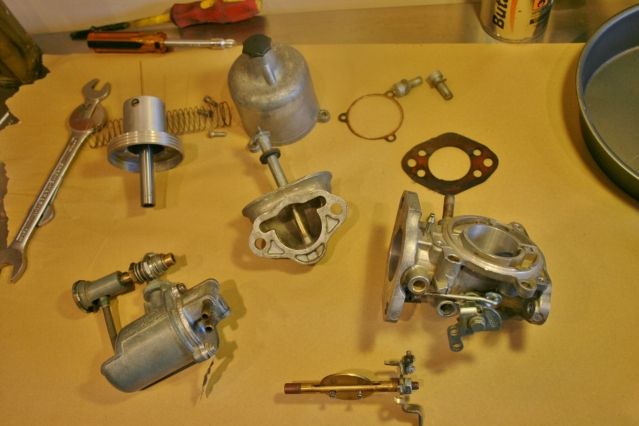
Last few parts cleaned up, didn't take iff the mechanism for the accelerator linkage, but it all came up fine. Ready for reassembly.

Posted Image

Posted Image

Posted Image

All coming back together fine and the results looked nice in my opinion.

Posted Image

Posted Image

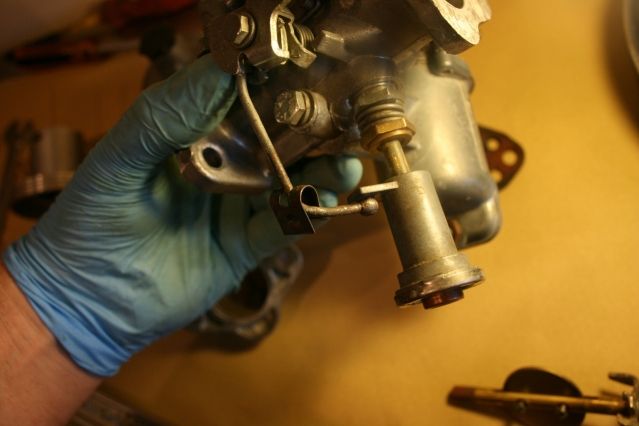
I have done this with the aid of Youtube videos and hopefully it will all be fine but not knowing about carbs at all it is all a learning process. I had one concearn which was the angle the needle came out of the piston.

Posted Image

Posted Image

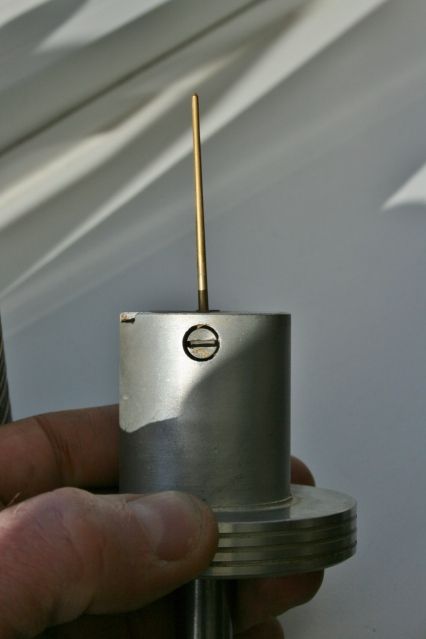
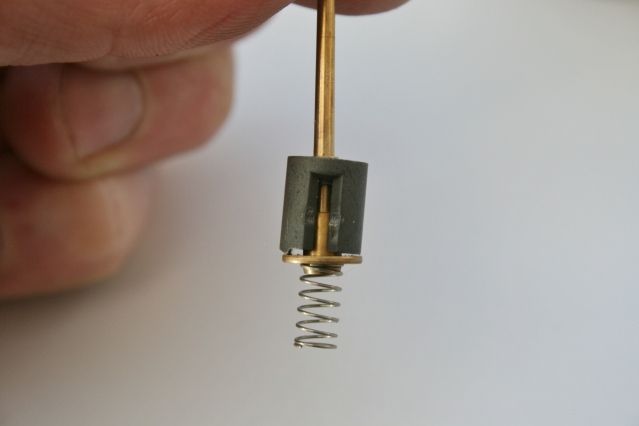
This was caused by the grey seat having a lip on it and no matter how many positions I tried it in it stayed wonky.

However according to the tech section it is a bias carb, (????????), and it doesn't matter so all is good !!

Thats all for today hope it wasn't too painful a read for such a small update !

Graham

Edited by grahama, 16 October 2012 - 09:55 PM.


#692 PhilipGCaldwell

PhilipGCaldwell

    One Carb Or Two?

  • Members
  • PipPipPipPipPipPipPip
  • 870 posts

Posted 16 October 2012 - 09:52 PM

Graham, I think you have some kind of borderline OCD, you like everything so clean! Its a mini and supposed to me mucky :lol:
Joking mate, top top working and great attention to detail, hats off to your patience, looking great

#693 grahama

grahama

    Up Into Fourth

  • Members
  • PipPipPipPipPipPipPipPipPip
  • 2,442 posts
  • Location: Warrington
  • Local Club: None in my area !!

Posted 16 October 2012 - 10:05 PM

Phil,

I know, lol, but would have left it if the piston wasn't sticking as want it done now. Part of it is learnig how things work as it is all new to me and each bit looked at is a new skill learnt for when I do a car for me !!

However I was trying to remember where the choke and accelerator cables go and can't remember so will be calling to view your beast soon !!

Graham

Edited by grahama, 16 October 2012 - 10:06 PM.


#694 PhilipGCaldwell

PhilipGCaldwell

    One Carb Or Two?

  • Members
  • PipPipPipPipPipPipPip
  • 870 posts

Posted 16 October 2012 - 10:40 PM

No problem mate, always welcome to have a look at mine, its getting RR tuned this weekend

I know what you mean about the learning, I learnt so much stripping things and putting them back again, its the best way to do it

I think this mini might turn out to be yours ;D, when I restored my mini I bought it under the pretence that it was for "the missus" to use, this never happened and she has never even driven it!

Edited by PhilipGCaldwell, 16 October 2012 - 10:41 PM.


#695 Minidarren83

Minidarren83

    One Carb Or Two?

  • Members
  • PipPipPipPipPipPipPip
  • 1,207 posts
  • Location: Stanford Le hope

Posted 17 October 2012 - 04:54 AM

It's all in the details graham and your attention to detail is what will make your mini stand head and shoulders above the rest and although you have slowed down for the winter lol your build is still one of the best out there I am very impressed with your work and can't wait to see the end result

Darren

#696 AndyMiniMad.

AndyMiniMad.

    Up Into Fourth

  • Members
  • PipPipPipPipPipPipPipPipPip
  • 3,295 posts
  • Location: Under The Bonnet.

Posted 17 October 2012 - 08:31 AM

Hi Graham...Nice pictures as usuall, Im sure you did this but just thought Id mention the butterfly valve..It needs to be seated properly before the screws are tightened. if not it won't fully close when in use which will affect you Idle speed and initial mixture set up.
As others have said, great thread..soooo much info, I respect the effort / self control required to wait and take the correct photo (usually 2 or 3) before taking the next step.. Well done,

Andy.

#697 grahama

grahama

    Up Into Fourth

  • Members
  • PipPipPipPipPipPipPipPipPip
  • 2,442 posts
  • Location: Warrington
  • Local Club: None in my area !!

Posted 17 October 2012 - 08:37 AM

Cheers fellas for the kind words. Always appreciated, and the pics are to help others aswell as my reference so will continue to post lots lol.

Andy, when you say seat the butterfly valve before tightening up the screws, do you just mean clost the valve in the aperture fully then screw in the screws ?? It looks to close as fully as it did before the strip down. I tightened the screws up with the valve in the position as in the pic above. Is that ok ??

Graham

#698 AndyMiniMad.

AndyMiniMad.

    Up Into Fourth

  • Members
  • PipPipPipPipPipPipPipPipPip
  • 3,295 posts
  • Location: Under The Bonnet.

Posted 17 October 2012 - 08:45 AM

Yep thats the way. I mentioned it due to this being one of my (Many) mistakes, lol.

#699 graham in aus

graham in aus

    Just On Tickover

  • Noobies
  • Pip
  • 6 posts
  • Local Club: NSW MCC

Posted 01 November 2012 - 07:44 AM

All is now clear, thanks for pointing out my error Graham in Oz, and Danie for answering yet another amateur question, you live and learn !! Glad it's not all tightened up !!!

Graham


Hey, no worries grahama, that's the sort of stuff that happens when you re-assemble months after taking things apart! :whistling:

Nice job on the Carb, very clean, you have a 'sprung needle' SU there, earlier carbs were fixed needle and you had to 'centre' the jet on re-assembly, the sprung ones are OK, but some say it wears the needle and jet hole quicker due to it constantly rubbing on the side as 'biased' by the spring.

Still, yours looks to be good, did you replace the jet with a new one?

Cheers from 'downunder' , 36C today and still spring! :blink:

#700 grahama

grahama

    Up Into Fourth

  • Members
  • PipPipPipPipPipPipPipPipPip
  • 2,442 posts
  • Location: Warrington
  • Local Club: None in my area !!

Posted 01 November 2012 - 12:50 PM

Hi Graham, firstly, bugger off with your 36 deg Spring :D , wet, cold 8 deg here, not the best for working outside !!!

I didn't replace the jet no, it all seemed in good condition so left it alone and cleaned up. I know how to take them apart now so if I do need one in the future I can do it quickly.

Sun promissed for tomorrow so hopefully some progress !

Graham

Edited by grahama, 01 November 2012 - 12:51 PM.


#701 hughJ

hughJ

    Soldiering Along

  • Members
  • PipPipPipPipPipPipPip
  • 727 posts
  • Location: Highlands, Scotland

Posted 01 November 2012 - 08:16 PM

Hi Graham - have not been on for some time. Your cleaning is fantastic. How do you clean the Mazac alloy on the carbs? You also did it with the wiper motor.

Hugh

#702 Brams96

Brams96

    Up Into Fourth

  • Members
  • PipPipPipPipPipPipPipPipPip
  • 2,308 posts
  • Local Club: Kentish Mini Club

Posted 01 November 2012 - 09:19 PM

Nice job on the carb Graham. I know the carbs all back together but if you want to improve the flow a bit you can put a spot of thread lock on the butterfly screws then file off the ends that stick out. Also where the body & elbow meet there will be a lip & square edges, you can take to it with a dremel & make it smooth so it reduces the turbulance. I have also found casting ******* & burrs inside the body that can all be smoothed down. Every little helps!
One thing though is if you do this make sure everything is super cleaned as you don't want ali filings or dust getting in the needle as it will wear quicker.

#703 grahama

grahama

    Up Into Fourth

  • Members
  • PipPipPipPipPipPipPipPipPip
  • 2,442 posts
  • Location: Warrington
  • Local Club: None in my area !!

Posted 01 November 2012 - 09:45 PM

Hugh,

good old wire brush, white spirit and wash down. Wire brush on a handle, not on the grinder. Scraped and awkward crud in corners using a stanley blade point then brush again. Not doing any polishing just not worth it.

Brams,

hope to get it all working ok first then buy a better carb and play about a little with that. Then I can always swap things back if it goes pear shaped.

#704 minimuk

minimuk

    Camshaft & Stage Two Head

  • Members
  • PipPipPipPipPipPipPipPip
  • 1,946 posts
  • Location: Midlands

Posted 02 November 2012 - 09:32 PM

nice carb job Graham, should have used white gloves in the last piccy, and yes the needle is correct, not called swinging needles for nothing..... give it a leak test on the engine if you can. ;D

#705 grahama

grahama

    Up Into Fourth

  • Members
  • PipPipPipPipPipPipPipPipPip
  • 2,442 posts
  • Location: Warrington
  • Local Club: None in my area !!

Posted 03 November 2012 - 10:42 AM

Hi all,

Firstly, what is a leak test Muk ??

only a little progress as it is cold outside so I am being a big tart and only working for short periods lol ! I wanted to try the wheels on and get the front shock mounts in place. Nothing to technical but this was the result...

Posted Image

Posted Image

Posted Image

All looking nice but the ball joints are not torqued up yet and the track rod ends need fixing

Posted Image

The only irritation I had was with the springs which kept moving as I was jacking up the front end to fit the wheels. Will have to come up with a solution for this as they need to be correctly seated when driving.

Posted Image

Posted Image

Posted Image

I test fitted the brake pipes to check I had them all and then rubbed them down and sprayed silver. The paint had flaked off the main brake cylinder si I took it back to bare metal again and sprayed it up. Not very interesting but all progress I suppose !

Regards,

Graham

Got this done today, not much so tagged on here ! ..

Posted Image

Posted Image

Lots of grease pretty much everywhere, torqued up as best I could as my torque wrench wont work on left handed threads, and split pin and dust cap on.

Posted Image

Need to put wheels on and torque up the ball joints then I will have a rolling shell, woo hoo !!!

Edited by grahama, 03 November 2012 - 06:38 PM.


0 user(s) are reading this topic

0 members, 0 guests, 0 anonymous users