Graham, moving along and looking good - jobs I have still to do! It is cold.
Hugh


Mini Virgin Rebuild Of 83 Mayfair.
Started by
grahama
, May 22 2010 05:09 PM
1006 replies to this topic
#706

hughJ
-

- Members
-

- 727 posts
Soldiering Along
- Location: Highlands, Scotland
Posted 03 November 2012 - 09:55 PM
#707
minimuk
-

- Members
-
- 1,947 posts
Camshaft & Stage Two Head
- Location: Midlands
Posted 03 November 2012 - 10:46 PM
Graham, after a carb refurb it is very likely that when petrol is pumped into the camber etc and pressure is build up in the fuel line, you could have some drips coming out from somewhere, or worse p///ing out. you can also use air pressure between petrol inlet in to camber and and top of jet inside carb, for example the little petrol tube going from chamber to bottom Wagstad is known for leaking at the chamber end after refurb,
#708
grahama
-
- Members
-
- 2,442 posts
Up Into Fourth
- Location: Warrington
- Local Club: None in my area !!
Posted 04 November 2012 - 05:43 PM
Hi all,
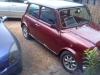
out again to try and keep a little momentum up. First job was to get the last wheels on. Nearly all done yesterday but needed to put a couple of half nuts on the flexi brake lines at the rear before putting them on. Put them on and it was sitting near enough on the tyres. Wound up the hi lo's and ended up with this.
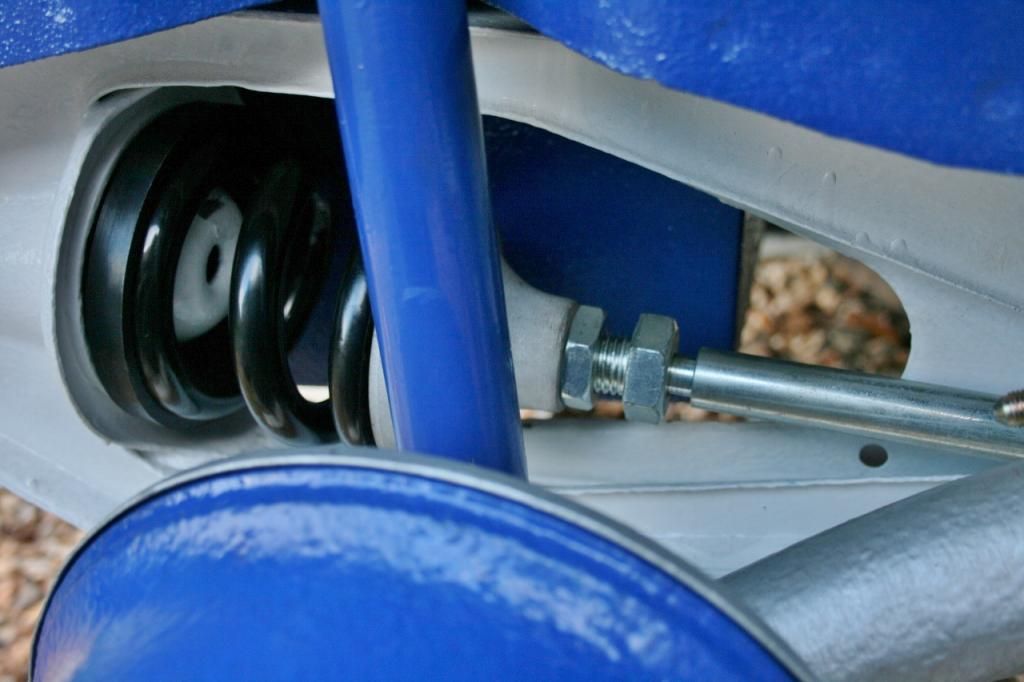
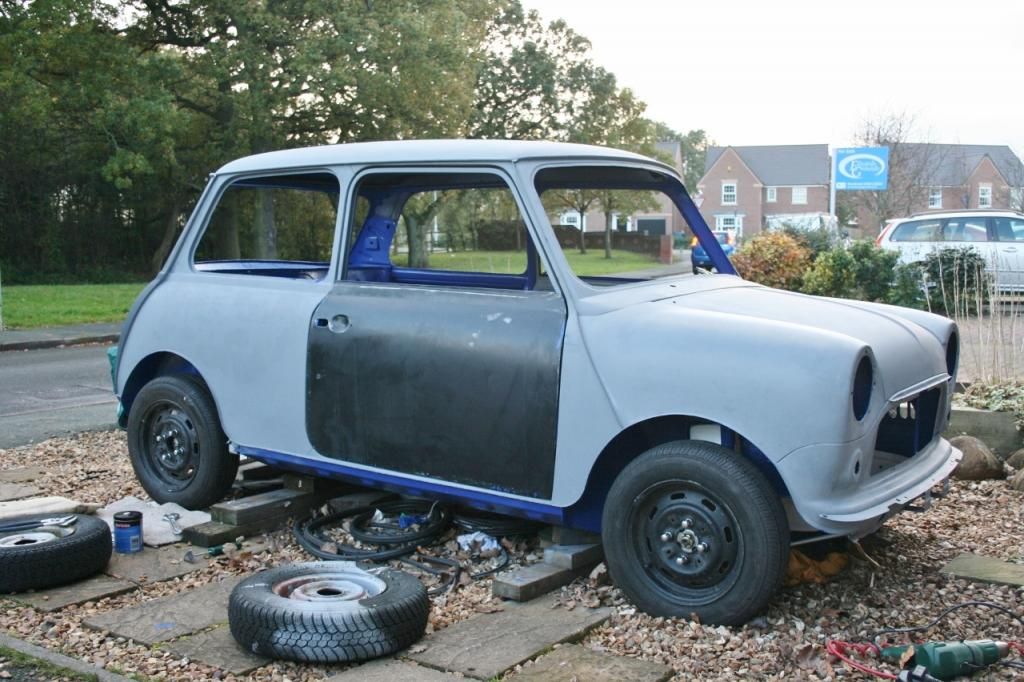
First time in over two years it has had all four wheels on, nearly brought a tear to my eye !!
Inside next to finish off the painting, yes I did say painting in 6 deg temps, outside !! I had some of the old sound deadening to take off, which was hard, cold and brittle. So got a heat gun on it and soon had it iff and the inside rear panels cleaned up.
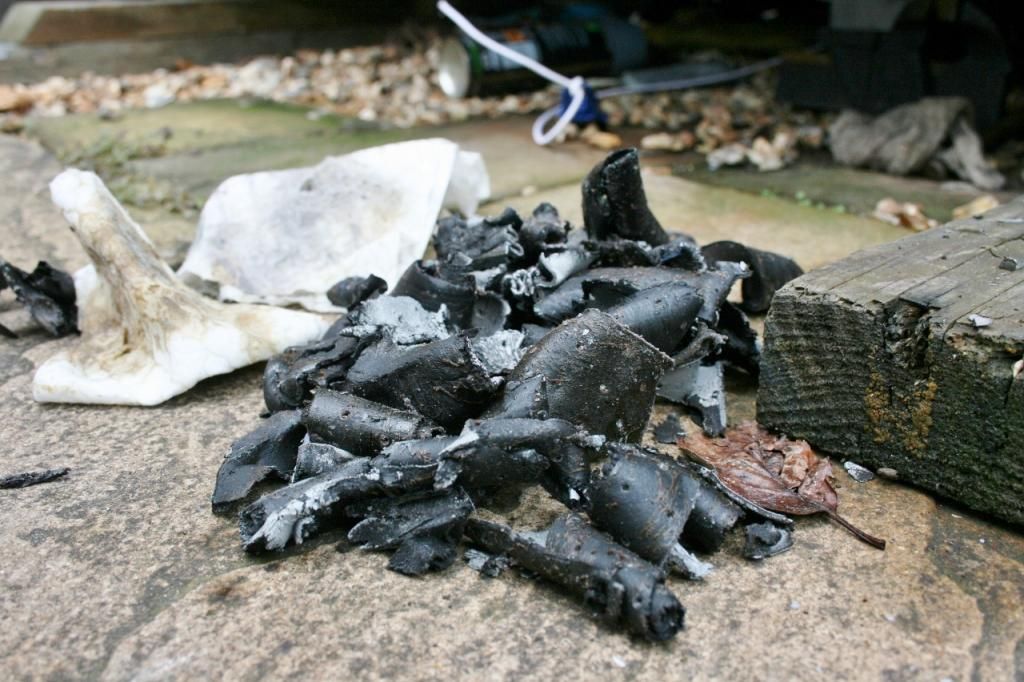
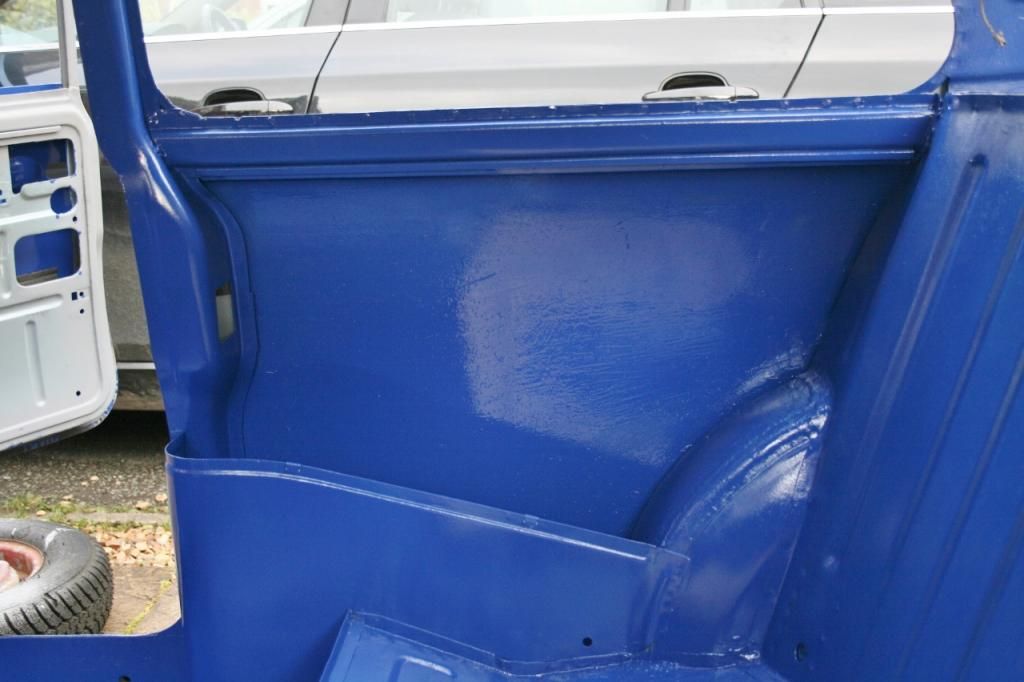
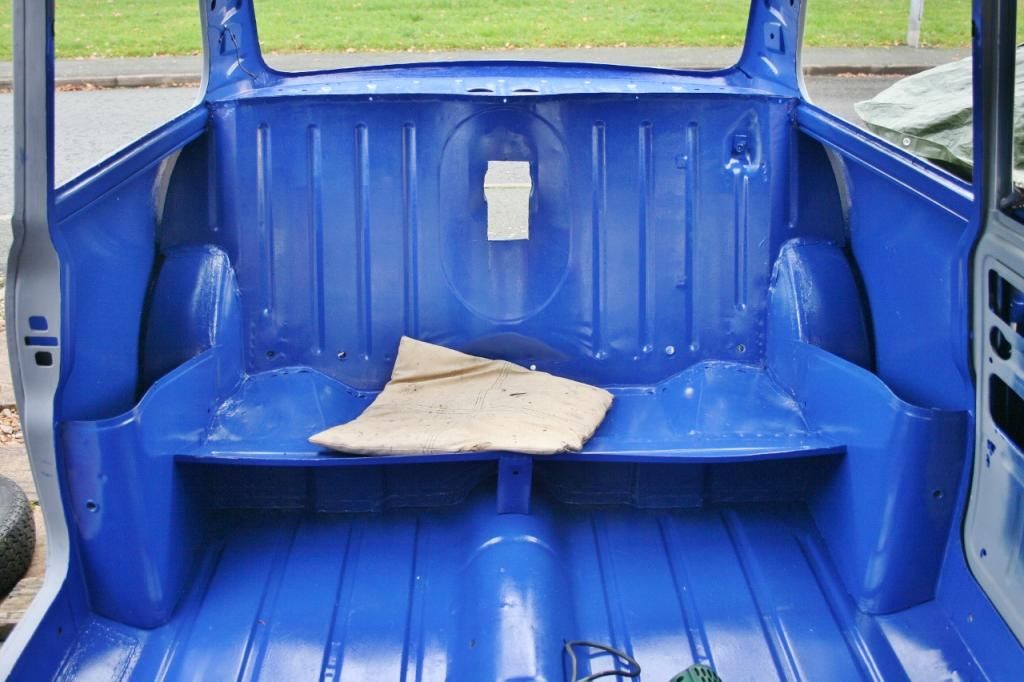
All painted, only by brush, but it will be covered up with nes sound deadening and the cards so no need for perfection. Inside is completely done now, another small milestone. On to the sound deadening...
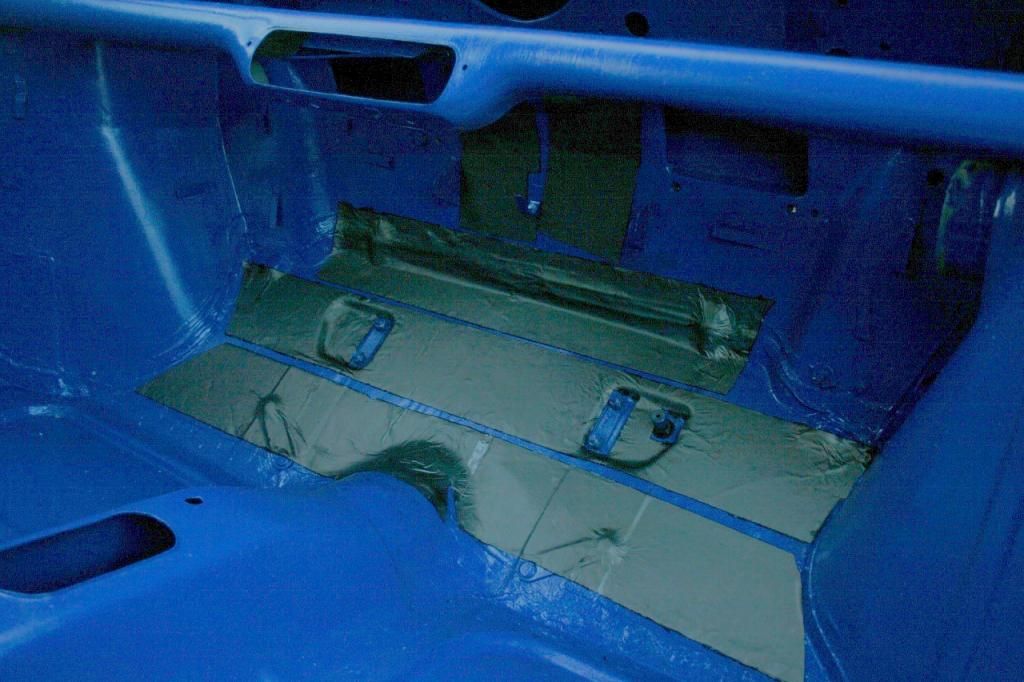
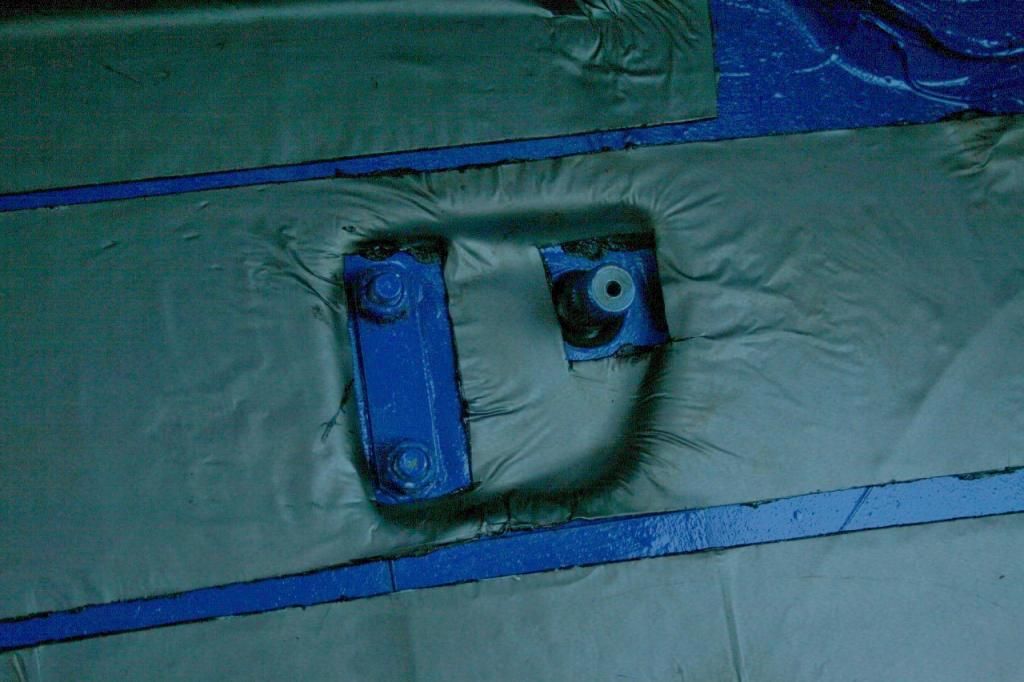
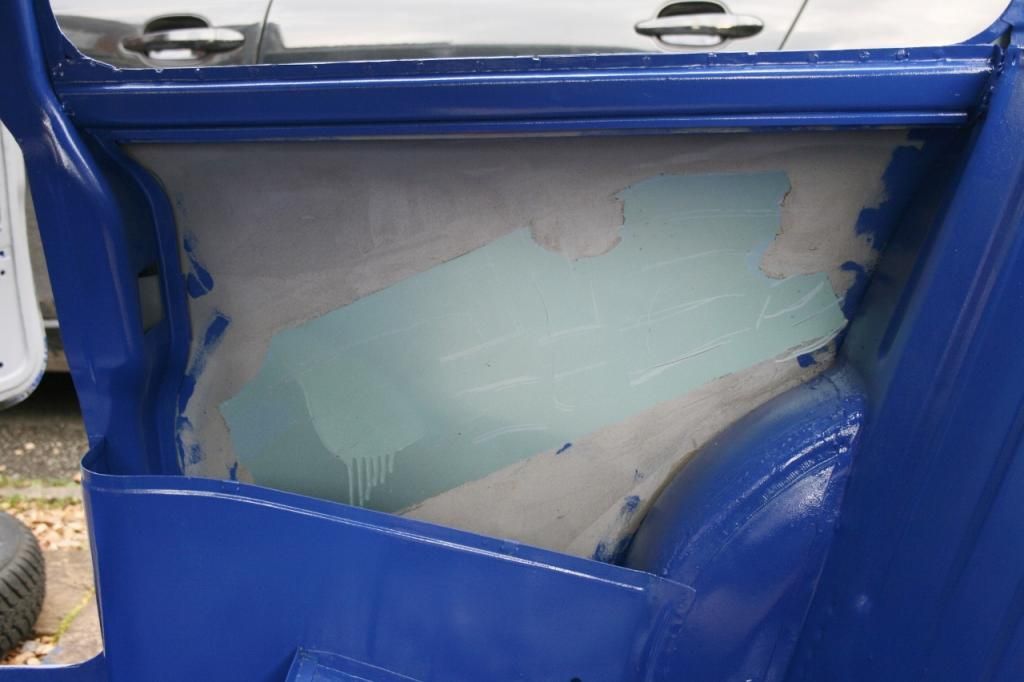
As with the door skin it is the bitumen roofing flashing that seems popular, just can't justify the proper stuff, sorry purists !! I heated the panels and the flashing to get the bitumen sticky and laid on. Awkward corners and dips has some extra heat to mould them.
The lower bulkhead certainly sounds less tinny than before so it is doing it's job. Lots more to go before I can put some carpets in lol.
First time in a few weeks I have had all the covers off and am noticing the dreaded rust
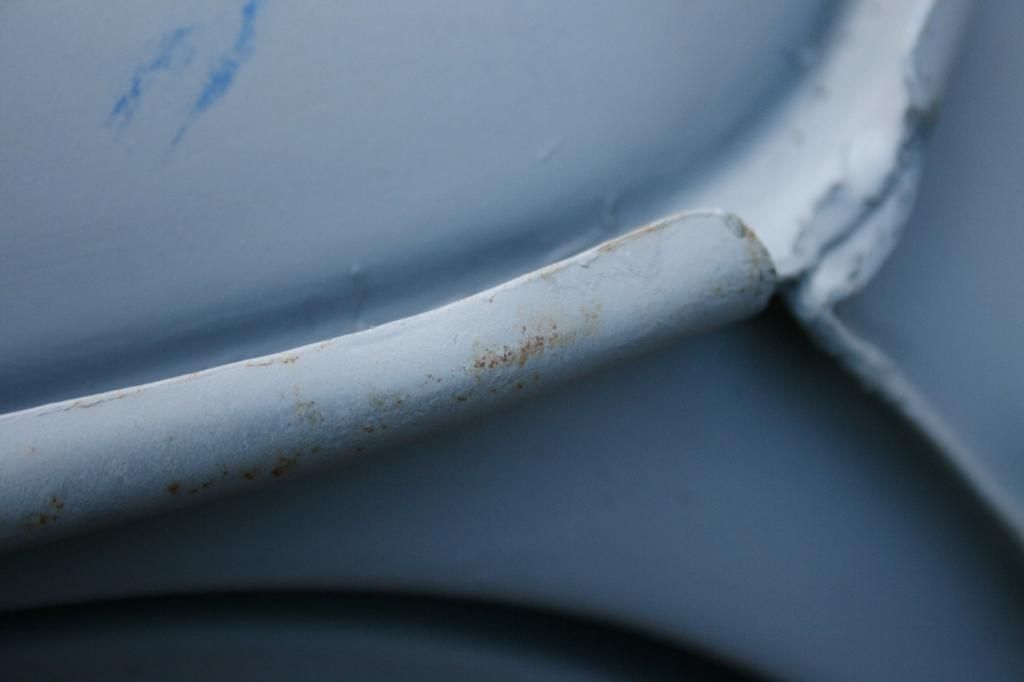
Primer is definately porous as it has absorbed this from the general atmosphere, not rain. It will be getting a full rub down before paint now !!
Regards,
Graham
out again to try and keep a little momentum up. First job was to get the last wheels on. Nearly all done yesterday but needed to put a couple of half nuts on the flexi brake lines at the rear before putting them on. Put them on and it was sitting near enough on the tyres. Wound up the hi lo's and ended up with this.
First time in over two years it has had all four wheels on, nearly brought a tear to my eye !!
Inside next to finish off the painting, yes I did say painting in 6 deg temps, outside !! I had some of the old sound deadening to take off, which was hard, cold and brittle. So got a heat gun on it and soon had it iff and the inside rear panels cleaned up.
All painted, only by brush, but it will be covered up with nes sound deadening and the cards so no need for perfection. Inside is completely done now, another small milestone. On to the sound deadening...
As with the door skin it is the bitumen roofing flashing that seems popular, just can't justify the proper stuff, sorry purists !! I heated the panels and the flashing to get the bitumen sticky and laid on. Awkward corners and dips has some extra heat to mould them.
The lower bulkhead certainly sounds less tinny than before so it is doing it's job. Lots more to go before I can put some carpets in lol.
First time in a few weeks I have had all the covers off and am noticing the dreaded rust
Primer is definately porous as it has absorbed this from the general atmosphere, not rain. It will be getting a full rub down before paint now !!
Regards,
Graham
#709
minimuk
-
- Members
-
- 1,947 posts
Camshaft & Stage Two Head
- Location: Midlands
Posted 04 November 2012 - 05:59 PM
not many of us will paint anything in 6C, looking good Graham and we all remember the thought when our mini's got back on their feet for the first time, just wait till you start the engine up for the first time, more then just a tear........ 
#710
davej
-

- Members
-
- 985 posts
Kelly Jones
- Location: North Wales
Posted 04 November 2012 - 07:12 PM
Looking really good Graham, another milestone reached with it now rolling.
#711
matty1303
-

- Members
-
- 197 posts
Mini Mad
- Location: Norfolk
Posted 05 November 2012 - 08:47 AM
looking awsome Graham!
#712
joezone2001
-
- Members
-
- 332 posts
Speeding Along Now
- Location: kirkby in ashfield
Posted 05 November 2012 - 11:48 AM
hi Graham.
progress is awesome. looking ace as usual. I went to my mini the other day and it had surface rust on the new repairs that I'd painted up. I was devastated so I know how you must have felt! haha.
keep up the great/inspirational work!
Joe
progress is awesome. looking ace as usual. I went to my mini the other day and it had surface rust on the new repairs that I'd painted up. I was devastated so I know how you must have felt! haha.
keep up the great/inspirational work!
Joe
#713
Minidarren83
-

- Members
-
- 1,207 posts
One Carb Or Two?
- Location: Stanford Le hope
Posted 05 November 2012 - 03:18 PM
It's like waiting for a bus graham you don't see one for ages then two come along at once! Cracking work as always well pleased for you. Are you planning to have the car all built up and running so next summer is just paint and exterior trim? And let's not forget hand over the keys to your son!!! I hope he appreciates what your doing for him lol
Darren
Darren
#714
Andrew O
-

- Members
-
- 1,425 posts
Previously known as Andrewo330.
Posted 05 November 2012 - 05:33 PM
Excellent work.
I dont know how you manged to get all your suspension bits on without scratching the paint. They look great
Andrew.
I dont know how you manged to get all your suspension bits on without scratching the paint. They look great
Andrew.
#715
PhilipGCaldwell
-

- Members
-
- 870 posts
One Carb Or Two?
Posted 05 November 2012 - 07:57 PM
by the beard of Zeus, top stuff, love it matey
#716
grahama
-
- Members
-
- 2,442 posts
Up Into Fourth
- Location: Warrington
- Local Club: None in my area !!
Posted 05 November 2012 - 08:05 PM
Thanks for all the comments, your continued support means a lot, especially when it's not going too well. As I said a real milestone reached for me and Andrew the paint chips are hidden, lol. I will be doing some touching up befor ethe hand over.
It is indeed the intention to get it all ready and hopefully working before next year's warmer weather so I can paint glass and hand over. He is a grumpy teenager so appreciation isn't in his vocabulary yet, but next year he will have a grateful smile on his face !!
I did expect some surface rust due to it only being in primer but not looking forward to rubbing it all down again to re prime and then paint. I have put more covers on to help keep the atmosphere dry in there but I will see soon as I do more work if it works. If things get too bad I will rub areas down and re prime patches just to keep on top of it.
Regards,
Graham
#717
hughJ
-
- Members
-
- 727 posts
Soldiering Along
- Location: Highlands, Scotland
Posted 05 November 2012 - 09:46 PM
Graham - it is looking good. That is fantastic brush painting - you should have done the outside of mine with your brush! Graham what is the sort of cost of the bitumen roof flashing. Is it just bitumen on the surface or is there a barrier of some kind. Always keen to watch the pennies!
Hugh
Hugh
#718
grahama
-
- Members
-
- 2,442 posts
Up Into Fourth
- Location: Warrington
- Local Club: None in my area !!
Posted 05 November 2012 - 11:03 PM
Hi Hugh,
screwfix has it at 10m x 225mm for £20. a couple of rolls should be plenty depending how much you want to cover. I have one 225mm and one 100mm which I found in the shed but will buy another 225 one I think. Not too bad for a car full I think.
It has an aluminium top layer so the bitumin is hidden underneath allowing carpet or underlay to be stuck to it !
Graham
Just seen Toolstation has it at £16.32 for the 225 x 10m !!
Edited by grahama, 05 November 2012 - 11:04 PM.
#719
sonikk4
-

- Admin
-
- 16,168 posts
Twisted Paint Polisher!!!
- Name: Neil
- Location: Cotwolds.
Posted 06 November 2012 - 02:24 PM
Mate the coil springs look good and the sound deadening looks the biz as well.
#720
Badboytunes
-

- Members
-
- 1,615 posts
Camshaft & Stage Two Head
- Location: Northampton
- Local Club: MINIS Unleashed
Posted 20 December 2012 - 09:24 AM
Hi Graham,
I have just spen 2 1/2 hours ( of work time ha ) reading every page of this. This has been an excellent build and the pics ect are bloody amazing. Keep up the truely amazing work and I look forward to more updates.
Cheers
P.S..... subscribed !
I have just spen 2 1/2 hours ( of work time ha ) reading every page of this. This has been an excellent build and the pics ect are bloody amazing. Keep up the truely amazing work and I look forward to more updates.
Cheers
P.S..... subscribed !
Edited by Badboytunes, 20 December 2012 - 09:25 AM.


0 user(s) are reading this topic
0 members, 0 guests, 0 anonymous users


