Jump to content


Photo
- - - - -

Mini Virgin Rebuild Of 83 Mayfair.


  • Please log in to reply
1006 replies to this topic

#826 grahama

grahama

    Up Into Fourth

  • Members
  • PipPipPipPipPipPipPipPipPip
  • 2,442 posts
  • Location: Warrington
  • Local Club: None in my area !!

Posted 15 May 2013 - 07:37 AM

Yea,  Rustoleum it is,  rollering it on as just can't be arsed with spraying this time due to the shitty weather.  Rollering I can do a bit,  cover up and go back to it,  and there's always the dining room table for the bonnet etc lol. 


It does look shiny but with texture !  I flatted back the boot lid yesterday and intend to put two coats on this time to see how it fairs,  all an experiment at the moment to see what works.  I suppose I can rub down what I have done so far in the rain if nothing else at the moment!!


Graham


#827 hoody99

hoody99

    Super Mini Mad

  • Members
  • PipPipPipPipPipPip
  • 699 posts
  • Location: fife, Scotland

Posted 15 May 2013 - 10:30 AM

Use the weather for a wet sand? Lol I like it ha ha. Hmm wonder if you get yellow rustoleum haha

#828 grahama

grahama

    Up Into Fourth

  • Members
  • PipPipPipPipPipPipPipPipPip
  • 2,442 posts
  • Location: Warrington
  • Local Club: None in my area !!

Posted 15 May 2013 - 07:35 PM

Hi all,


flatting back in the rain it was as I thought !!  Makes no odds tho for that job,  just a few pics as not very interesting


IMG_01691280x853_zpsef3cd7a5.jpg


IMG_01701280x853_zpse64b2ddc.jpg


IMG_01711280x853_zps2167d28a.jpg


I used 600 grit wet and dry,  and wasn't trying to get it totally flat as that would be too much work and I rubbed through the paint in a couple of areas as it was.  Think I need to up the mix to 70/30 for added thickness when rubbing down.


IMG_01731280x853-1_zps15a3ad70.jpg


IMG_01741280x853_zps438a9ad9.jpg


As I said,  rubbing through in a couple of places,  learning curve etc,  but am trying to avoid edges for that very reason.


IMG_01761280x853_zps9b22c25d.jpg


IMG_01771280x853_zps6dd4262f.jpg


This was the result of my first panel rollering,  flatted back well enough for me,  I have flatted back the boot lid similar to this and given it a second coat,  more shiny already.  Will be doing a little boot lid guide if it all goes to plan to show how rollering rustoleum can end up,  if it does indeed look ok lol.


IMG_01781280x853_zpse4312ab7.jpg


IMG_01791280x853_zpsc4cb91c1.jpg


Only thing that I have found today is the swirl marks of wet sand residue are a pain to get rid of,  the above two shots are before and after panel wiping and loads of washing !


Then on to priming the tiger seal,  bonnet lip came out mint,  but the front round the panel joins that I thought I'd feathered out, I obviously hadn't !! 


IMG_01811280x853_zps1adb6098.jpg


IMG_01821280x853_zps5cc23fa7.jpg


Still,  this refurb has been going for 3 years + now and a small line in the paint is going to have to stay.  Yes it will annoy me and I will probably go back to it in the future but for now I want it done lol.


Hopefully finishing off the first coat and starting the second tomorrow in between showers,  wish me luck !


Graham


#829 fattail95

fattail95

    One Carb Or Two?

  • Members
  • PipPipPipPipPipPipPip
  • 873 posts
  • Location: East Sussex

Posted 15 May 2013 - 07:44 PM

Looking good man! Look forward to tomorrow's updates  :proud:


#830 alex-95

alex-95

    I am THE CLAMP MAKER

  • Members
  • PipPipPipPipPipPipPipPipPipPip
  • 6,025 posts
  • Location: l

Posted 15 May 2013 - 07:44 PM

Could you use a stanley knife blade and take a slither of the seal off to remove the step?


#831 grahama

grahama

    Up Into Fourth

  • Members
  • PipPipPipPipPipPipPipPipPip
  • 2,442 posts
  • Location: Warrington
  • Local Club: None in my area !!

Posted 15 May 2013 - 07:50 PM

Oh Alex,  you're going to make me do it aren't you !!  Thanks Fattail,  updates if it doesn't rain too much


Edited by grahama, 15 May 2013 - 07:51 PM.


#832 myredmini

myredmini

    My Mummy Says It's OK

  • Members
  • PipPipPipPipPipPipPipPipPip
  • 3,211 posts
  • Name: Dan
  • Location: Teesside
  • Local Club: BOG MOG

Posted 15 May 2013 - 08:15 PM

I'd flat that sealer back to smooth it now. You will be happier in the end ;)

#833 alex-95

alex-95

    I am THE CLAMP MAKER

  • Members
  • PipPipPipPipPipPipPipPipPipPip
  • 6,025 posts
  • Location: l

Posted 15 May 2013 - 08:52 PM

Oh Alex,  you're going to make me do it aren't you !!  Thanks Fattail,  updates if it doesn't rain too much

Oh yess, You know you want to do it really ;D


#834 hoody99

hoody99

    Super Mini Mad

  • Members
  • PipPipPipPipPipPip
  • 699 posts
  • Location: fife, Scotland

Posted 15 May 2013 - 10:34 PM

Have tried a decent cutting compound on the paint yet as it saves a lot of flatting

#835 grahama

grahama

    Up Into Fourth

  • Members
  • PipPipPipPipPipPipPipPipPip
  • 2,442 posts
  • Location: Warrington
  • Local Club: None in my area !!

Posted 16 May 2013 - 04:05 PM

Hi all,


well you put the seed of doubt into my head and off the over sealing came,  an hour or so first thing.


IMG_01831280x853_zpsfcbe3f44.jpg


IMG_01841280x853-1_zps8afefd01.jpg


IMG_01851280x853_zps23eeb9b8.jpg


IMG_01891280x853_zps9b894875.jpg


Much better than before,  glad you made me get it done.  Anyway sunshiiiiiiiiiiiiine and showers for today so took the risk and did the front end.


IMG_01901280x853_zpsa51ec4b0.jpg


IMG_01921280x853_zps17e1ebf9.jpg


IMG_01931280x853_zps87846390.jpg


Upped the mix to approx. 2/3 / 1/3 ish hoping to get a better coverage but I think only time will tell when I come to flatting it back and see if I don't sand through it.  Not too bad coverage wise,  the panel joins came out fine.


IMG_01941280x853_zpsff597932.jpg


IMG_01951280x853_zpsecfc8000.jpg


IMG_01961280x853_zpsc9d0e268.jpg


Got the very time consuming under bumper area done,  not looking forward to doing more coats there,  and the valance too.  Missed a bit and ran out of mixed paint so will catch up next coat.


IMG_01981280x853_zps21d0be61.jpg


IMG_01991280x853_zps28a3ff9e.jpg


The peel looks better than the first panel so will keep with the thicker mix and left it to dry.  One think I have noticed is the paint drys out really, really fast !!  More paint ordered !


Graham


Edited by grahama, 16 May 2013 - 04:11 PM.


#836 minimuk

minimuk

    Camshaft & Stage Two Head

  • Members
  • PipPipPipPipPipPipPipPip
  • 1,946 posts
  • Location: Midlands

Posted 16 May 2013 - 05:13 PM

all good by the looks of it Graham, persevere and don't get beaten.....


#837 grahama

grahama

    Up Into Fourth

  • Members
  • PipPipPipPipPipPipPipPipPip
  • 2,442 posts
  • Location: Warrington
  • Local Club: None in my area !!

Posted 19 May 2013 - 06:01 PM

Hi all,


momentous progress today but first....


crap on my bonnet


IMG_02131280x853_zps09296df1.jpg


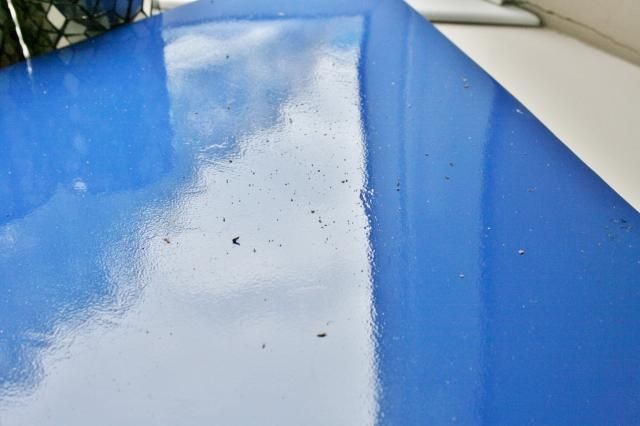
so tempting to try and pick it off but best to leave it.  A gust of wing did for me as I had to roller it outside,  Jan's facial expressions when I suggested the dining room left me in no doubt as to her thoughts lol.  Once dry most came off but will need a good wet sand now.


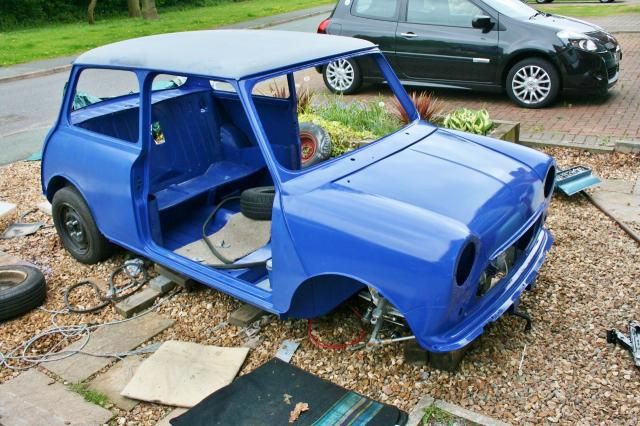
Then this happened....
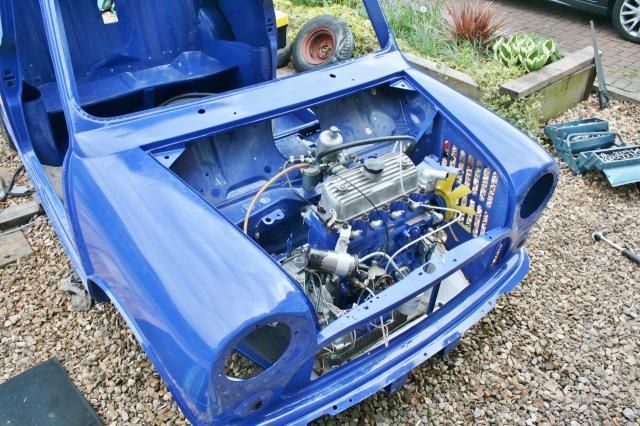
 

IMG_02041280x853_zpse581af69.jpg


IMG_02051280x853_zpsccb8504b.jpg


Ta dahhhhhhhh !!


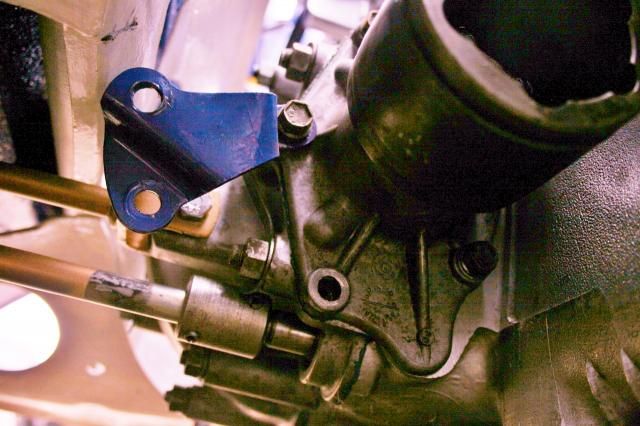
First time in 2 1/2 years it has been in the car,  no pics of the method but a friend and myself lifted the engine, using seatbelt webbing and a metal pole, into the waiting subframe and bolted the mounts up.  We then lifted the shell and rolled it forward as the rear wheels are on and dropped it over the engine.  Had to bounce the rear round to align it properly and remove the dizzy cap to avoid damage.  Also a bit of jiggery pokery with a screwdriver blade to align holes and all bolted in.


I have swapped my polybush mounts for standard ones as the standard ones are thinner and the subby went in a lot easier than using the poly ones. Was VERY tight using those so glad I changed.


Forgot to attach the gearchange lever too so had a fiddly job attaching this under the car


IMG_02061280x853_zps6e07c606.jpg


Also realised I have not bent over my diff lock tabs so another fiddly job for this week,  what a muppet !!


IMG_02071280x853_zps668880a8.jpg


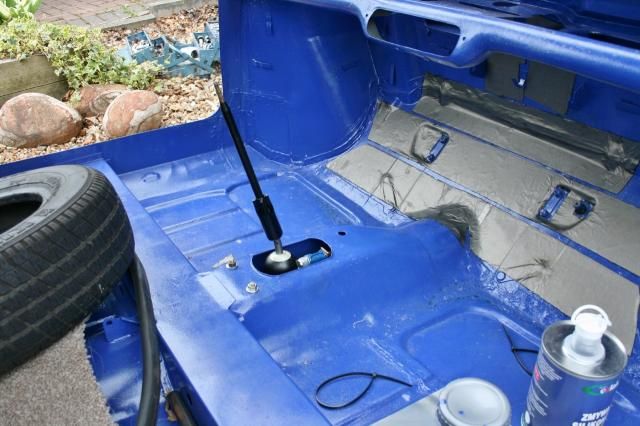
Something back in finally but have asked in tech section about the angle the gear linkage runs down the tunnel,  it is not parallel to the tunnel


IMG_02091280x853_zpsea379854.jpg


It does however, change into all gears and reverse as it is so can't be too much wrong.  Thought it may well be offset due to the exhaust running there too.


IMG_02101280x853_zps962b6e8c.jpg


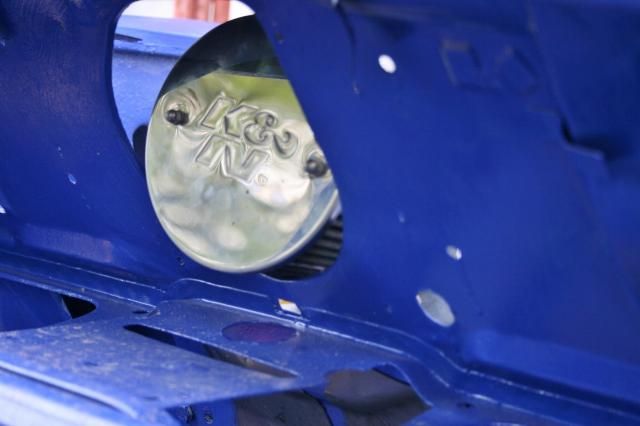
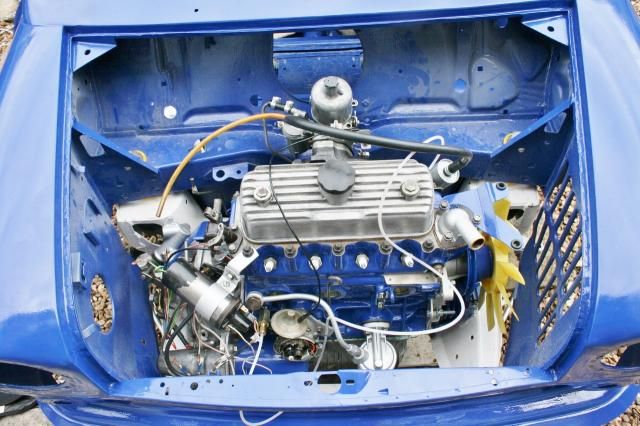
tried my fleabay K&N filter too,  not good !!   May be because the front is sitting on the gearbox like this


IMG_02151280x853_zps74adc182.jpg


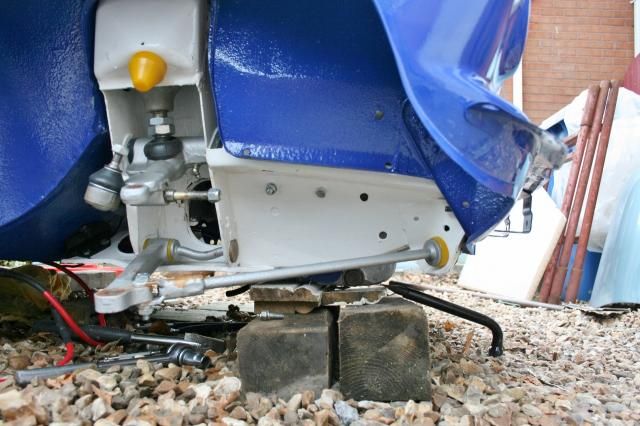
and the engine is not true in the bay at present.  Will fit a steady tomorrow to see if it creates enough room to house the filter but it may be going back on fleabay !!


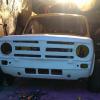
Left it here as Jan had slaved over my tea and felt knackered,  couldn't resist putting my crusty bonnet on for a look !!


IMG_02141280x853_zpsaff00ad3.jpg


Regards,


Graham


Edited by grahama, 19 May 2013 - 06:07 PM.


#838 alex-95

alex-95

    I am THE CLAMP MAKER

  • Members
  • PipPipPipPipPipPipPipPipPipPip
  • 6,025 posts
  • Location: l

Posted 19 May 2013 - 06:09 PM

Glad you removed the sealent, it'll look a lot better.The gear stick and filter may move around once the engine is in it's final place. Look's good.


#839 Andrew O

Andrew O

    Previously known as Andrewo330.

  • Members
  • PipPipPipPipPipPipPip
  • 1,425 posts

Posted 19 May 2013 - 06:37 PM

Doing a great job with that paint, will look top notch after you attack it with the polisher and G3.

Andrew

#840 grahama

grahama

    Up Into Fourth

  • Members
  • PipPipPipPipPipPipPipPipPip
  • 2,442 posts
  • Location: Warrington
  • Local Club: None in my area !!

Posted 19 May 2013 - 06:59 PM

Glad I removed it Alwx,  would have bigged me till I did it !!


That's just the first coat Andrew,  lots of sanding to go yet and a few more coats !!


Edited by grahama, 19 May 2013 - 07:01 PM.


0 user(s) are reading this topic

0 members, 0 guests, 0 anonymous users