Jump to content


Photo
- - - - -

Mini Virgin Rebuild Of 83 Mayfair.


  • Please log in to reply
1006 replies to this topic

#106 grahama

grahama

    Up Into Fourth

  • Members
  • PipPipPipPipPipPipPipPipPip
  • 2,442 posts
  • Location: Warrington
  • Local Club: None in my area !!

Posted 14 March 2011 - 12:03 PM

Thanks for the comments. I thought Nick, that it didn't need much but as I dig I find more to do!!! I do think sometimes that I am overdone it when couple of patches would do,butt isfor my lad and I suppose safety first and so bigger repairs.

Neil, get on with it you lazy git !!! Only joking, but I do feel as though I am dragging my heels when compared to the many experienced restores on here.

the last update was the most worrying, but just needs steaming up now!!

Graham

Edited by grahama, 14 March 2011 - 08:09 PM.


#107 minimuk

minimuk

    Camshaft & Stage Two Head

  • Members
  • PipPipPipPipPipPipPipPip
  • 1,946 posts
  • Location: Midlands

Posted 14 March 2011 - 08:36 PM

like your style Graham, all good that is. will follow your tread

#108 grahama

grahama

    Up Into Fourth

  • Members
  • PipPipPipPipPipPipPipPipPip
  • 2,442 posts
  • Location: Warrington
  • Local Club: None in my area !!

Posted 21 March 2011 - 06:04 PM

Hi all,
Little update for you, finishing some jobs off while weather has been nice. Wasted some of the nice weekend weather doing ‘with wifey’ things so just today left!!

Started off plug welding the heelboard repair to inner sill repair, plug welding the floor to flitch and dropping in some weld along the top to support.

Posted Image

Posted Image

Not very happy with the welding, as I couldn’t get it running well and so all ended up blobby and unattractive. Will probably redo this little bit inside.
The gap I had from inner sill to doorstep end has closed up nicely with a little relief cut and some plug welds, so quite happy about that.

Posted Image

Posted Image

Posted Image

Posted Image

I wanted to double seam weld this section due to my first seam not penetrating as well as I thought it had so off I went pulse welding for a while and remembered the little patch I needed to put in due to yet again not measuring up well enough, ahhhhhh. Anyway Blue Peter skills came out again and the patch was welded in.

Posted Image

I really have to buy a magnet thingy to hold my small patches in place while tacking !!

This done I folded the end of the flitch over and plug welded this to the floor. This has two lots of plug welding holding it in place so should be pretty bomb proof.

Posted Image

Posted Image

Quite happy with this now, just needs some seam sealer and primer etc etc, first bit actually finished off, except the re welding inside, ahhhh ah=gain, minis do throw up lots of problems!! However I do need to move that crappy production bracket too.

This gap is between the flitch panel and end if inner sill, but as I made my own inner sill it doesn’t meet as I would have liked. I will see how it looks when I am putting on the outer sill and if it needs more work I will do it then.

Posted Image

The sill needed finishing off at the heelboard end too, so that next, more seam welding, more gas and nearly out too, must be wasting loads !!

Posted Image

Posted Image

More crap measuring but to be fair this was a tricky piece to fit and the little patch required was only tiny again.

Posted Image

Posted Image

Posted Image

Finished it all off and the only bit not double seam welded in inside the rear bin, but that’s for another day. Penetration much better on this section though. I have ground the seams down a little, not for looks as you won’t see them, but because I wanted to check for pin holes. The seam is still raised so strength will not be compromised.

Next week I WILL finish this bit off and move onto the rear wheel arch for a change before doing the other side sill !!!

Regards,

Graham

#109 vaughn1

vaughn1

    Mini Mad

  • Members
  • PipPipPipPip
  • 194 posts

Posted 21 March 2011 - 06:22 PM

excellent work mate, looks like your welding and fabrication skills are increasing rapidly. keep it up

#110 rsroadkilla

rsroadkilla

    Speeding Along Now

  • Members
  • PipPipPipPipPip
  • 365 posts
  • Local Club: Japshowcarz

Posted 21 March 2011 - 08:24 PM

Looking great mate!

Wish my old man would of done something like this with me when I was a kid! He was always more interested in football!!!

Im currently building a road legal buggy which I plan to keep until my daughters old enough to drive it around the fields..... shes currently 6 months old! lol

Looking forward to the next update! :)

#111 grahama

grahama

    Up Into Fourth

  • Members
  • PipPipPipPipPipPipPipPipPip
  • 2,442 posts
  • Location: Warrington
  • Local Club: None in my area !!

Posted 21 March 2011 - 08:44 PM

Am just about to run out of gas which might acount for the poor welder performnce today, just didn't work the same as before. However when wrong, I ground down and re did, just hard to get to the inner welds at the moment !!

Matt doesn't spend much time on it at all, sort of a Dad and Dad project at the moment. He is one from the 'clean' generation but assures me he will help put it back together. Your daughter will enjoy the buggy i'm sure.

Graham

#112 remi

remi

    Mini Mad

  • Members
  • PipPipPipPip
  • 154 posts

Posted 21 March 2011 - 09:03 PM

just read this start to present.... awsome thread, its great to read in detail builds like this, priceless advice and guidance to be found...

your welding looks spot on.... how did you find learning to weld? im hopefully getting a welder this week and will start practicing... judging by the amount of rot i keep finding il have lots of practice

Good luck with the rest of the build

Over and out

Remi

#113 grahama

grahama

    Up Into Fourth

  • Members
  • PipPipPipPipPipPipPipPipPip
  • 2,442 posts
  • Location: Warrington
  • Local Club: None in my area !!

Posted 21 March 2011 - 09:09 PM

Remi,

Iam a novice welder but learning fast, as you have to on minis I am finding !! Whatever you do, do not practice your technique on your mini, get some thin scrap and have a go on that. Practice plugs, butt welds mostly and get a feel for settings, not that that helped me today ahhhhhhhhh, blo&*y welder !!! lol.

Glad the thread is helpful, will continue in the same vane throughout if you can all stand the small updates with lots of pics!! Could be a long one this !

Graham

#114 nrwilliams

nrwilliams

    Mini Mad

  • Noobies
  • PipPipPipPip
  • 133 posts
  • Location: Uckfield, East Sussex

Posted 22 March 2011 - 01:41 PM

Looks fantastic, finally did some more on mine at the weekend, no photos yet though!

Keep the updates coming! :P)

#115 grahama

grahama

    Up Into Fourth

  • Members
  • PipPipPipPipPipPipPipPipPip
  • 2,442 posts
  • Location: Warrington
  • Local Club: None in my area !!

Posted 05 April 2011 - 07:58 PM

Hi all,

little update after wasting the sunny week we had recently :D , we have had crap weather so not much work outside but got some in. Been inside in my conservatory in 'mini corner' !!

Posted Image

Just dont tell the wife !!

Posted Image

Posted Image

Posted Image

Posted Image

Cleaned up and back in order for refit.

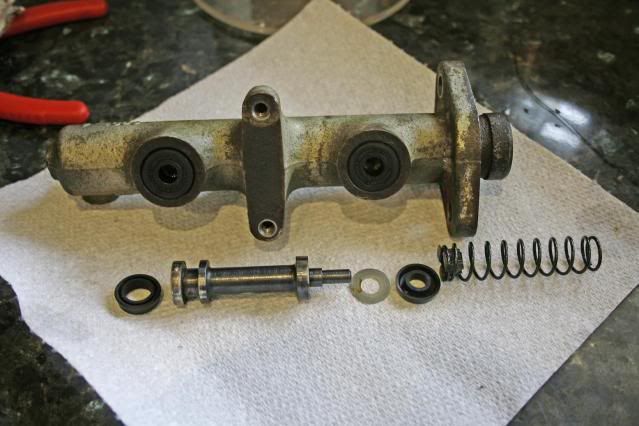
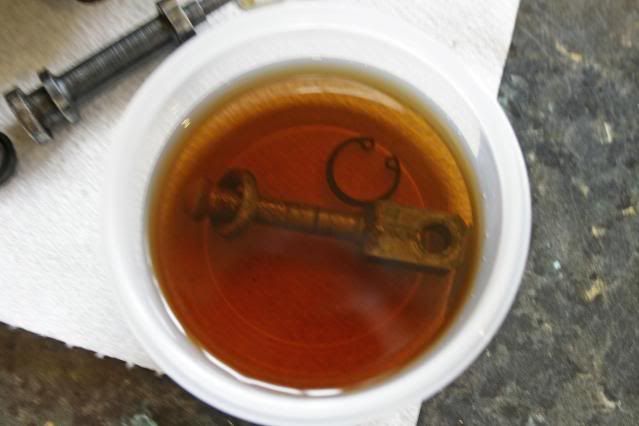
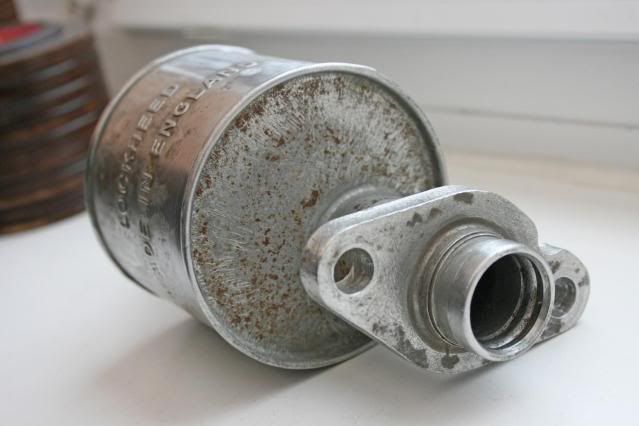
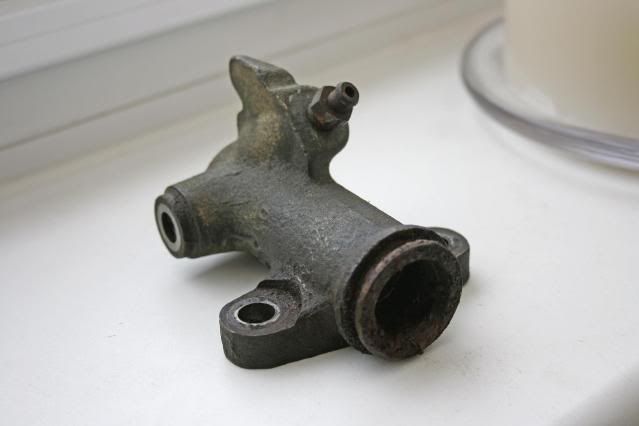
Stripped down the brake and clutch master cylinders, bit manky where the pistons were but vinegar sorted out some bad bits and elbow grease and a wire brush did the rest. The clutch slave cylinder had beed stored after initil cleanup inside and still got surface rust on so kurusted up it was time to paint it.

Posted Image

Posted Image

Posted Image

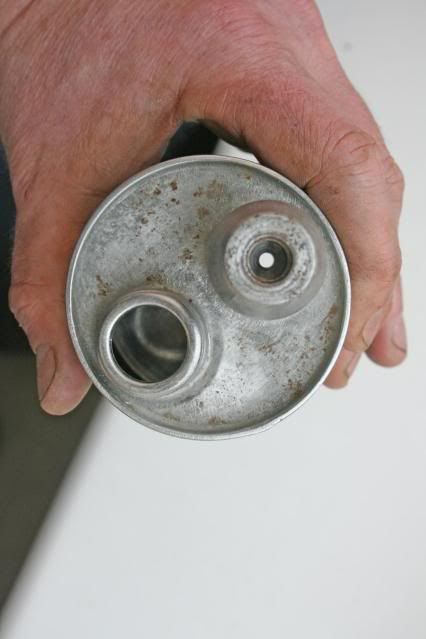
Even cleaned the inside out as deposits inside, bit anal I know but raining outside so anal is was !!

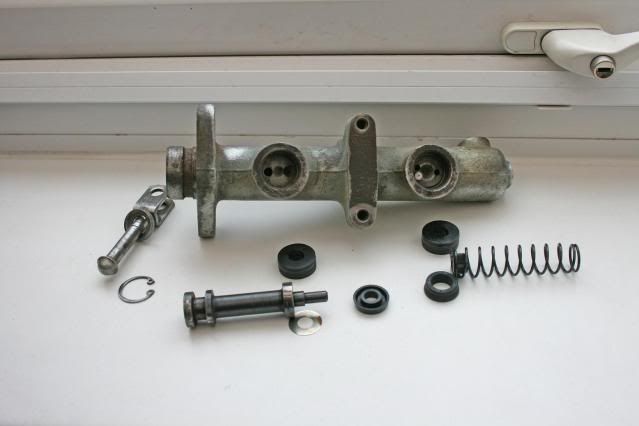
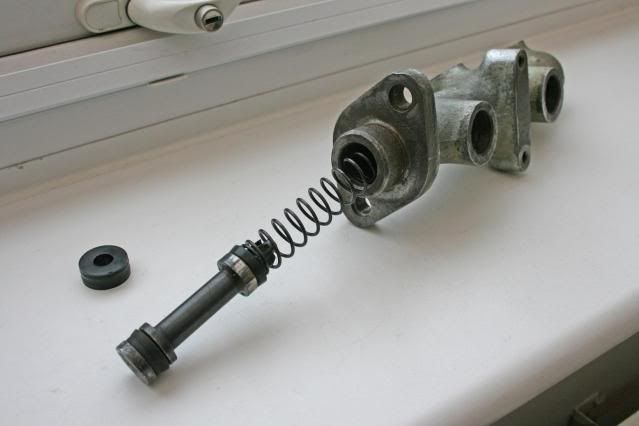
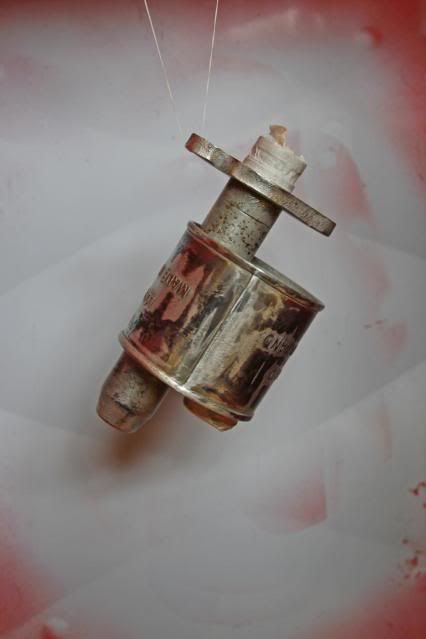
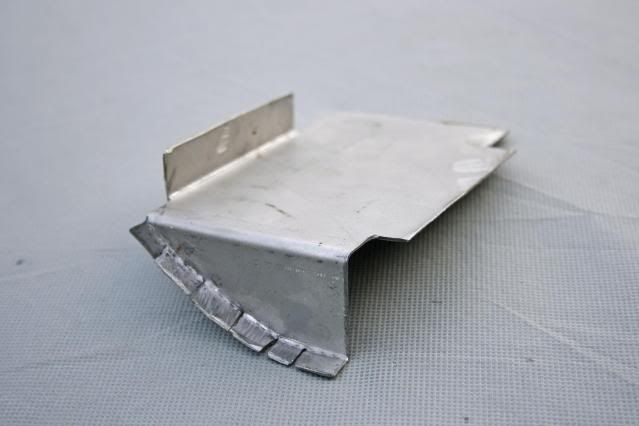
Clutch slave cylinder also manky

Posted Image

Posted Image

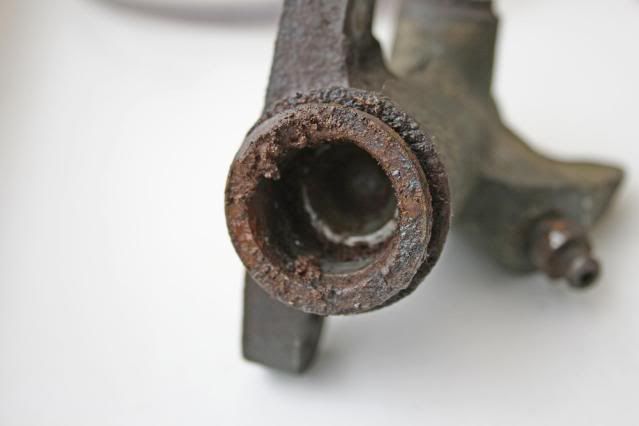
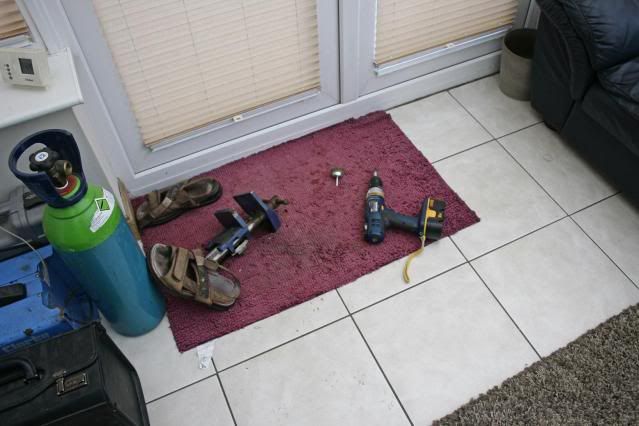
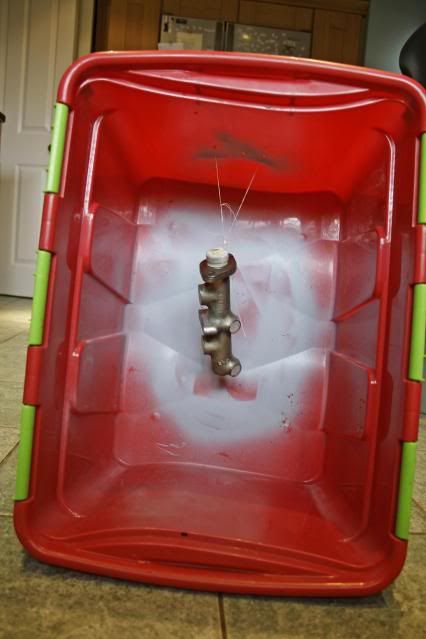
The piston was really bad on this one but stripped it down and again cleaned and primed up. I set up a small spray booth in the kitchen for all the bits, again Jan was out, lol , not that I don't wear the trousers you understand !!

Posted Image

Posted Image

Posted Image

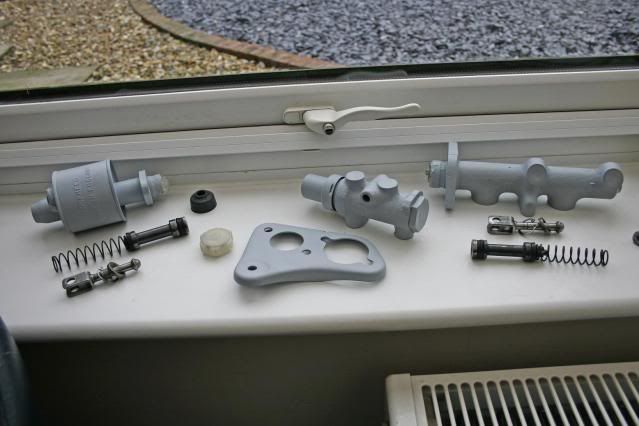
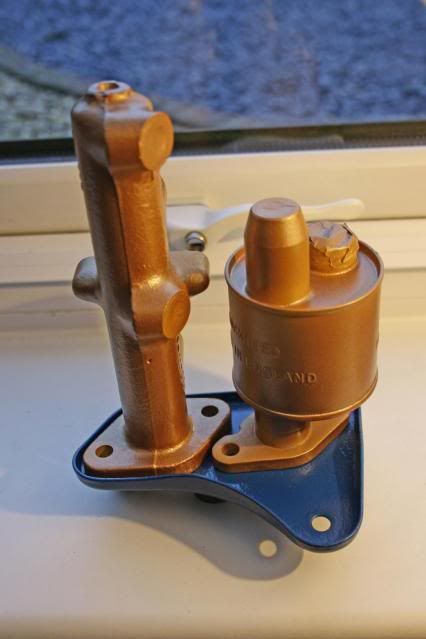
All primed up and got some paint on the two master cylinders and thier mounting plate, but may change the plate colour as Matt said it was horrible, but he gets what he is given as I m doing it all at the mo !!

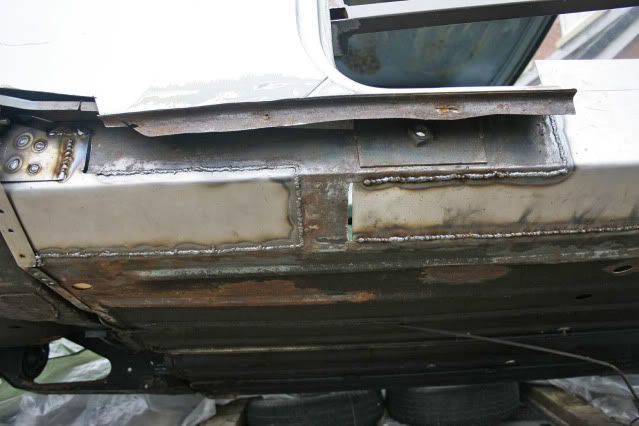
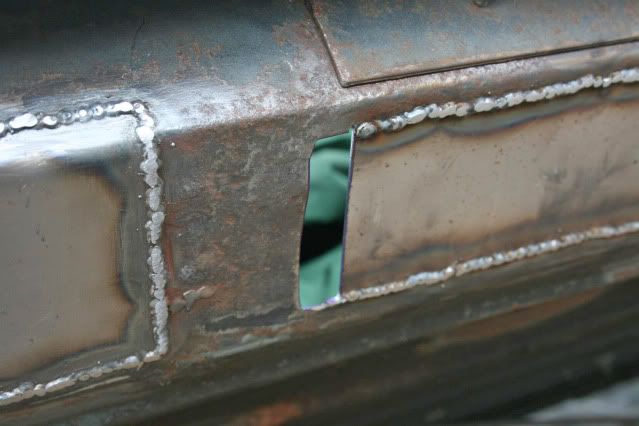
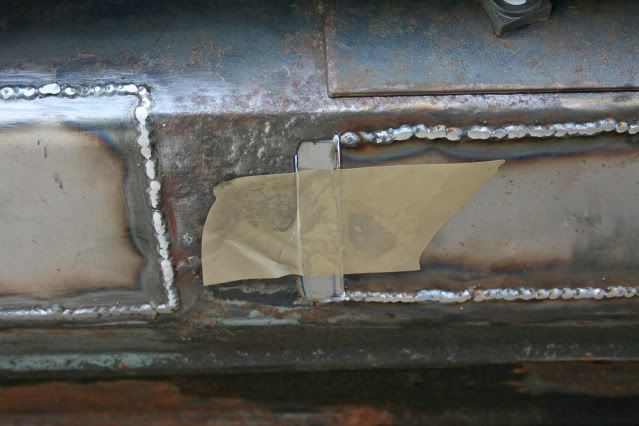
Weh hey, rain stopped so thought I would do some on the mini, etch primed the sill, great runs I know and will sort them!!

Posted Image

Posted Image

Posted Image

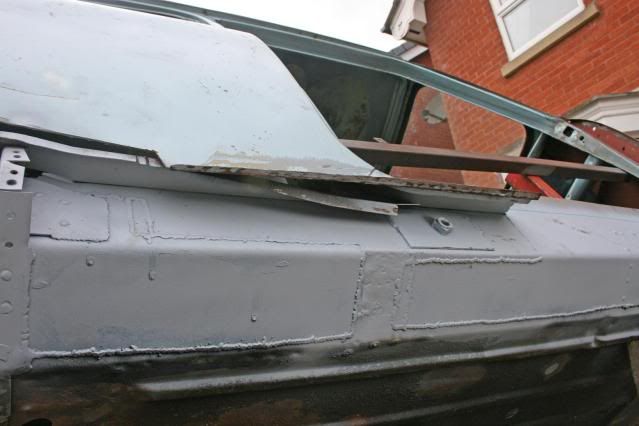
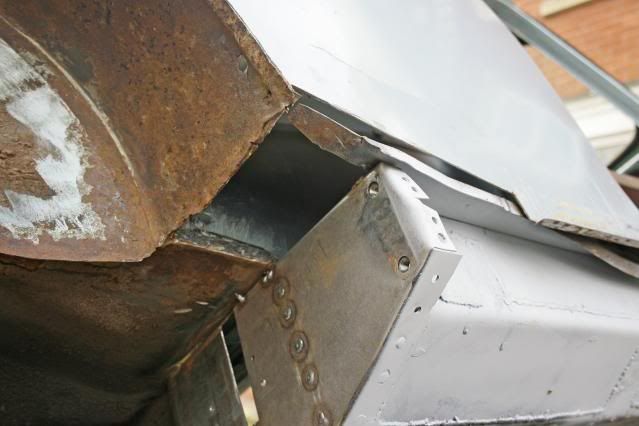
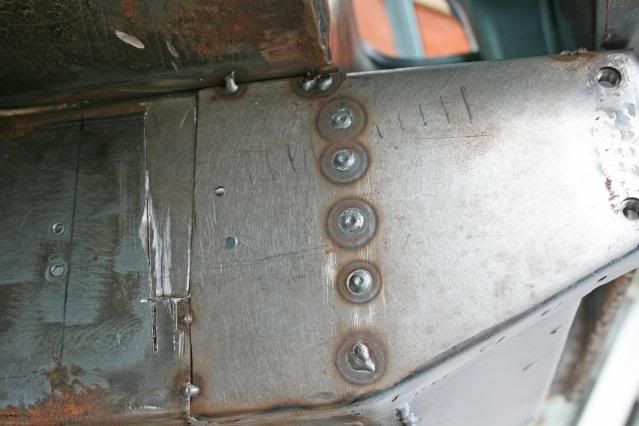
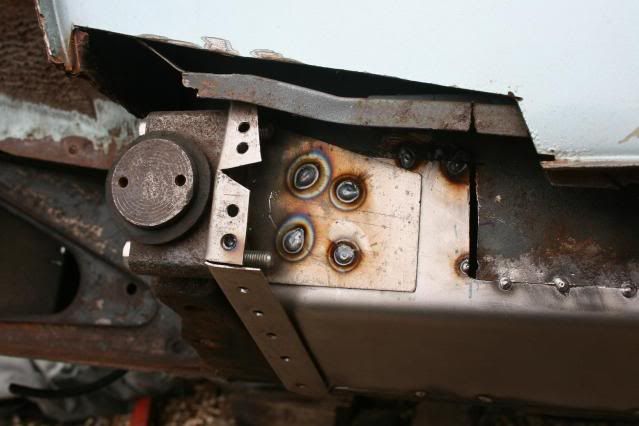
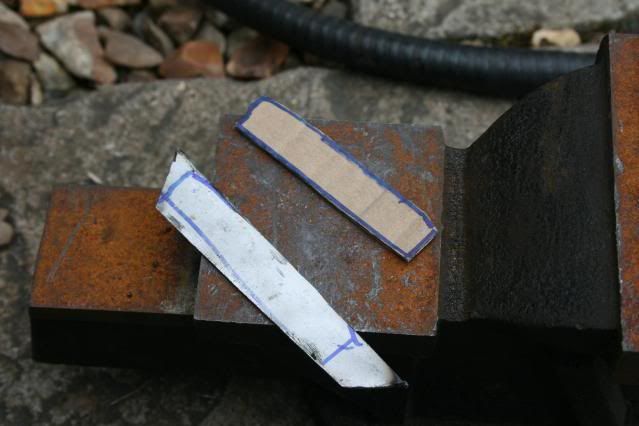
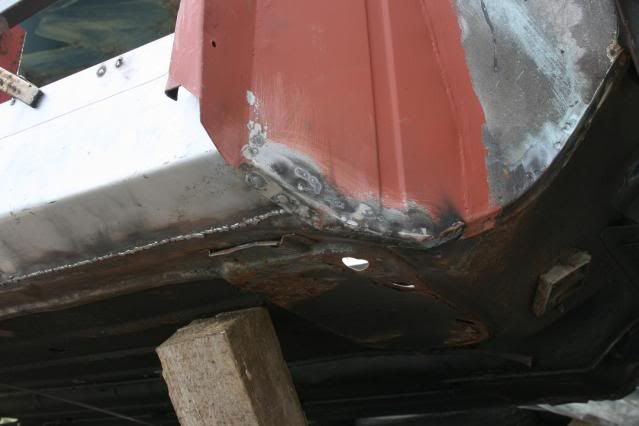
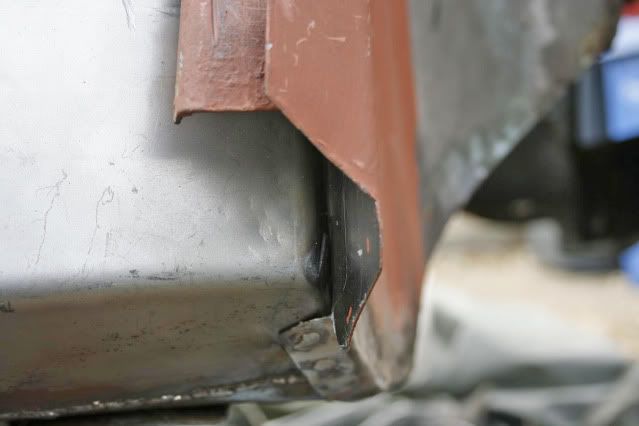
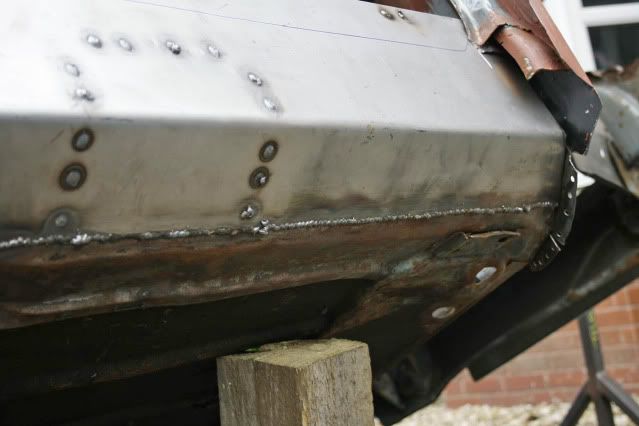
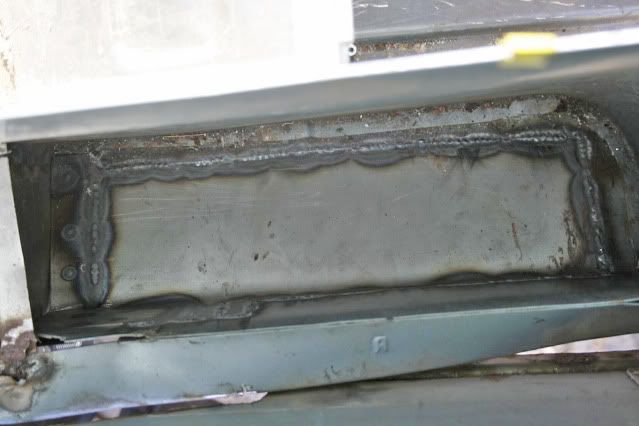
The heelboard repair needed a patch due to fiddling round when fitting so made it but not welded in yet. Before I could get onto the wheel arch I had to sort the closing panel for the heelboard to arch so I made one !!

Posted Image

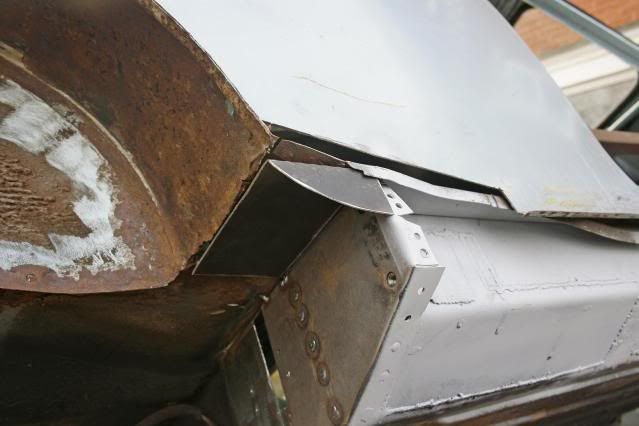
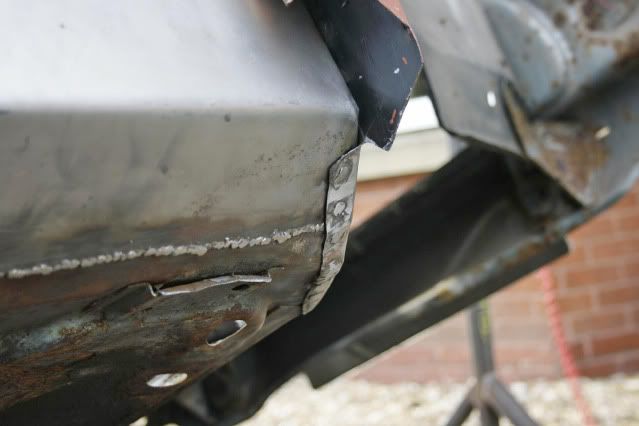
Not too happy with this one as no lip for quarter panel and it didn't overlap underneath for strength so made another one !!

Posted Image

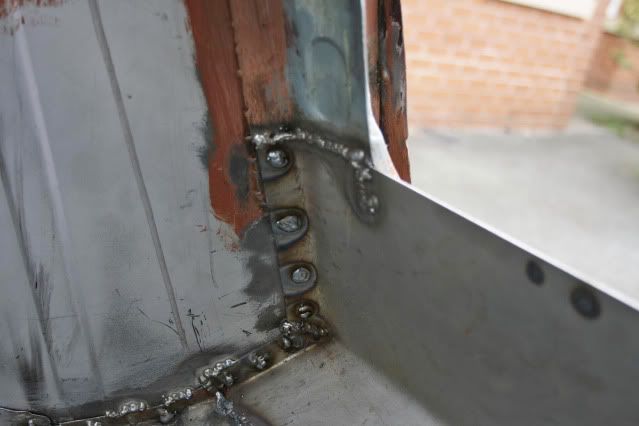
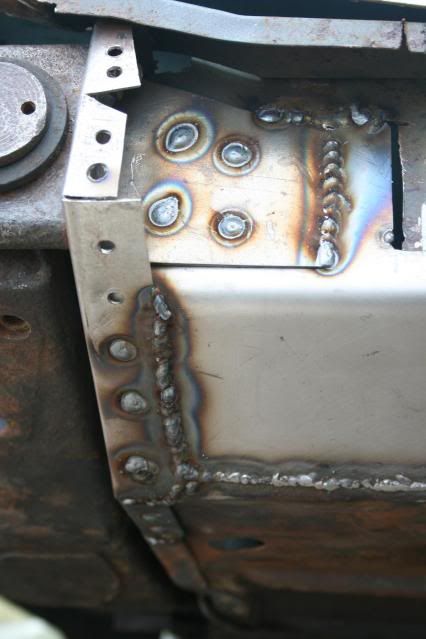
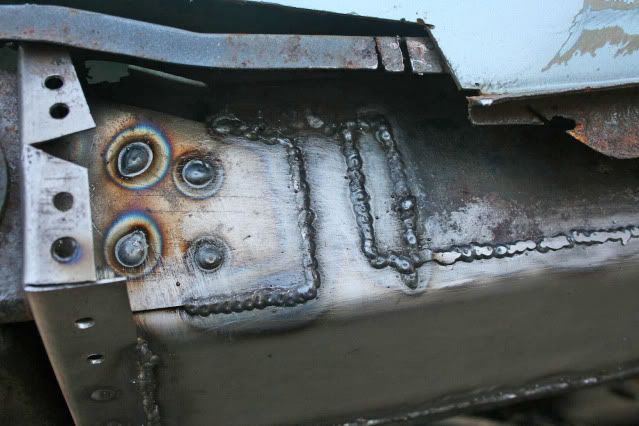
It's amazing who likes minis as when I was fabricating the last panel a fella from down the road, who I had never spoke to before or recognised, stoped for a chat and told me about the minis he had done years ago and put motorbike engines in!! Anyway he offered help and the use of the tools in his garage, great I thought. I folded the edge bit for the quater panel to weld to and hit a problem, couldn't fold the rest of it as no vice large enough. So off to Steve's, my new buddy for help. His garage was full of tools alright, more like a machine shop and he had a metal folder !! Happy days, 10 mins later voila piece done with support to plug weld to arch and inner rear bin.

Like I said, amazing turn up !!

Hope you enjoyed.

Graham

Edited by grahama, 05 April 2011 - 08:09 PM.


#116 sonikk4

sonikk4

    Twisted Paint Polisher!!!

  • Admin
  • PipPipPipPipPipPipPipPipPipPipPip
  • 16,033 posts
  • Name: Neil
  • Location: Oxfordshire

Posted 05 April 2011 - 08:02 PM

That was a result for you then Graham, its like the body shop chap Ray who's doing the prep work on Erm. He's a brummie and was at one point on the Mini production line so very random.

#117 grahama

grahama

    Up Into Fourth

  • Members
  • PipPipPipPipPipPipPipPipPip
  • 2,442 posts
  • Location: Warrington
  • Local Club: None in my area !!

Posted 05 April 2011 - 08:11 PM

Too right, nearly dropped my shiny new panel when he said 'just pop it in the bender' !!! Very nice chap though and a very clever engineer too from the look of his garage, he made hinself a CNC machine out of MDF and spare controllers, weh hey, need to find a use for that !!

Edited by grahama, 05 April 2011 - 08:12 PM.


#118 minimuk

minimuk

    Camshaft & Stage Two Head

  • Members
  • PipPipPipPipPipPipPipPip
  • 1,946 posts
  • Location: Midlands

Posted 05 April 2011 - 08:25 PM

looking good Graham, metal folder is a good help with all that body work. I could do with one myself Amazing al those people tell you lots about their "mini"experiences and all, then again everyone in the greater midlands owned one or driven one in the past, and worked on them.
good luck

#119 MINI-TURBO

MINI-TURBO

    Mini Mad

  • Members
  • PipPipPipPip
  • 230 posts
  • Location: newmarket

Posted 05 April 2011 - 10:06 PM

great work on the mini, and the body work is coming along well. i will be watching you thread, its a good one :D
are you going to keep it original or have you got other plans for it?

#120 grahama

grahama

    Up Into Fourth

  • Members
  • PipPipPipPipPipPipPipPipPip
  • 2,442 posts
  • Location: Warrington
  • Local Club: None in my area !!

Posted 06 April 2011 - 07:05 AM

MT,

it will be staying original 998 as it is for my lad, and insurance will be the problem for him, however, there's no reason why a bigger lump can't go in it at a later date when he is older. Having said that he may well be a lot older when I finnish lol.

Graham


1 user(s) are reading this topic

0 members, 1 guests, 0 anonymous users