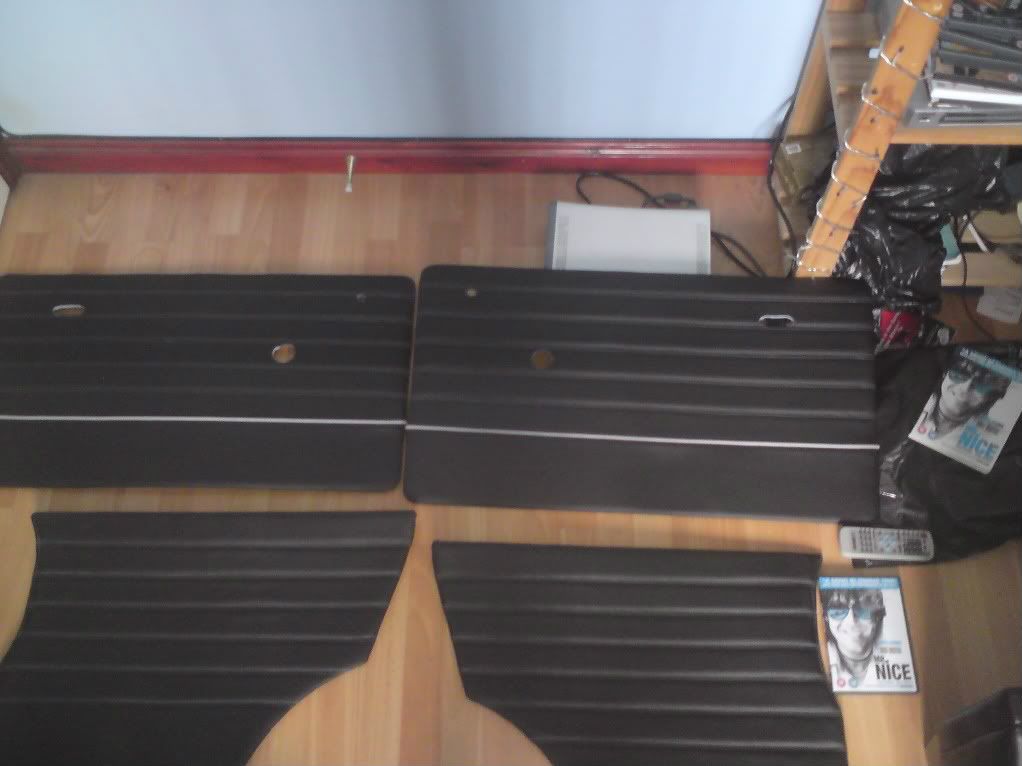
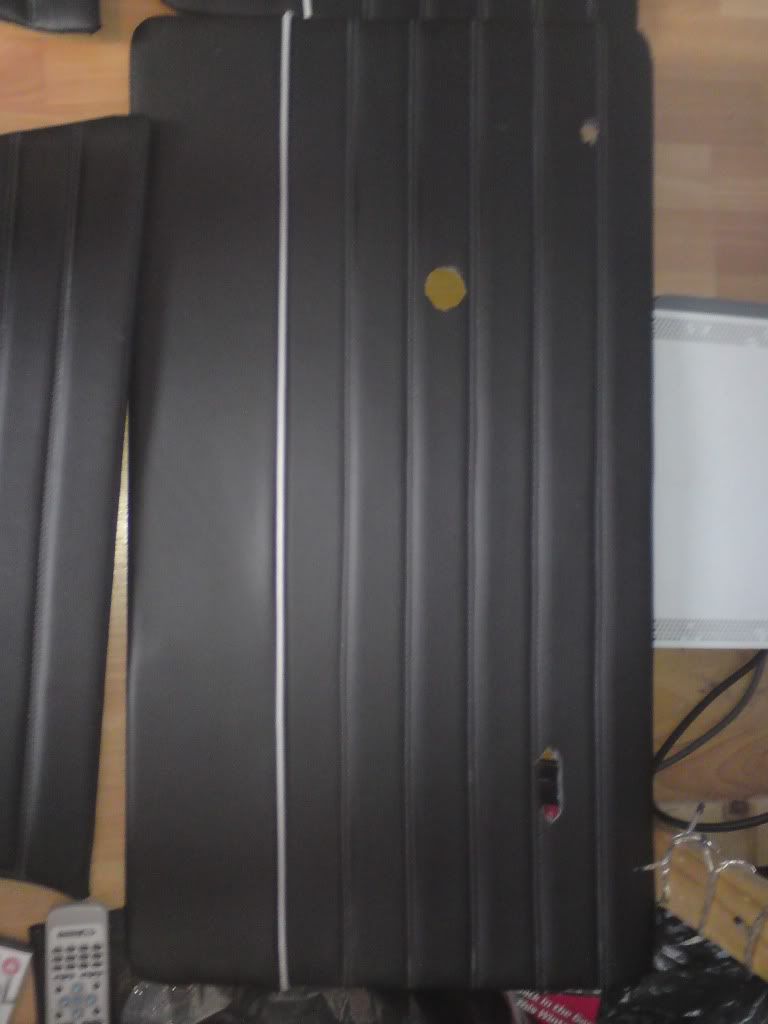
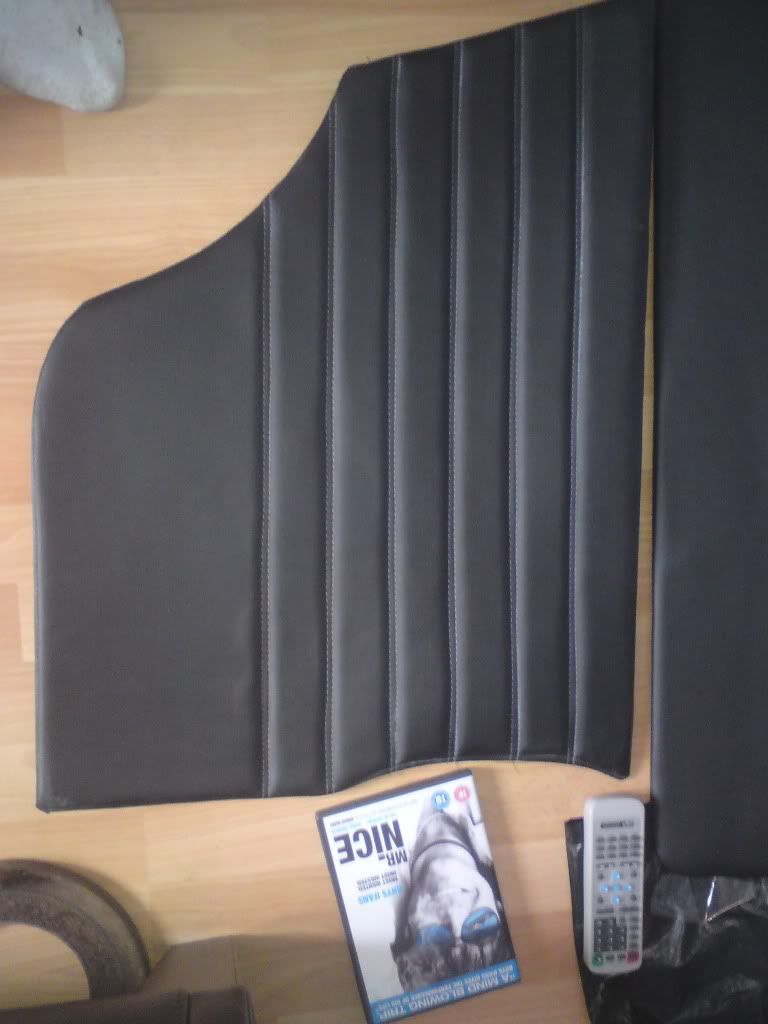
who made up ur door cards?went and picked up my door cards
well happy with them, same theme as the seats, double silver stitching and silver piping


My First Wee Project :d
Started by
Mini Mad Drakeley
, Mar 11 2011 12:21 AM
96 replies to this topic
#31

RichardBrown
-

- Members
-

- 307 posts
Speeding Along Now
Posted 30 May 2011 - 10:30 PM

#32
Mini Mad Drakeley
-
- Members
-
- 1,172 posts
One Carb Or Two?
- Location: bangor
- Local Club: south down mini owners club
Posted 03 June 2011 - 01:58 PM
ian, the same guy who did my seats
#33
Mini Mad Drakeley
-
- Members
-
- 1,172 posts
One Carb Or Two?
- Location: bangor
- Local Club: south down mini owners club
Posted 05 June 2011 - 06:41 PM
have basically done fa, been busy with assignments and when the internet breaks or i just take a break, i decided to start designing a dash with some dimensions from pete93, thanks, im actually thinking of making it, its something different and i think itl look pretty sweet, only made the paper version so far but here it is
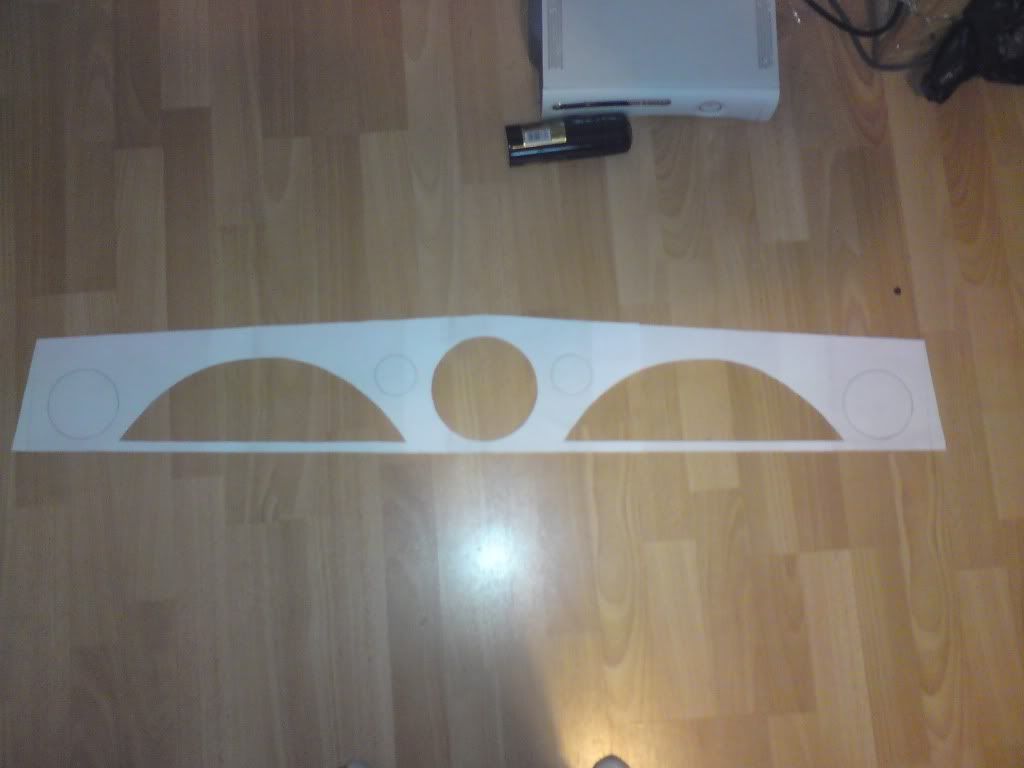
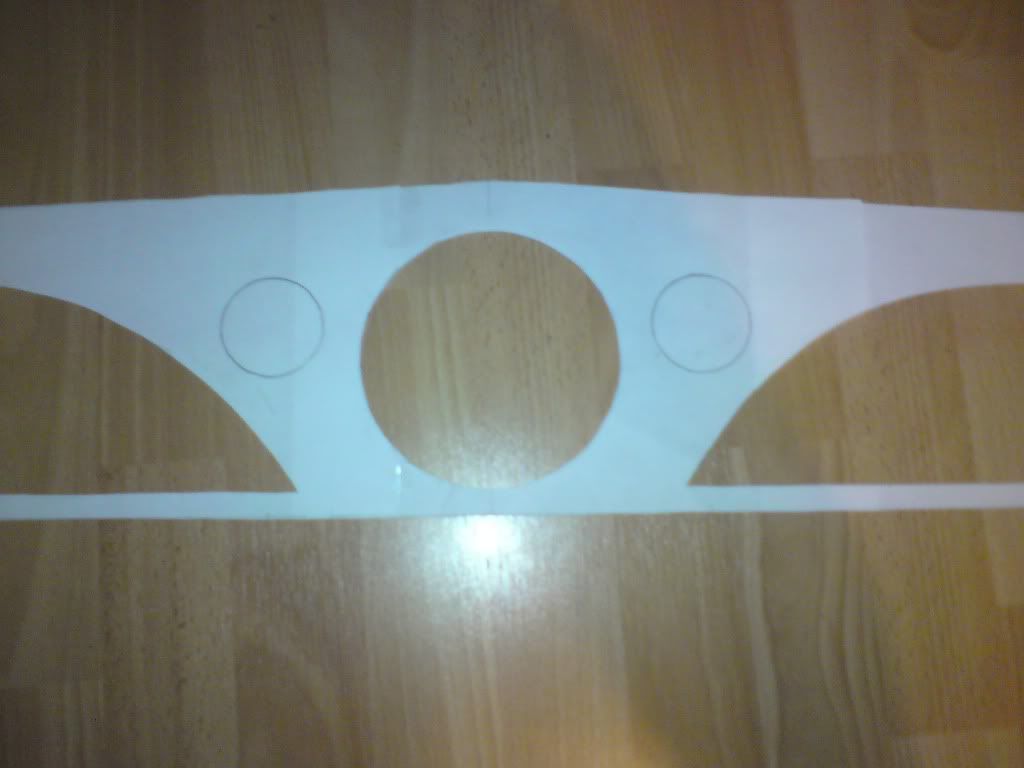
im thinking of making it with oak since its a nicer shade and lining the pocket areas with black leatherette, no wee cupboard type things
opinions please on this
thanks, Adam
im thinking of making it with oak since its a nicer shade and lining the pocket areas with black leatherette, no wee cupboard type things
opinions please on this
thanks, Adam
#34
Mini Mad Drakeley
-
- Members
-
- 1,172 posts
One Carb Or Two?
- Location: bangor
- Local Club: south down mini owners club
Posted 10 June 2011 - 04:05 PM
hi all,
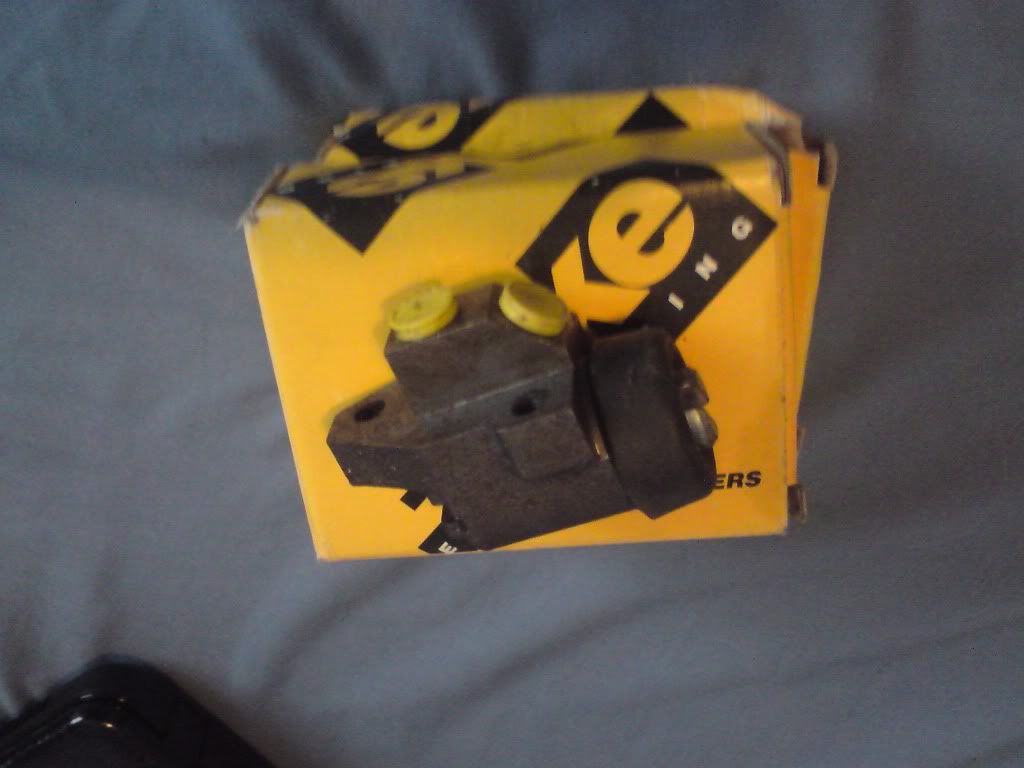
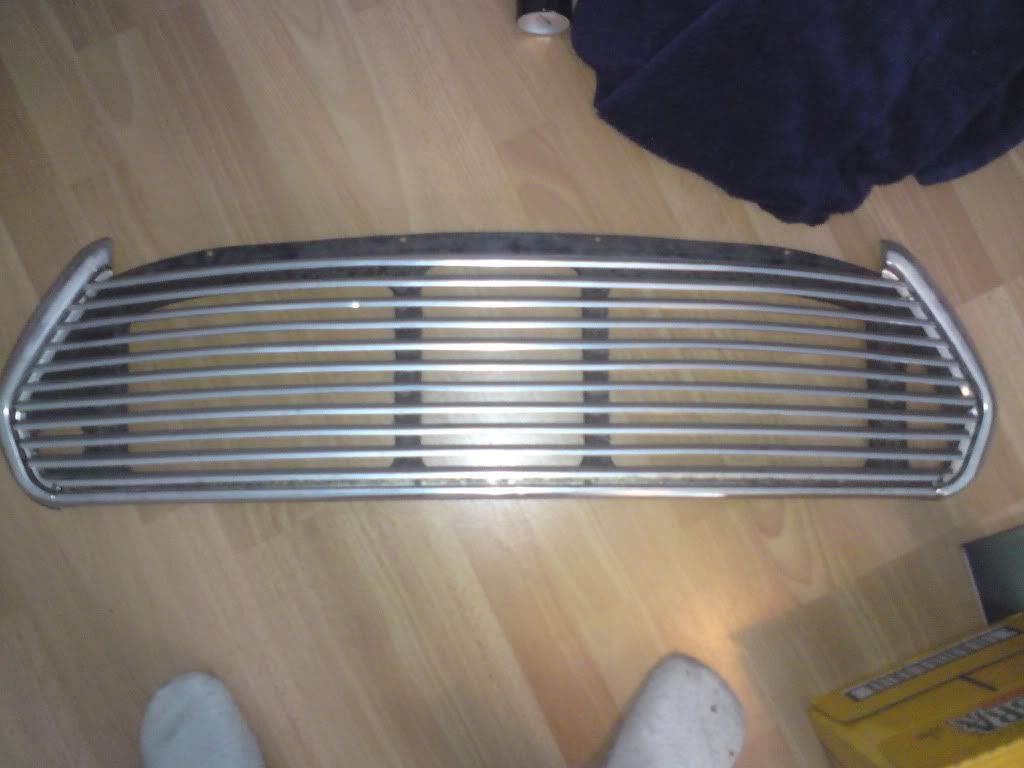
still got frig all done on the actual mini but my mate gave me a call on wednesday and told me there was some mini parts at the local auction, went down to view and see what there was and next day went straight down at the start of the auction to try and get it luckily people think minis and parts are cheap heres what i got in the box of bits:
3 new brake cylinder things
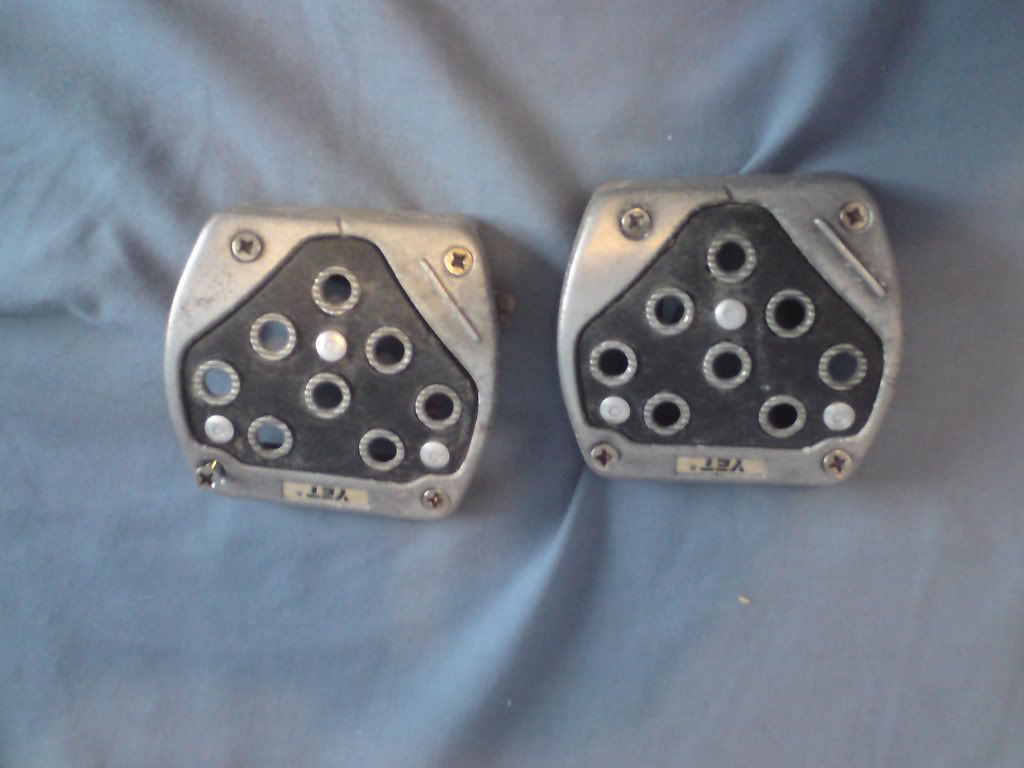
2 funny lookin foot pedals (i doubt i will use these at all)
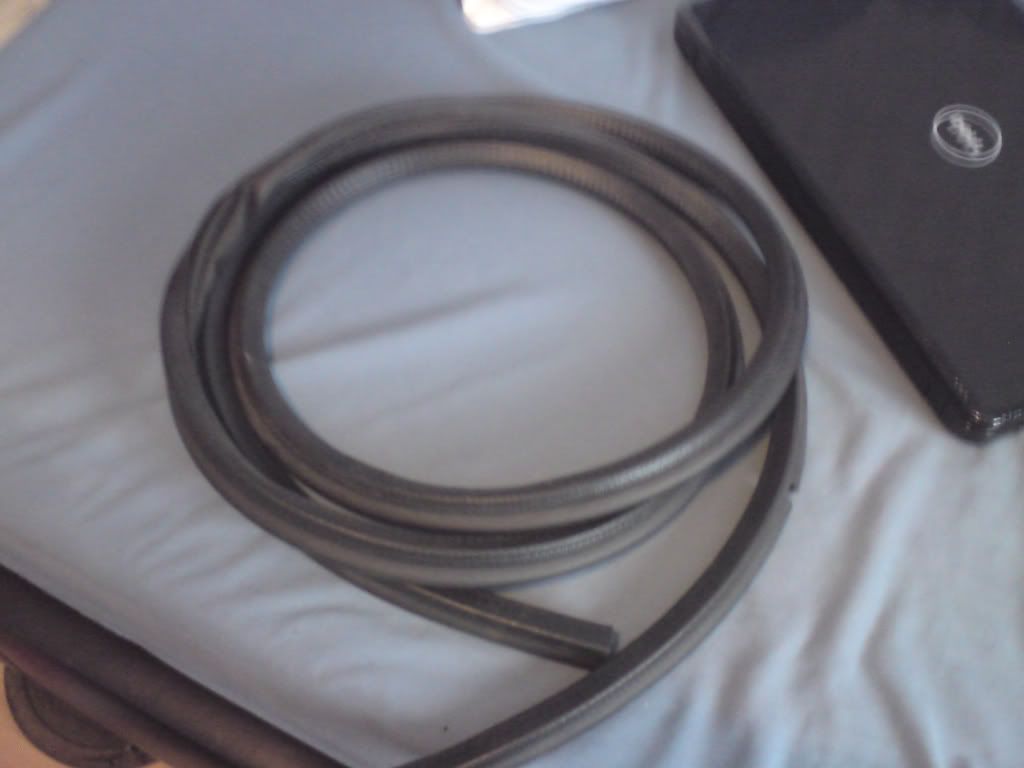
1 new door seal, i dont know if it genuine or not
1 complete internal release grill which i will be cleaning up and selling
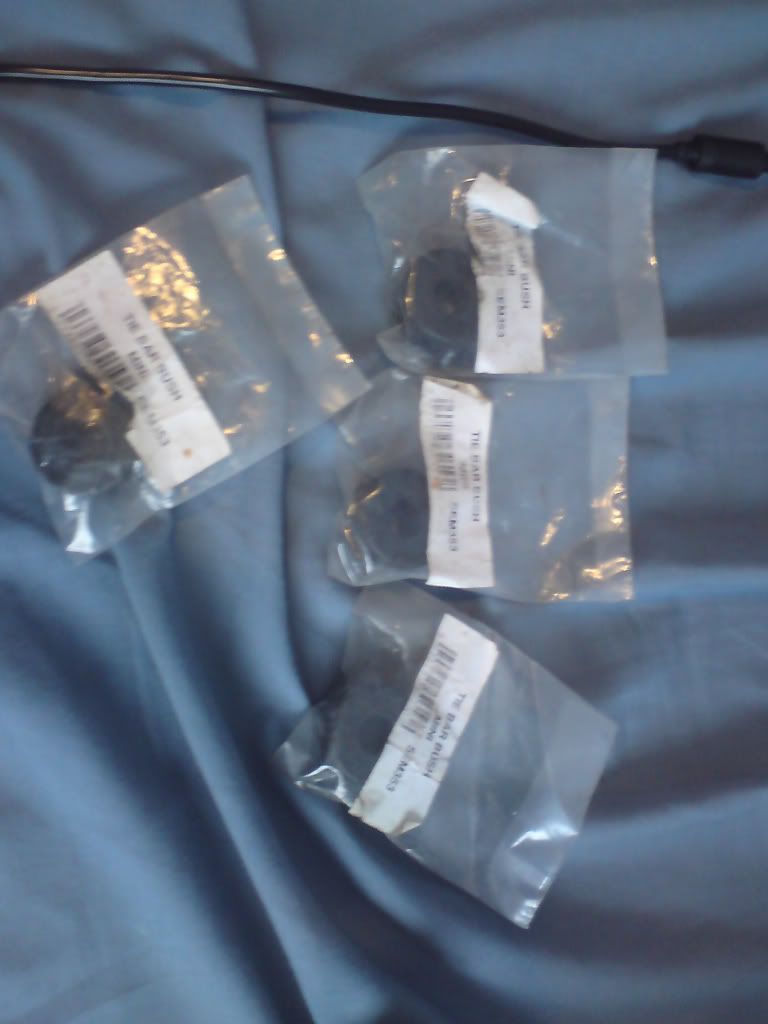
4 new tie bar bushes:
1 newish looking choke cable:

1 brand new full rear light set up for the rh side i think, includes bulbs, wiring seals etc

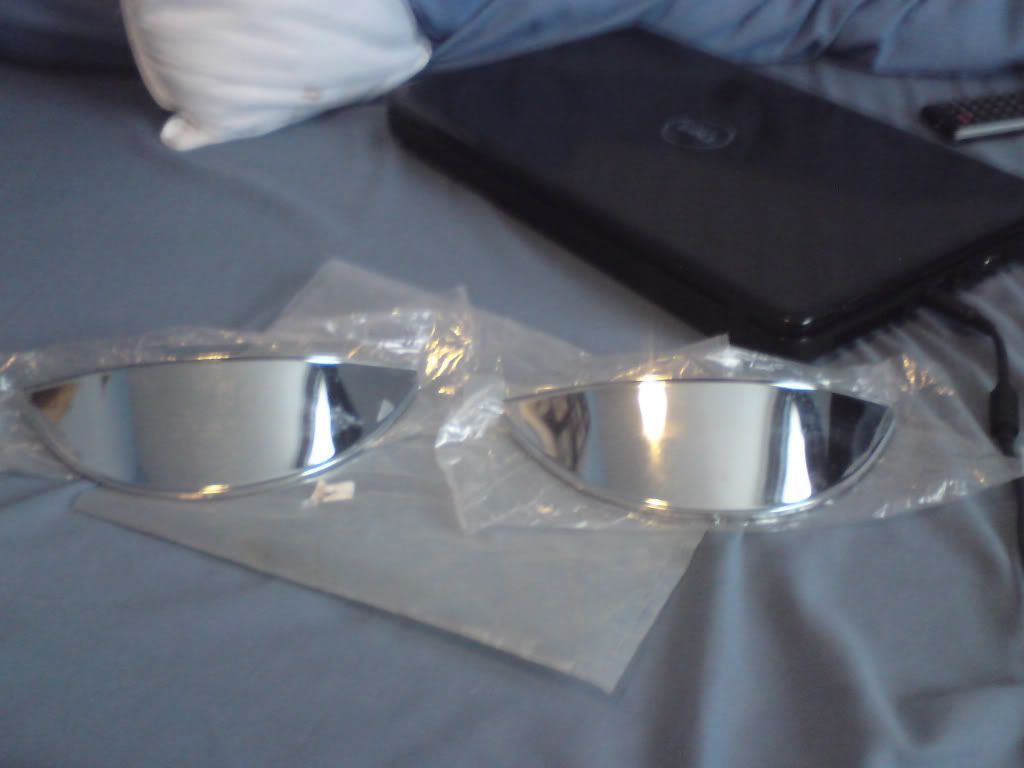
a pair of brand new headlamp peaks, dont know if i will use these yet:
and a brand new tacho metre, i definately wont use this because i dont even know if any minis have them
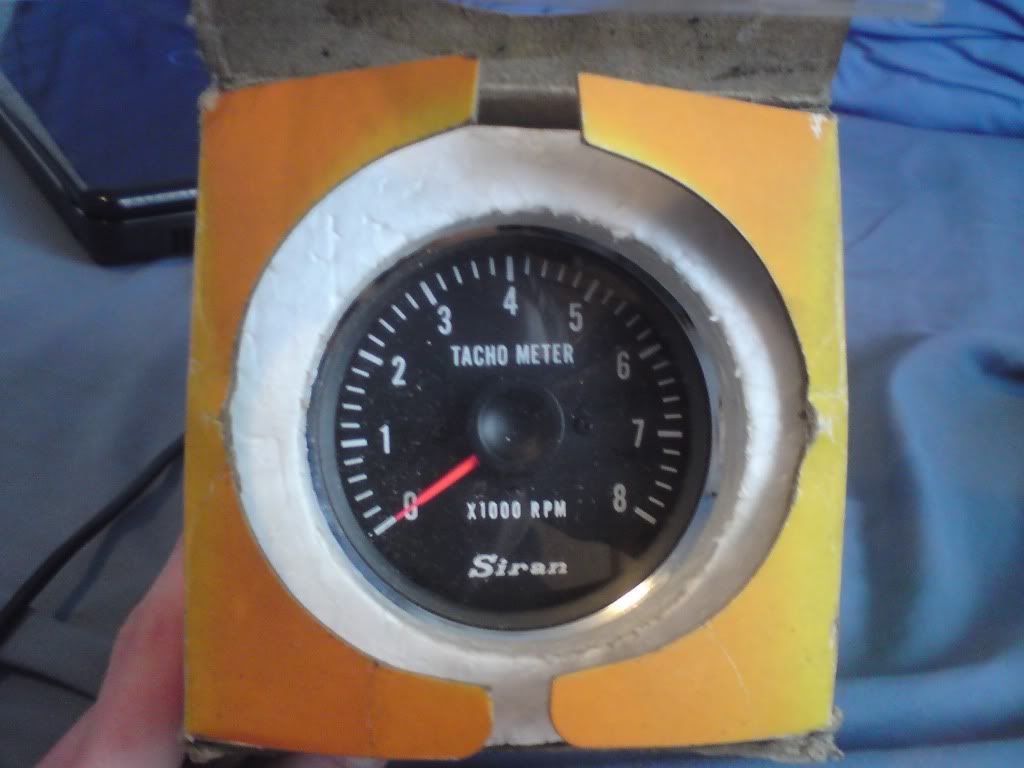
and i got all this for £11.80
very happy with this
Adam
still got frig all done on the actual mini but my mate gave me a call on wednesday and told me there was some mini parts at the local auction, went down to view and see what there was and next day went straight down at the start of the auction to try and get it
luckily people think minis and parts are cheap heres what i got in the box of bits:3 new brake cylinder things
2 funny lookin foot pedals (i doubt i will use these at all)
1 new door seal, i dont know if it genuine or not
1 complete internal release grill which i will be cleaning up and selling
4 new tie bar bushes:
1 newish looking choke cable:
1 brand new full rear light set up for the rh side i think, includes bulbs, wiring seals etc
a pair of brand new headlamp peaks, dont know if i will use these yet:
and a brand new tacho metre, i definately wont use this because i dont even know if any minis have them
and i got all this for £11.80
very happy with this
Adam
Edited by Mini Mad Drakeley, 10 June 2011 - 04:06 PM.
#35
RichardBrown
-
- Members
-
- 307 posts
Speeding Along Now
Posted 18 July 2011 - 09:06 AM
use the tacho def
itsjust a rev gauge and some did and others just put them on
keep up the good work
itsjust a rev gauge and some did and others just put them on
keep up the good work
#36
Mini Mad Drakeley
-
- Members
-
- 1,172 posts
One Carb Or Two?
- Location: bangor
- Local Club: south down mini owners club
Posted 02 August 2011 - 08:32 PM
hi,
not really got alot done cus ive been going out wayyy to much lately but im starting to crack o with it now
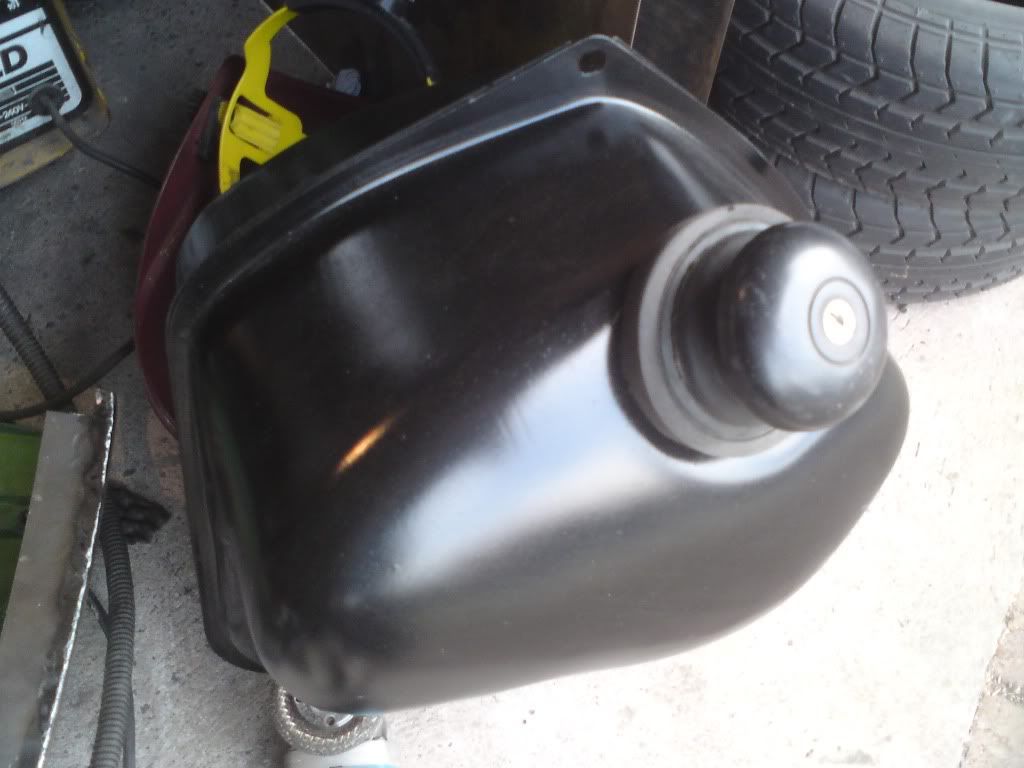
decided to spray up the fuel tank as one of the many wee jobs ive been intending to do and i think it turned up quite well
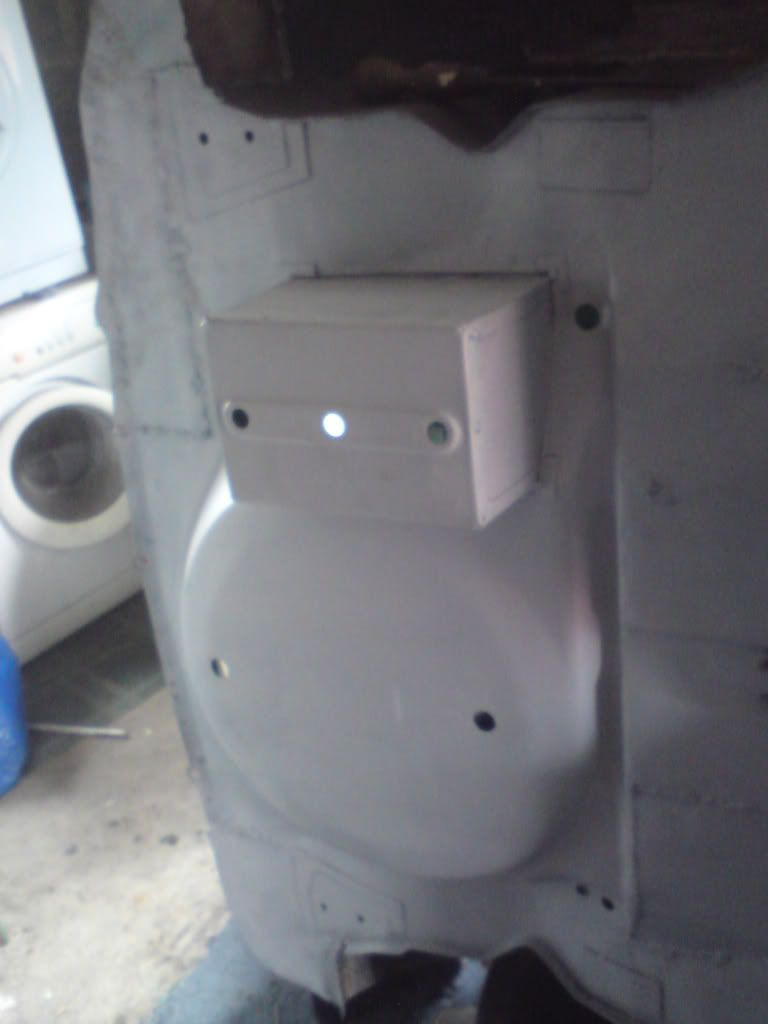
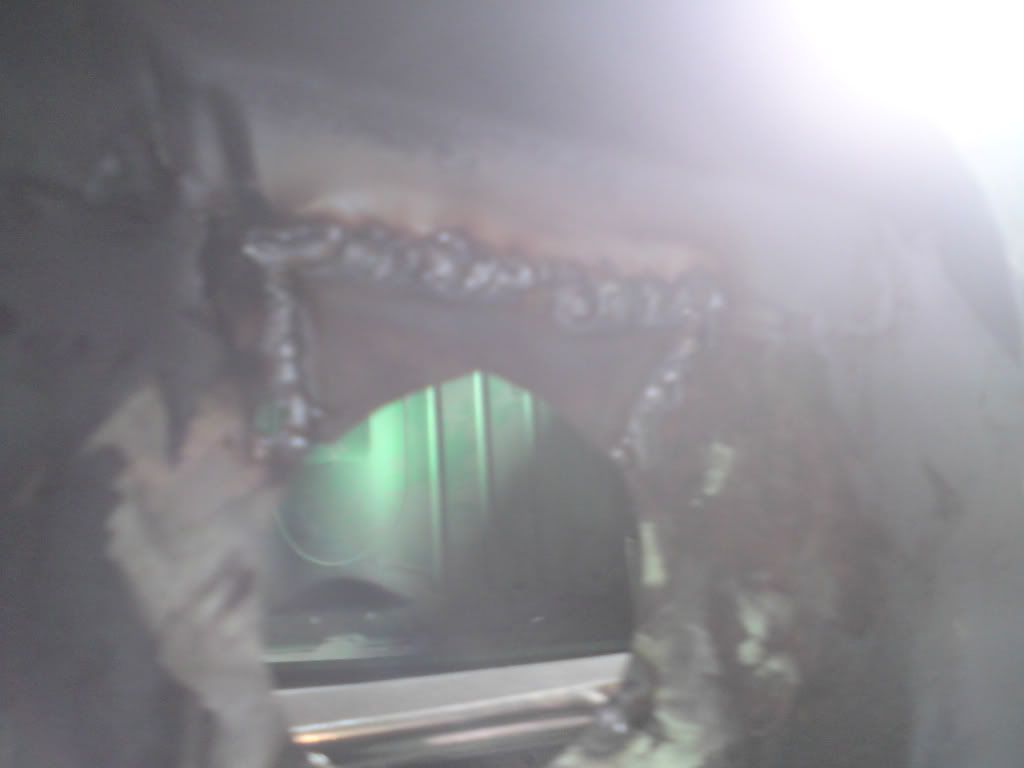
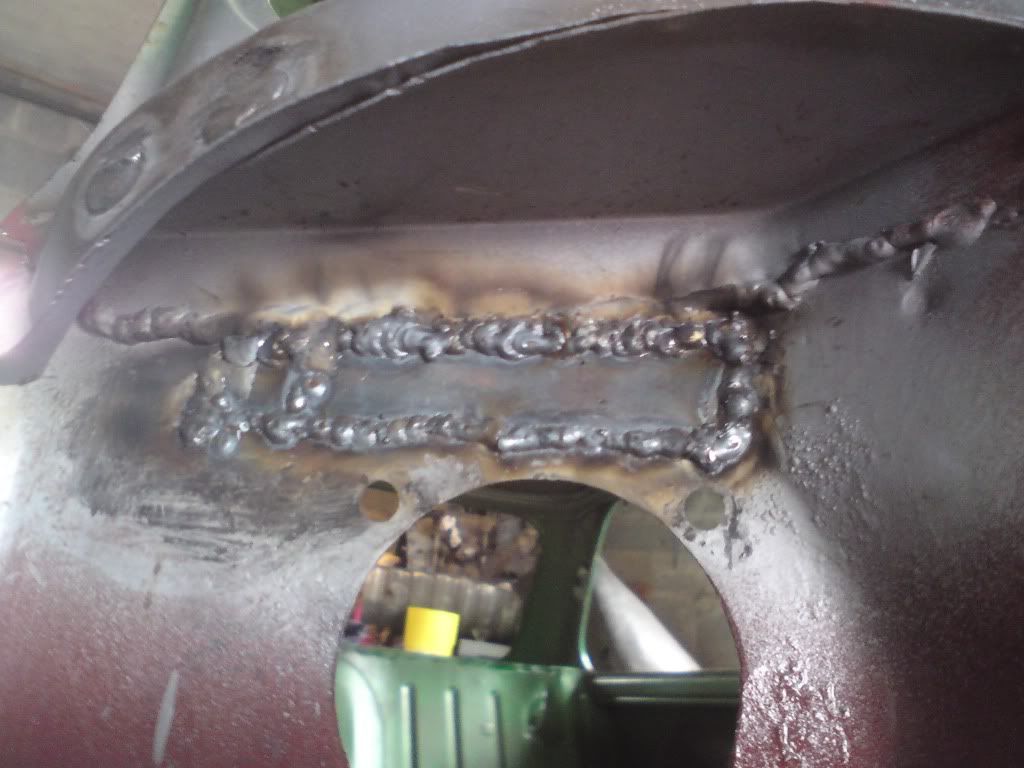
got the OS sill repair panel welded on

got the wee corner bit of the boot floor welded on aswell, dont know the exact name
we then made a rear quarter patch and welded it on, tee is bringing his shrinking hammer to get rid of any distortion

took all the boot area down to bare metal and kurusted and primered it
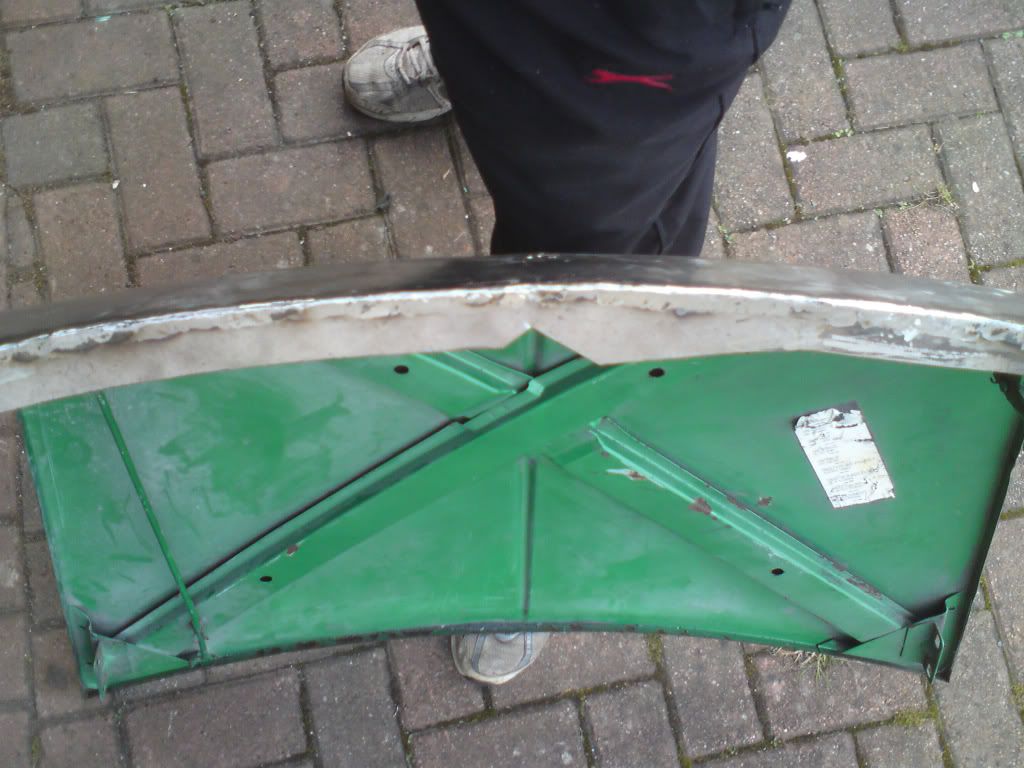
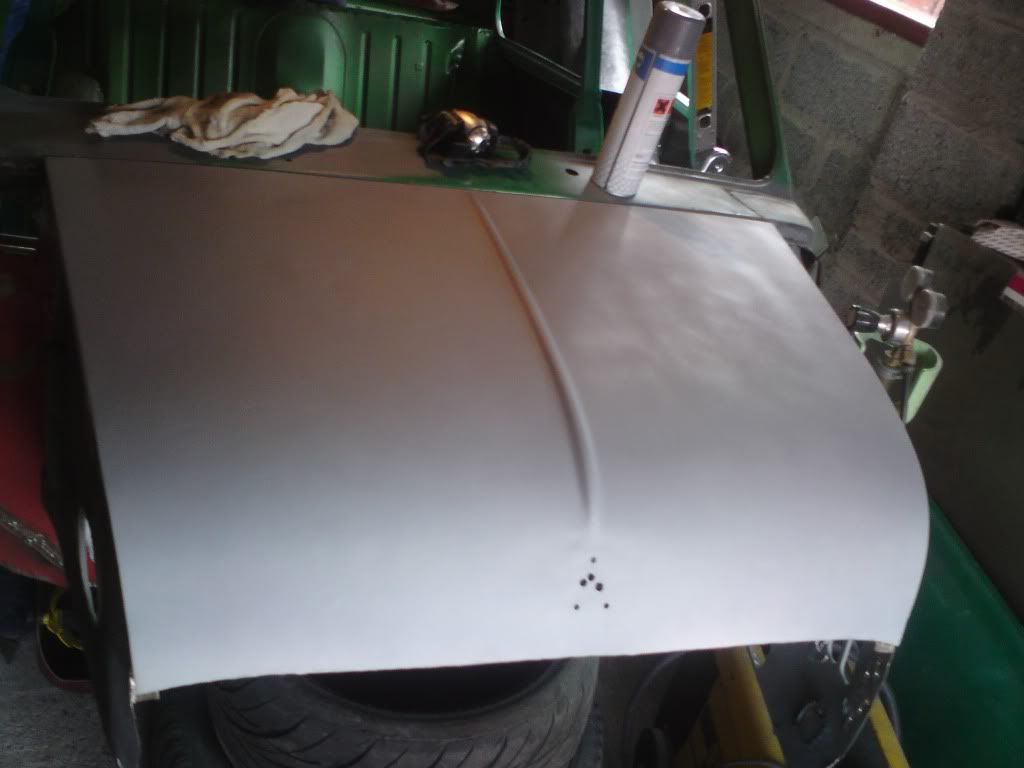
spent a day trying to fix the welder i had been lent and now it works brilliantly so i cracked on and ive started to repair the bonnet bit that the lip welds onto, going well so far and only a little bit left to do
all comments welcome,
thanks, Adam
not really got alot done cus ive been going out wayyy to much lately but im starting to crack o with it now
decided to spray up the fuel tank as one of the many wee jobs ive been intending to do and i think it turned up quite well
got the OS sill repair panel welded on
got the wee corner bit of the boot floor welded on aswell, dont know the exact name
we then made a rear quarter patch and welded it on, tee is bringing his shrinking hammer to get rid of any distortion
took all the boot area down to bare metal and kurusted and primered it
spent a day trying to fix the welder i had been lent and now it works brilliantly so i cracked on and ive started to repair the bonnet bit that the lip welds onto, going well so far and only a little bit left to do
all comments welcome,
thanks, Adam
#37
Mini Mad Drakeley
-
- Members
-
- 1,172 posts
One Carb Or Two?
- Location: bangor
- Local Club: south down mini owners club
Posted 08 August 2011 - 09:10 PM
just a quick wee update :)
just a tiny bit of work left to do on the bonnet, 1 small patch at the back lip and to weld on the chrome strip lip
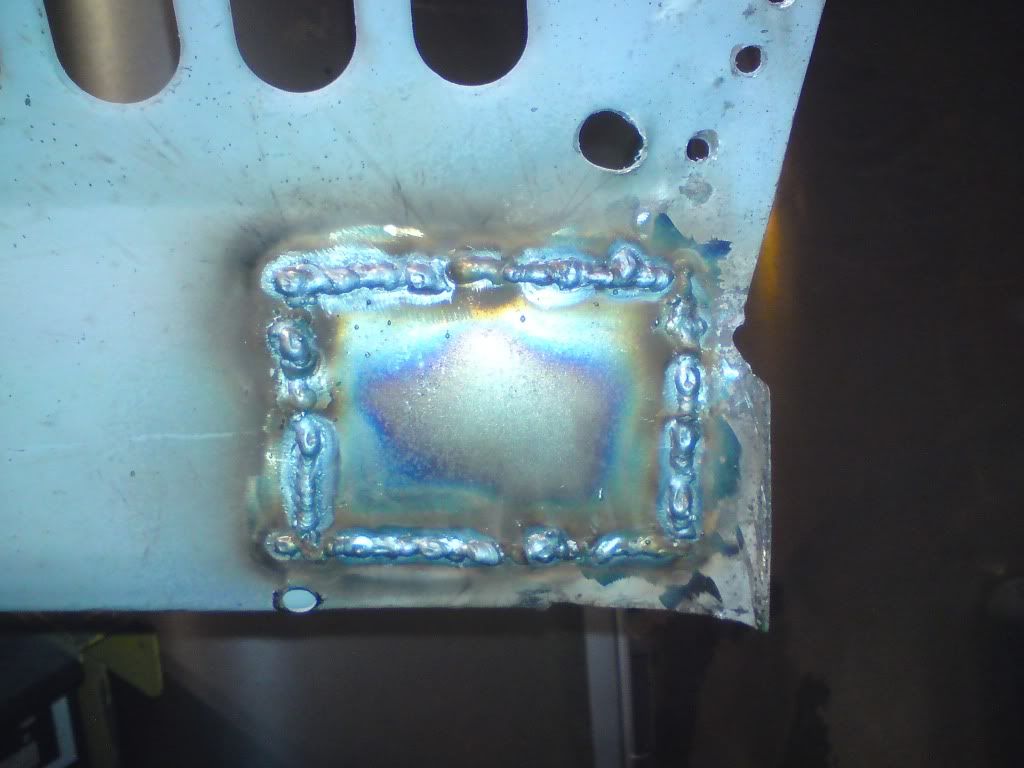
the main shell has all the patchwork now done on it :D just got the front end and the rear valance and closing panels to weld on and grind down all the welds :)
the last 2 patches
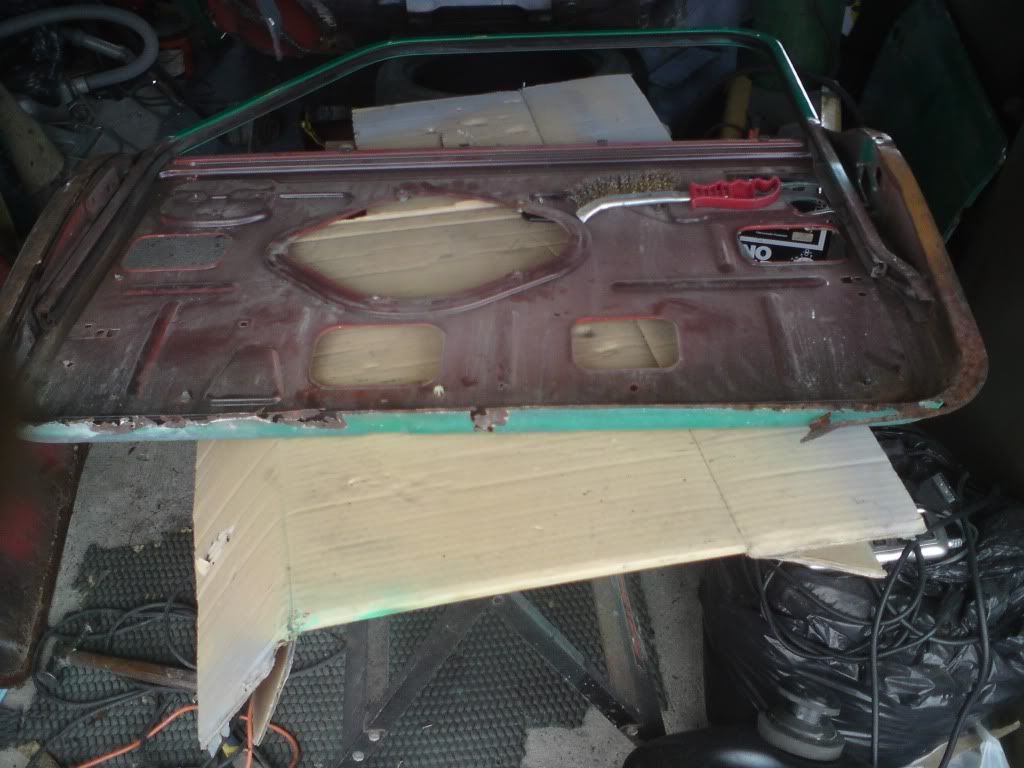
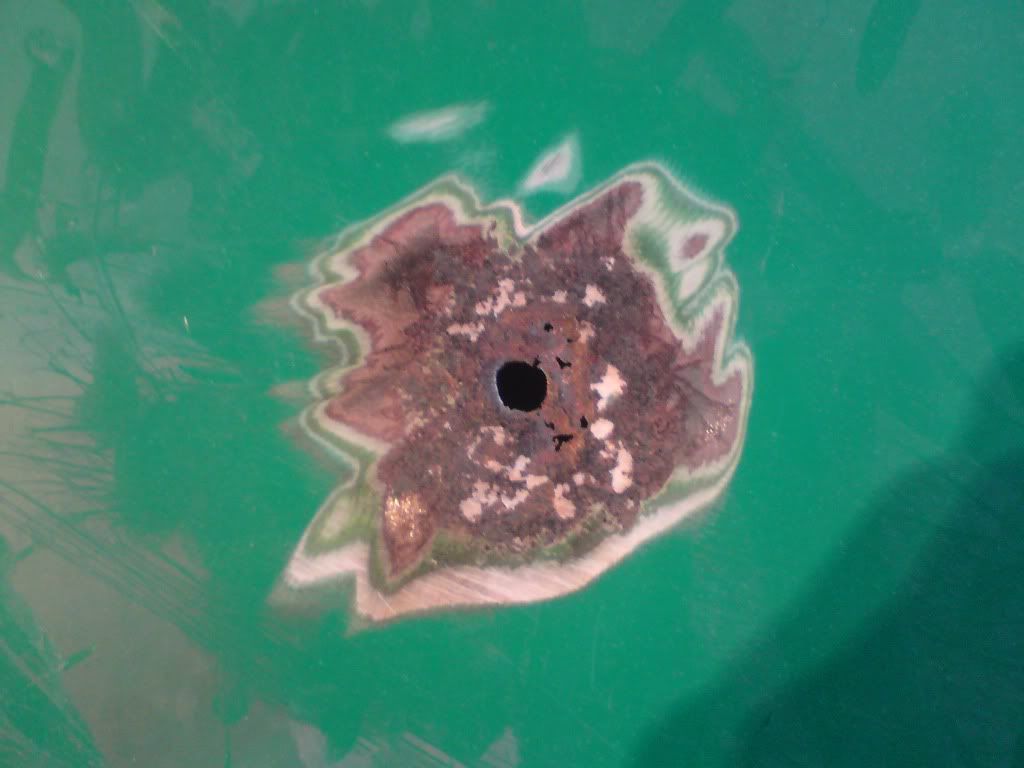
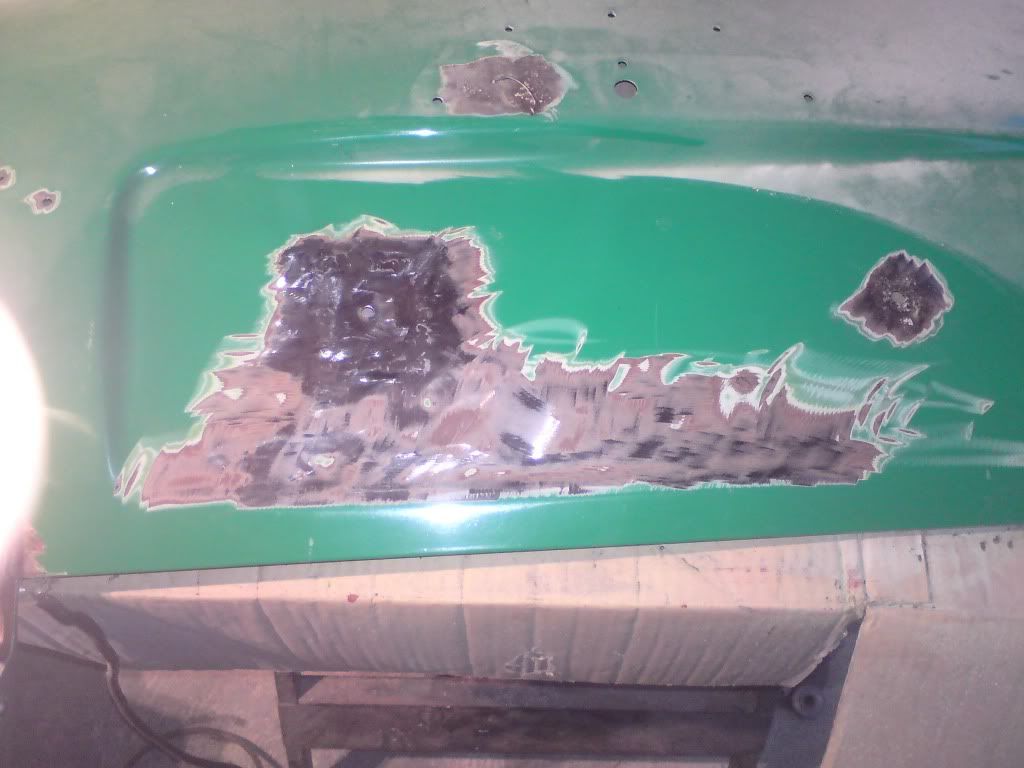
now for the bad news though, we started to work on the drivers side door which was just meant to be a tiny patch in the bottom...
scraped away the seam sealer to find that although the skin had been replaced at some point recently, the frame hadnt been repaired and the skin wasnt even welded on so we took the skin off and we can re-use it luckily :) and work has already been started to the frame by fixing the corners and itl be finished on thursday
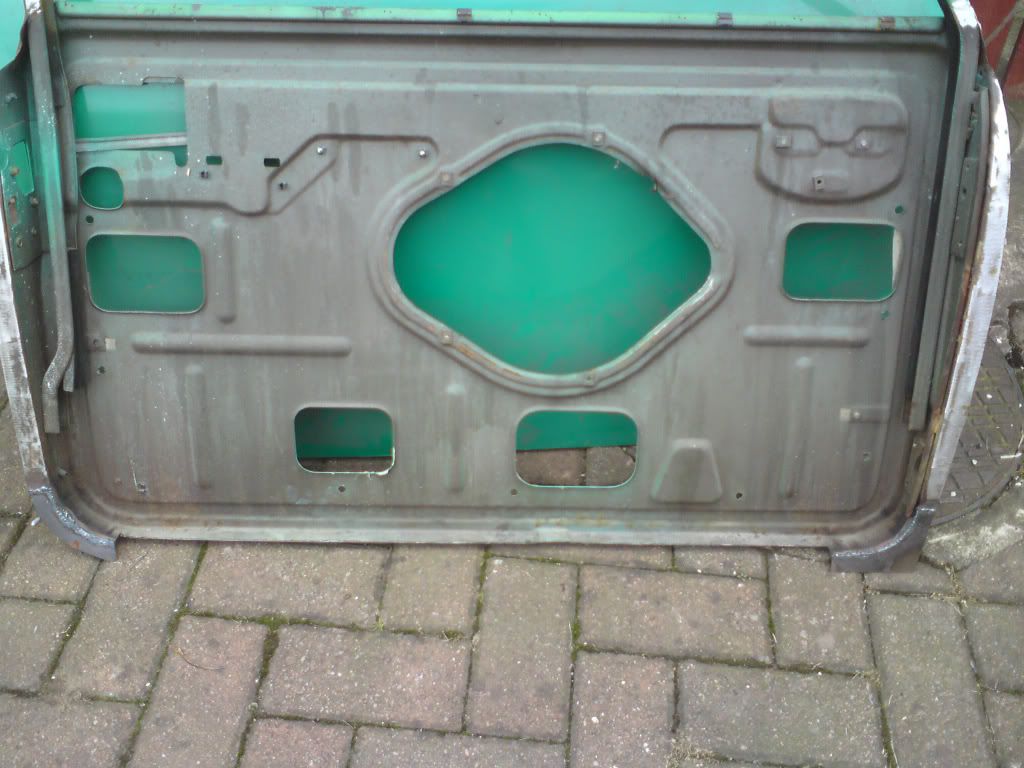
we decided after looking at this door that we would have a look at the other which is alot worse, now that i actually know how to tell filler i took 1 look and thought ohh ****, the skin was shot so ive already got a new one and the frame is alot worse but we are going to fix it although it will take alot more patchwork and effort
thanks, Adam
just a tiny bit of work left to do on the bonnet, 1 small patch at the back lip and to weld on the chrome strip lip
the main shell has all the patchwork now done on it :D just got the front end and the rear valance and closing panels to weld on and grind down all the welds :)
the last 2 patches
now for the bad news though, we started to work on the drivers side door which was just meant to be a tiny patch in the bottom...
scraped away the seam sealer to find that although the skin had been replaced at some point recently, the frame hadnt been repaired and the skin wasnt even welded on so we took the skin off and we can re-use it luckily :) and work has already been started to the frame by fixing the corners and itl be finished on thursday
we decided after looking at this door that we would have a look at the other which is alot worse, now that i actually know how to tell filler i took 1 look and thought ohh ****, the skin was shot so ive already got a new one and the frame is alot worse but we are going to fix it although it will take alot more patchwork and effort
thanks, Adam
Edited by Mini Mad Drakeley, 08 August 2011 - 09:31 PM.
#38
Mini Mad Drakeley
-
- Members
-
- 1,172 posts
One Carb Or Two?
- Location: bangor
- Local Club: south down mini owners club
Posted 11 August 2011 - 10:23 PM
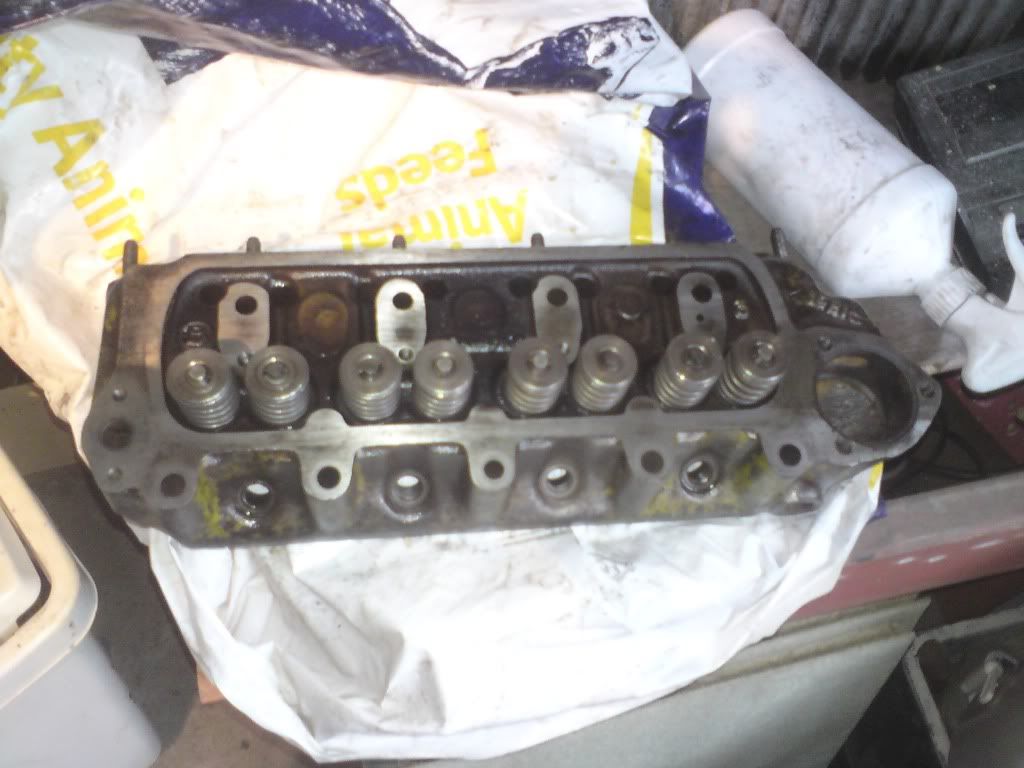
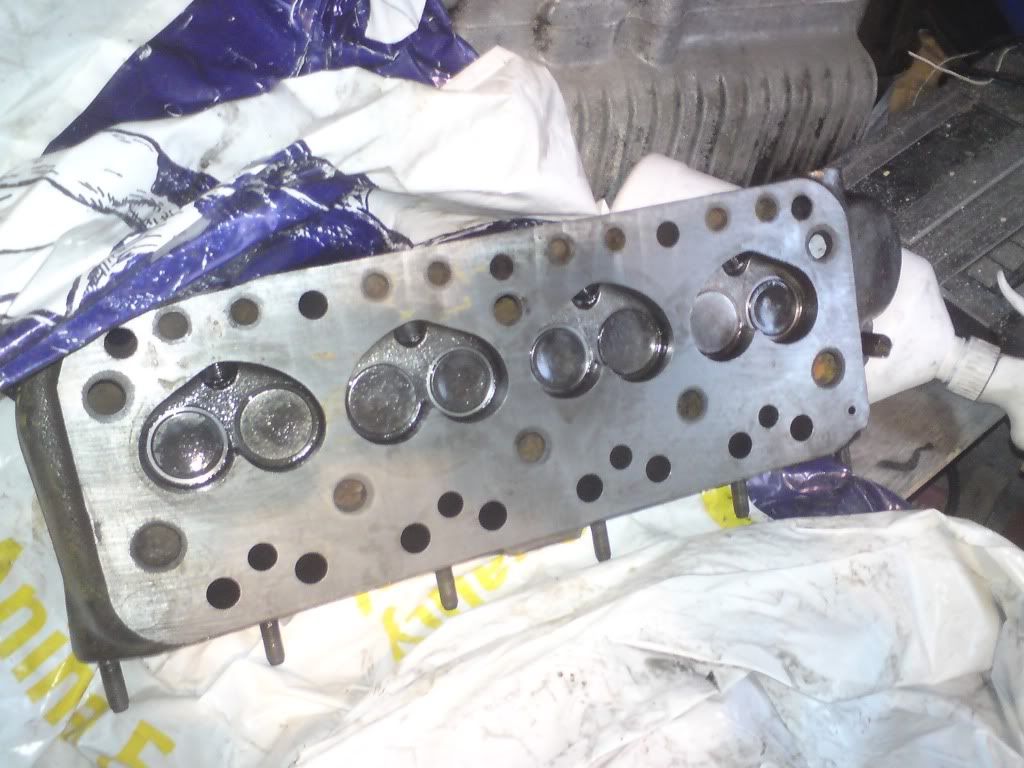
just a small wee update, the wheels are back from shotblasting and powdercoating but no pics yets, the cylinder head is away off to be converted to unleaded and ive sent some electrics to be re-furbished and i even found out the alternator and starter motor are the original ones
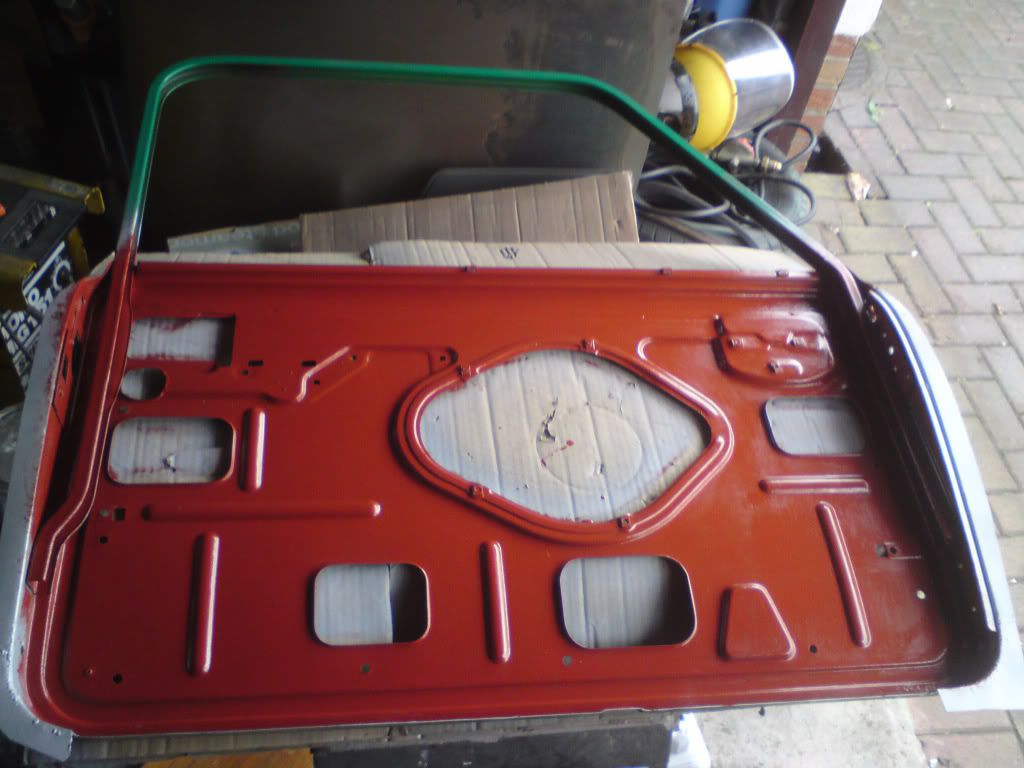
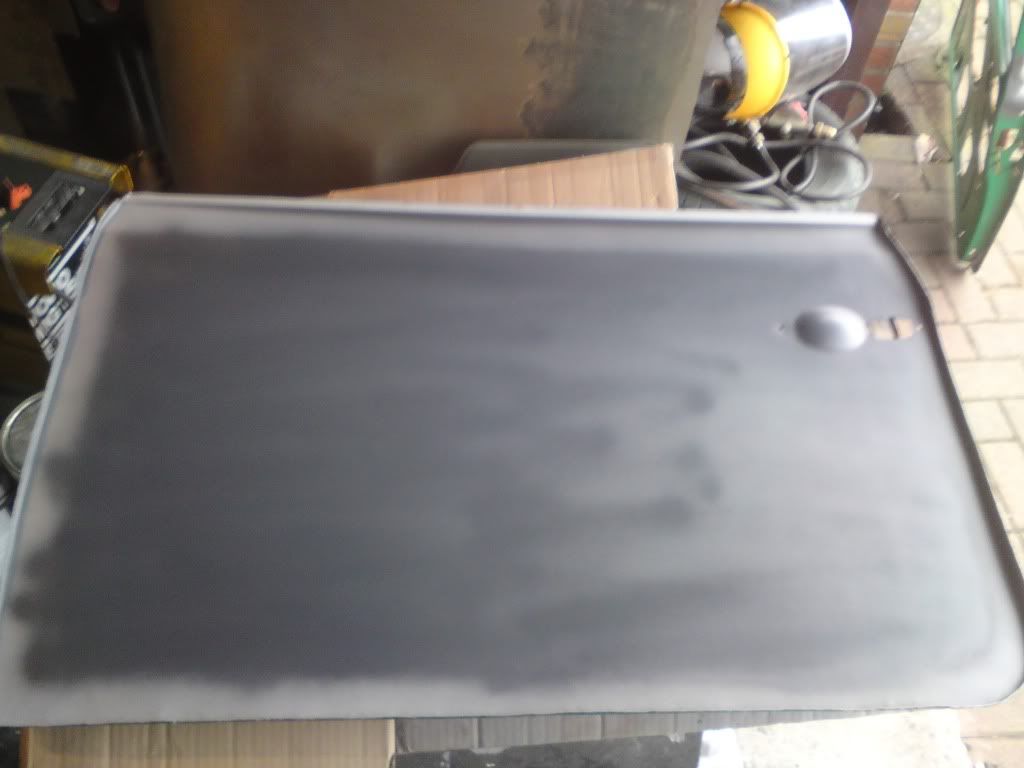
the door is ready to be welded back together tomorrow cus both the skin and the frame were taken down to bare metal, rust treated, zinc primed, bit of etch and a coat of red oxide on the frame and il do another tomorrow morning and i stone chipped the skin because apparently it gets rid of some of the tin sound when you knock it or something
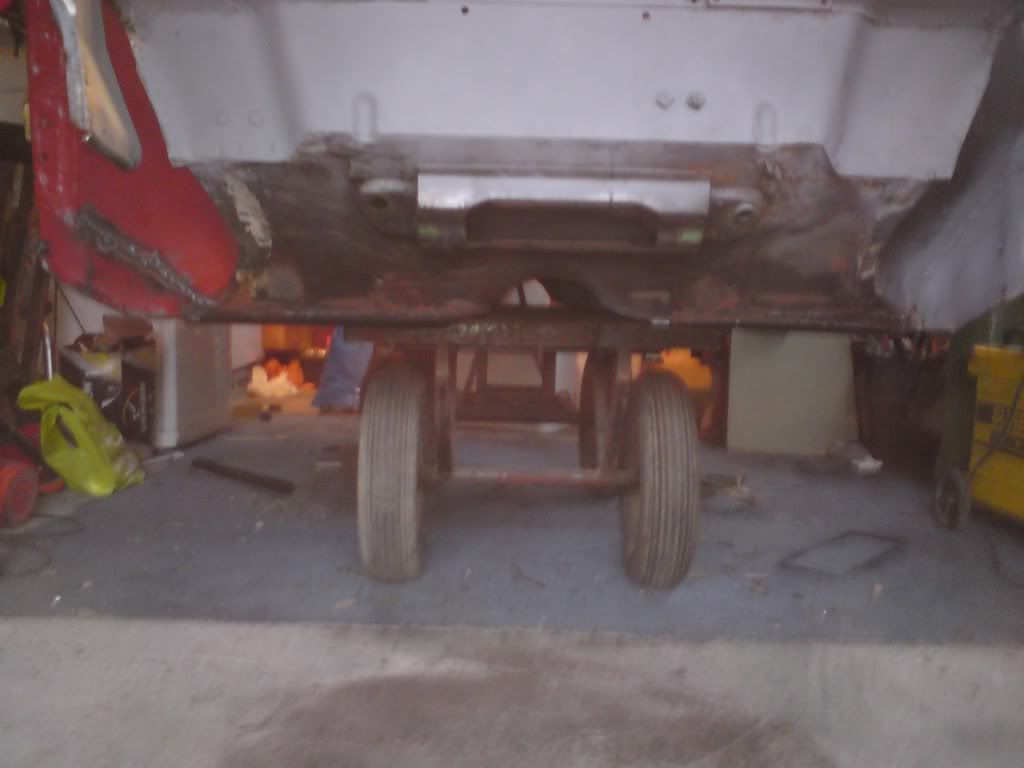
borrowed a couple of helpful things off my neighbour who doesnt need them
a trolley type thing that the shell is now sitting on so i can move the shell around and out of the way now no problem and the shell is still very stable on it
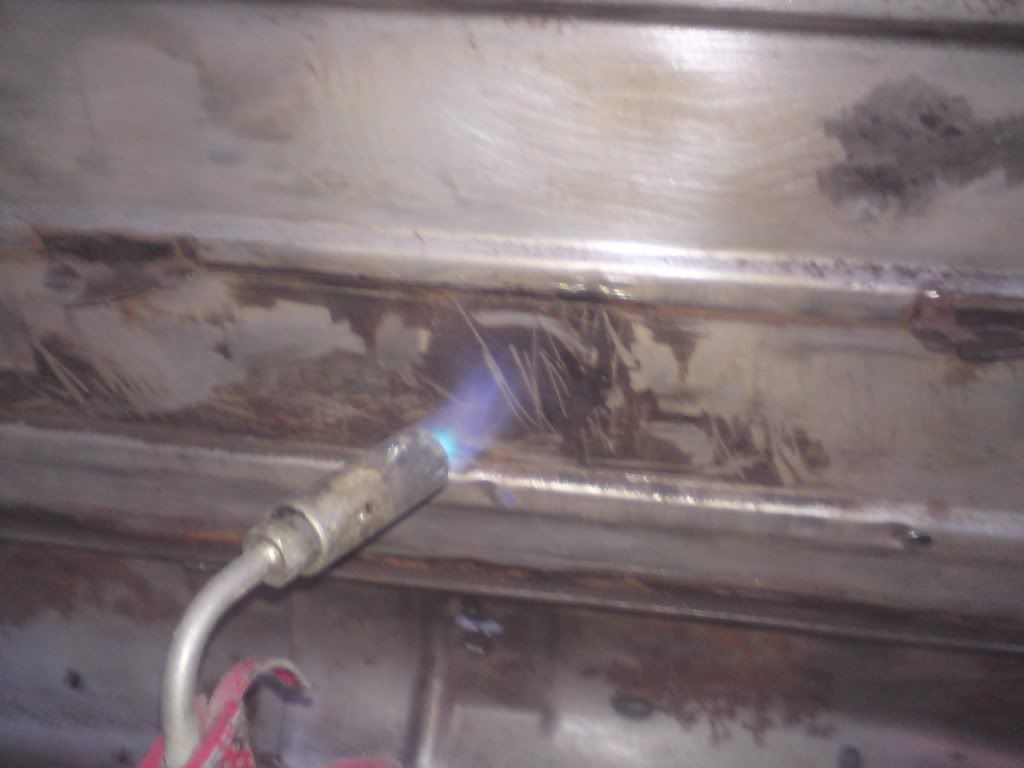
and a wee toy im really looking forward to testing
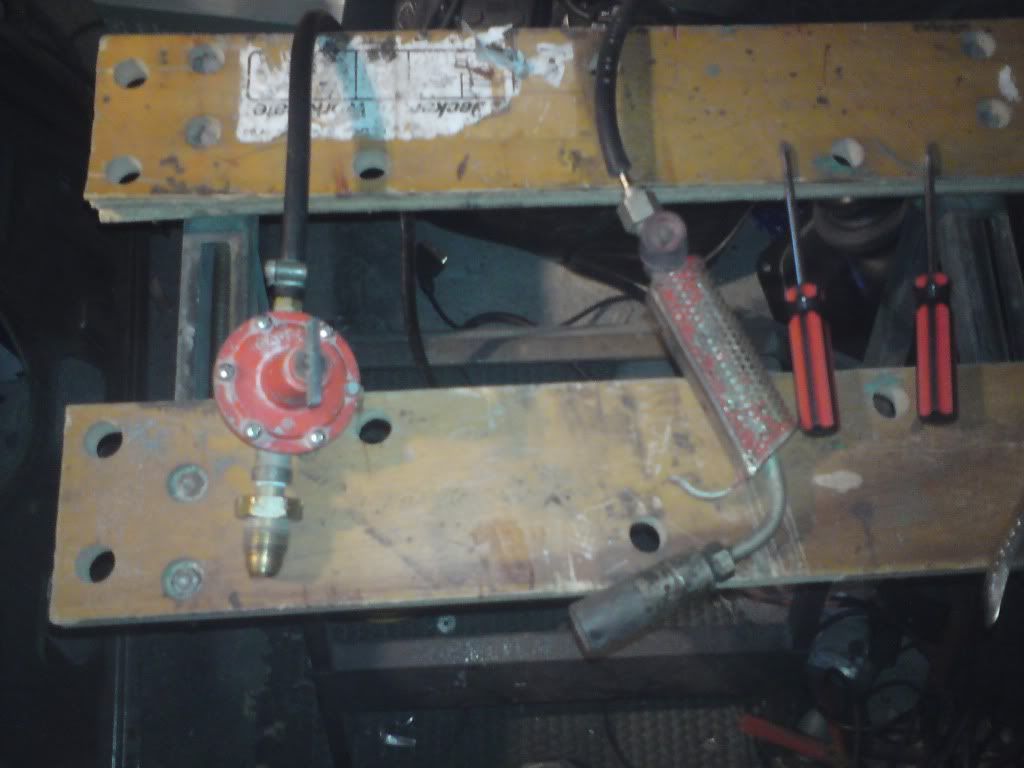
what i hope is a miniature flame thrower to melt away all the old underseal from the bottom instead of using a heat gun should be fun 
all comments welcome, Adam
the door is ready to be welded back together tomorrow cus both the skin and the frame were taken down to bare metal, rust treated, zinc primed, bit of etch and a coat of red oxide on the frame and il do another tomorrow morning and i stone chipped the skin because apparently it gets rid of some of the tin sound when you knock it or something
borrowed a couple of helpful things off my neighbour who doesnt need them
a trolley type thing that the shell is now sitting on so i can move the shell around and out of the way now no problem and the shell is still very stable on it
and a wee toy im really looking forward to testing
what i hope is a miniature flame thrower to melt away all the old underseal from the bottom instead of using a heat gun
should be fun all comments welcome, Adam
#39
Mad Max
-

- Members
-
- 306 posts
Speeding Along Now
- Location: On a driveway under a car
Posted 12 August 2011 - 10:07 AM
Nice project, I'm liking some of the details, door skins can be a right pig i avoid them at all costs
#40
JonnyBMX
-

- Members
-
- 865 posts
One Carb Or Two?
- Location: Bedfordshire
- Local Club: Rebels
Posted 12 August 2011 - 11:56 AM
nice work there! keep it up
#41
mhamps
-
- Noobies
-
- 91 posts
Stage One Kit Fitted
Posted 12 August 2011 - 12:14 PM
Great looking build mate, should be lovely when finished.
Matt
Matt
#42
Mini Mad Drakeley
-
- Members
-
- 1,172 posts
One Carb Or Two?
- Location: bangor
- Local Club: south down mini owners club
Posted 12 August 2011 - 04:29 PM
cheers for the comments guys and the door skin wasnt too bad today but that may have been because it had already been fitted
heres a pic of a wheel from the powdercoated, in the dipped bit in the middle the paint isnt very good so i may either take them back and get them to do a proper job or have a go at fixing the pits
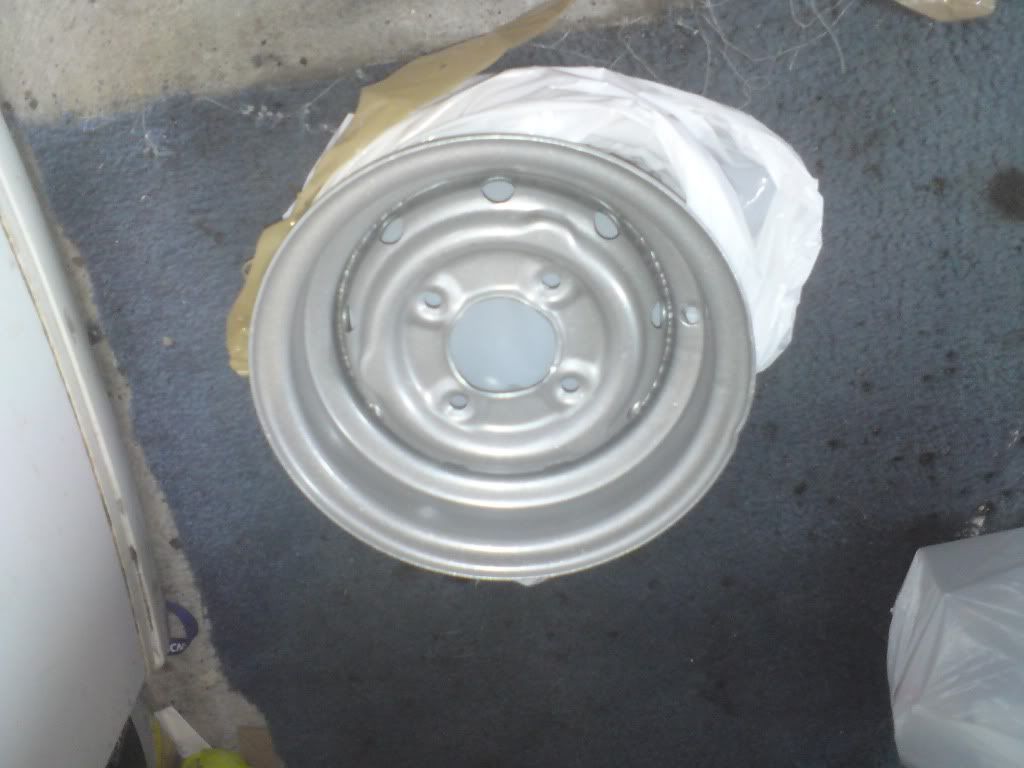
what do yous think i should do if you can see the pits at all? i can get a picture that shows them up more
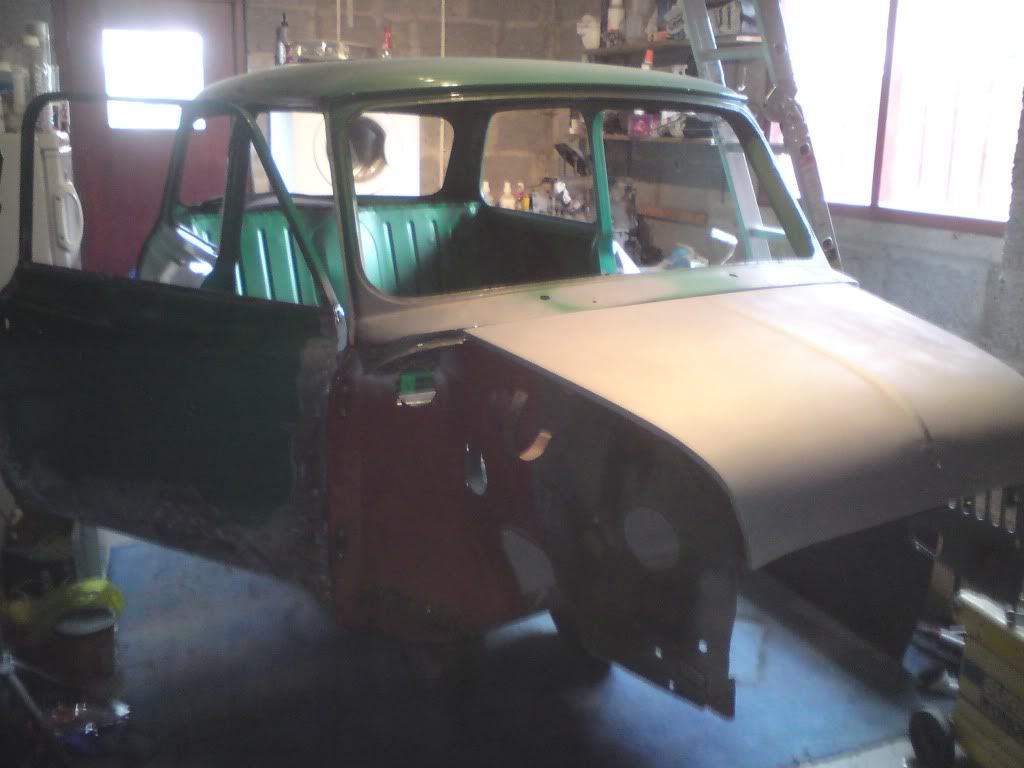
on the good news we got the drivers side door done

i set the bonnet on and it almost looks like a car now:)
i should have more updates tonight when i get the boot lid done and finish the bonnet
all comments welcome, Adam
heres a pic of a wheel from the powdercoated, in the dipped bit in the middle the paint isnt very good so i may either take them back and get them to do a proper job or have a go at fixing the pits
what do yous think i should do if you can see the pits at all? i can get a picture that shows them up more
on the good news we got the drivers side door done
i set the bonnet on and it almost looks like a car now:)
i should have more updates tonight when i get the boot lid done and finish the bonnet
all comments welcome, Adam
#43
hughJ
-

- Members
-
- 727 posts
Soldiering Along
- Location: Highlands, Scotland
Posted 12 August 2011 - 07:21 PM
What a nice bit of work. This will be a super car when its done. Thanks for sharing.
Hugh
Hugh
#44
Mini Mad Drakeley
-
- Members
-
- 1,172 posts
One Carb Or Two?
- Location: bangor
- Local Club: south down mini owners club
Posted 15 August 2011 - 09:38 PM
ive been resonably busy the last couple of days, went to fix up the boot lid, got the patch welded in with only a little bit of distortion, thought not a problem just use the shrinking hammer and straighten it out abit, ground down the welds and found lots of filler covering a big dent, have no idea how to fix it though cus the dent is above where the frame is 
may weld the tip of a nail to the centre of the dent and try to pull it out and shrink it down if the metal has been stretched, hopefully that would work
on the plus side though it stopped raining for a day so i wheeled the shell out and set up the blow torch and got the scraper and wire brush and done the inner wings and the sills and got a mate to help me roll it onto the side so the underside could be done wasnt as easy as i expected but still alot easier than using a heat gun
1st time hes been outside in over a year
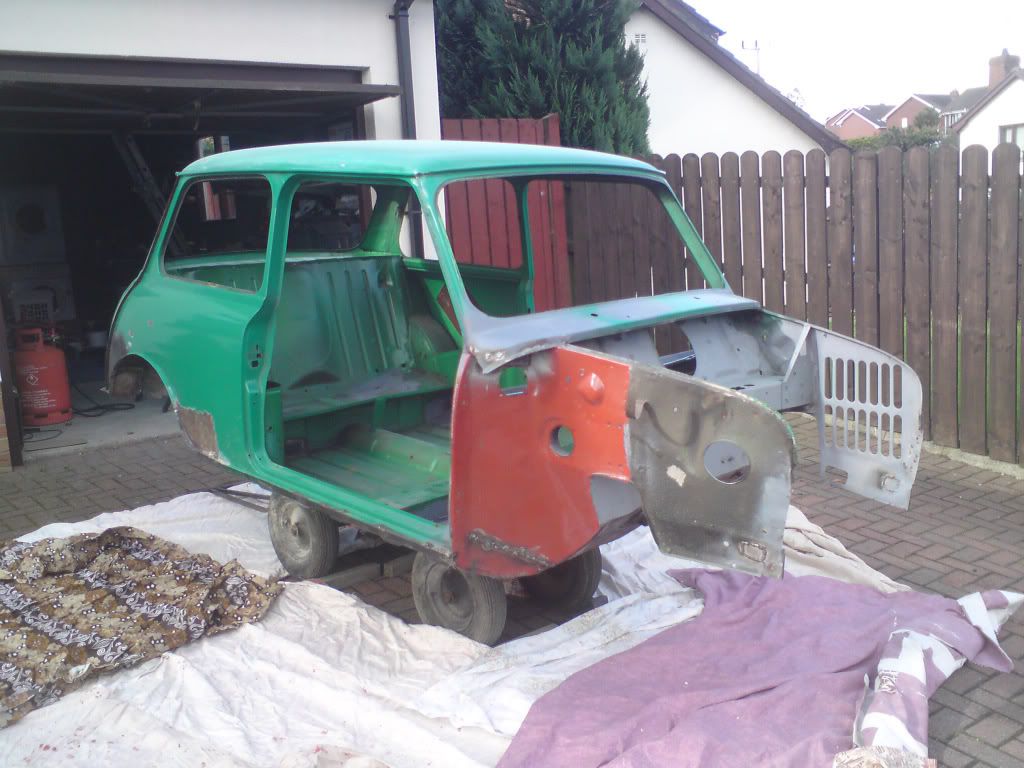
made life alot easier haha
not the most recent picture but its all taken back now to bare metal and theres no underseal left just lots of surface rust and welds but started on those today before it started raining
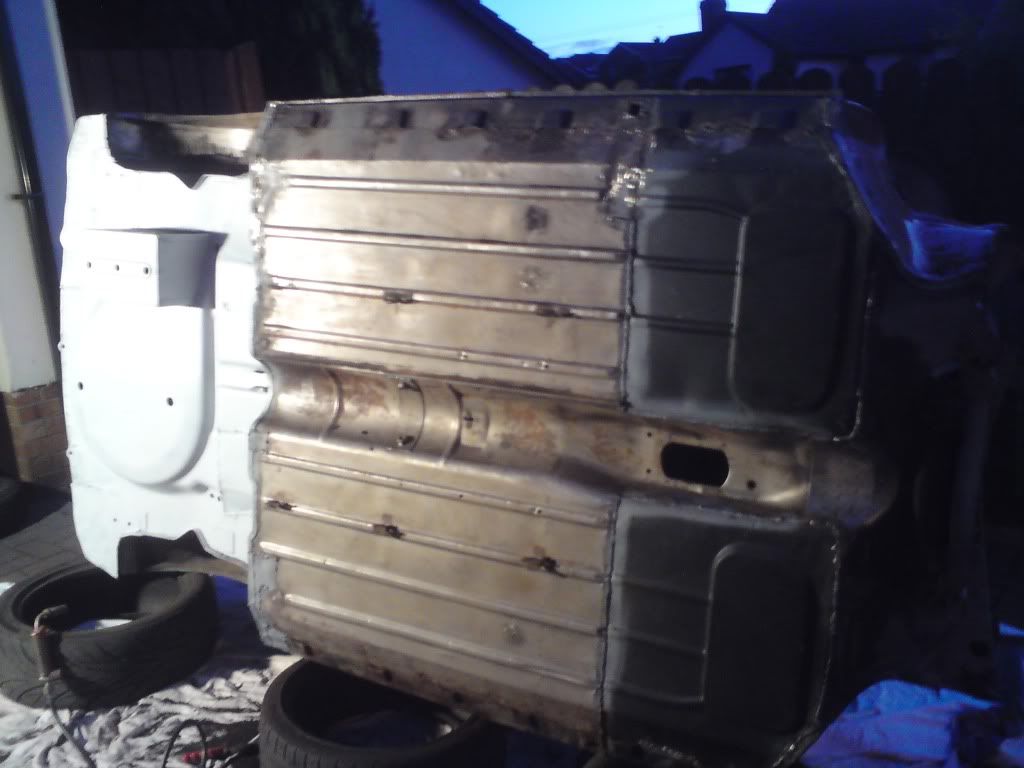
all comments welcome, Adam
may weld the tip of a nail to the centre of the dent and try to pull it out and shrink it down if the metal has been stretched, hopefully that would work
on the plus side though it stopped raining for a day so i wheeled the shell out and set up the blow torch and got the scraper and wire brush and done the inner wings and the sills and got a mate to help me roll it onto the side so the underside could be done
wasnt as easy as i expected but still alot easier than using a heat gun 1st time hes been outside in over a year
made life alot easier haha
not the most recent picture but its all taken back now to bare metal and theres no underseal left just lots of surface rust and welds but started on those today before it started raining
all comments welcome, Adam
Edited by Mini Mad Drakeley, 15 August 2011 - 09:39 PM.
#45
Mini Mad Drakeley
-
- Members
-
- 1,172 posts
One Carb Or Two?
- Location: bangor
- Local Club: south down mini owners club
Posted 19 August 2011 - 10:04 PM
just a small wee update, cylinder head is now back and it looks great and its now unleaded so i dont need to get lead addictive when its on the road 
i had the shell outside again on its side to get some welds ground down and get everything kurusted and got half of the underneath etch primed, need another dry day to get the underside finished but grinding down some of the 1st welds i did made me realise how bad they actually were, il be cutting out the bad bits and re-welding in smaller patches to get decent metal to weld to, already did the inner wing and its alot better now
got the welds on the inner wings ground down and then everything kurusted and etched, looks alot better now
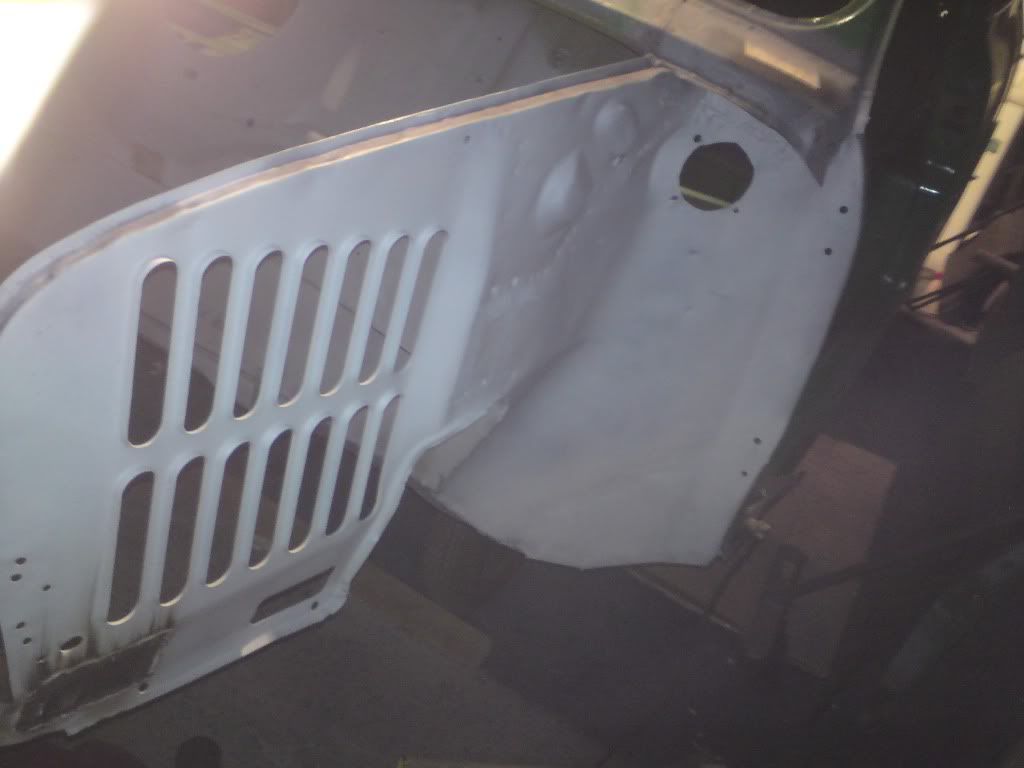
il be taking the red oxide off this side cus i got some other primer i want on underneath the red oxide

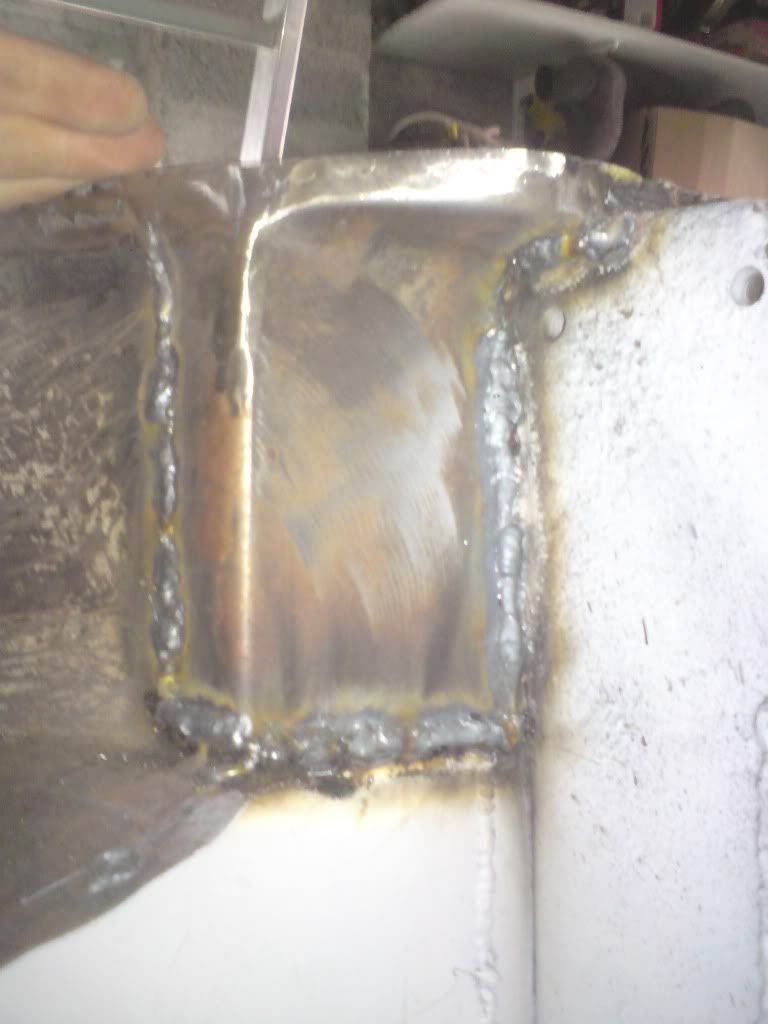
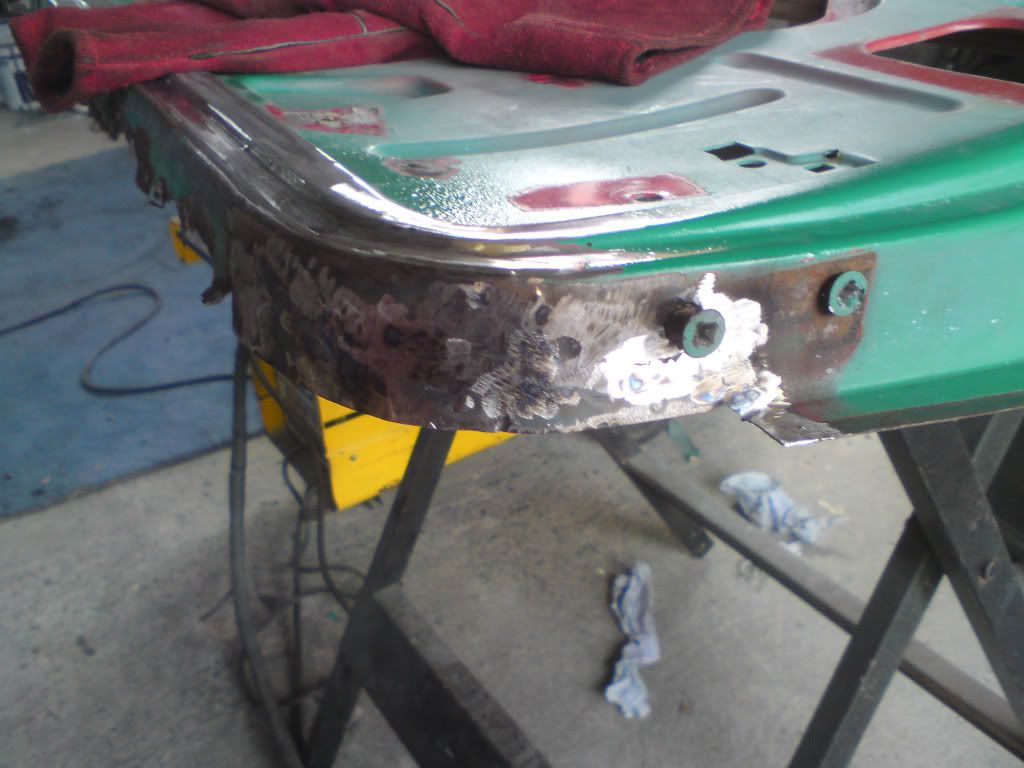
i then started on the quite rotten door frame, its proving to be a bit of a pain and not just because i got burnt several times
i had to repair some of the rounded corner bit on the frame which turned out quite well i think and then i had to draw up a new corner and trim it to the right size because the original corner had completely rotted away but its a good fit with the new door skin now though
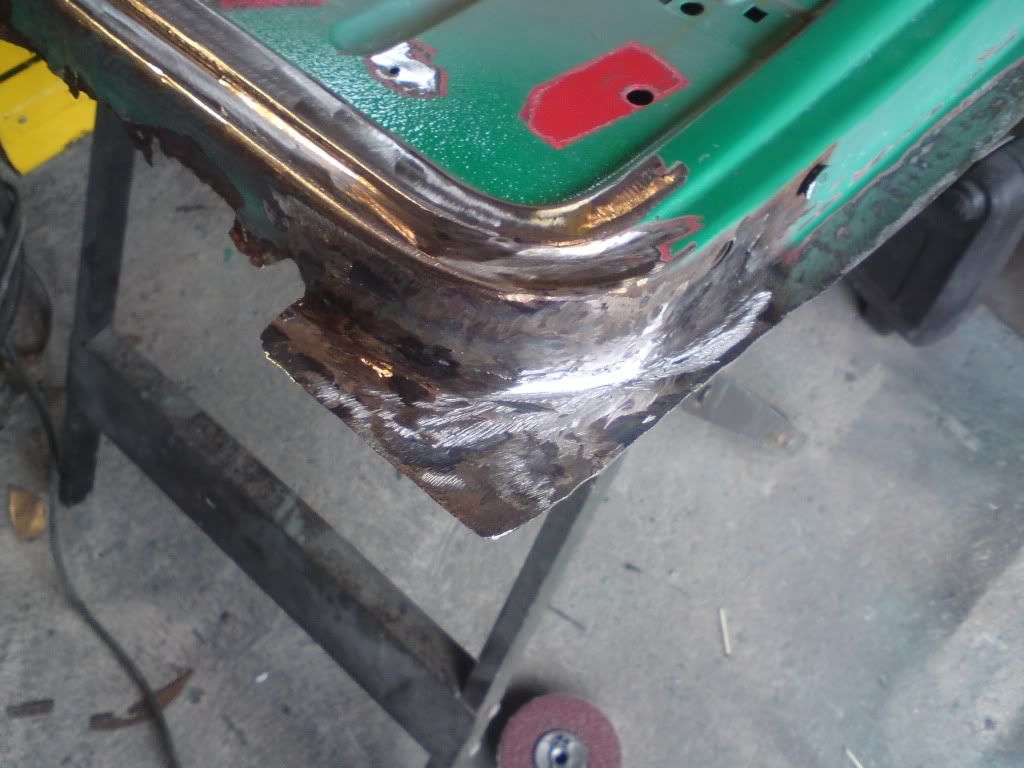
got the other corner done which wasnt quite as bad
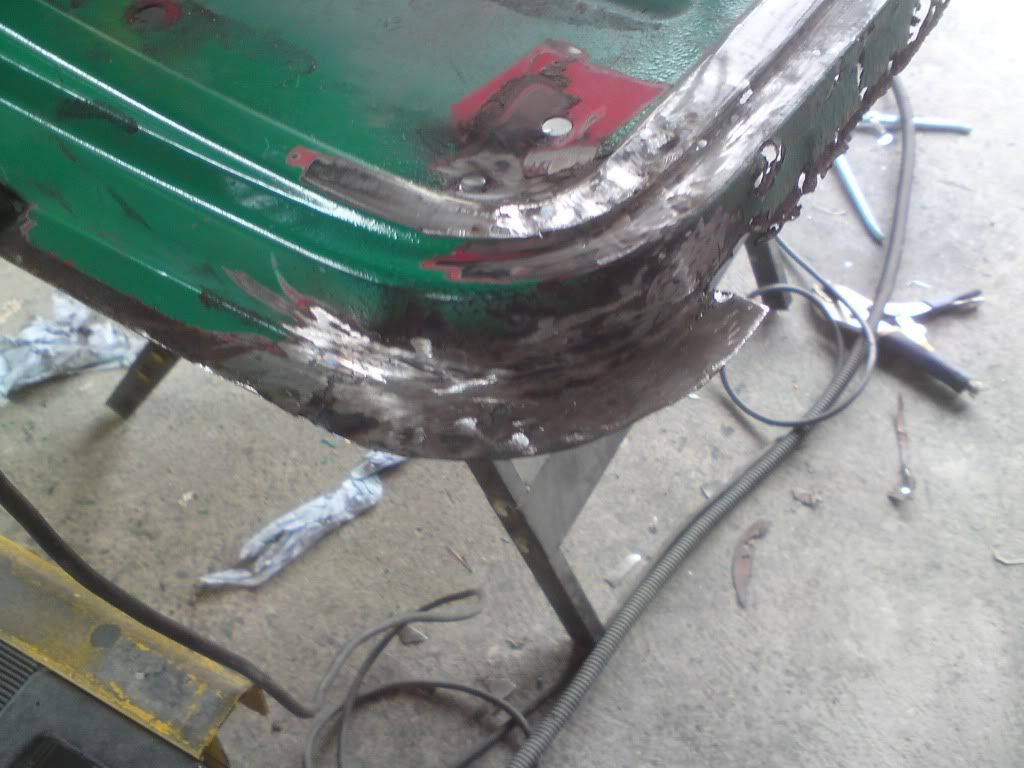
as i left the door and i will hopefully finish fixing the frame tomorrow night or on sunday

all comments welcome, Adam
i had the shell outside again on its side to get some welds ground down and get everything kurusted and got half of the underneath etch primed, need another dry day to get the underside finished but grinding down some of the 1st welds i did made me realise how bad they actually were, il be cutting out the bad bits and re-welding in smaller patches to get decent metal to weld to, already did the inner wing and its alot better now
got the welds on the inner wings ground down and then everything kurusted and etched, looks alot better now
il be taking the red oxide off this side cus i got some other primer i want on underneath the red oxide
i then started on the quite rotten door frame, its proving to be a bit of a pain and not just because i got burnt several times
i had to repair some of the rounded corner bit on the frame which turned out quite well i think and then i had to draw up a new corner and trim it to the right size because the original corner had completely rotted away but its a good fit with the new door skin now though
got the other corner done which wasnt quite as bad
as i left the door and i will hopefully finish fixing the frame tomorrow night or on sunday
all comments welcome, Adam
Edited by Mini Mad Drakeley, 19 August 2011 - 10:21 PM.


1 user(s) are reading this topic
0 members, 1 guests, 0 anonymous users


