Jump to content


Photo
- - - - -

My First Wee Project :d


  • Please log in to reply
96 replies to this topic

#46 Mini Mad Drakeley

Mini Mad Drakeley

    One Carb Or Two?

  • Members
  • PipPipPipPipPipPipPip
  • 1,172 posts
  • Location: bangor
  • Local Club: south down mini owners club

Posted 22 August 2011 - 09:37 PM

just a quick wee update, been pretty busy over the last couple of days :)

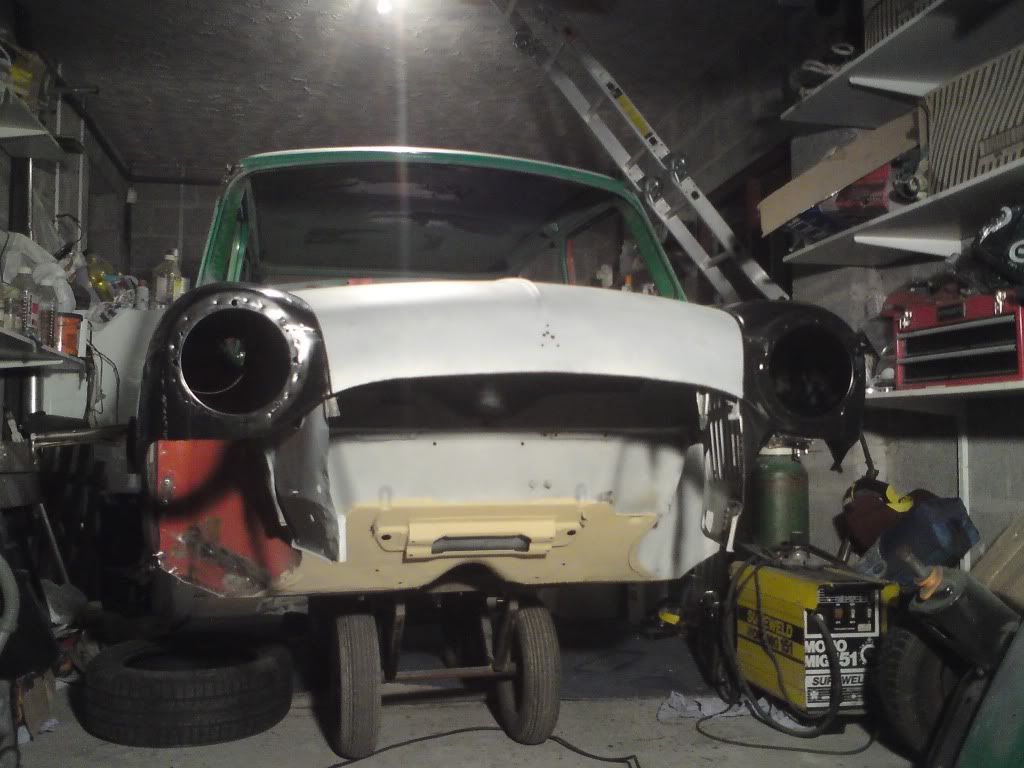
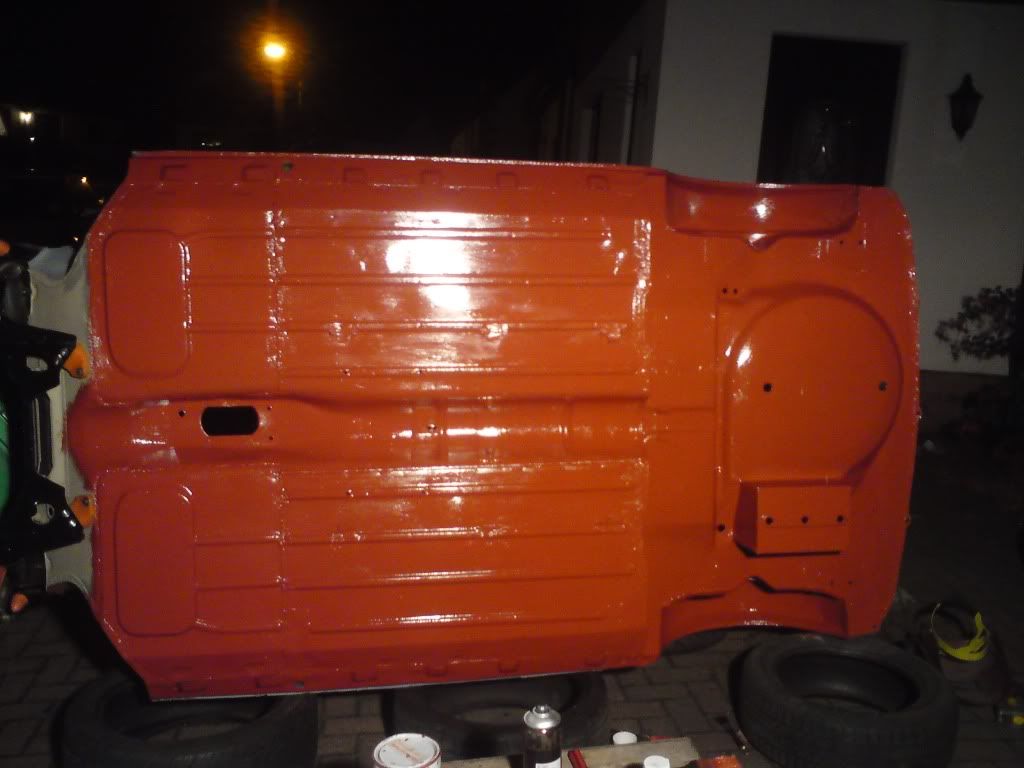
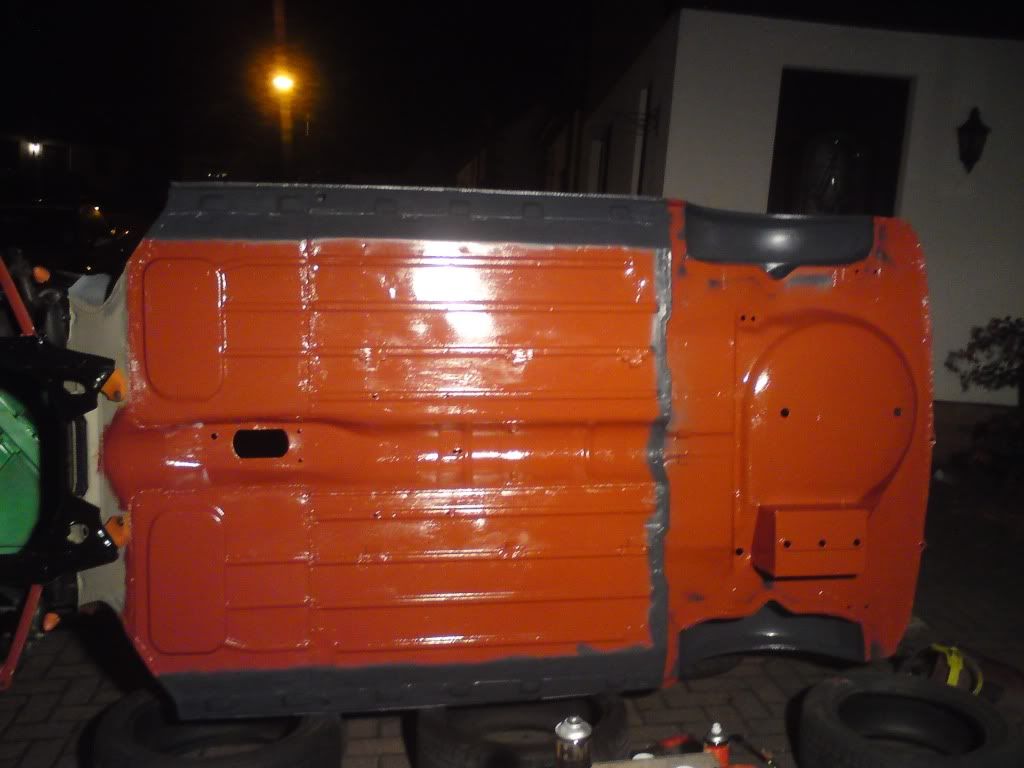
the underneath has all been taken down to bare metal, kurusted, etched and then a coat of zinc phosphate primer :) 
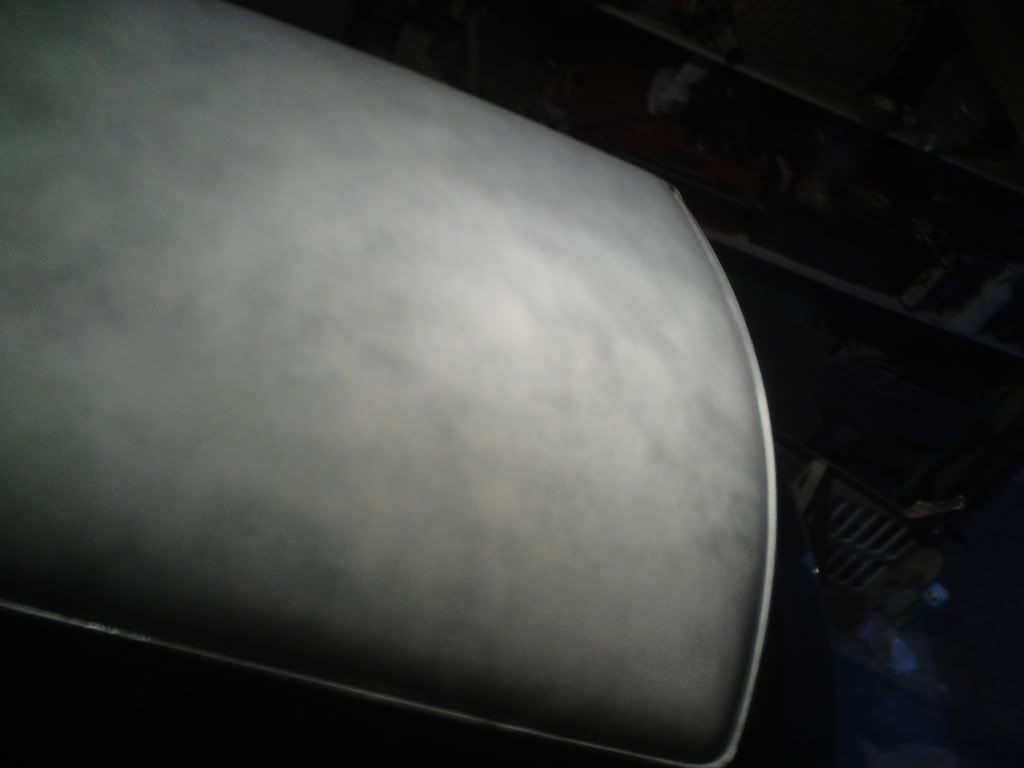
looks pretty good at the moment, just need to finish doing the boot area and do the same and then seam seal and red oxide the whole bottom and that will do until the stonechip and underseal :)
Posted Image

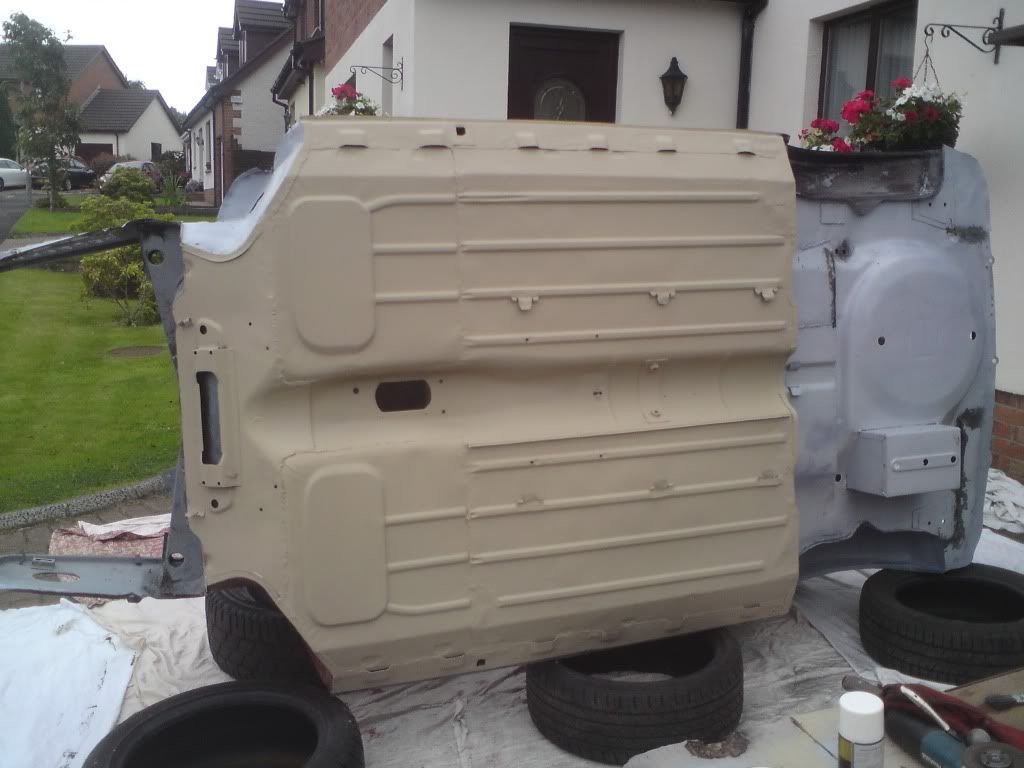
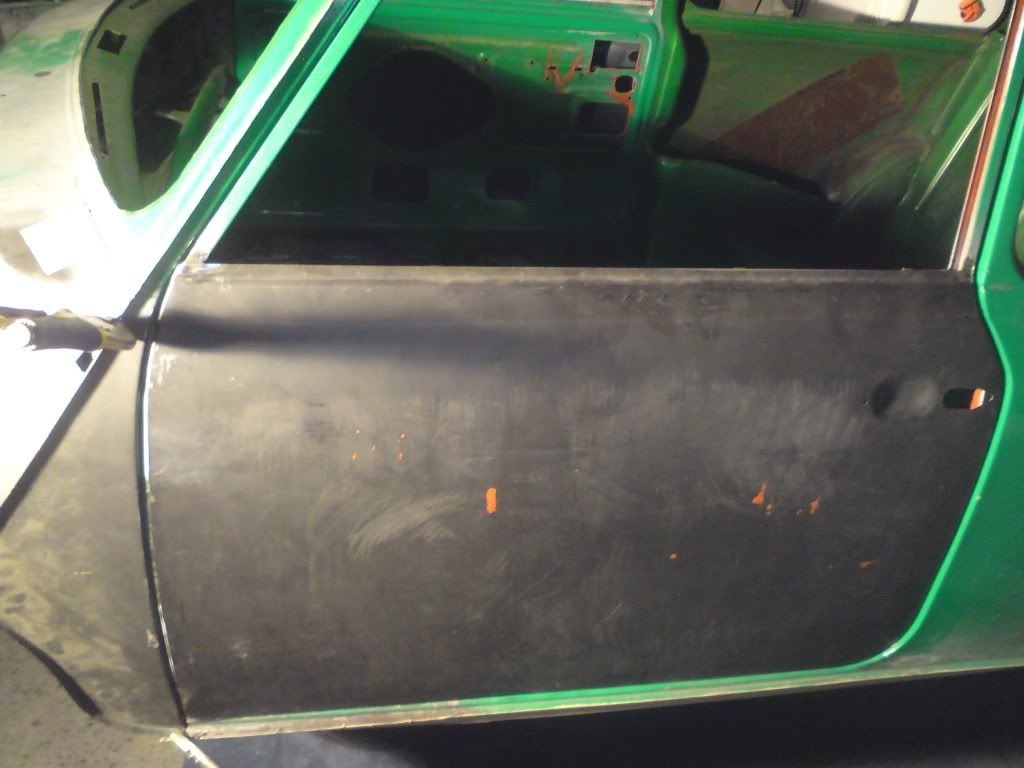
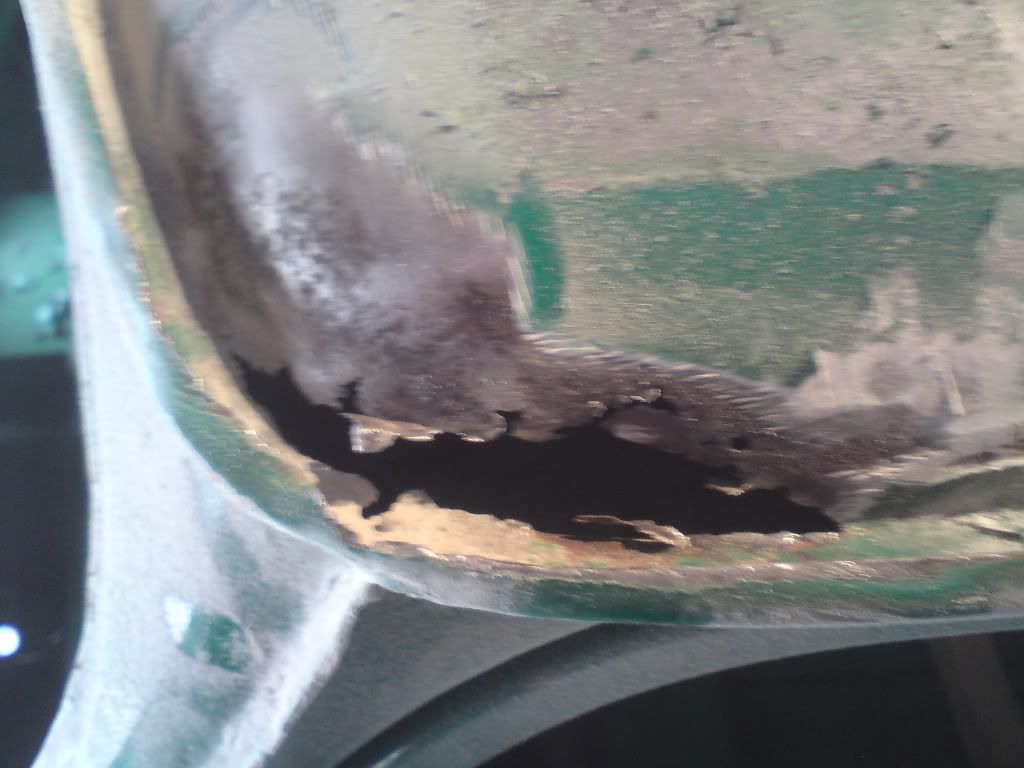
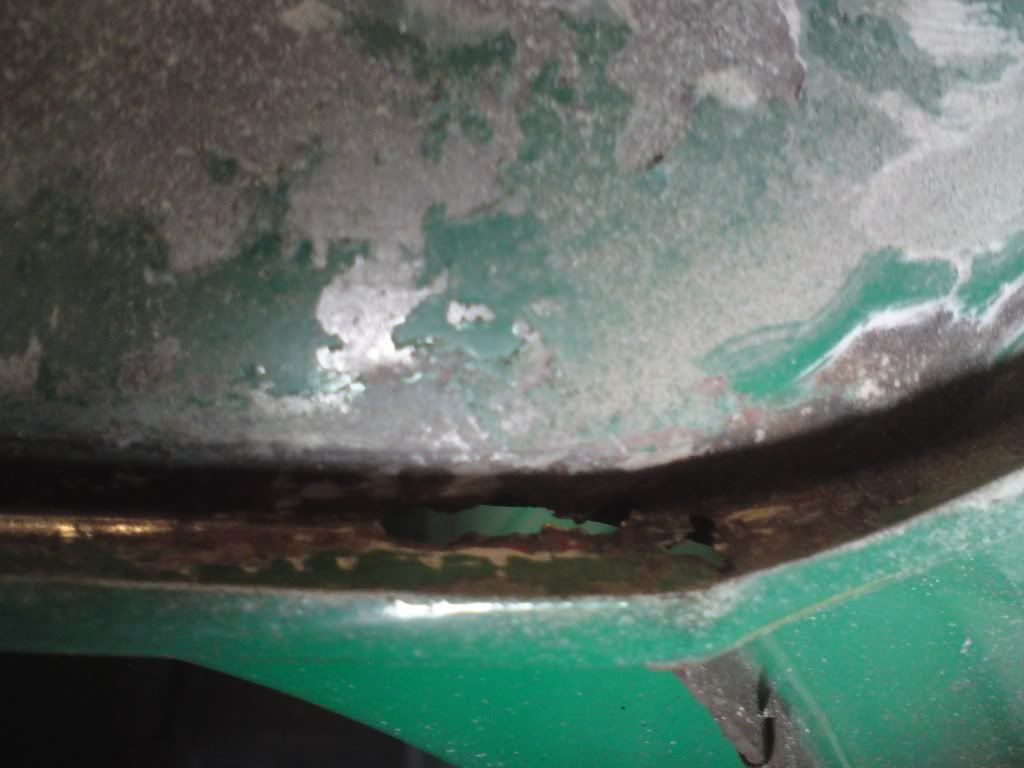
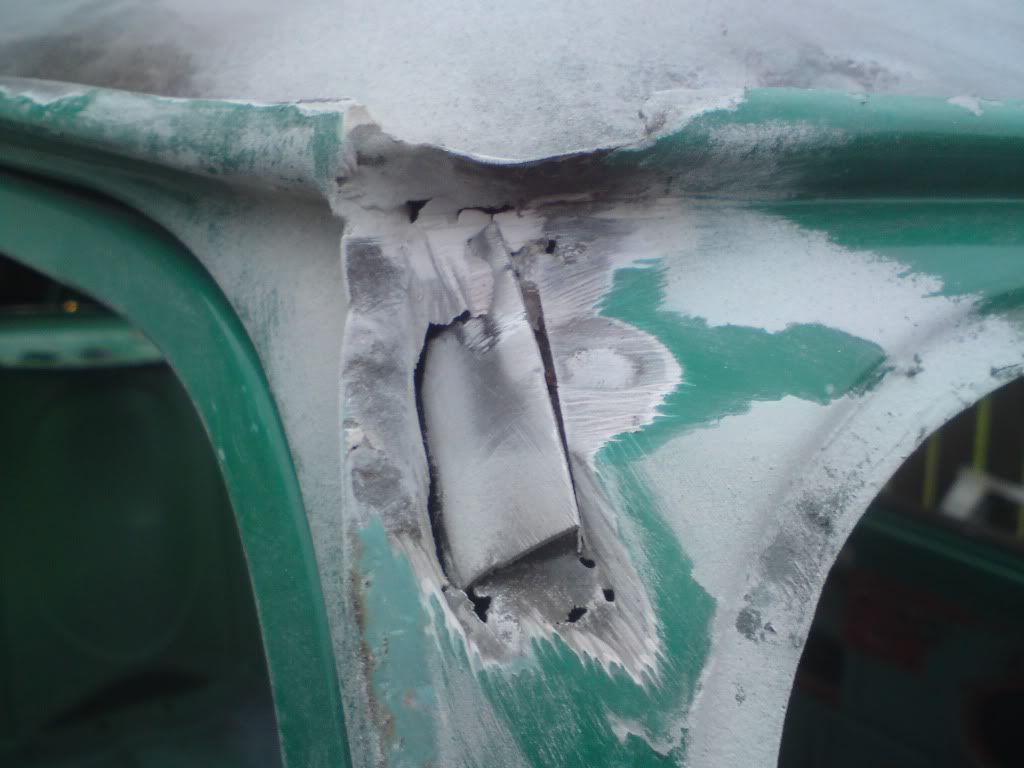
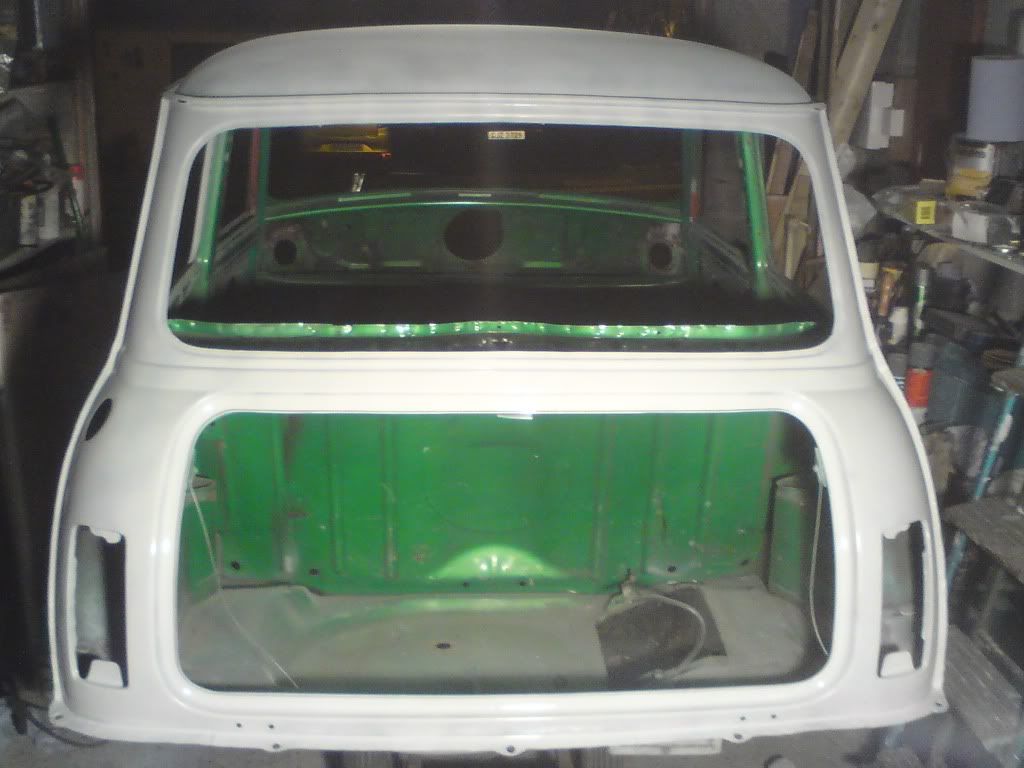
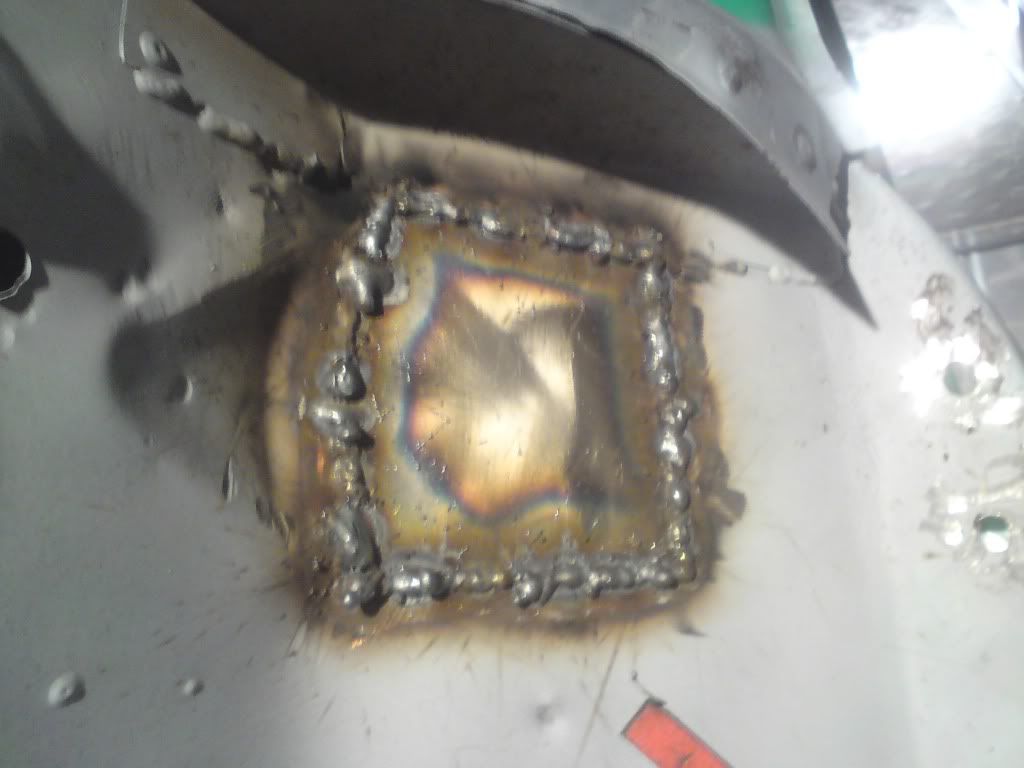
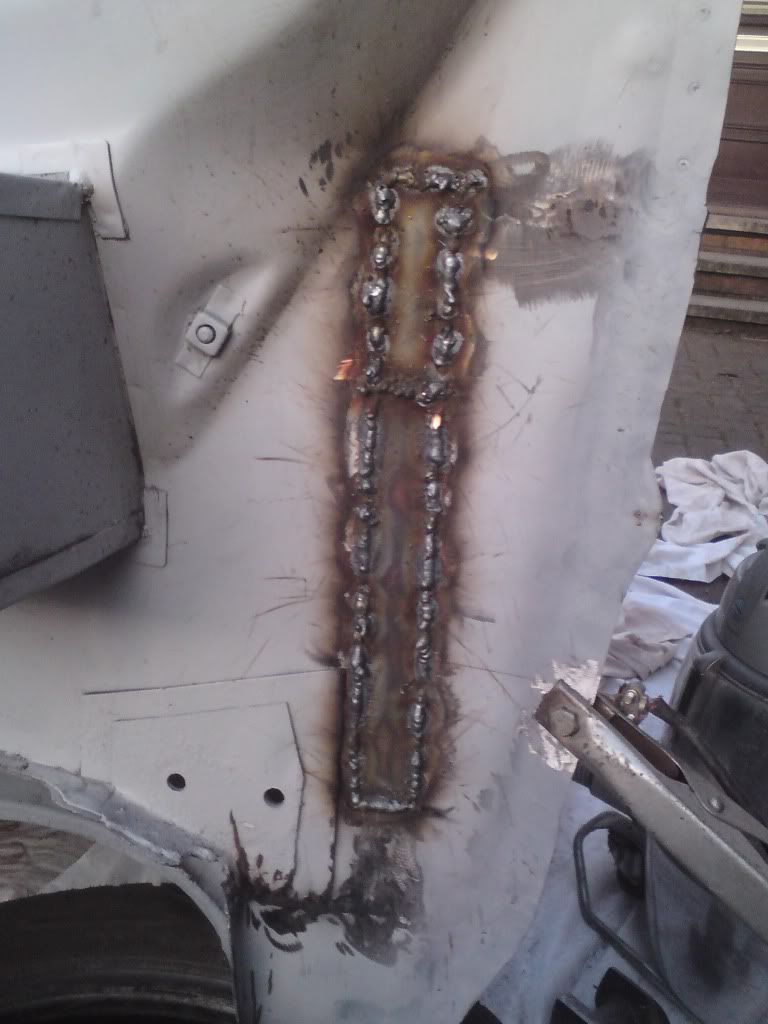
also made a start on the boot area, basically this is really where i had 1st started welding and found it different from welding sheet and really screwed it up, so i cut out the worst of it and ended up welding in 2 patches cus 1 went in and then i decided i wasnt happy with the bit above it and this time the welding went alot better and even has alot less distortion than the last weld :)
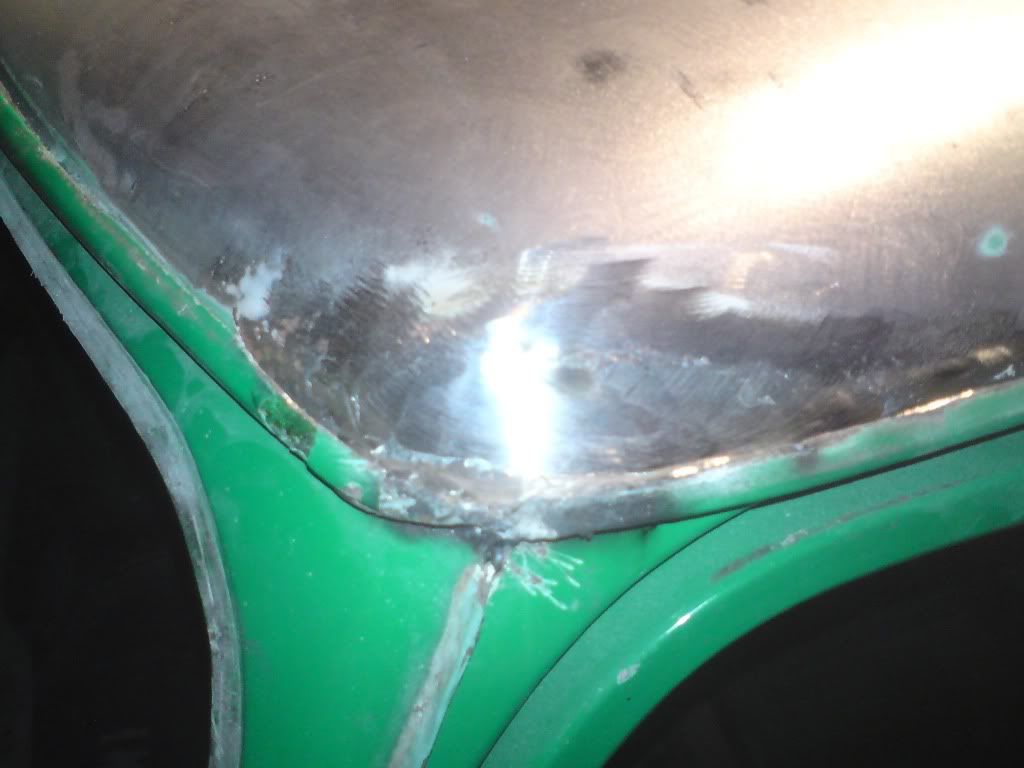
before i even grpound down the welds to see how bad they were:
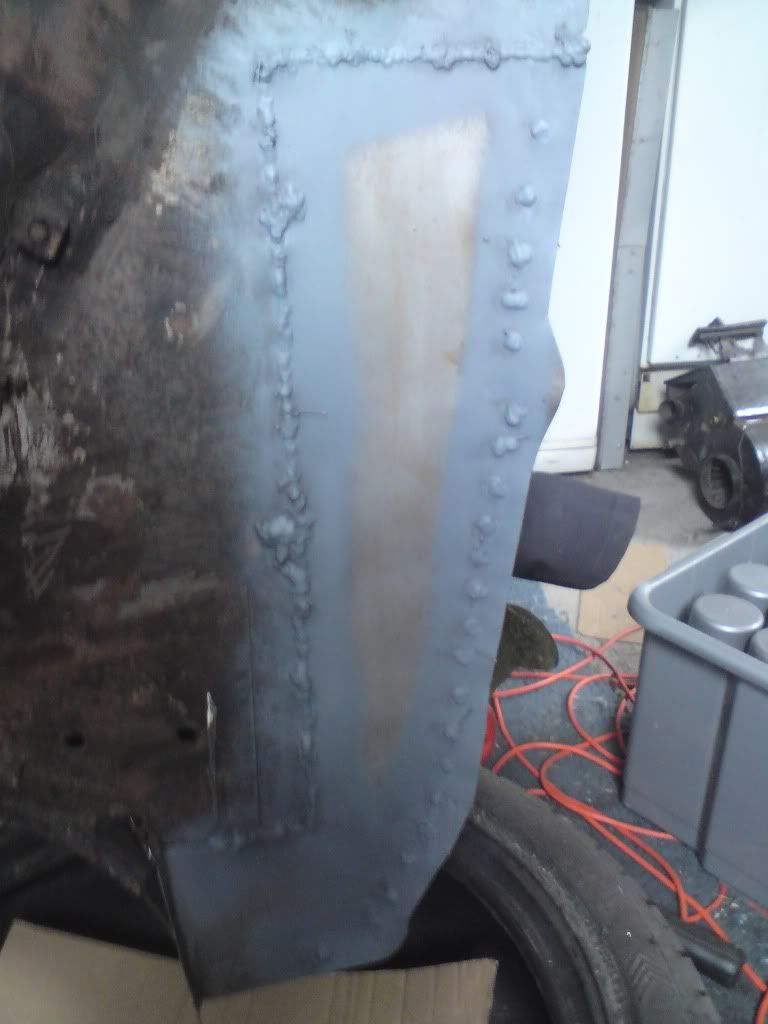
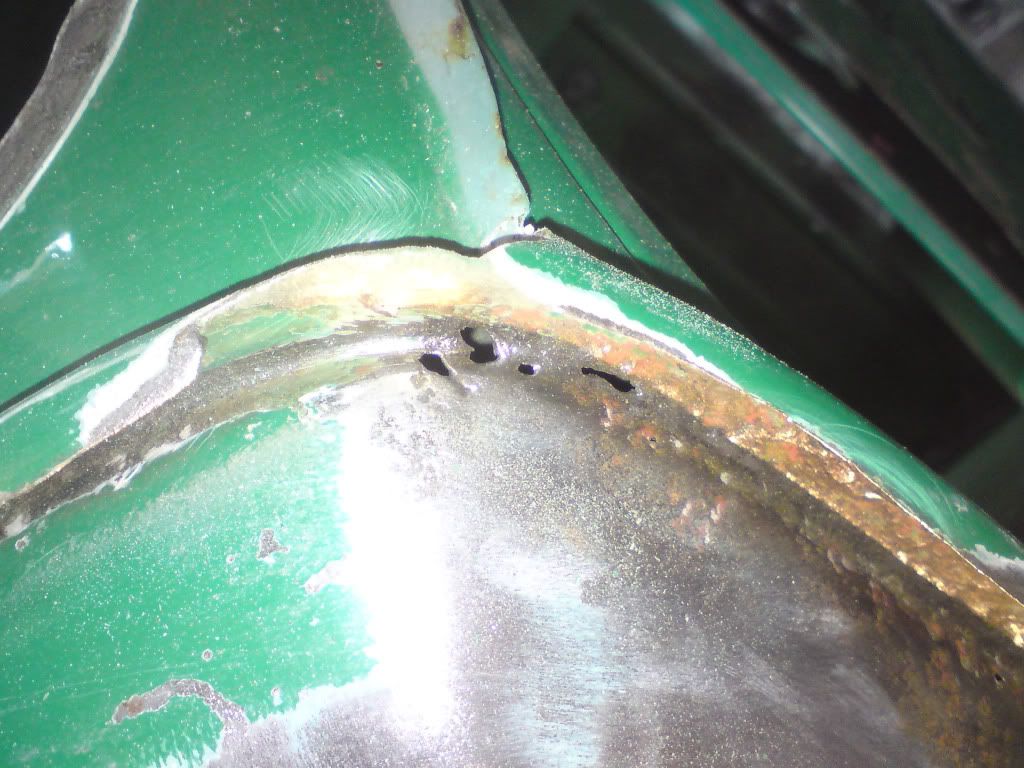
Posted Image

after:
Posted Image

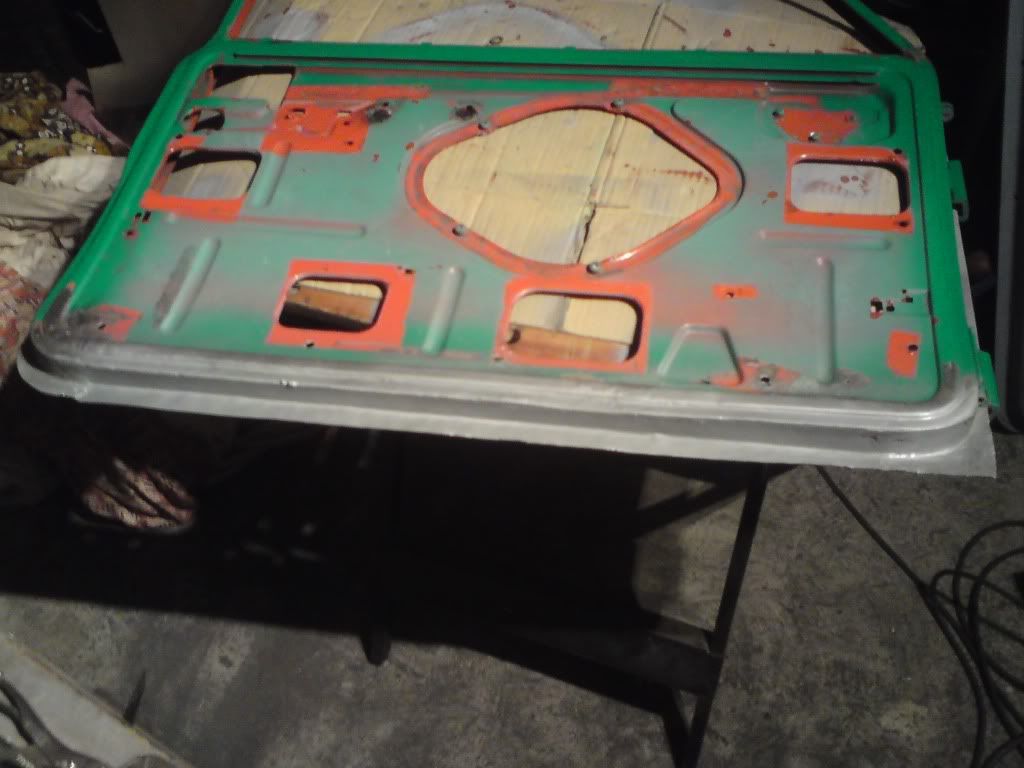
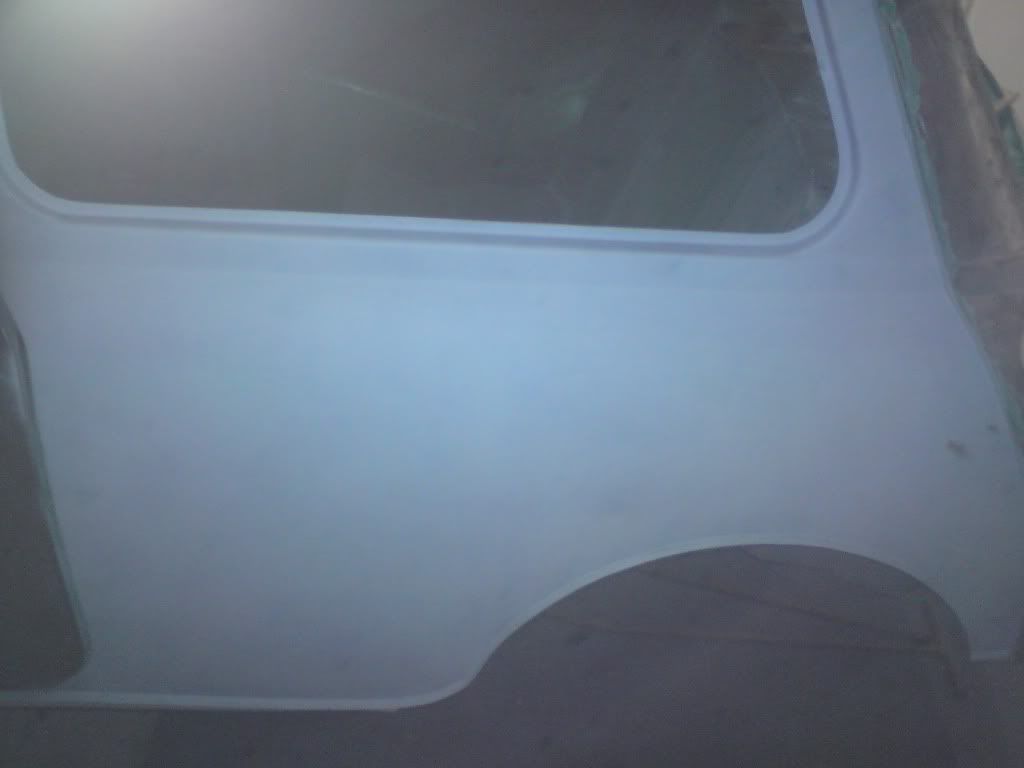
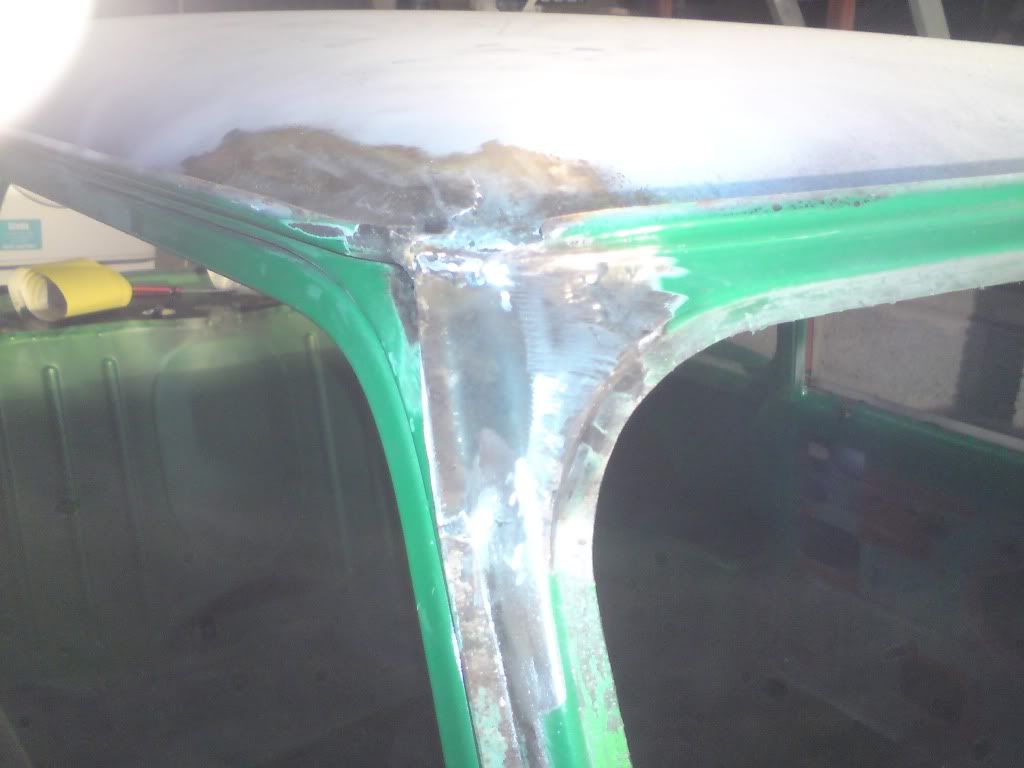
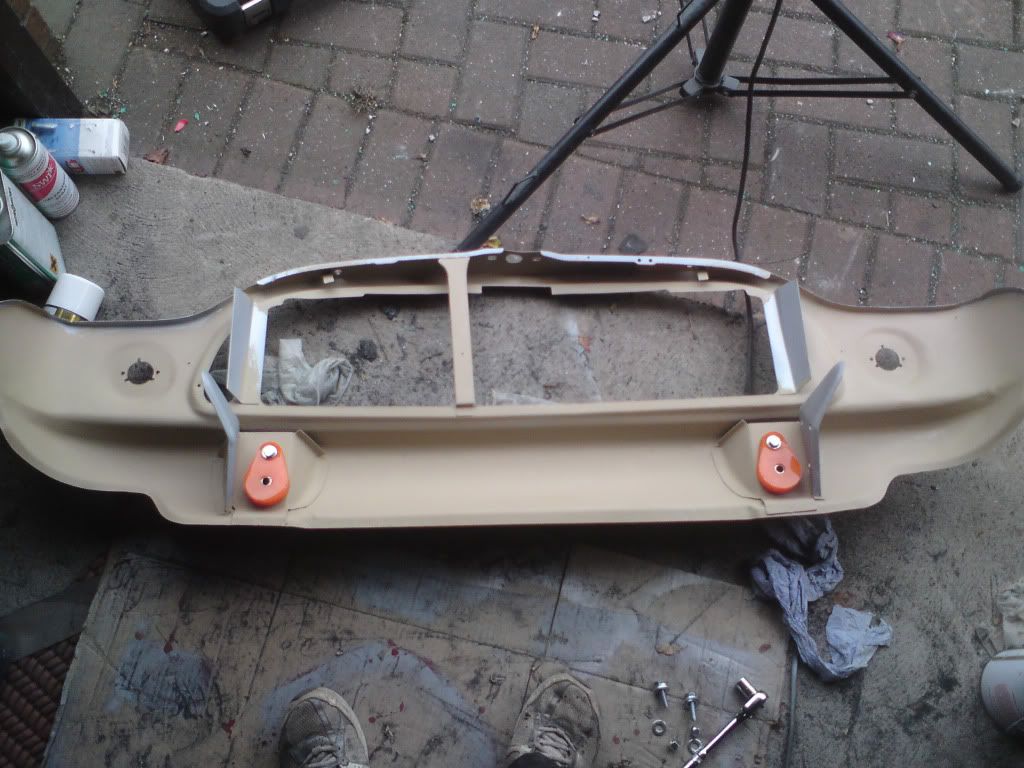
i also got the door frame welded up except i havent got any pictures yet so il get the frame finished tomorrow and hopefully its a nice day and i can get the underside completely finished )

all comments welcome, Adam

Edited by Mini Mad Drakeley, 22 August 2011 - 09:41 PM.


#47 vincent300

vincent300

    Mini Mad

  • Noobies
  • PipPipPipPip
  • 100 posts

Posted 23 August 2011 - 11:16 AM

underneath is looking nice, keep up the good work. Love that interior stuff

#48 zeemax mini1

zeemax mini1

    On The Road

  • Noobies
  • PipPip
  • 47 posts
  • Location: kent

Posted 23 August 2011 - 06:36 PM

looks good :)

#49 Mini Mad Drakeley

Mini Mad Drakeley

    One Carb Or Two?

  • Members
  • PipPipPipPipPipPipPip
  • 1,172 posts
  • Location: bangor
  • Local Club: south down mini owners club

Posted 26 August 2011 - 01:16 PM

hi :)

thanks for the comments and just a small update although what turned out to be a big job :lol:

the passenger side door is finished

the repair the the frame i had done, wasnt as right as i hoped it would be, basically the rounded corner repair bit i had done wasnt right because i had made the patch using my judgement and just carried on the line, this wasnt right, had to cut a section out and about half way along the door and then pull it in tight and weld it when it was right, i wish it was the original door so it would fit better but its been replaced some time in its life, we got the skin lined up and put on aswell, i need to enlongate the holes that the hinge bolts go throught though because the gap at the bottom is nearly none existant and the gap at the top it too big, just got to crack on with it though :)
i did drill the drainage holes by the way :lol:
Posted Image

we mocked up the a-panel to see how the gap and stuff will be, they look pretty good :)
Posted Image

thats all for now, im heading up to the causeway coast mini show later for the weekend so hopefully get plenty of goodies and after i will be taking the rear subframe to be shotblasted and then tee will take it and fix it cus its a bit beyond my skills, would rather trust the professional with it :lol:

all comments welcome, Adam

#50 vincent300

vincent300

    Mini Mad

  • Noobies
  • PipPipPipPip
  • 100 posts

Posted 28 August 2011 - 02:05 PM

looking pretty sweet, glad that when I worked on my doors they only had a few dents and a couple of holes, nothing serious like that :)

#51 Mini Mad Drakeley

Mini Mad Drakeley

    One Carb Or Two?

  • Members
  • PipPipPipPipPipPipPip
  • 1,172 posts
  • Location: bangor
  • Local Club: south down mini owners club

Posted 08 September 2011 - 09:28 PM

haha i wish mine just had a few dents but aww well, nearly done them now :) just a small update at the moment:

i found a few holes in 3 corners of the roof and one major hole which has now been mostly fixed :)
Posted Image
now fixed
Posted Image

the other corners and we are planning to shape everything and get it as close as cus tee is going to use this as an opportunity to teach me a bit about lead loading ::)
Posted Image
Posted Image

the roof back to bare metal, just need to treat all the surface rust tomorrow and then etch prime it :)
Posted Image

one rear quarted already been taken down to bare metal, treated and primered :)
Posted Image

and last of all the rear subframe has been shotblasted and new nuts and bolts welded on and im going to be using the por15 metal ready stuff and then actual por15 :)
Posted Image

all comments welcome, Adam

Edited by Mini Mad Drakeley, 08 September 2011 - 09:32 PM.


#52 Mini Mad Drakeley

Mini Mad Drakeley

    One Carb Or Two?

  • Members
  • PipPipPipPipPipPipPip
  • 1,172 posts
  • Location: bangor
  • Local Club: south down mini owners club

Posted 18 September 2011 - 04:21 PM

a quick wee update while i have the chance :)

the roof has now all been kurusted and etched and the major hole welded up and the rest lead loaded :)
Posted Image

while taking some paint off the roof though i found this :(
Posted Image
Posted Image
this is going to be a pain to patch and get right but aww well, its got to be done

the rear panel has also been bare metaled, kurusted and etched.
Posted Image

i couldnt resist putting in a door card just to see what it was like :P
Posted Image

and finally we started to get the front end mocked up, this is proving to be a pain to get the gaps right with the bonnet though but hopefully tonight il get the rest mocked up but i doubt it unless i feel better
Posted Image
Posted Image

all comments welcome, Adam :)

#53 mini danny

mini danny

    I am a mini daddy.

  • Members
  • PipPipPipPipPipPipPipPipPipPip
  • 5,229 posts
  • Local Club: british mini club

Posted 18 September 2011 - 04:24 PM

looking good there matey coming along nicely looks like someone like to cover rust with filler before you and it taken it toll on the roof area keep up the good work :)

#54 Mini Mad Drakeley

Mini Mad Drakeley

    One Carb Or Two?

  • Members
  • PipPipPipPipPipPipPip
  • 1,172 posts
  • Location: bangor
  • Local Club: south down mini owners club

Posted 22 September 2011 - 09:54 PM

cheers for the comment mate and yeh they went a bit far with the filler but aww well it just means im finding everything and fixing it properly :)

and just a quick update on the last couple of days work:

the hole in the windscreen surround has been fixed now :)
Posted Image
we couldnt get it as nice as i would have wanted so i will just need to shape it more with some filler :)

the front panel was put on and all the gaps have been got as good as they are ever going to be now :lol: but theyre pretty good
Posted Image

ive now started stripping away all the magnum primer stuff cus its just **** and i wouldnt be happy painting over it so the a panels have been taken to bare metal and properly primed on the inside so it can be welded next week and then its just taking the outside and doing the same, both a-panels were done and i started the front panel aswell but just the outside for the moment :)
Posted Image

all comments welcome, Adam :)

#55 Mini Mad Drakeley

Mini Mad Drakeley

    One Carb Or Two?

  • Members
  • PipPipPipPipPipPipPip
  • 1,172 posts
  • Location: bangor
  • Local Club: south down mini owners club

Posted 13 October 2011 - 11:02 PM

not been an update for a fair wee while and not alot to show for the time either unfortunately :(

Posted Image
Posted Image
etch primed, zinc oxide primed and weld through primed in the main areas so it could be welded straight on without the old magnum primer :)

Posted Image
Posted Image
painted on loads of red oxide and then started to stone chip the bottom main areas, its turning out quite well so far :)

Posted Image
decided to get rid of the fresh air vents to stop one more rust trap, if it gets too warm il just open a window :)

Posted Image
started to clean up the heater and spray it and so far its just being a pain in the ass, some of it has reacted even after being scrubbed, panel wiped etc and it wasnt warm enough to paint it so the finish isnt great at the moment

and finally
Posted Image
front end is welded on or at least tacked on anyway so its finally starting to look like a mini again :D

hopefully tomorrow il get the rear valance and closing panels welded on cus i got the rear subframe mocked up into place which is a ******* of a job to do by yourself but its in place now, just need to wait on some bushes and then il start painting the subframe and getting it ready :)

all comments welcome, Adam

#56 minimuk

minimuk

    Camshaft & Stage Two Head

  • Members
  • PipPipPipPipPipPipPipPip
  • 1,946 posts
  • Location: Midlands

Posted 17 October 2011 - 07:18 PM

Nice project Adam, you are doing well there,
I am not so sure about not having airvents,....how are you going to feed the heater with air??

keep it going.....

#57 Mini Mad Drakeley

Mini Mad Drakeley

    One Carb Or Two?

  • Members
  • PipPipPipPipPipPipPip
  • 1,172 posts
  • Location: bangor
  • Local Club: south down mini owners club

Posted 18 October 2011 - 09:48 AM

Nice project Adam, you are doing well there,
I am not so sure about not having airvents,....how are you going to feed the heater with air??

keep it going.....


the vents i welded up are the fresh air vents, the air pipe going to the heater will still be there but the 2 main rust traps will be gone :)

#58 Mini-Mad-Craig

Mini-Mad-Craig

    Crazy About Metro's

  • Members
  • PipPipPipPipPipPipPipPipPipPip
  • 9,298 posts
  • Location: Travelling in a fried out Kombi

Posted 18 October 2011 - 10:02 AM

That looks amazing mate!! :) Real nice project.

#59 minimuk

minimuk

    Camshaft & Stage Two Head

  • Members
  • PipPipPipPipPipPipPipPip
  • 1,946 posts
  • Location: Midlands

Posted 18 October 2011 - 01:11 PM


Nice project Adam, you are doing well there,
I am not so sure about not having airvents,....how are you going to feed the heater with air??

keep it going.....


the vents i welded up are the fresh air vents, the air pipe going to the heater will still be there but the 2 main rust traps will be gone :)

Deh,.. I forgot the air-intake in footwell...lol.

#60 GlynC

GlynC

    Stage One Kit Fitted

  • Noobies
  • PipPipPip
  • 99 posts
  • Location: Ashby

Posted 18 October 2011 - 01:54 PM

Hi Adam
Great thread mate you making good progress
How did you find the fit of the magnum panels? I have bought them for mine, and your right about the primer especially on the front panel! From what I can see i comes off with a spray of thinners!

Cheers
Glyn


1 user(s) are reading this topic

0 members, 1 guests, 0 anonymous users