Looks great mate!!!!! gives me some inspiration, Keep up the good work

1961 Mk1 Austin Mini 850 - "flying Flea" - Lot's Of Pictures
Started by
Thorpsta
, Feb 04 2012 09:44 PM
225 replies to this topic
#61

mcgldrck2
-

- Noobies
-

- 7 posts
Just On Tickover
- Location: Watton, Norfolk
Posted 28 August 2012 - 11:32 PM
#62
Thorpsta
-
- Members
-
- 327 posts
Speeding Along Now
- Location: Wisbech
- Local Club: Kings Lynn Mini Owners Club
Posted 30 August 2012 - 06:49 PM
Looks great mate!!!!! gives me some inspiration, Keep up the good work
Thanks buddy :)
#63
Thorpsta
-
- Members
-
- 327 posts
Speeding Along Now
- Location: Wisbech
- Local Club: Kings Lynn Mini Owners Club
Posted 30 August 2012 - 07:41 PM
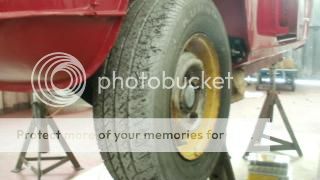
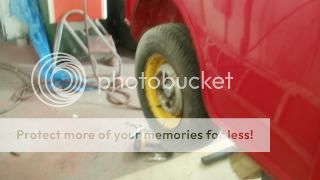
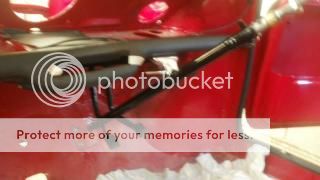
Front subframe is almost finished, built the other side up and started the back today...
So, we put the bump stop in the other side properly


Uploaded with ImageShack.us
Everything that side sits just right now, looooooks so different from when I took it apart

So, started the other side

annnnndddd forgot to take more pictures


But I did clean the studs up and dad put them into the top of the subframe


After that took the Dynamo and starter to one of dads friends to be disected, cleaned/refurbished and put together again, and while that happens we'll have some parts back to paint


Then we moved onto the steering rack, we got out these steering gaiters, but they where Universal and dad wasn't happy with them, so we glued on this piece of foam and left it at that


Then we moved onto the rear subframe and started the drivers side first


Edited by Thorpsta, 30 August 2012 - 08:23 PM.
#64
Thorpsta
-
- Members
-
- 327 posts
Speeding Along Now
- Location: Wisbech
- Local Club: Kings Lynn Mini Owners Club
Posted 30 August 2012 - 07:44 PM
I just deleted most of the pictures, bear with me 
#65
Thorpsta
-
- Members
-
- 327 posts
Speeding Along Now
- Location: Wisbech
- Local Club: Kings Lynn Mini Owners Club
Posted 03 September 2012 - 08:51 PM
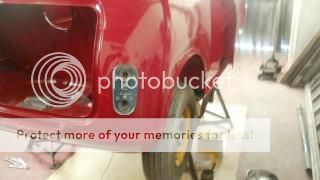
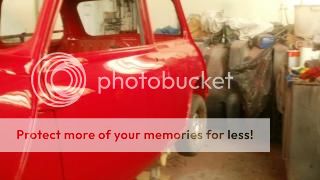
Both subframes, button, ariel, and other bits are all on :) This was dads handy work as I was at college so I'll just post the pictures, pretty self explanatory


#66
mk1leg
-

- Members
-
- 9,343 posts
Crazy About Mini's
- Location: Jersey
- Local Club: Mini Club Jersey, MCR
Posted 03 September 2012 - 11:08 PM
Wow that sure was a great project love all the little detail work........you must be very proud of yourself...................keep up the good work....your nearly there............ 
#67
Thorpsta
-
- Members
-
- 327 posts
Speeding Along Now
- Location: Wisbech
- Local Club: Kings Lynn Mini Owners Club
Posted 04 September 2012 - 09:12 PM
Wow that sure was a great project love all the little detail work........you must be very proud of yourself...................keep up the good work....your nearly there............
I'm not one too toot my own horn but I am proud of myself, never thought we'd get this far, I never though't it would like this good either
 I can't wait till im 17 and road legal :)
#68
stretters
-
- Noobies
-
- 71 posts
Stage One Kit Fitted
- Location: Sunny Suffolk
- Local Club: Ipswich MOC, AMC, CMC, MCR.
Posted 05 September 2012 - 06:41 AM
Looking great so far, 
Keep up the good work as it'll be back on all fours in no time!
Keep up the good work as it'll be back on all fours in no time!
#69
Thorpsta
-
- Members
-
- 327 posts
Speeding Along Now
- Location: Wisbech
- Local Club: Kings Lynn Mini Owners Club
Posted 13 September 2012 - 04:30 PM
Looking great so far,
Keep up the good work as it'll be back on all fours in no time!
Thanks Stertters, as of today it's on all 2's.. I've decided to turn it into a wheel-barrow.

But jokes aside, the back two wheels are on, I'm just testing the water here to see if I can link my facebook photo's so just check back in a few minutes :3 (It didn't work so I'm sorry for the tiny pictures my imageshack account is full)
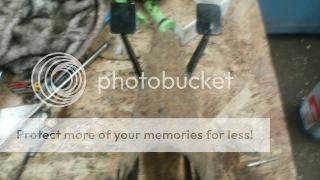
Started of by putting the last of the back brake pipes on

Then the handbrake cable

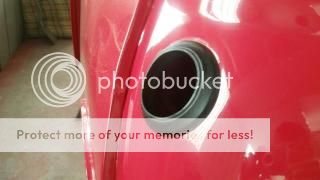
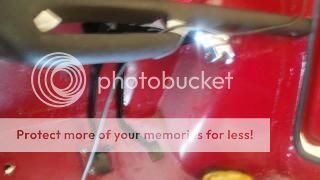
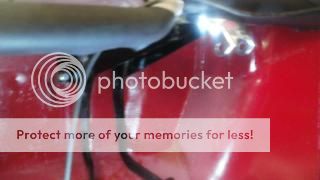
Then the fuel tank rubber..
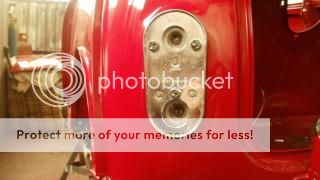
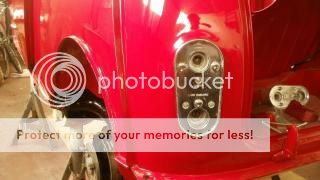
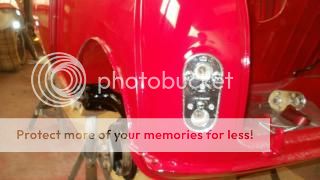
Then the lights!


Then one wheel!
Then another wheel!


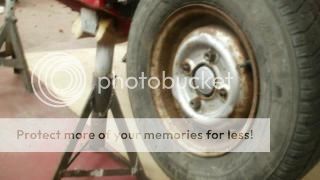
And that's all that we got done, since we don't have the brake cyclinders to go on the front

So then we put sound deadning on the pedal box
and... put it in!


and then, the steering column


And that's it
We're heading over DSN to get new light covers and some other bits tomorrow, hopefully the front wheels might be on, if the cylinders turn up :)
Edited by Thorpsta, 13 September 2012 - 06:23 PM.
#70
jagman.2003
-

- Members
-
- 1,307 posts
One Carb Or Two?
- Location: In the shed.
- Local Club: Owner of my own club of Minis
Posted 14 September 2012 - 12:01 PM
Looking very nice..!
#71
miniman_7
-

- Members
-
- 286 posts
Mini Mad
- Location: Prestwood, Bucks
- Local Club: Looking...
Posted 14 September 2012 - 06:34 PM
As always, loving your work!!
One question, are you making the brake lines up yourself?
Time for a new camera me thinks!
One question, are you making the brake lines up yourself?
Time for a new camera me thinks!
#72
Thorpsta
-
- Members
-
- 327 posts
Speeding Along Now
- Location: Wisbech
- Local Club: Kings Lynn Mini Owners Club
Posted 14 September 2012 - 07:08 PM
Looking very nice..!
Thanks Jagman, but it's not as impressive as your rebuild
As always, loving your work!!
One question, are you making the brake lines up yourself?
Time for a new camera me thinks!
I was waiting for your comment
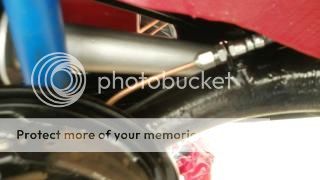
Yeah we're using some copper pipe then flaring the ends with ops 1 and ops 2, if that helps
#73
MiniElliott
-
- Members
-
- 378 posts
Speeding Along Now
- Location: England
Posted 14 September 2012 - 10:41 PM
This is epic :)
#74
miniBrain
-
- Members
-
- 192 posts
Mini Mad
- Location: Preston
Posted 15 September 2012 - 11:25 AM
Excellent thread mate, car looks great
#75
Thorpsta
-
- Members
-
- 327 posts
Speeding Along Now
- Location: Wisbech
- Local Club: Kings Lynn Mini Owners Club
Posted 15 September 2012 - 04:54 PM
This is epic :)
Excellent thread mate, car looks great
Thanks guys


1 user(s) are reading this topic
0 members, 1 guests, 0 anonymous users


