The work you are doing looks awesome!.
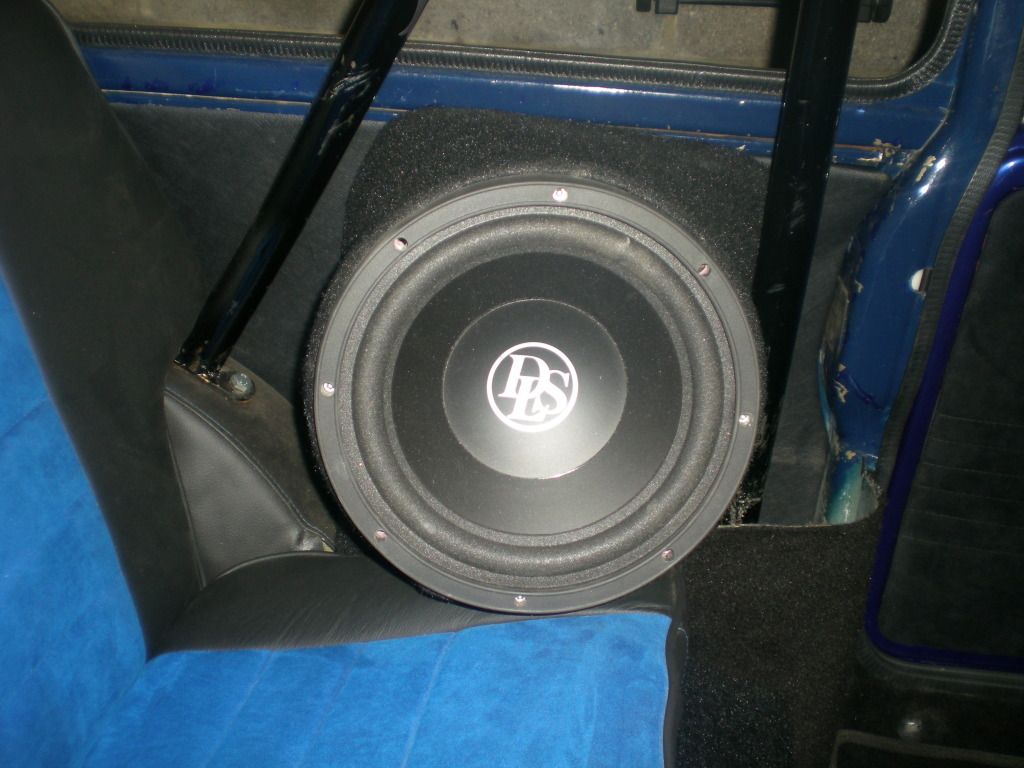
With that box where are rear passengers going to put there feet LOL!?
never carry back seat passengers lol
How have you worked out the volume of your box?
not yet mate, it's on my to do list

Mini Mad

Posted 13 March 2012 - 07:06 PM
The work you are doing looks awesome!.
With that box where are rear passengers going to put there feet LOL!?
How have you worked out the volume of your box?
Mini Mad
Posted 18 March 2012 - 07:40 PM
Up Into Fourth

Posted 18 March 2012 - 08:37 PM
Mini Mad
Posted 18 March 2012 - 08:55 PM
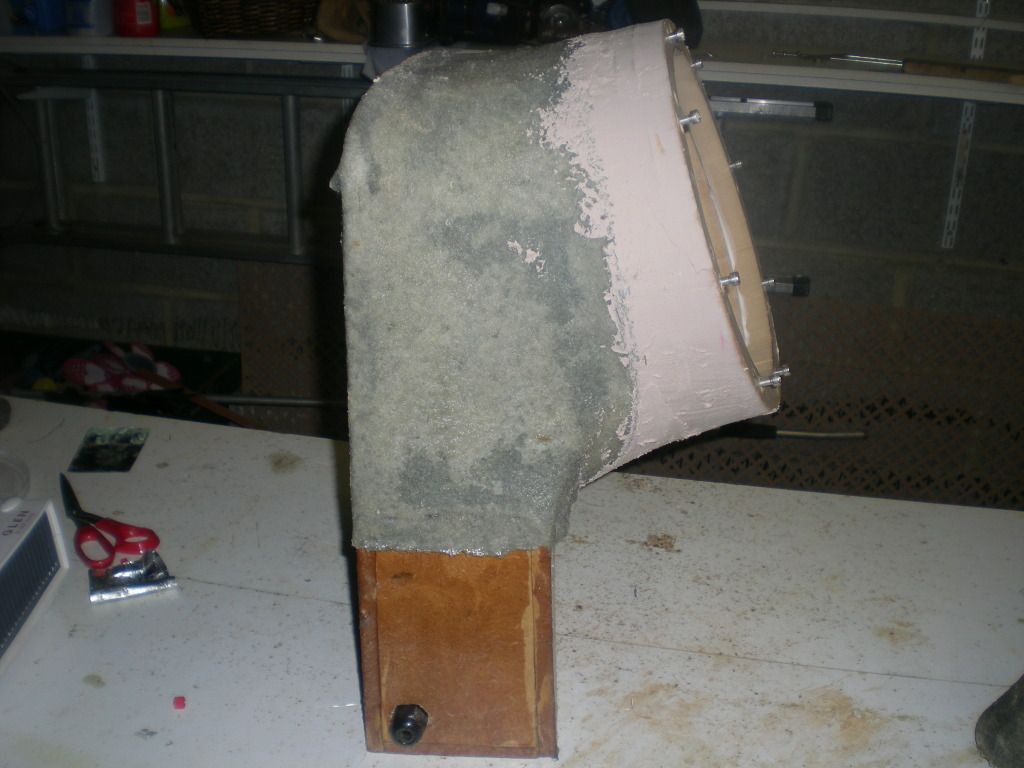
You may have some issues blending the bottom of the fabric to the MDF, however, this is below the line of the pocket so is less then critical.
Thats of course if your not a perfectionist like myself (Its an effing curse i tell thy)
Up Into Fourth
Posted 18 March 2012 - 09:58 PM
Up Into Fourth

Posted 19 March 2012 - 04:50 PM

Up Into Fourth
Posted 19 March 2012 - 04:52 PM
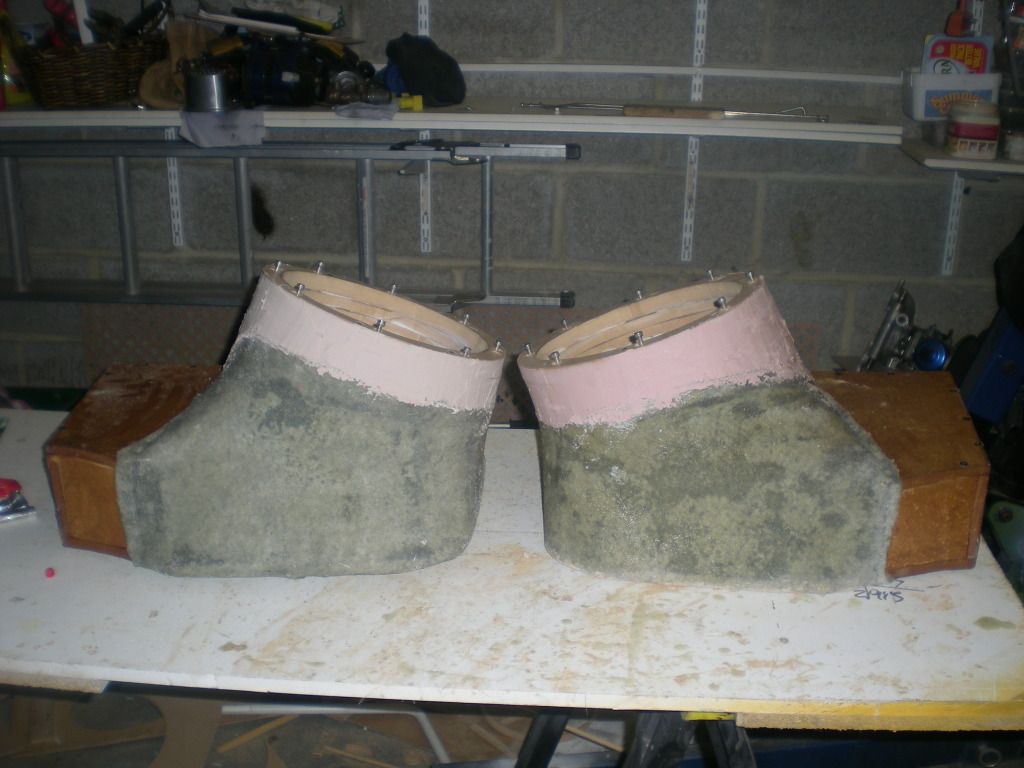
As long as you have fiberglass layered on the inside join you should be able to sand flat any excess FG on the outside. Looking really good though, are you sure you haven't done this before?
Mini Mad
Posted 19 March 2012 - 08:51 PM
As long as you have fiberglass layered on the inside join you should be able to sand flat any excess FG on the outside. Looking really good though, are you sure you haven't done this before?
Mini Mad
Posted 25 March 2012 - 06:45 PM

Up Into Fourth
Posted 25 March 2012 - 07:01 PM
Mini Mad
Posted 25 March 2012 - 07:12 PM
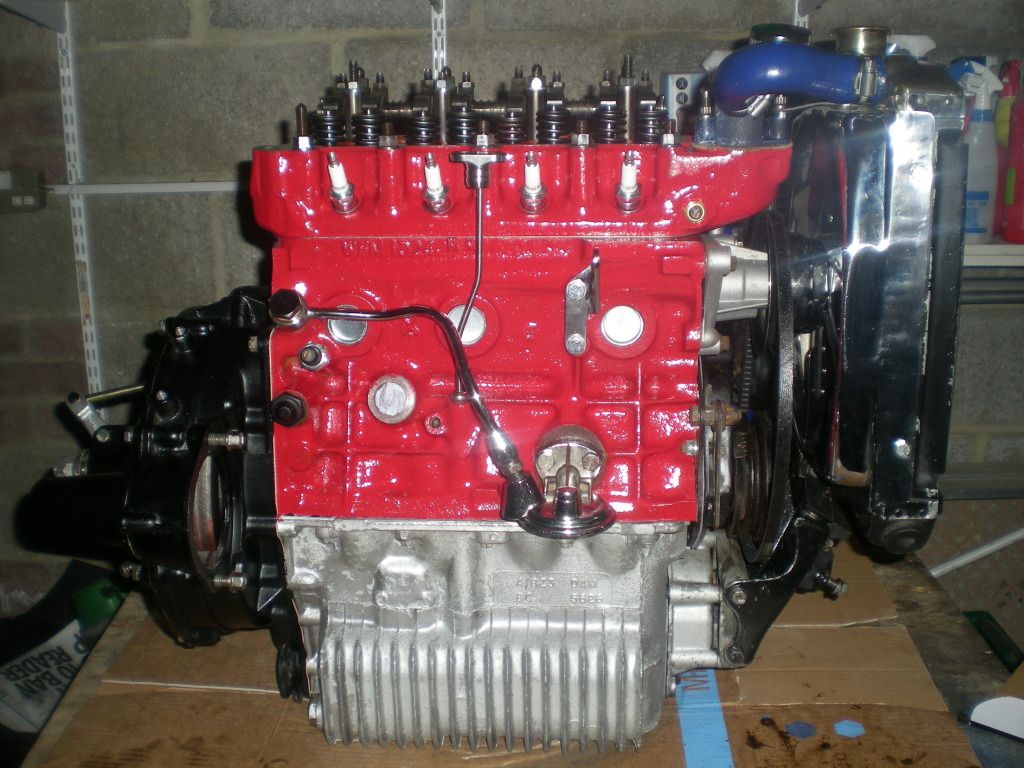
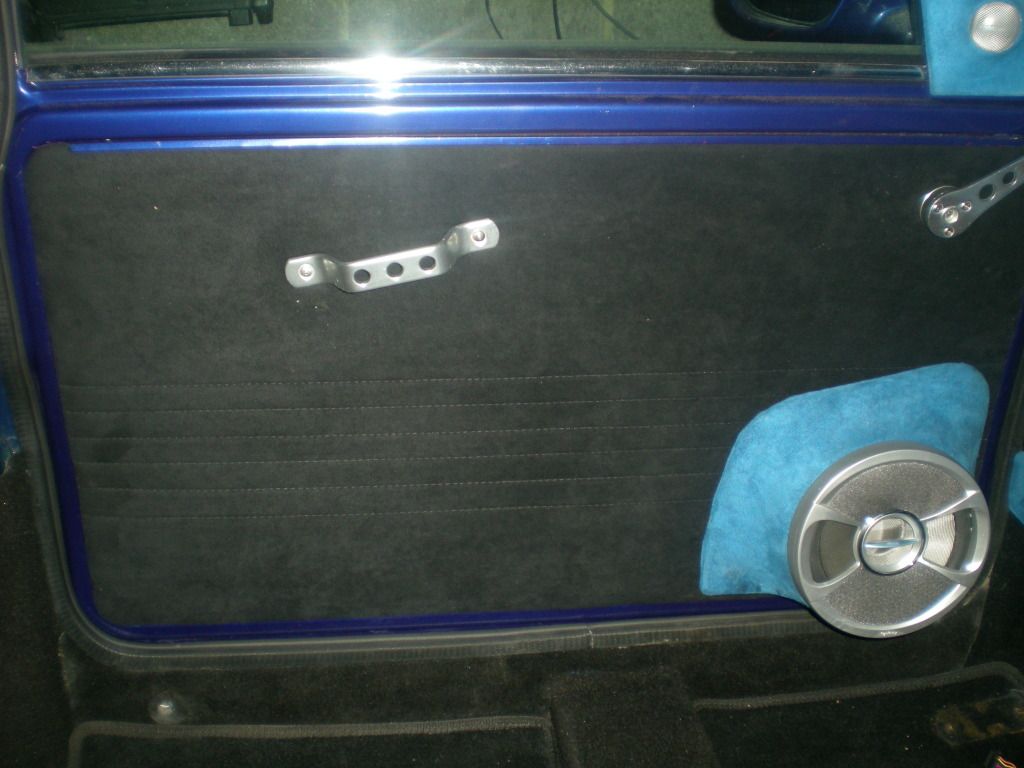
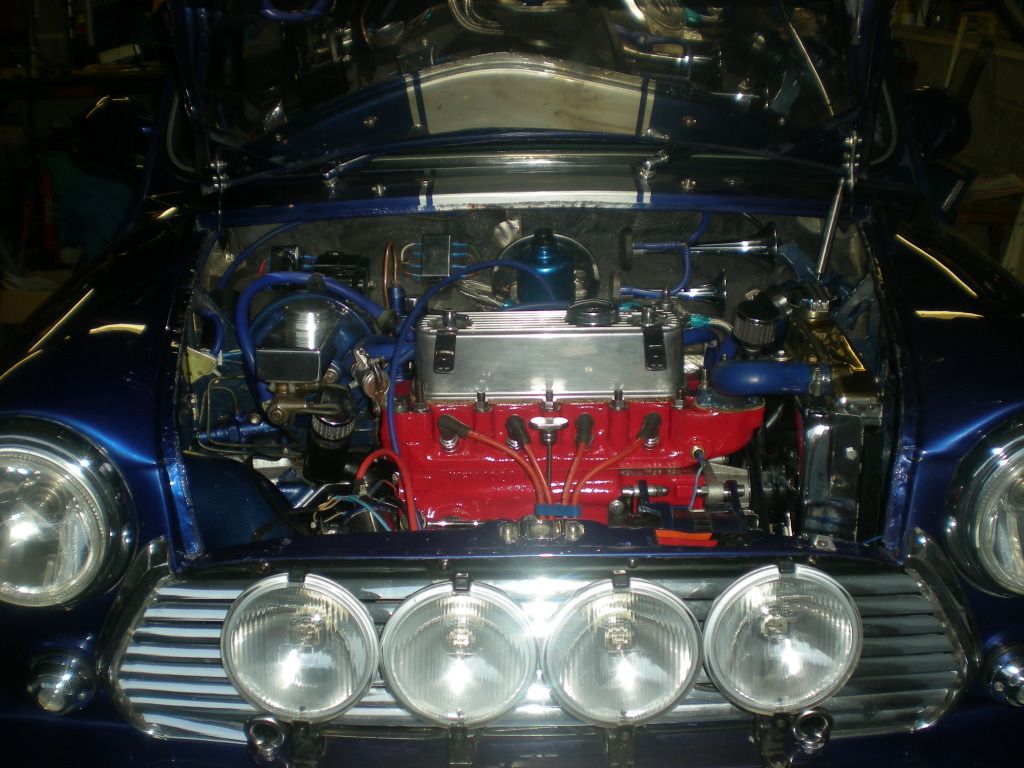
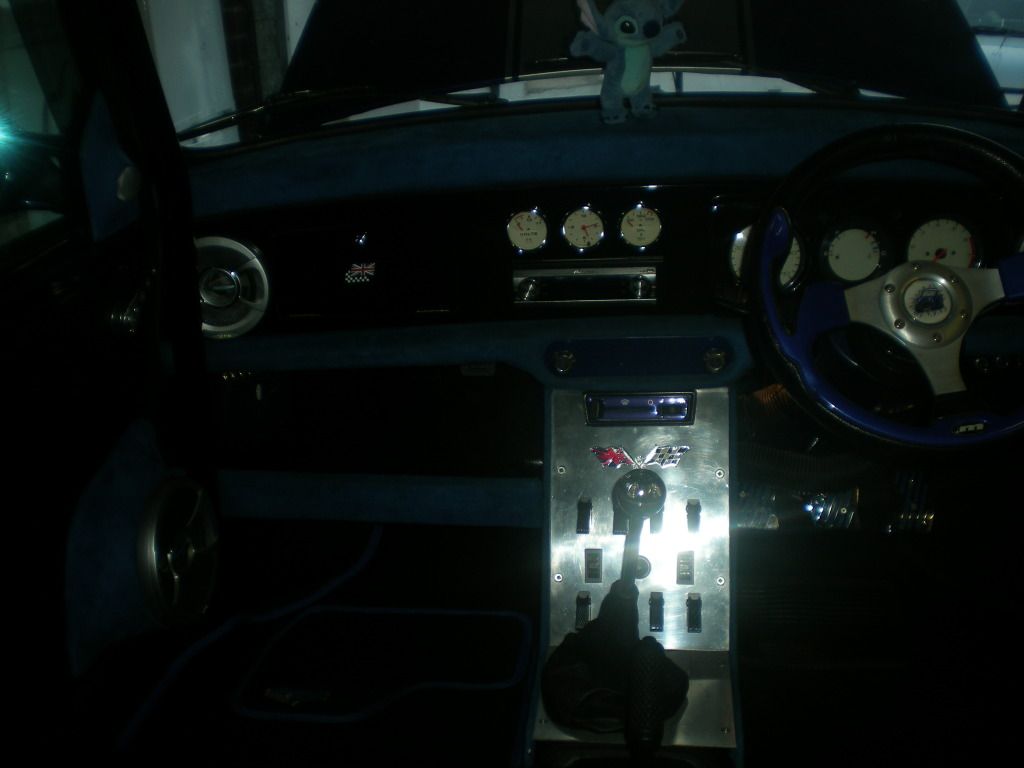
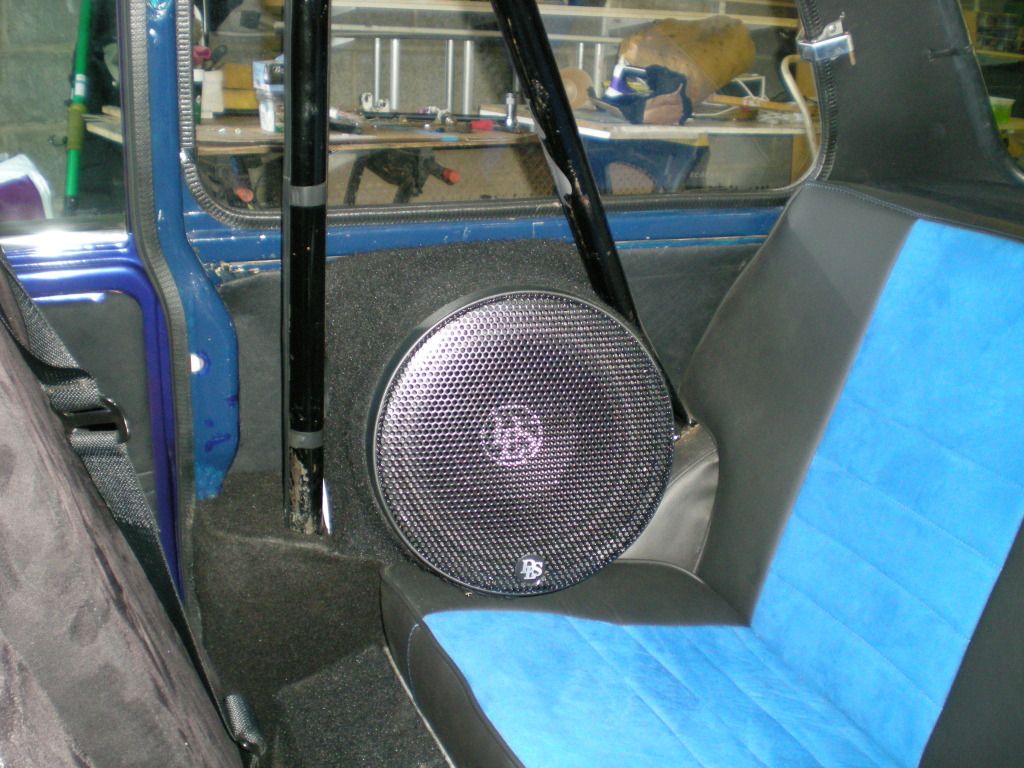
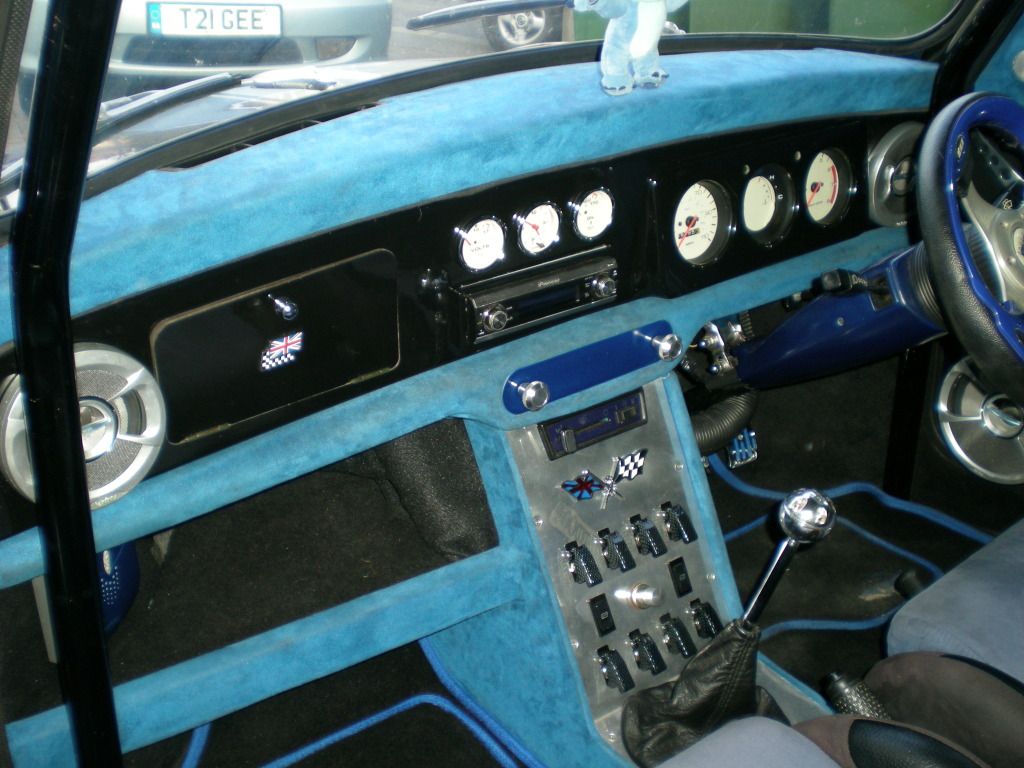
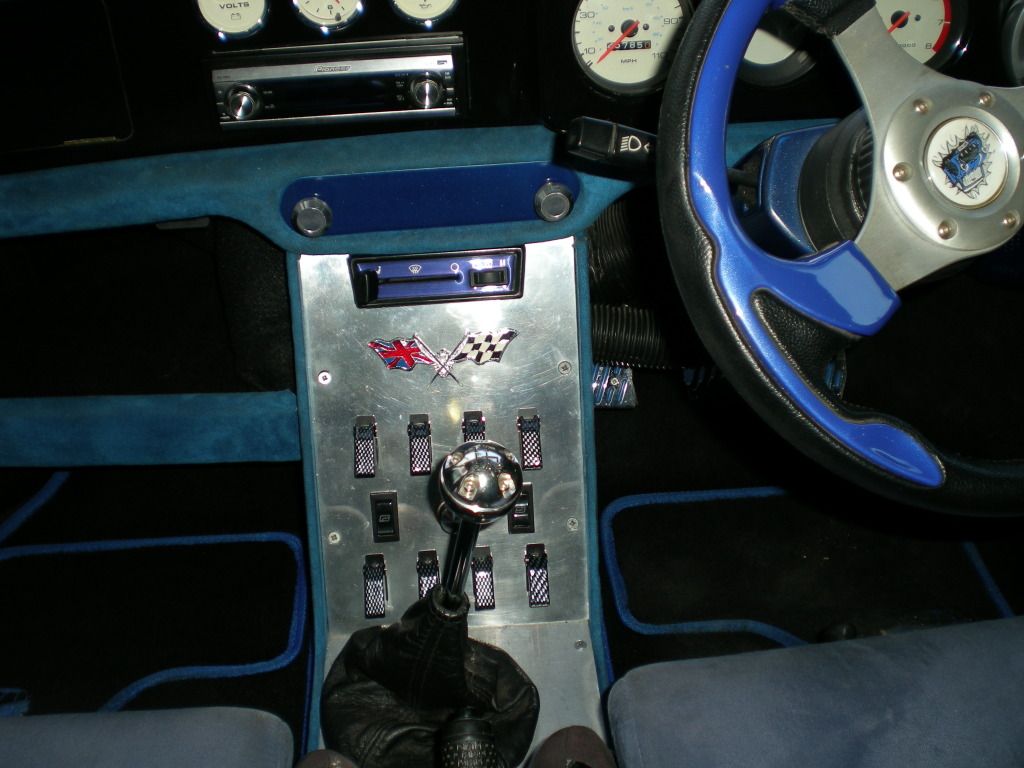
Great to see the subs in & good they ended up the volume you wanted. If you put some wadding inside then that may achieve the sound you were aiming for. I like the new door cards, did you make them as well? What is the new engine?
I too was at brooklands & had a great day, lovely weather for the hill climb.
Up Into Fourth
Posted 25 March 2012 - 08:37 PM
Mini Mad
Posted 01 April 2012 - 07:09 PM
Up Into Fourth
Posted 07 April 2012 - 02:29 PM
Mini Mad
Posted 13 April 2012 - 05:44 PM


0 members, 0 guests, 0 anonymous users


