Jump to content


Photo
- - - - -

My Mini van


  • Please log in to reply
575 replies to this topic

#76 minivanman

minivanman

    Up Into Fourth

  • TMF+ Member
  • PipPipPipPipPipPipPipPipPip
  • 3,454 posts
  • Local Club: Backstreet Minis

Posted 04 January 2007 - 09:56 PM

Todays progress:
Painted the back out
Posted Image

Got the nearside inner wing primed as well
Posted Image

The seam sealer turned up this afternoon, so I will start on that tomorrow. Ordered the rear valence panels this morning from M-machine, and spoke to minitrimmings about my seats. For £60 they will fit the covers as well. So I'll be dropping those off at Bingley hall to be done. In the next few days I'll be ordering my dash gauges as well (all 7 of them :D ) The masterplan is coming together....

#77 minivanman

minivanman

    Up Into Fourth

  • TMF+ Member
  • PipPipPipPipPipPipPipPipPip
  • 3,454 posts
  • Local Club: Backstreet Minis

Posted 05 January 2007 - 07:55 PM

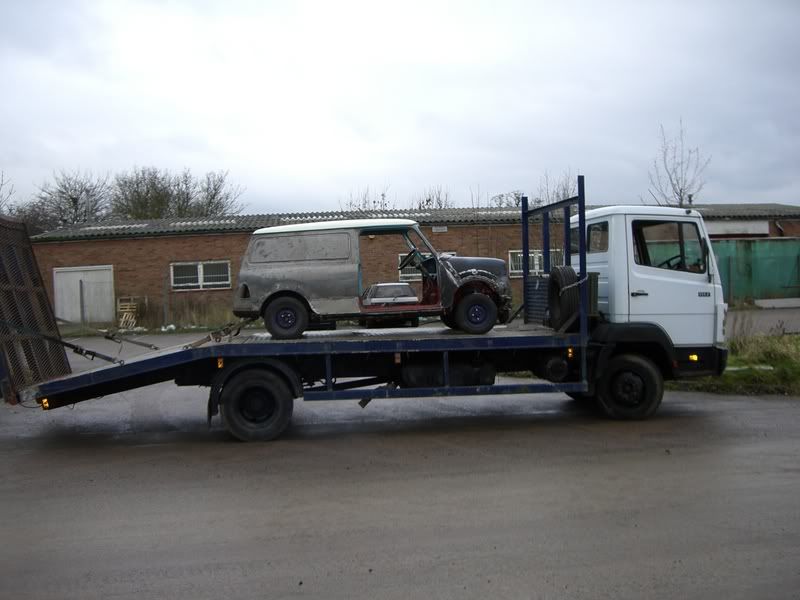
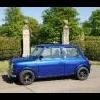
Great days progress today. My uncle needed to run his truck to get some injector cleaner through it, so to kill two birds with one stone, we stuck the van on it and took it down to the bodyshop that repaired my other car.
Posted Image

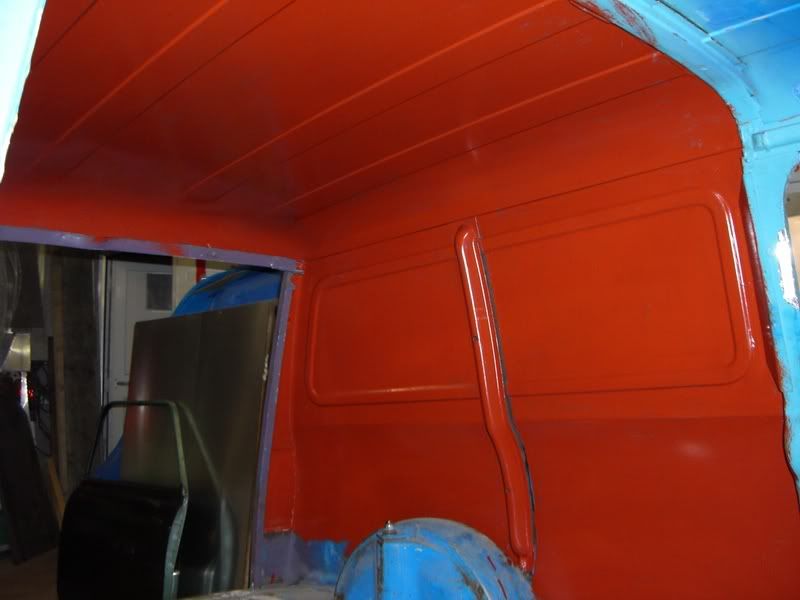
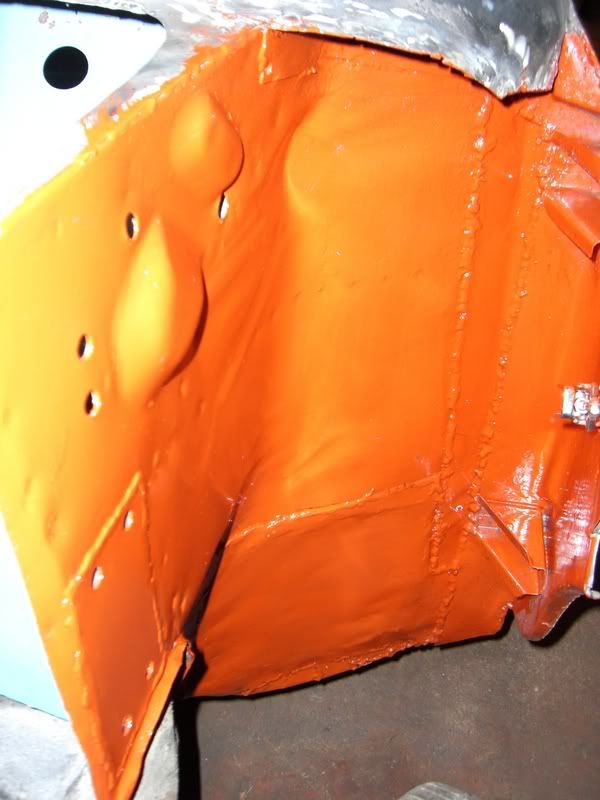
The guy down there recommended me to go and get it sandblasted, then get one of his lads to panel beat the dents out of it, then filler it and let him paint it. However, I've decided I'm going to do it myself. It doesnt need sandblasting - theres hardly any paint on it anyway. The underside I will strip with a wire brush in the grinder. Then my dad and uncle had a go at beating the worst two dents out - and they are now practically gone! :- 
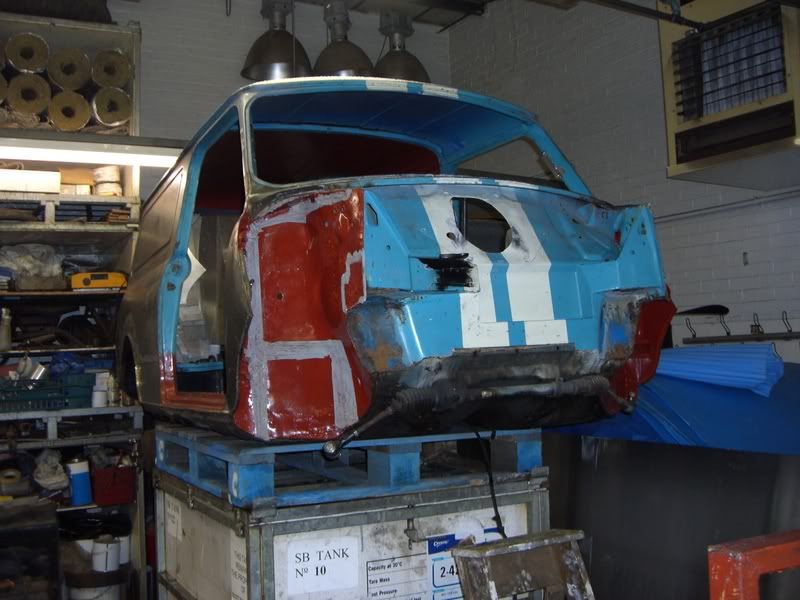
We tilted it on its side again, and did the final bit of welding. The floor pan is now done (I think). That just leaves the heelboard and rear valnce to do, plus a few little holes in the back. Next we pushed it outside, lifted it up and stuck it on a crate with the forklift, so now I can drop the subframes and work under it easily. I've already got the front off, and the back is almost ready to go, theres just two bolts that some numpty has rounded off.
Posted Image
The rear subby is brand new, just needs painting. The front subframe has been solid mounted, so thats one less thing I have to buy :withstupid: . Tomorrow I'm going to take off the steering column and rear subframe and start cleaning up the front end.

#78 lootuning1

lootuning1

    Mini Mad

  • Members
  • PipPipPipPip
  • 255 posts
  • Local Club: Looney Tuning

Posted 07 January 2007 - 05:55 PM

Sorry for sounding like a muppet but what does

front subframe has been solid mounted


That actually mean?

I know you have recomended me to do it for when i do my flip front but what exactly do i have to do lol ?

Vans coming on nice by the way :(

#79 minivanman

minivanman

    Up Into Fourth

  • TMF+ Member
  • PipPipPipPipPipPipPipPipPip
  • 3,454 posts
  • Local Club: Backstreet Minis

Posted 07 January 2007 - 06:05 PM

The mounts are made of metal - not rubber. Means the subframe definatley cant move.

#80 Retro_10s

Retro_10s

    Moderator

  • Members
  • PipPipPipPipPipPipPipPipPipPipPip
  • 10,177 posts
  • Location: Worcs

Posted 07 January 2007 - 06:09 PM

The mounts are made of metal - not rubber. Means the subframe definatley cant move.


.....which makes the front end a lot stiffer, giving more feedback t the steering wheel and much sharper handling.... infact on normal rubber mounts it's common to see the subframe move when turning on full lock

#81 lootuning1

lootuning1

    Mini Mad

  • Members
  • PipPipPipPip
  • 255 posts
  • Local Club: Looney Tuning

Posted 07 January 2007 - 06:16 PM

So you make these mounts yourself or buy them like this?

#82 Bungle

Bungle

    Original Spamster

  • Members
  • PipPipPipPipPipPipPipPipPipPipPip
  • 28,971 posts
  • Location: Cornwall
  • Local Club: cornish mini club

Posted 07 January 2007 - 06:19 PM

you can buy them

#83 lootuning1

lootuning1

    Mini Mad

  • Members
  • PipPipPipPip
  • 255 posts
  • Local Club: Looney Tuning

Posted 07 January 2007 - 06:21 PM

cool - thats easier lol :(

#84 minivanman

minivanman

    Up Into Fourth

  • TMF+ Member
  • PipPipPipPipPipPipPipPipPip
  • 3,454 posts
  • Local Club: Backstreet Minis

Posted 12 January 2007 - 07:20 PM

Not much happened this week - I won the set of twin HIF 38's, for the princely sum of 50 quid! I'll be picking them up over the weekend. Just need to talk nicely to my good buddy Dogmatix 'bout that spare inlet manifold he has now.... The panels from M-machine have arrived, and I've realised that I still need another two repair panels to finish it off :D My gauges should be here soon, and I will be getting my dash back from smudger at Bingley hall so I can start sorting that out. Now I'm back to the old problem of not having time to go and do anything on it, things will be back to the usual snails pace ;)

#85 Bean

Bean

    Queen of 'shoppin, Voted Miss TMF 2011

  • Members
  • PipPipPipPipPipPipPipPipPipPip
  • 8,054 posts
  • Name: Jean
  • Location: Malvern

Posted 12 January 2007 - 07:33 PM

;) I like the makeshift car ramp, out of pallets :D

Hows the colour choices coming along, or are you pretty much sorted in your mind about that now? :-


Looking good :D

#86 minivanman

minivanman

    Up Into Fourth

  • TMF+ Member
  • PipPipPipPipPipPipPipPipPip
  • 3,454 posts
  • Local Club: Backstreet Minis

Posted 12 January 2007 - 09:07 PM

;) I like the makeshift car ramp, out of pallets :D


Hey, thats a highly technical piece of kit, that is! The day we did it, it hadnt rained all day, we pushed it outside to pick it up with the forklift and the heavens opened. So I had to dry it all off with rags. :'(

Colours, I'm fairly set on green of some description - maybe almond green, maybe leaf green. I'll decide on that when its in primer and I can get you good people to do a good photoshop of it for me. I've got the rear subframe off now as well, I only sheared one bolt. Now I need to attack each end with the cup wheel, and paint it all up. I'm going to stonechip it all as well while theres no subframes on it.

Another thing I've been thinking about is running my fuel and brake lines internally. Then I only have to take the exhaust off and I can pick the whole thing up with the forklift and not damage anything. Any advice anyone?

#87 Dog

Dog

    Deathwish Fairy

  • Banned from Buying/Selling
  • PipPipPipPipPipPipPipPipPipPip
  • 9,550 posts
  • Local Club: Shatrats.com

Posted 12 January 2007 - 09:13 PM

Get me MSN about the Manifold... as I too need a favor of you ;)

#88 minivanman

minivanman

    Up Into Fourth

  • TMF+ Member
  • PipPipPipPipPipPipPipPipPip
  • 3,454 posts
  • Local Club: Backstreet Minis

Posted 19 January 2007 - 06:05 PM

Got the carbs, turns out they are 1 3/8". Anyone ever heard of them? Just got to get them rebuilt now.

These also came today:
Posted Image


Just a shame I cant fit them in the dash for a few weeks!

#89 Dog

Dog

    Deathwish Fairy

  • Banned from Buying/Selling
  • PipPipPipPipPipPipPipPipPipPip
  • 9,550 posts
  • Local Club: Shatrats.com

Posted 19 January 2007 - 06:08 PM

1.3/8 you say....
Are you sure?

AFAIK (don't quote me though) I think HIF carbs are Metric... and AFAIK, never made a 1.3/8, 38mm and 44mm is all I know of....
I'll bring your Manifold to Bingley with me, it should fit....

#90 minivanman

minivanman

    Up Into Fourth

  • TMF+ Member
  • PipPipPipPipPipPipPipPipPip
  • 3,454 posts
  • Local Club: Backstreet Minis

Posted 19 January 2007 - 06:45 PM

1 3/8 for definate. I know, I've never heard of them either. Still, its only 1/8" different to 1 1/2"s so there shouldnt really be any difference. The guy told me I will probably need to redrill the manifold to fit them as well, but thats not really a problem. The place I got them from was a real treasure trove of rare mini stuff - the guy showed me at least 3 1071 blocks that were just laying around, covered in more mini junk!


3 user(s) are reading this topic

0 members, 3 guests, 0 anonymous users