The 'I over did it' subframe:

Stage One Kit Fitted

Posted 01 June 2016 - 07:11 PM
The 'I over did it' subframe:
Stage One Kit Fitted
Posted 01 June 2016 - 07:13 PM
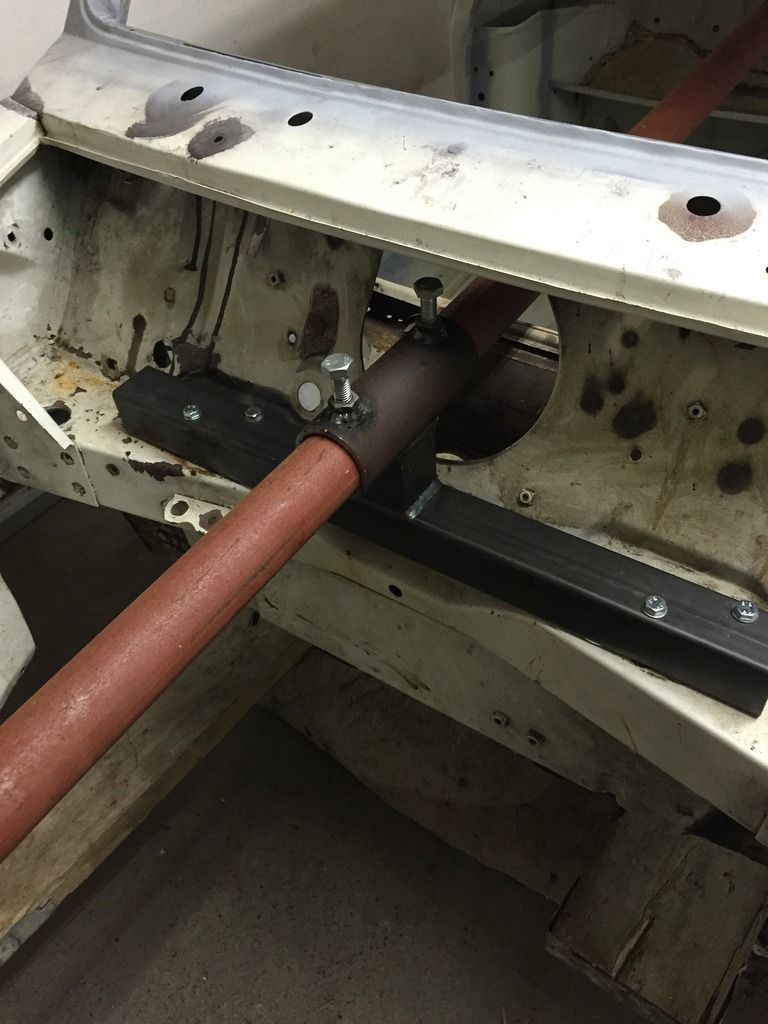
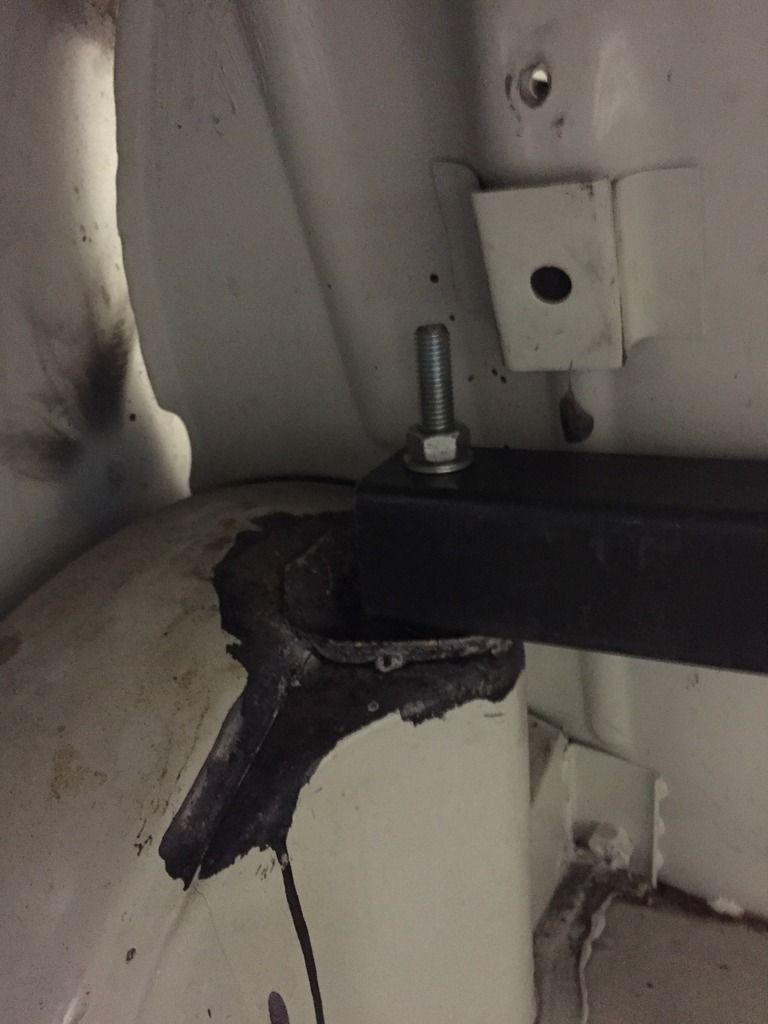
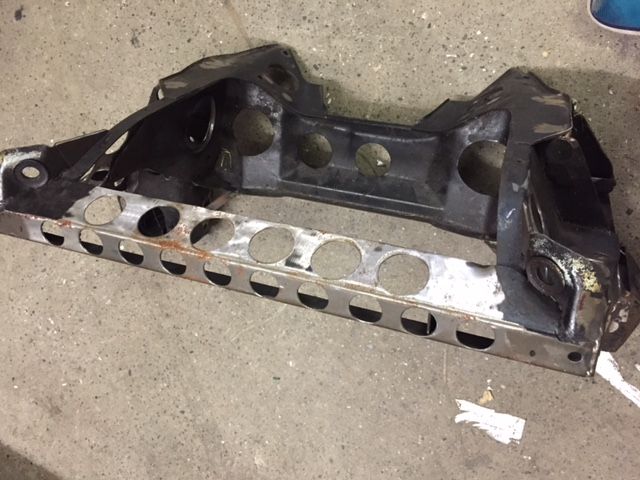
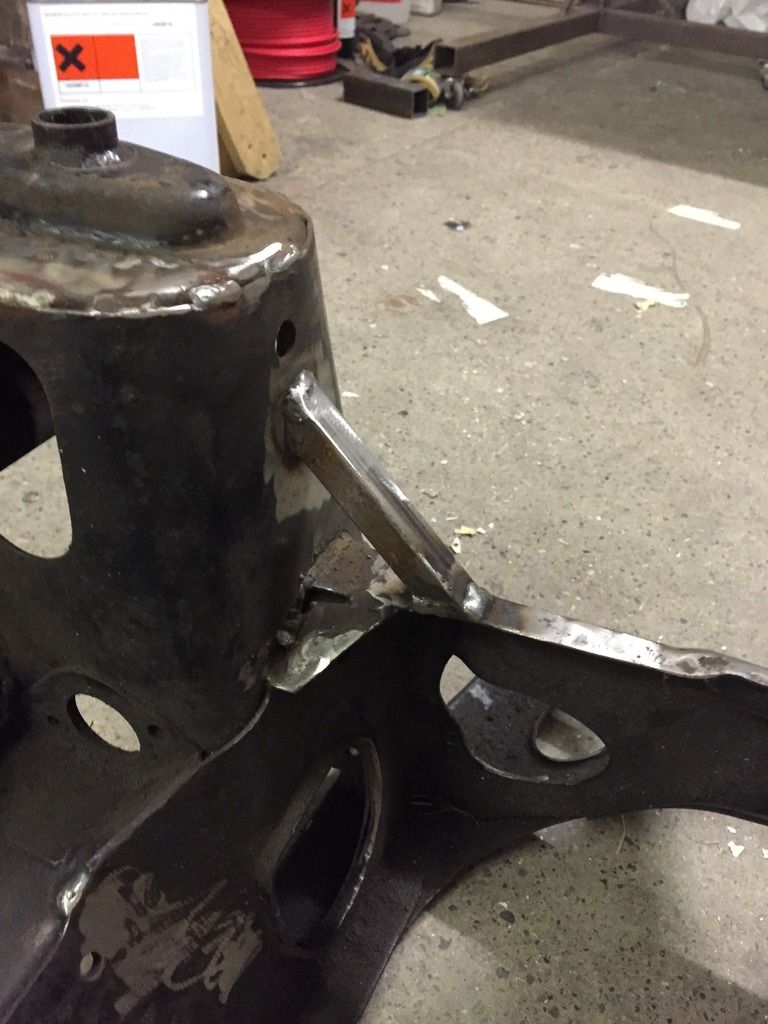
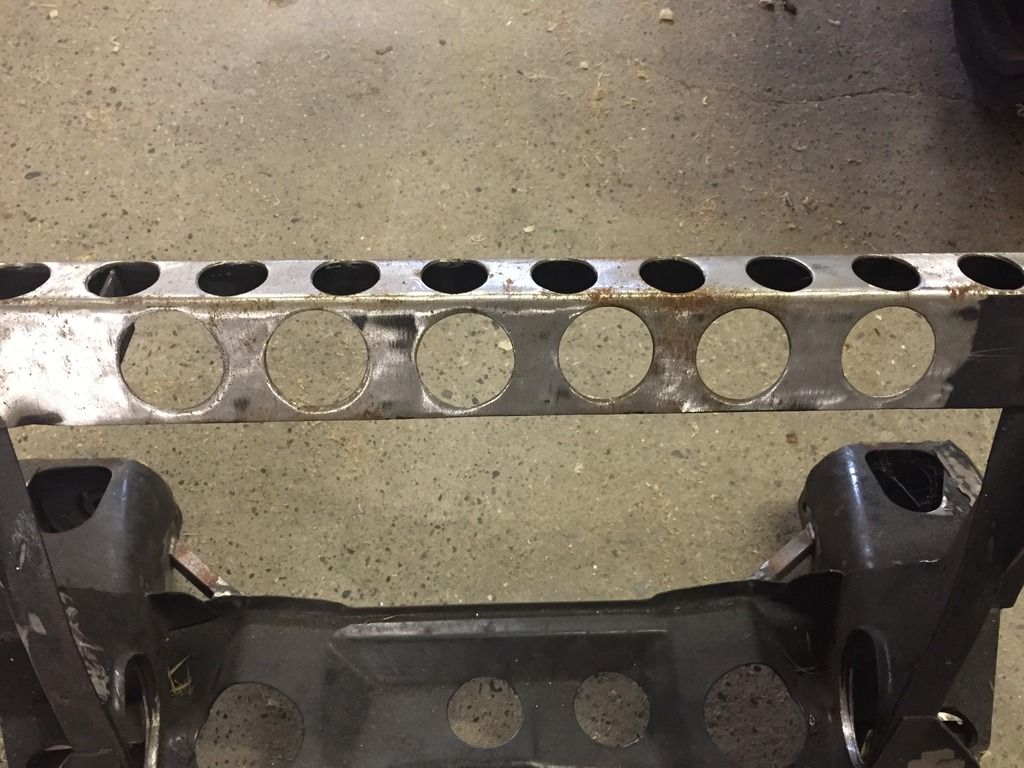
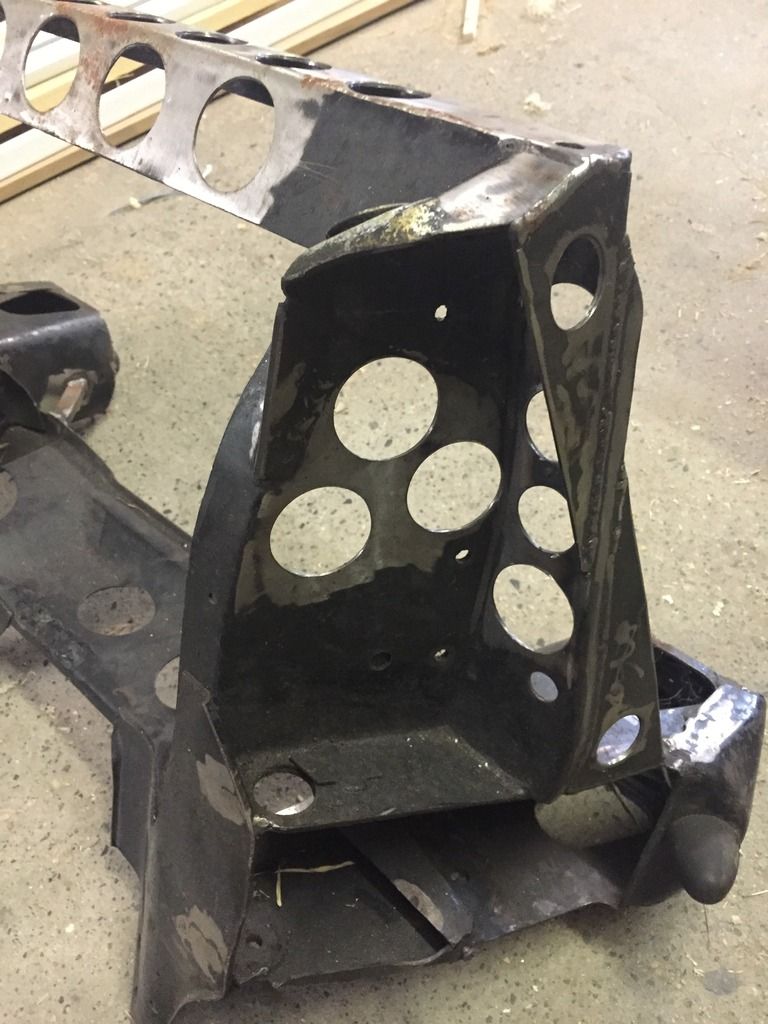
Not sure what to do with this subframe yet, think I'll have to weld up the holes:
http://www.theminifo...tening-too-far/
Stage One Kit Fitted
Posted 01 June 2016 - 07:16 PM
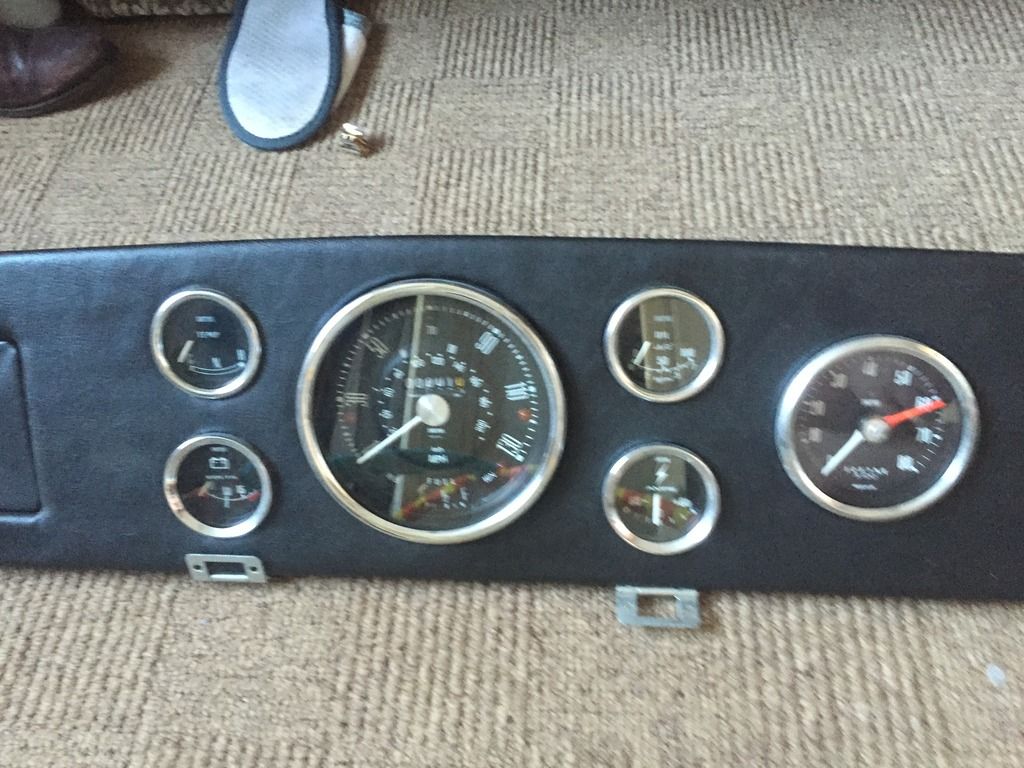
Me dash,
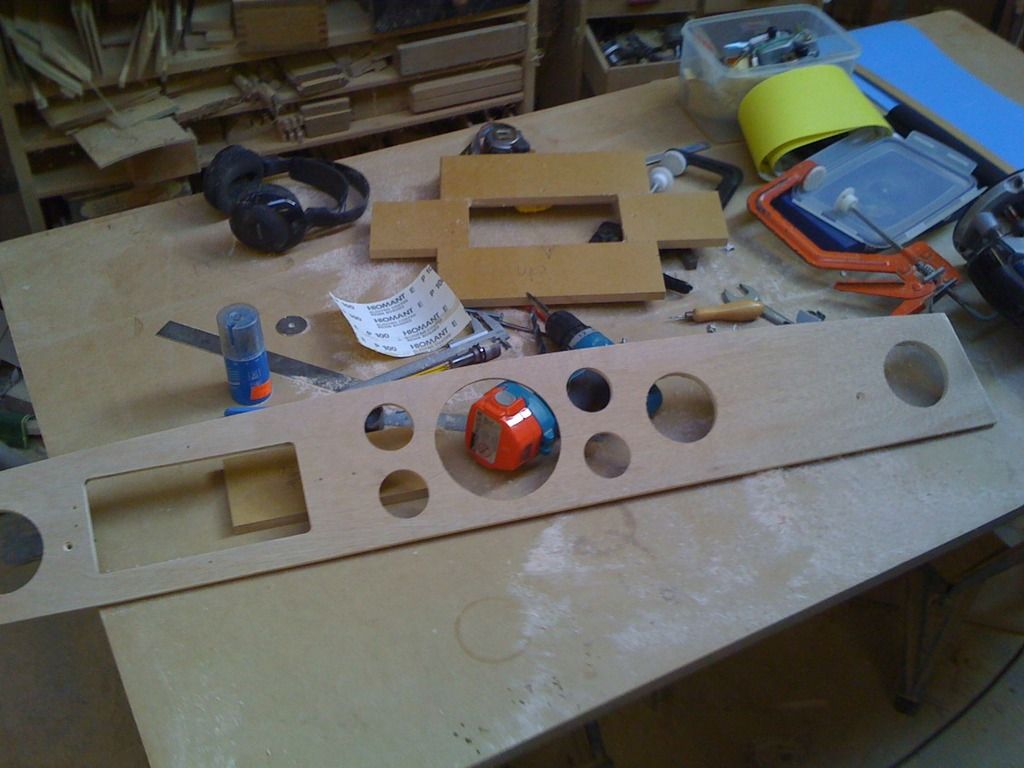
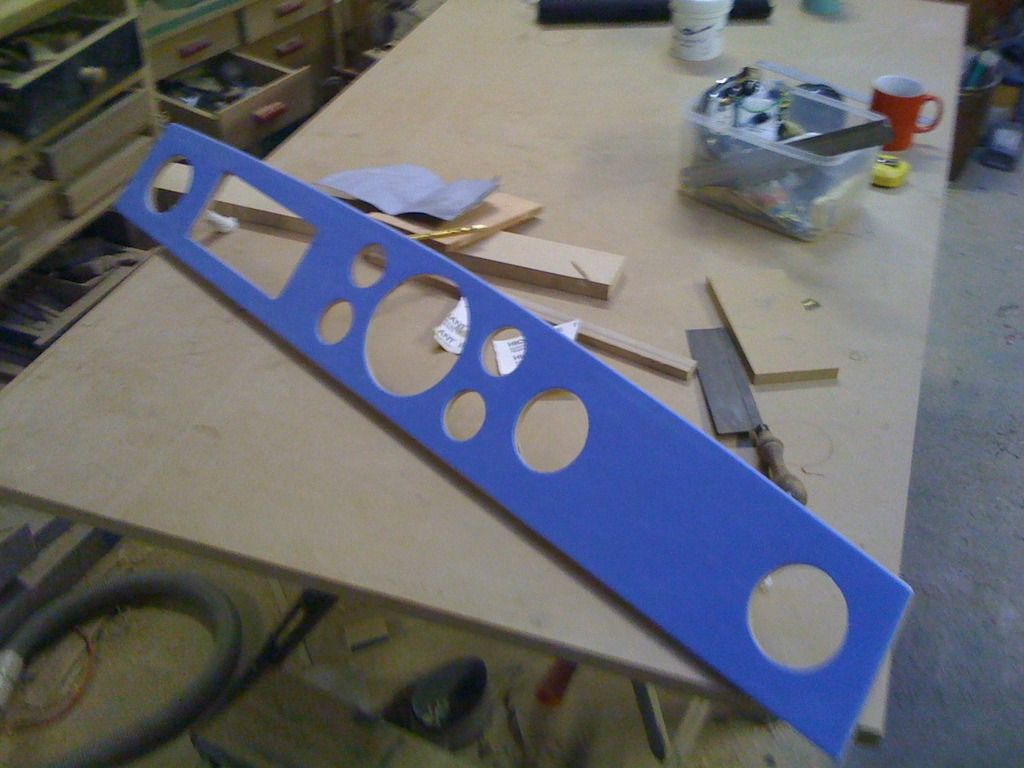
Covered it in flooring underlay foam from DIY
Then black leather/vinyl same as new interior:

Stage One Kit Fitted
Posted 01 June 2016 - 07:27 PM
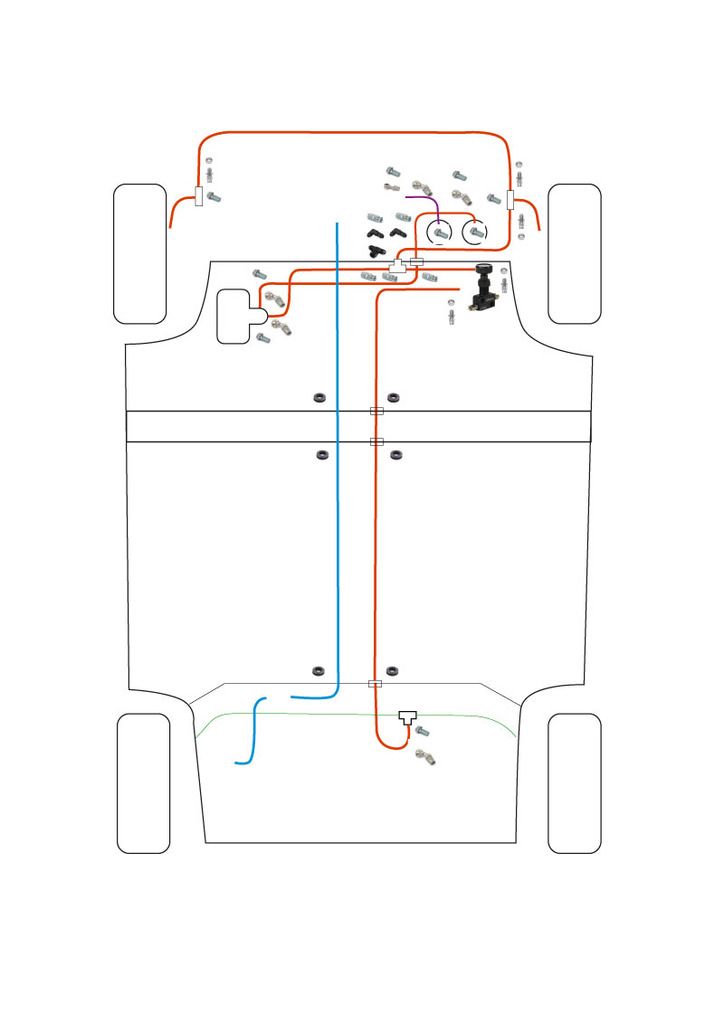
I used to have the servo only assisting the front with a tandem master cylinder setup which worked great and there was still lots of breaks at the rear but im told that it should go to both front and rear and then use the bias valve just on the rear split. this is the setup I am going for now:
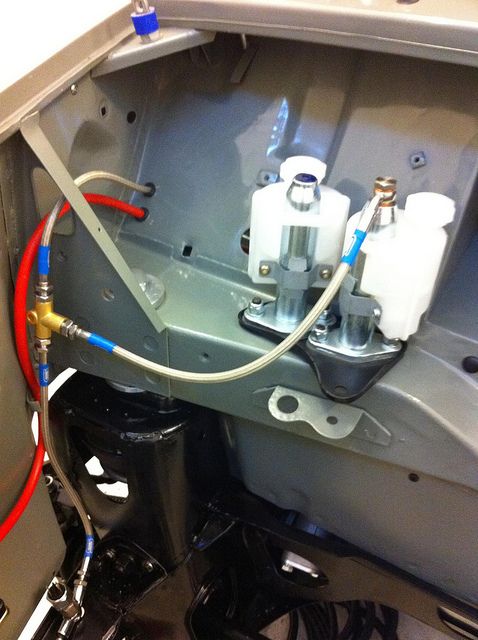
Image care of this tasty build
http://www.turbomini...p=vt&tid=381837
Stage One Kit Fitted
Posted 01 June 2016 - 07:47 PM
I finished the dash during the winter but some of the vinyl is lifting already so will have re-stick it when the time comes to put it in. I used some cheapo spray adhesive and should have used evostick I think? it might have reacted with the foam underlay.
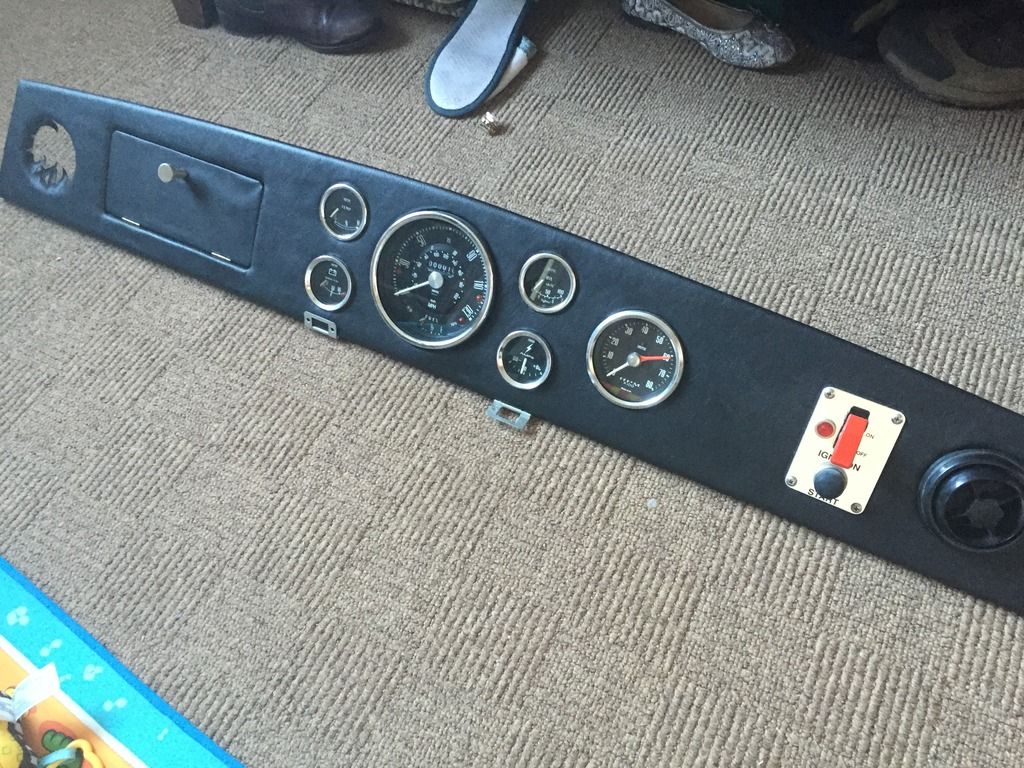
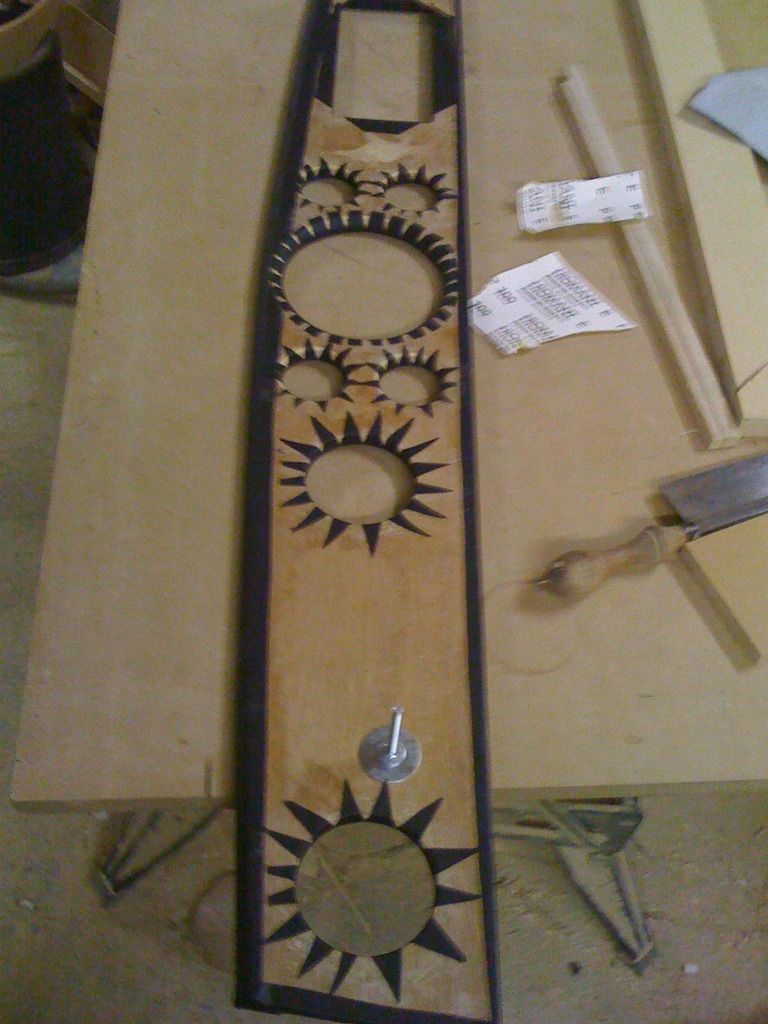
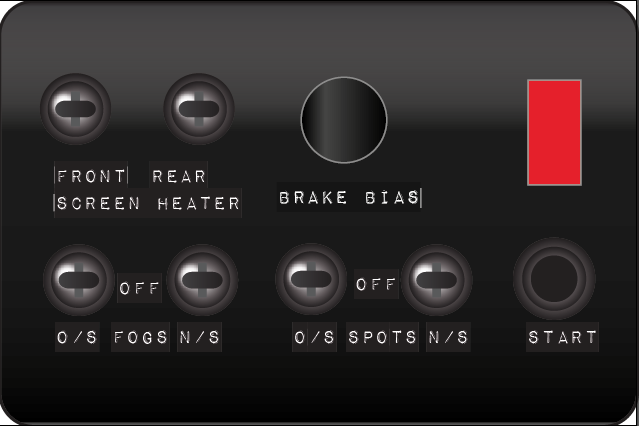
The naff ignition start button is getting replaced with something more tasteful, maybe a little black switched panel in keeping with works mini style.
Stage One Kit Fitted
Posted 01 June 2016 - 07:57 PM
I love all the old works style so want to incorporate it in a small panel somehow, maybe like this:
One Carb Or Two?

Posted 01 June 2016 - 10:14 PM
One Carb Or Two?

Posted 01 June 2016 - 10:28 PM
Nice project !
Learner Driver

Posted 02 June 2016 - 08:05 AM
Loving the amount of pictures you're posting. Gives me real inspiration to crack on with mine. Can I ask as well, did you already know how to weld as some of them are pretty good!
Stage One Kit Fitted
Posted 02 June 2016 - 02:27 PM
Thanks Rocket, James_k years ago i did a 3 week course in basic welding so just trying to remember the skills,
This site has been great help also:
http://www.mig-welding.co.uk/forum/
thanks for your comments,
Dave
Starting My Mini Up

Posted 10 July 2016 - 06:49 PM
Onto the roll over Jig rotisserie I made thanks to plans on TMF! :)
And we're off!
Speeding Along Now

Posted 10 July 2016 - 07:40 PM
Stage One Kit Fitted
Posted 24 September 2016 - 03:00 PM
Hi all,
Good news is that I managed to get a good few days of stunning weather last week for blasting. Andrew behind Dennings Cars in Tallaght took the job on and cant believe what an amazing job he did. Andrew - 085 811 9733


Stage One Kit Fitted
Posted 24 September 2016 - 03:11 PM
And then straight into Liam Denning and on with the Rustbuster Epoxy Mastic and the Custom Epoxy 421. Products went on like dream apparently, Epoxy Mastic takes a good bit of time compared to the 421. It can be thinned up to 15% for spraying and used a 1.8 tip. More pics of finish to follow. The Mastic is a much better finish than I thought it would be as I thought it would be rougher. It has hardened like rock!


Projects →
Mini Saloons →
Mini Cooper Project - Finally StartsStarted by piphatch , 08 Jan 2025 |
|

|
||
Projects →
Mini Saloons →
1965 Austin Mini Restoration - Canadian Mk1Started by DoubleEh , 14 Nov 2022 |
|

|
||
Projects →
Mini Saloons →
Project Joe - 1991 Mini Mayfair 998Started by Eggers , 02 Jun 2022 |
|

|
||
Projects →
Mini Saloons →
Mpi Dashboad ProblemStarted by mikeprez , 22 Dec 2021 |
|

|
||
Projects →
Mini Saloons →
1978 Oew - Willy The MiniStarted by smalltreegrower , 11 Nov 2021 |
|

|
0 members, 1 guests, 0 anonymous users