


Just been looking through your posts. She looks a lot like my Coop. He was off the road for 6 years and i had to get him fixed for my wedding last year but i've still got many issues!
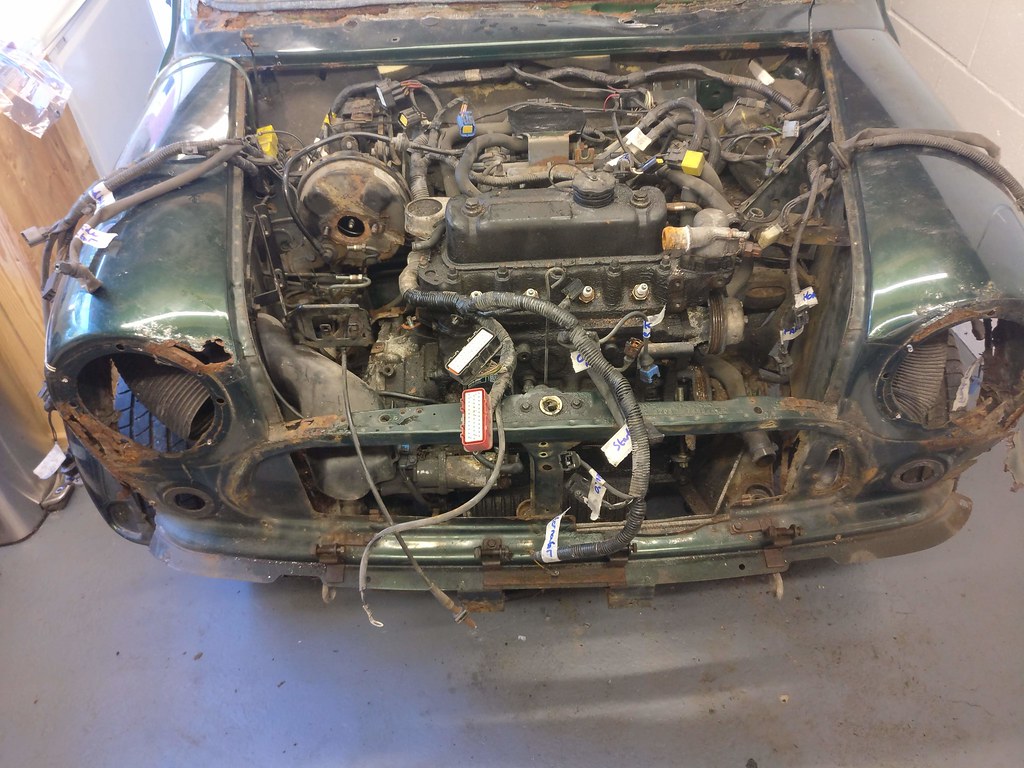
That rust is a killer.
One thing i have found as i've been going along is that the MPi struggles with electrical gremlins when sat for a long time.
All of the connectors get corroded and it can be a mission to find out where the problem is. If you have not already got one, get yourself a code reader. One of the other guys on the forum (gbt100) has a handy video of the T300+ diagnostic tool. I've ordered one so i can find out whats wrong with mine at the moment. It'll be well worth the £70 in the long run.
http://www.theminifo...ini-cooper-mpi/
Dan
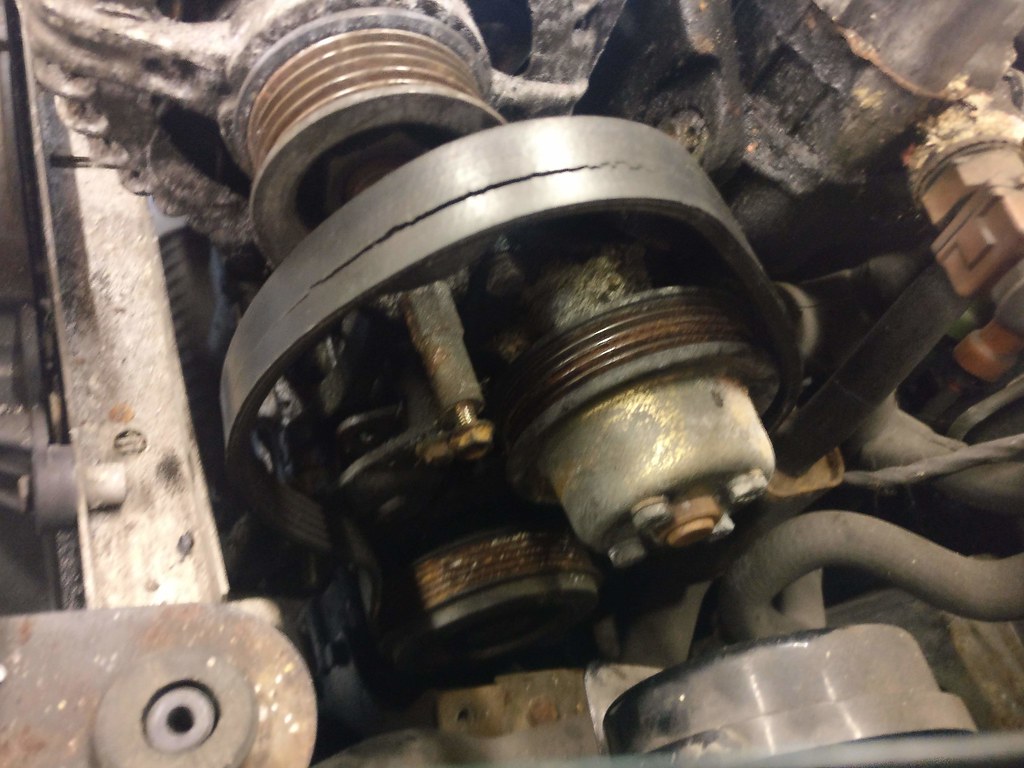
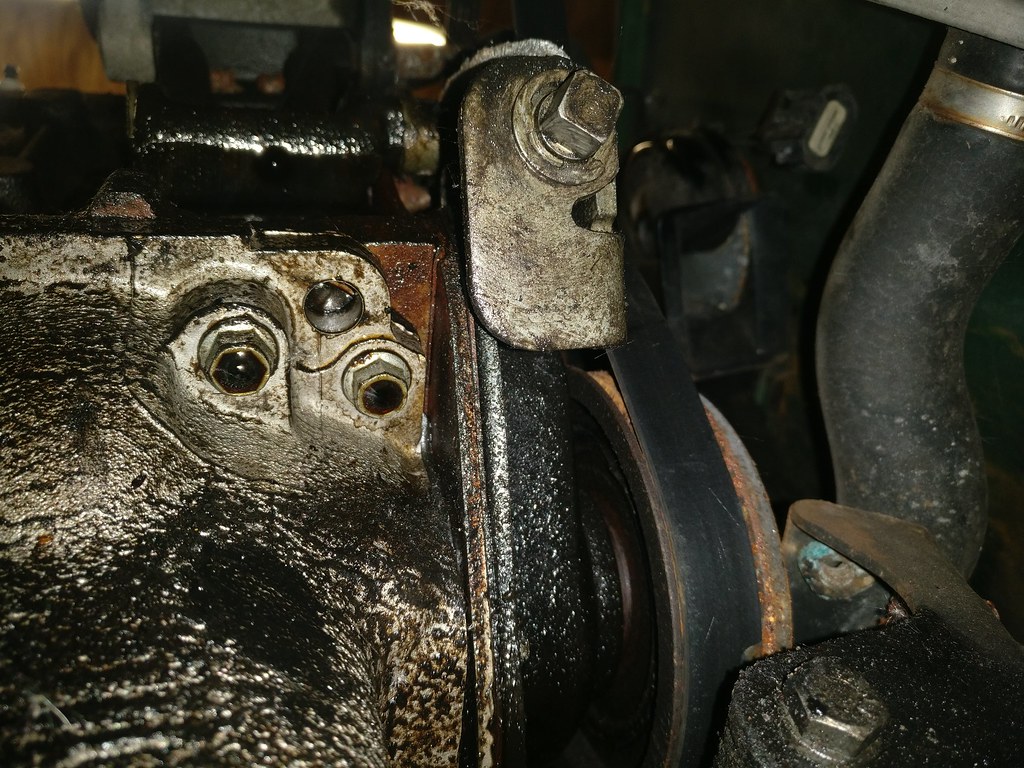
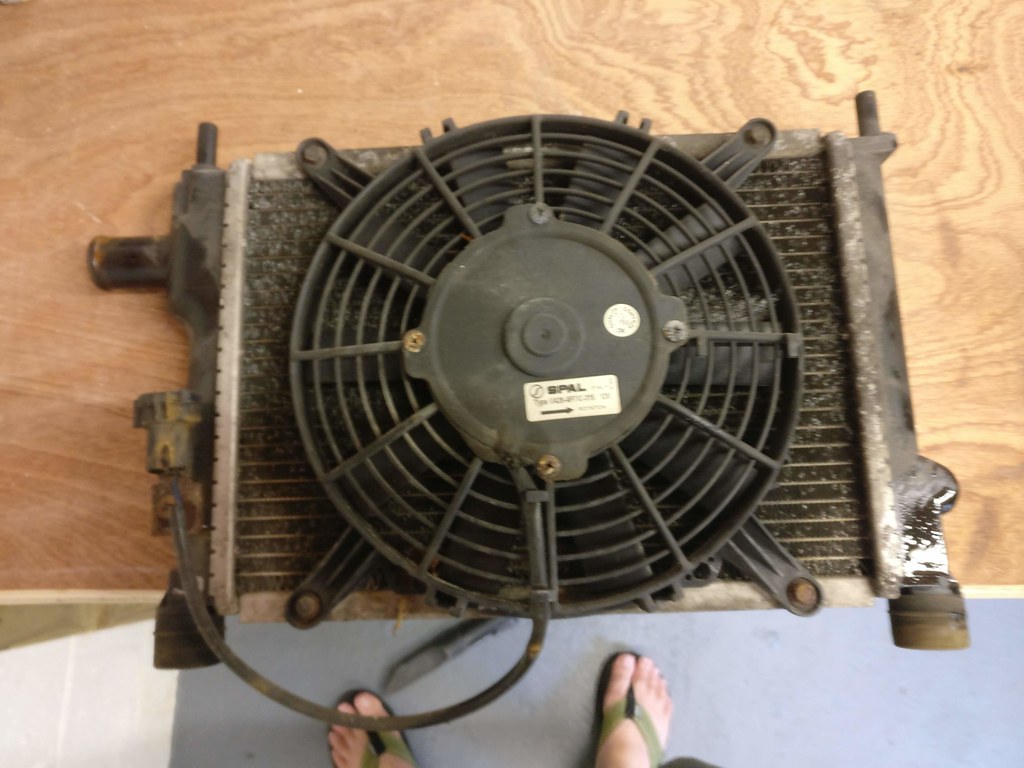
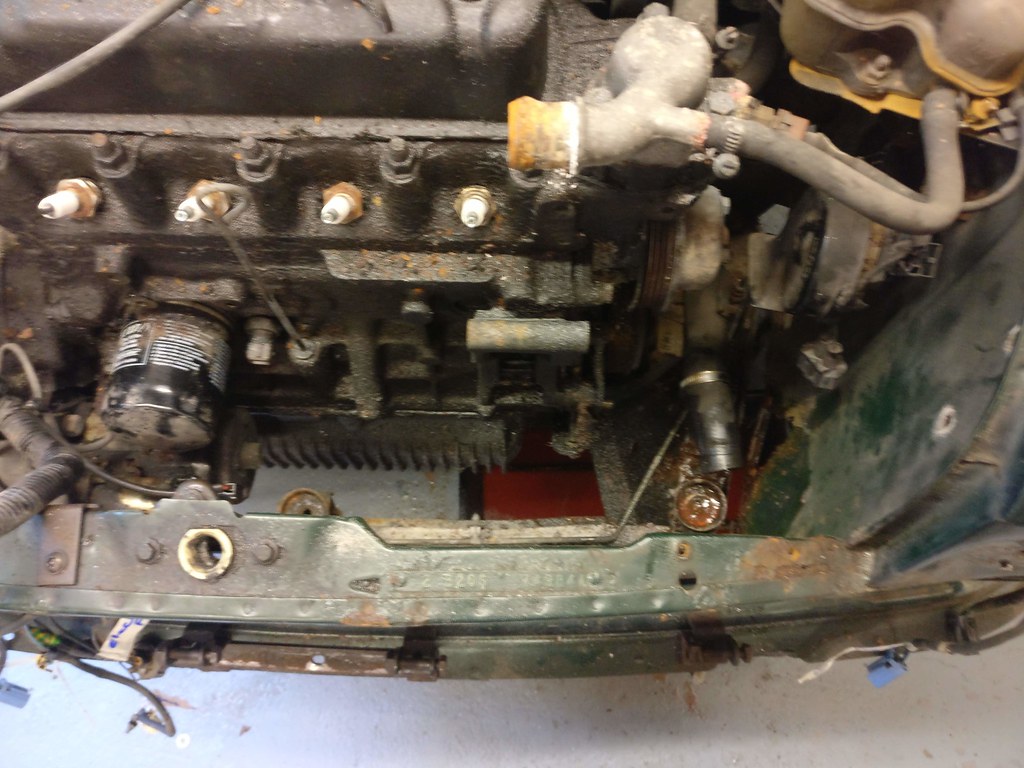
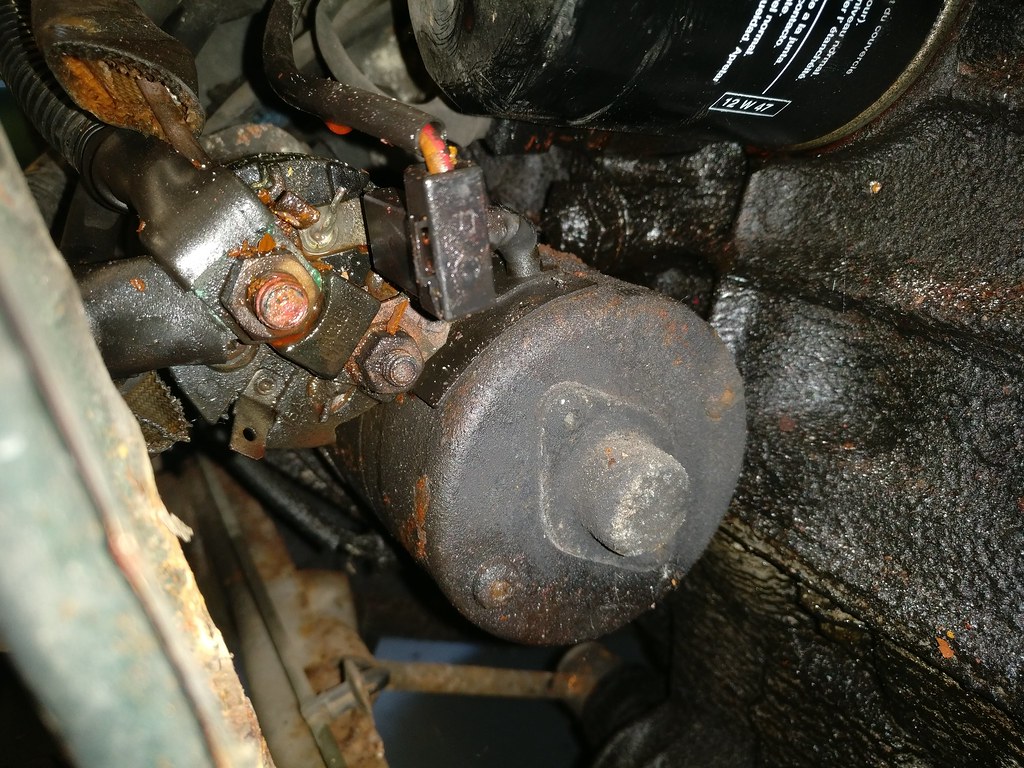
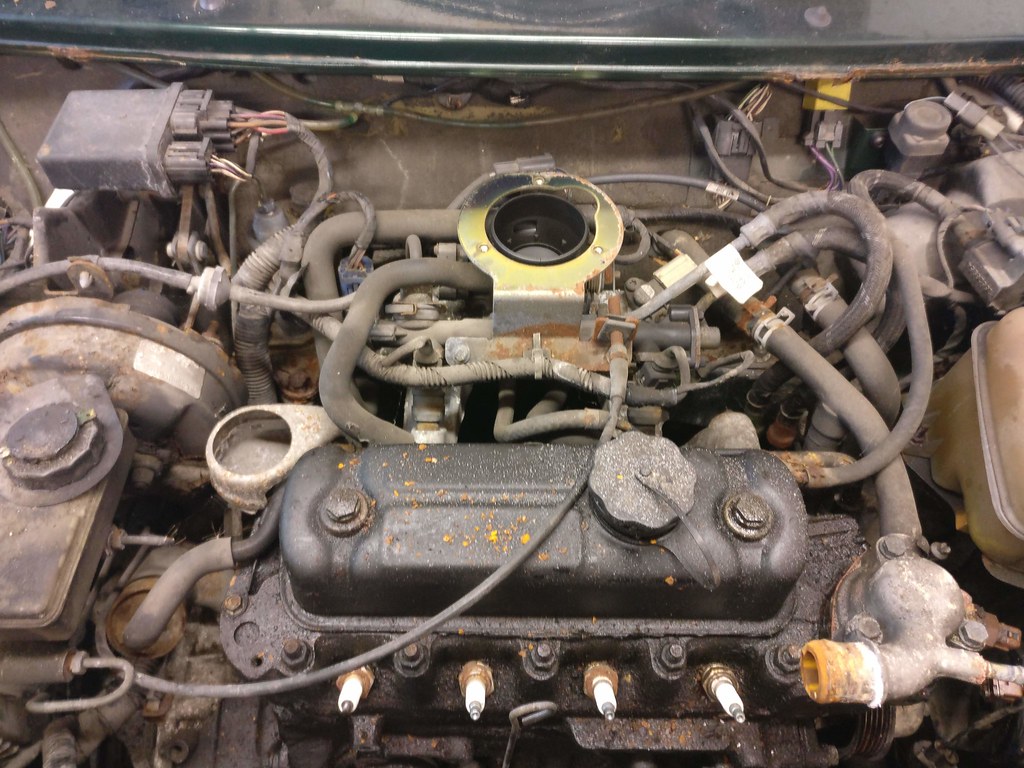
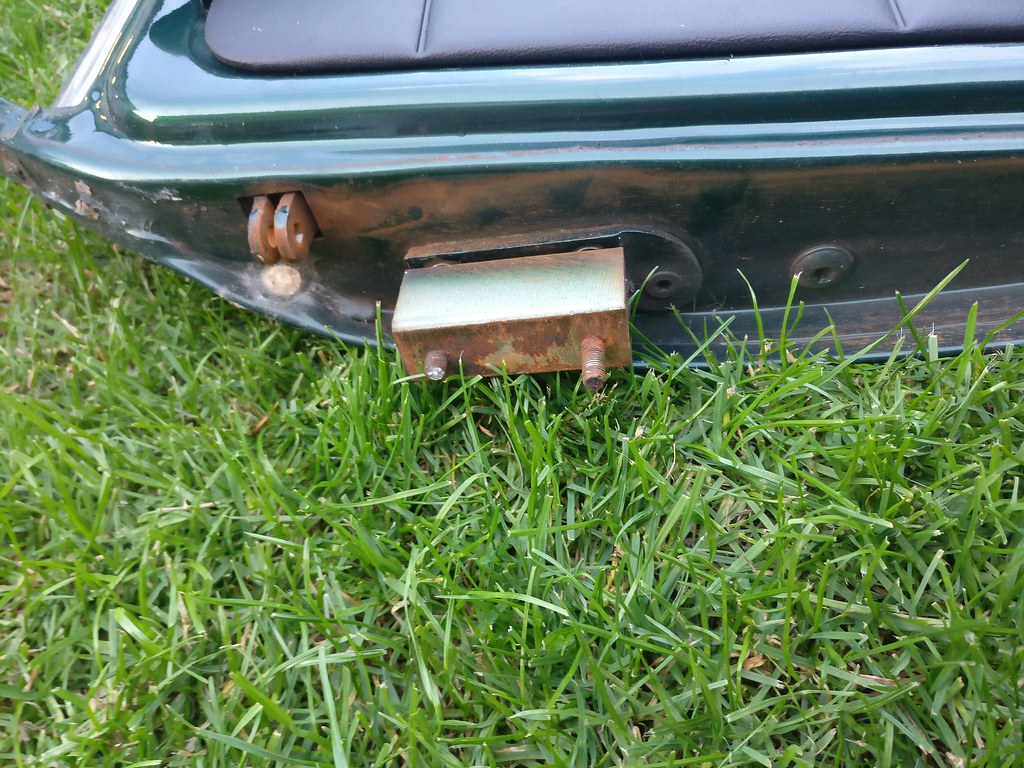
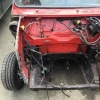
 I'm still stripping the engine down but I am hopeful that the worst of the rust is on the front end. The floors and boot seem ok and the subframes don't seem too bad. Time will tell I guess.