Getting The Rose Family Mini Back On The Road! (After 5 Years)
#106
Posted 01 September 2019 - 08:21 PM
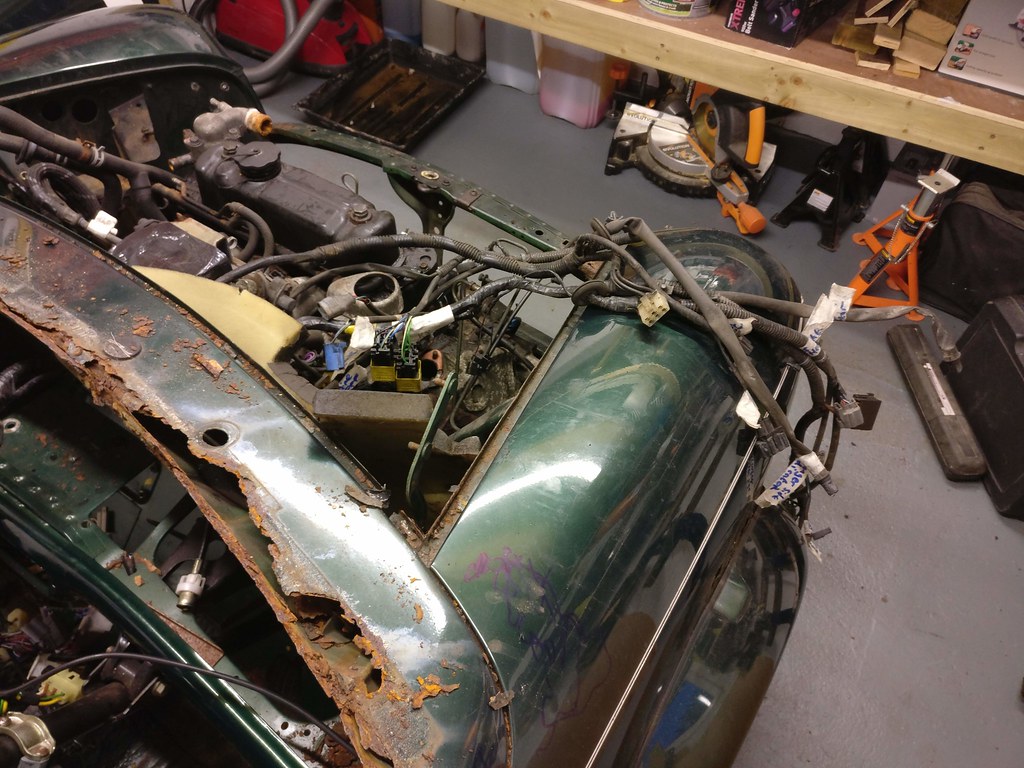
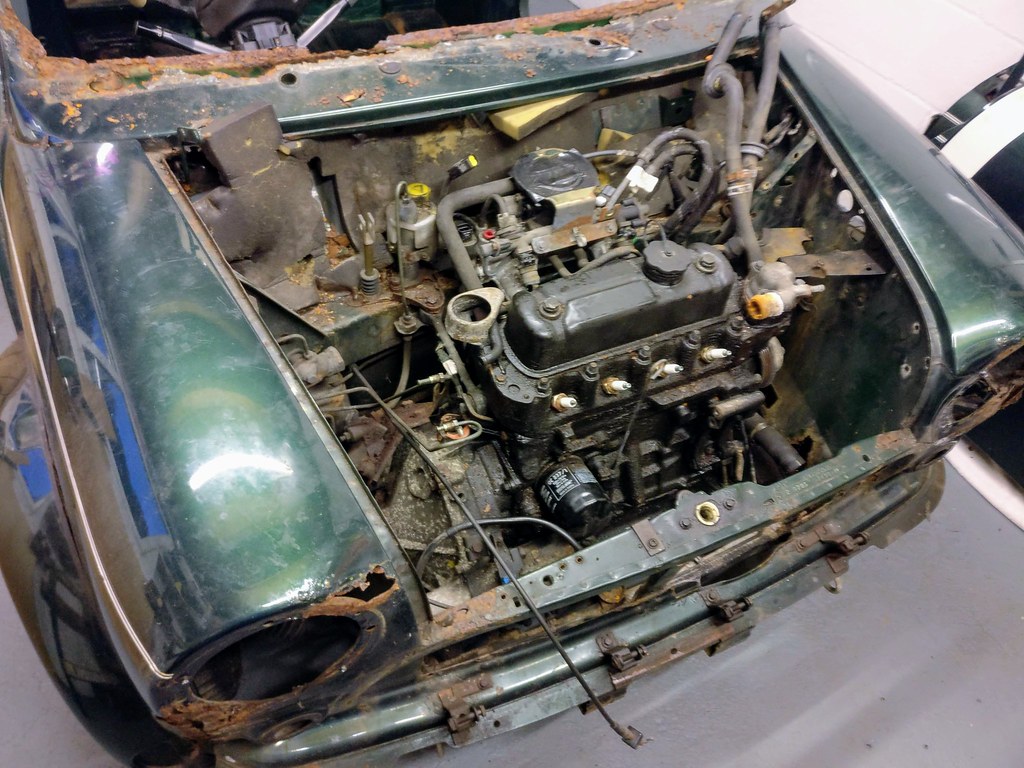
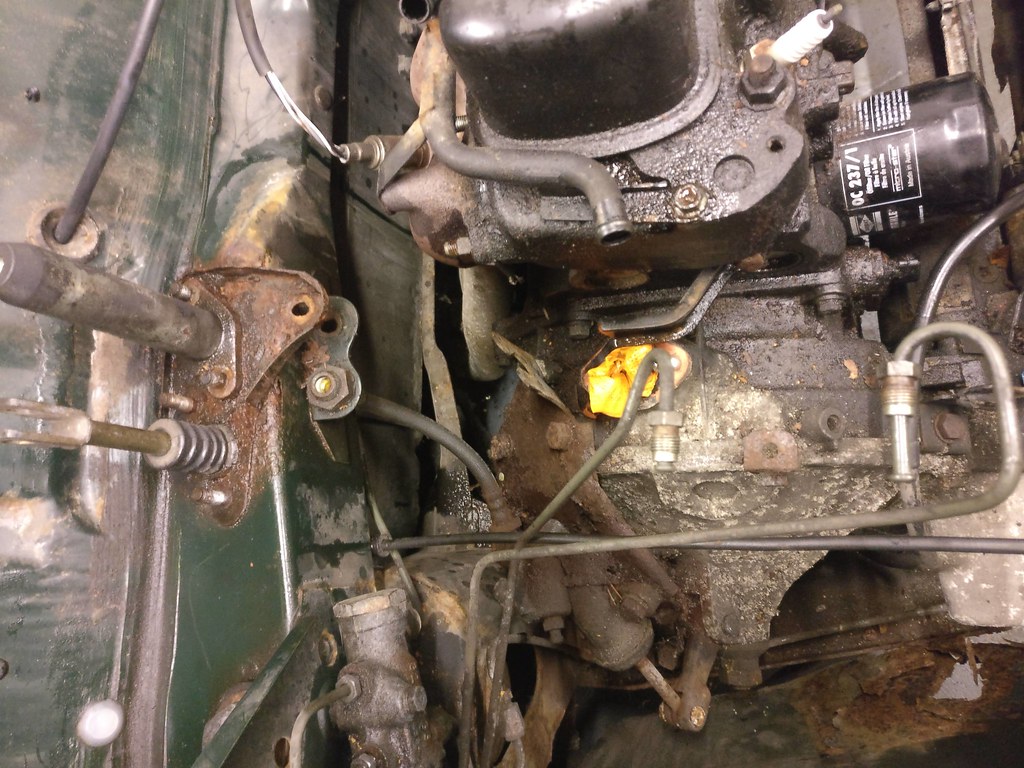
I have made some progress as the glass is out, head lining, fuel tank and more removed. The mini is looking fairly stripped down and I am hoping to make some more progress this week.
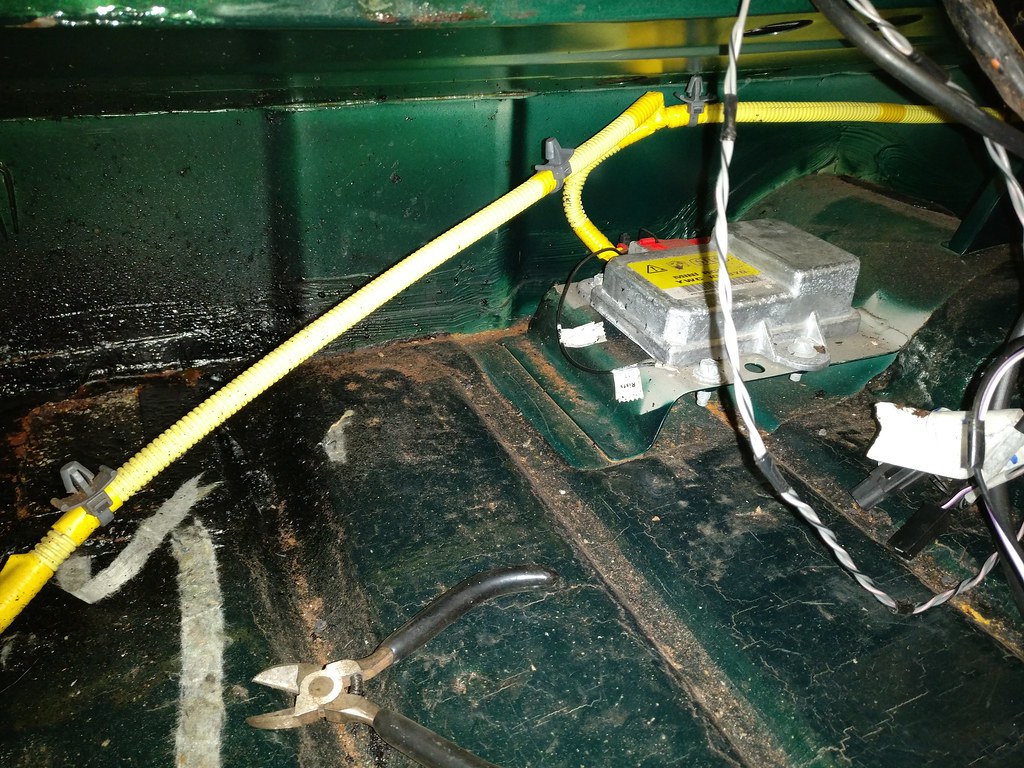
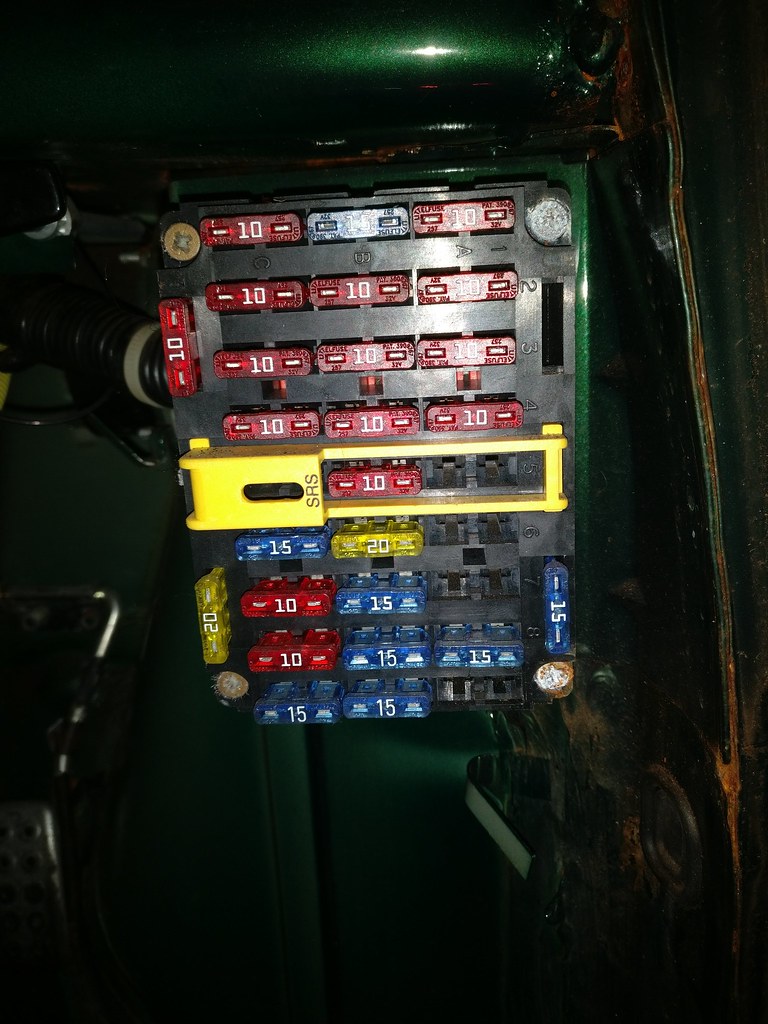
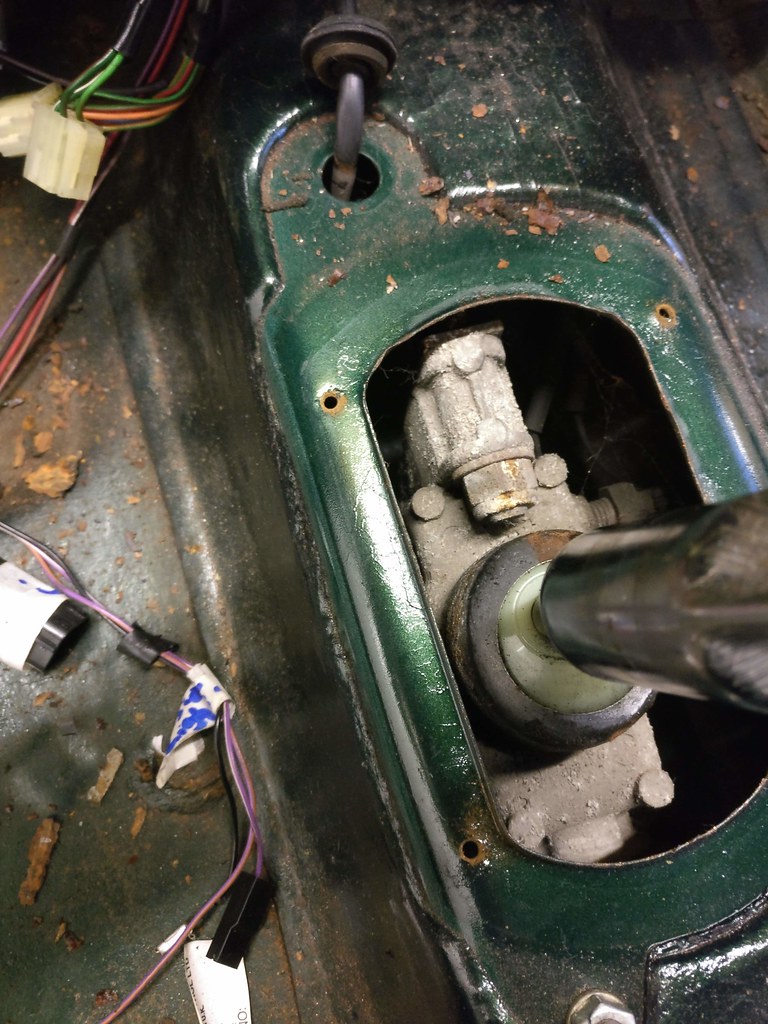
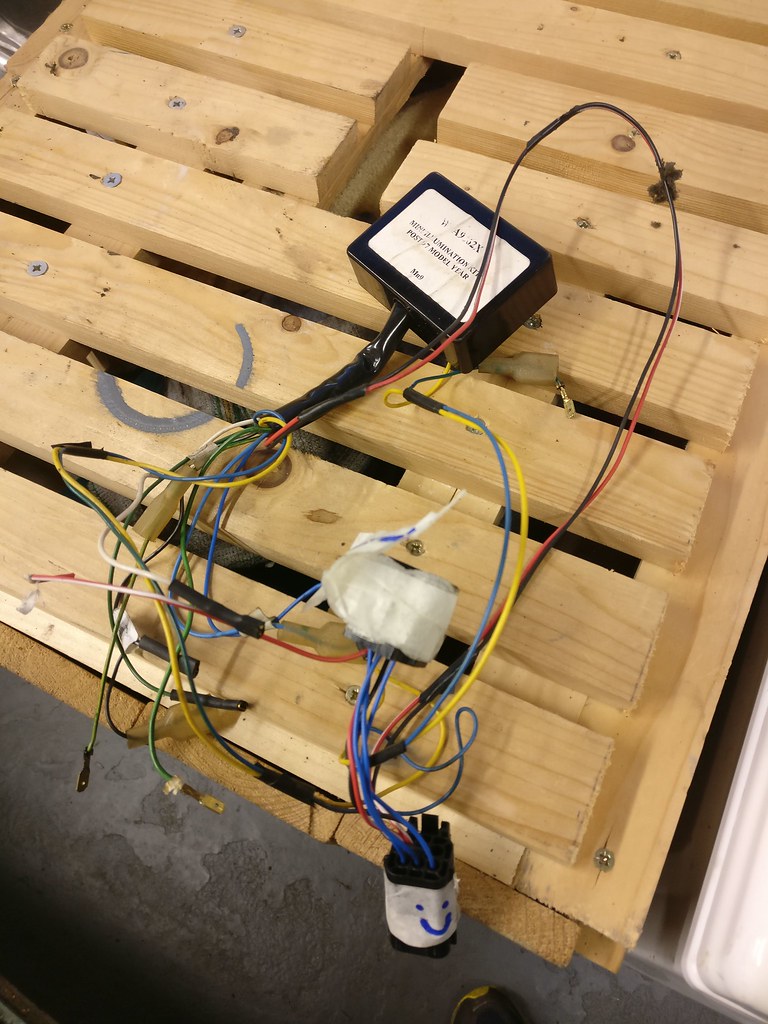
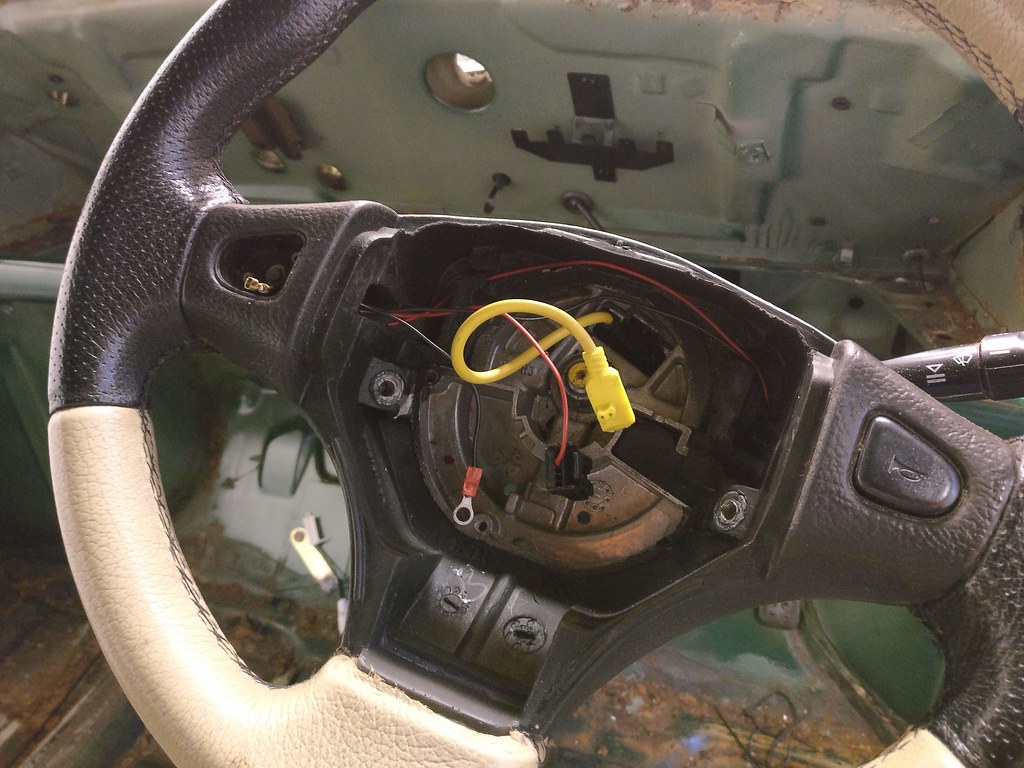
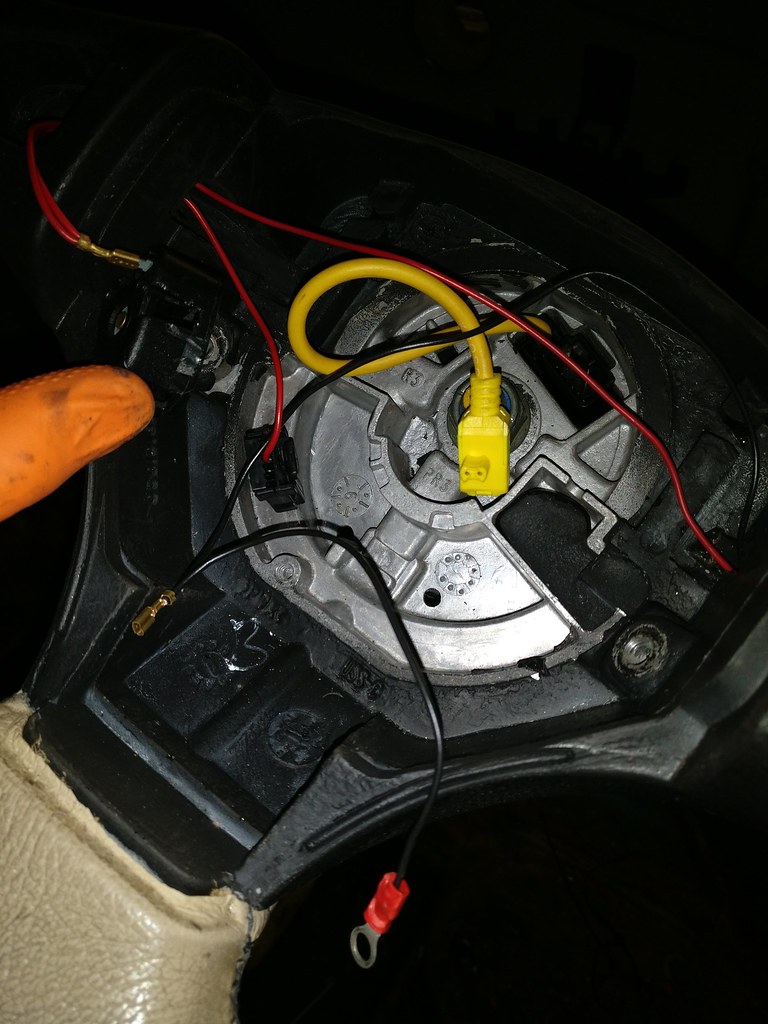
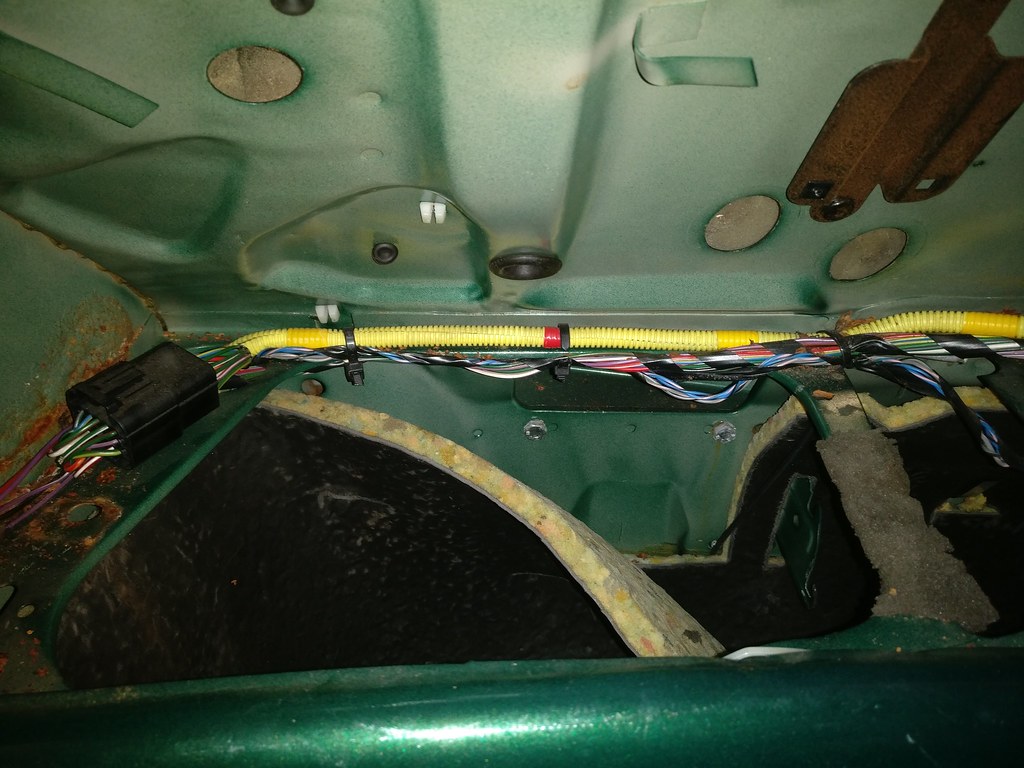
Continued to release the wiring behind the dash...
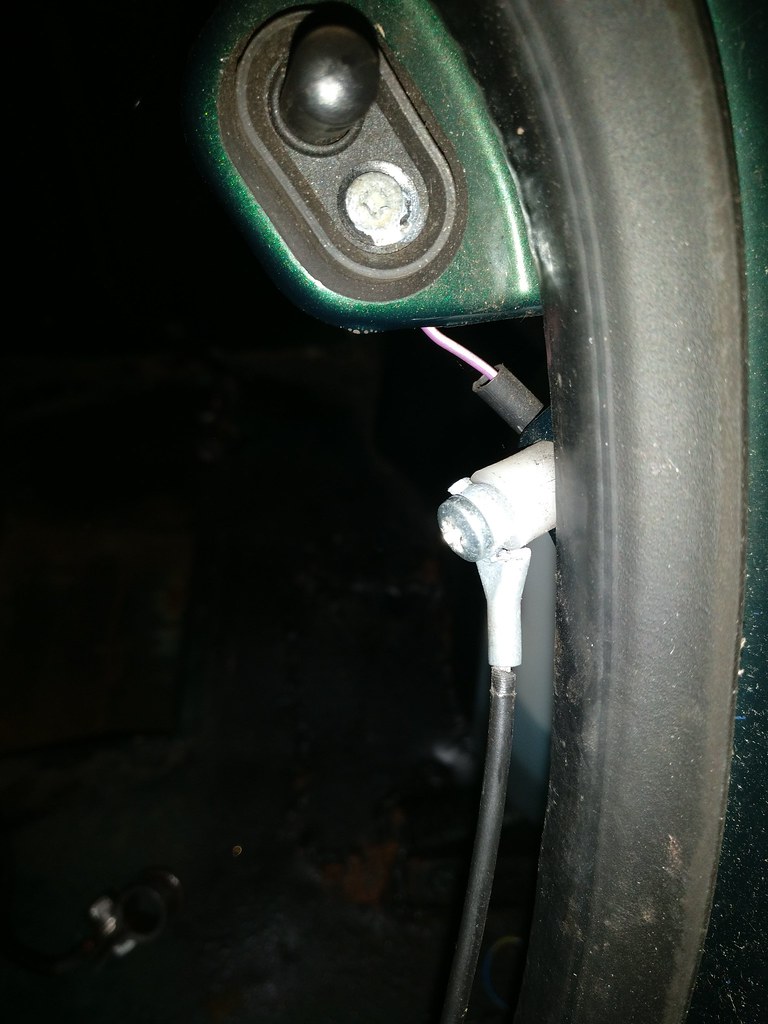
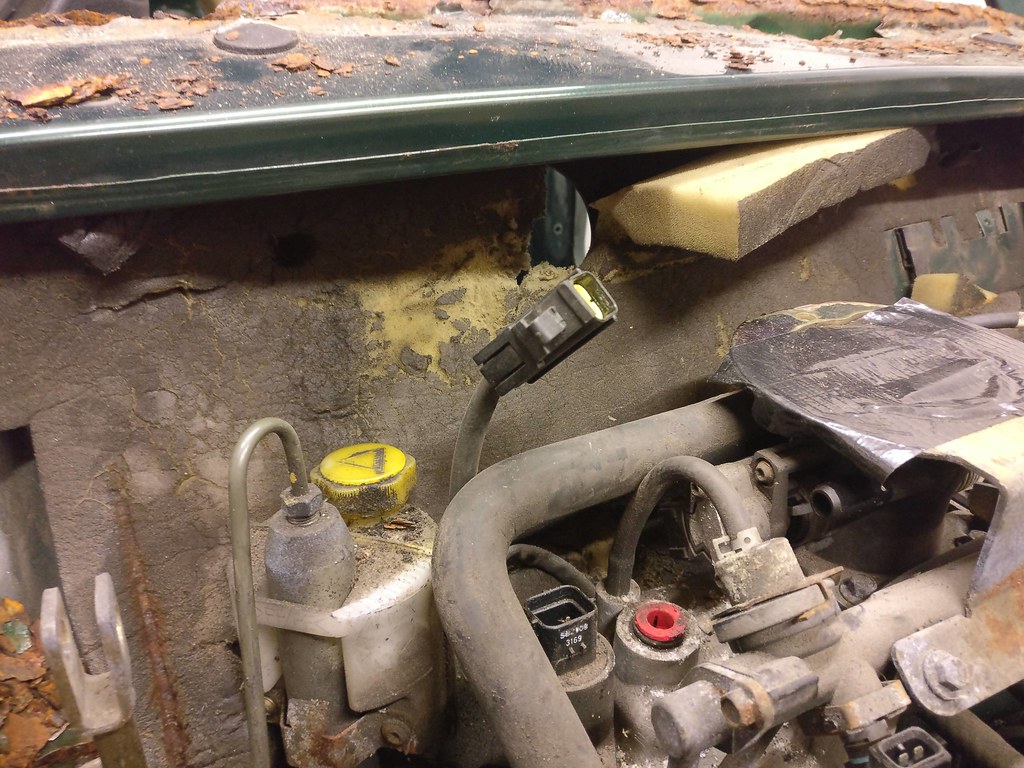
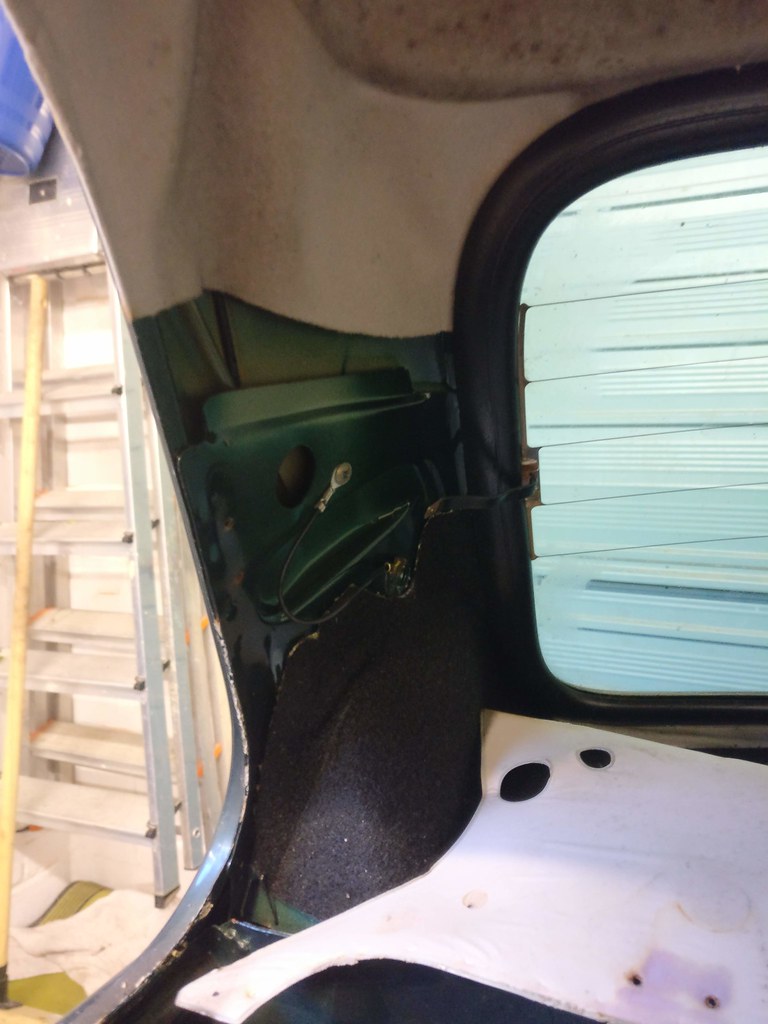
Some more corrosion noted when removing the door shut/open sensors...
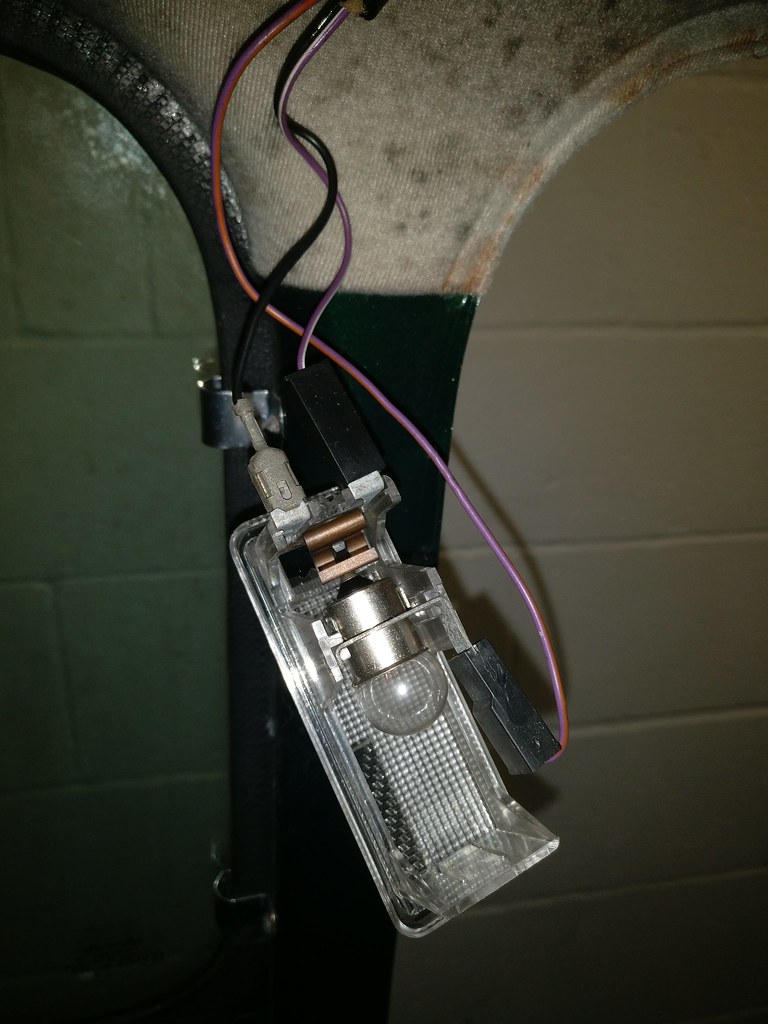
Internal roof light wiring, seems headlining is coming out, it was knackered anyway...
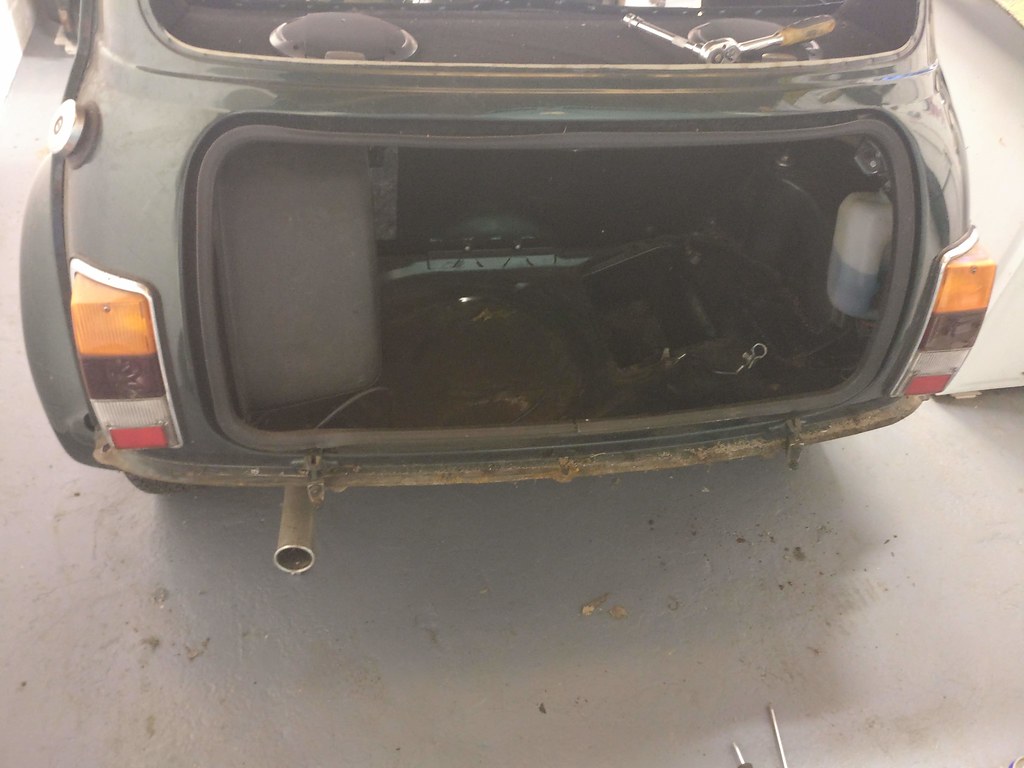
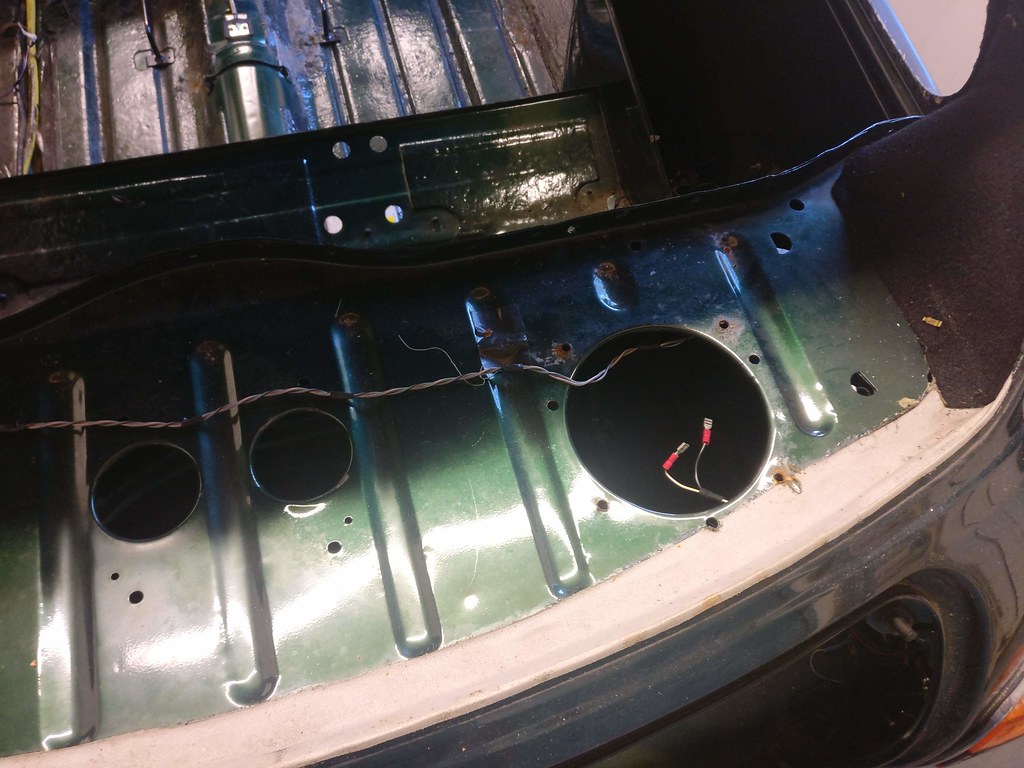
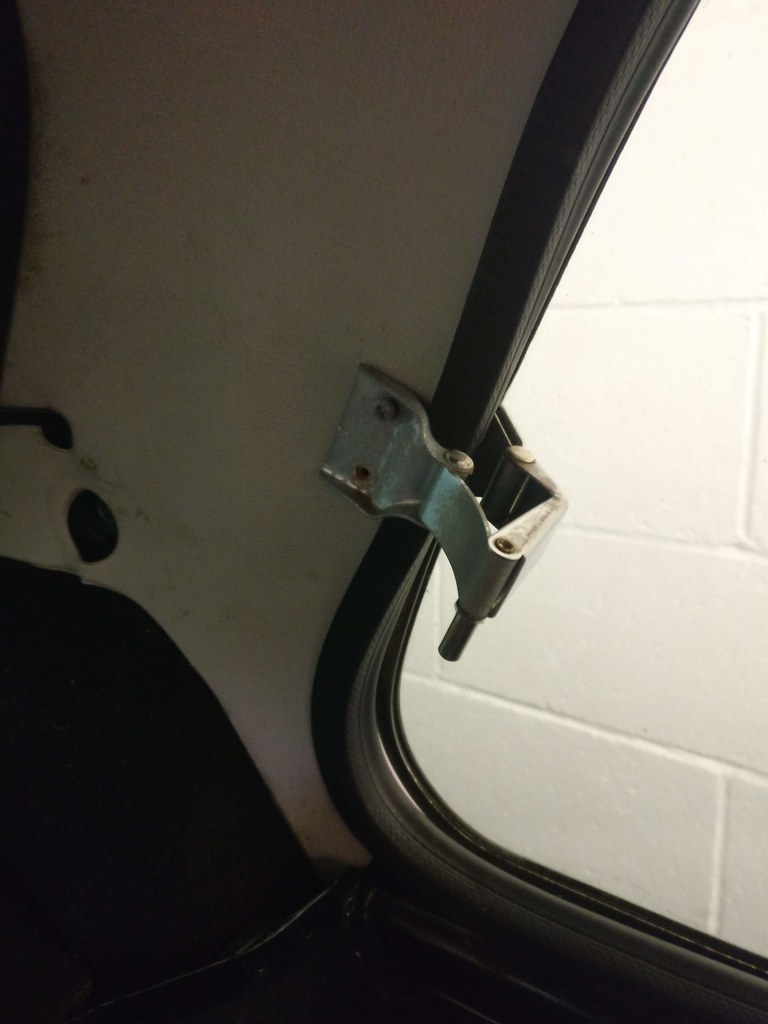
Rear windows hinges and glass out...
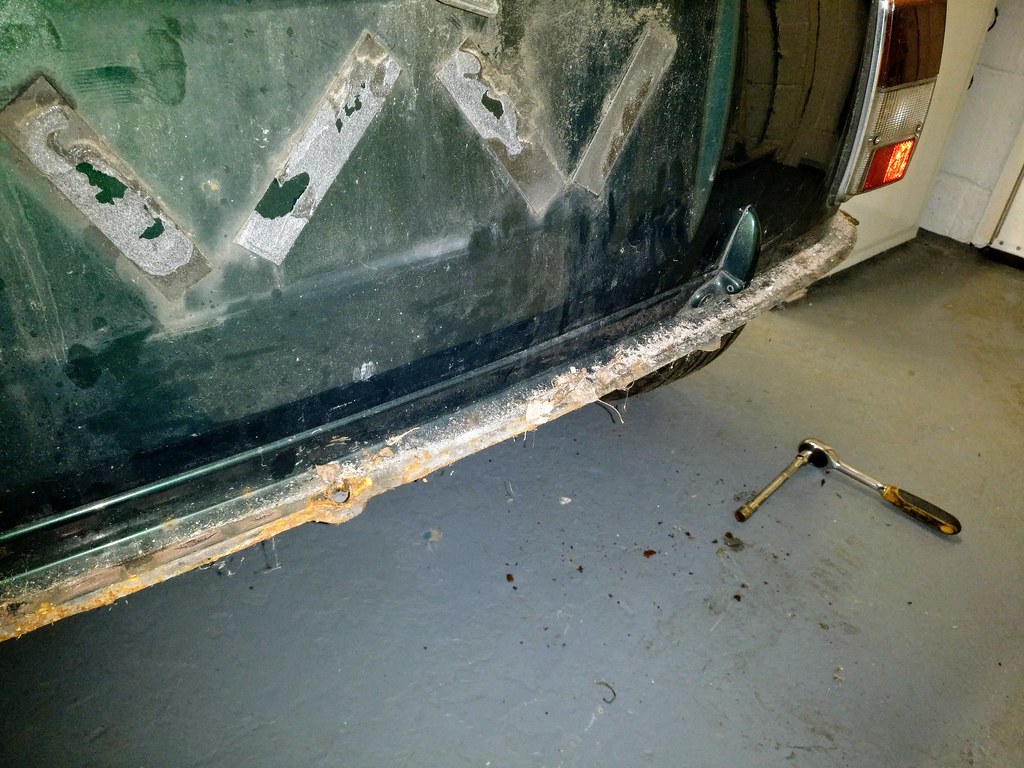
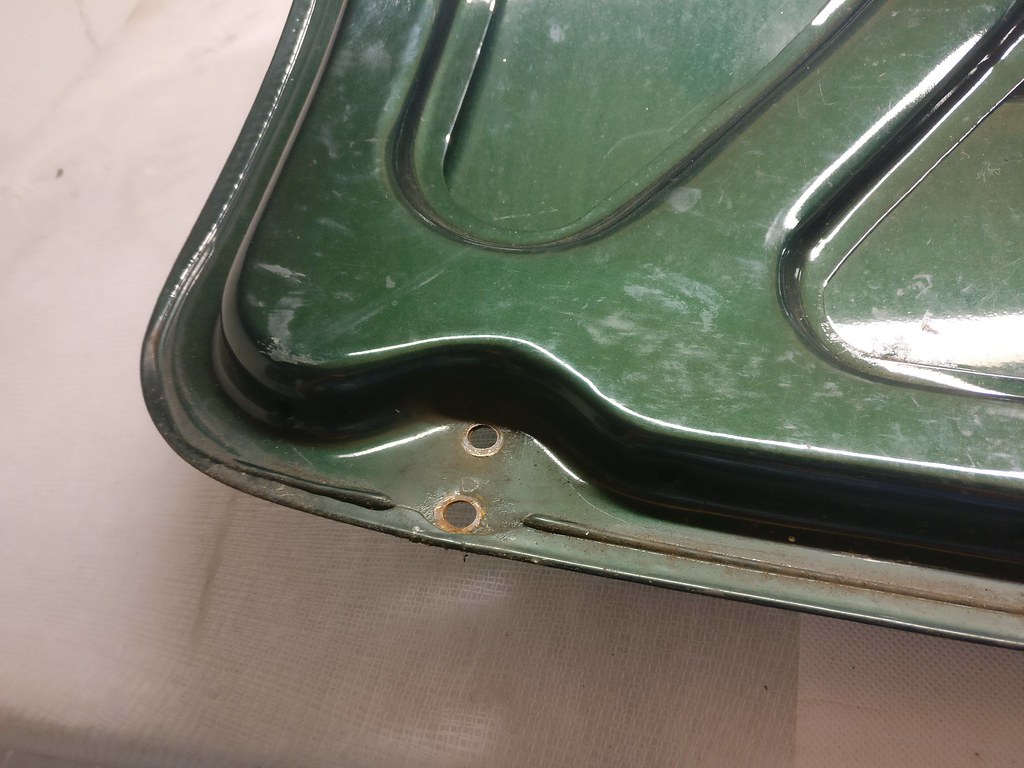
Small amount of corrosion under rear window seals...
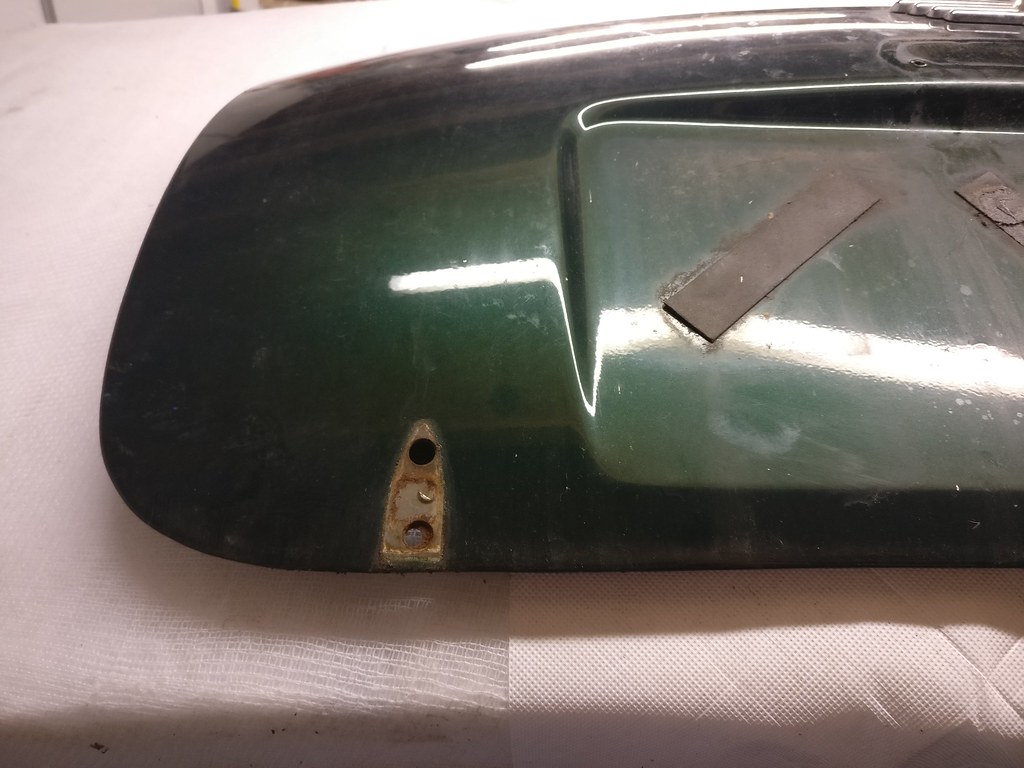
Rear glass locking strip is black not silver! The bit under the locking clip shows the colour change in 19 years...
Headlining removal starts...
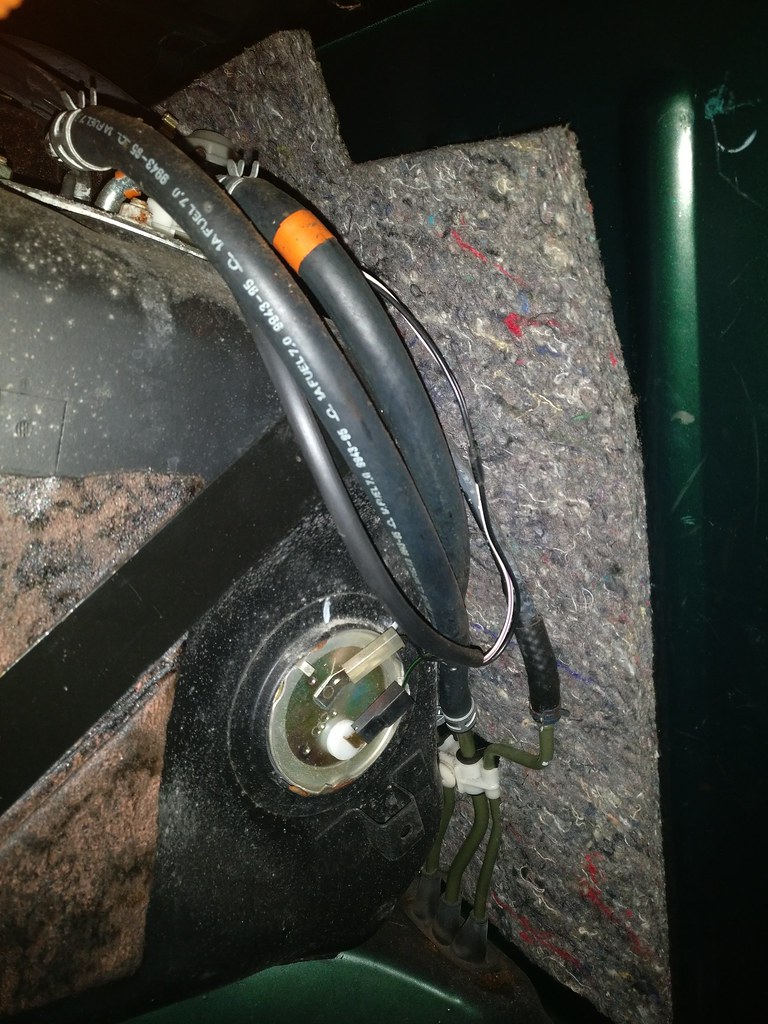
Wiring for rear windscreen de-mist...
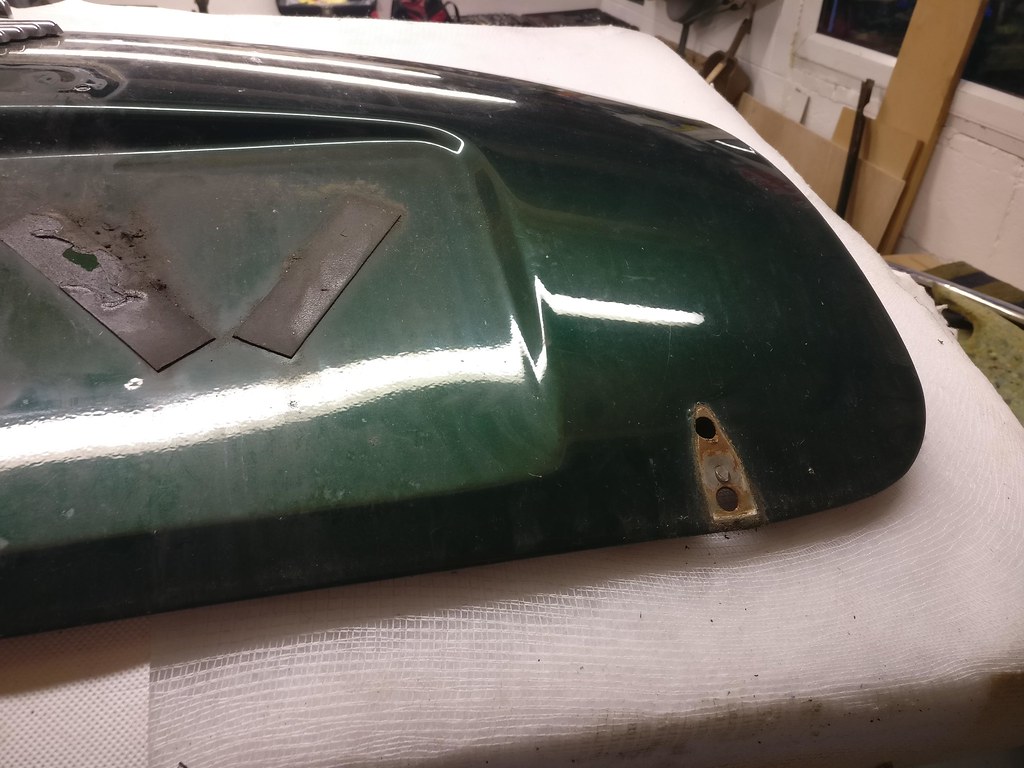
Rear glass seems in really good condition...
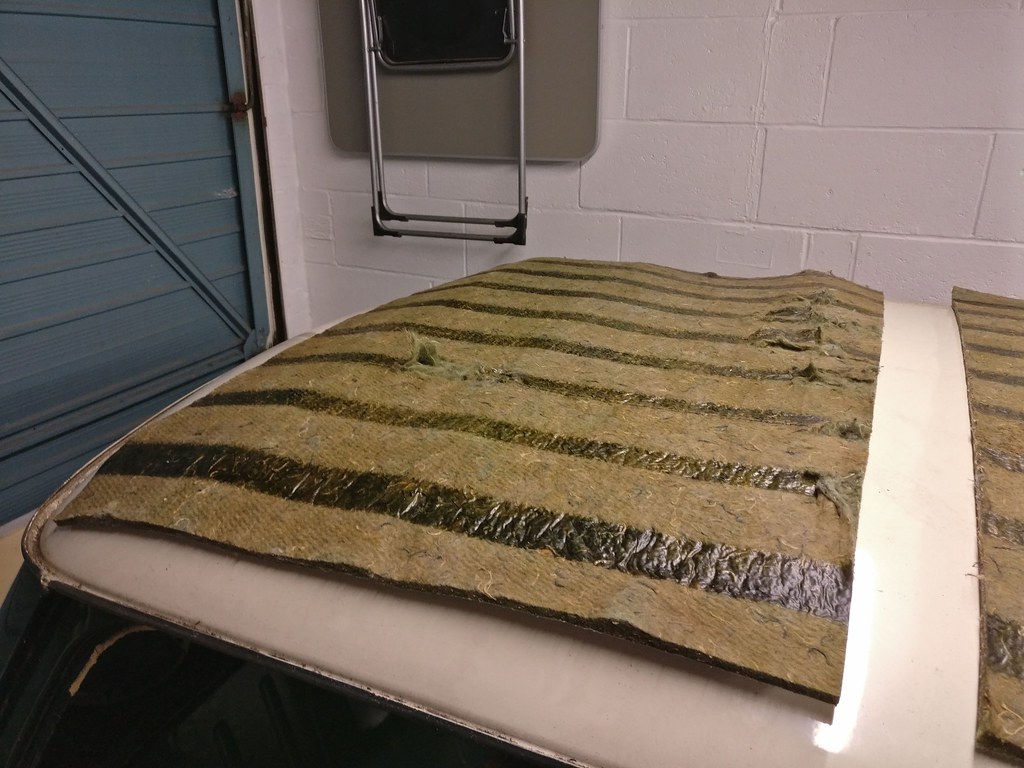
Very glad to get rid of the mouldy headliner...
Coloured coded rods for the order they go in which is good...
Roof insulation was already dropping down when I removed the headliner...
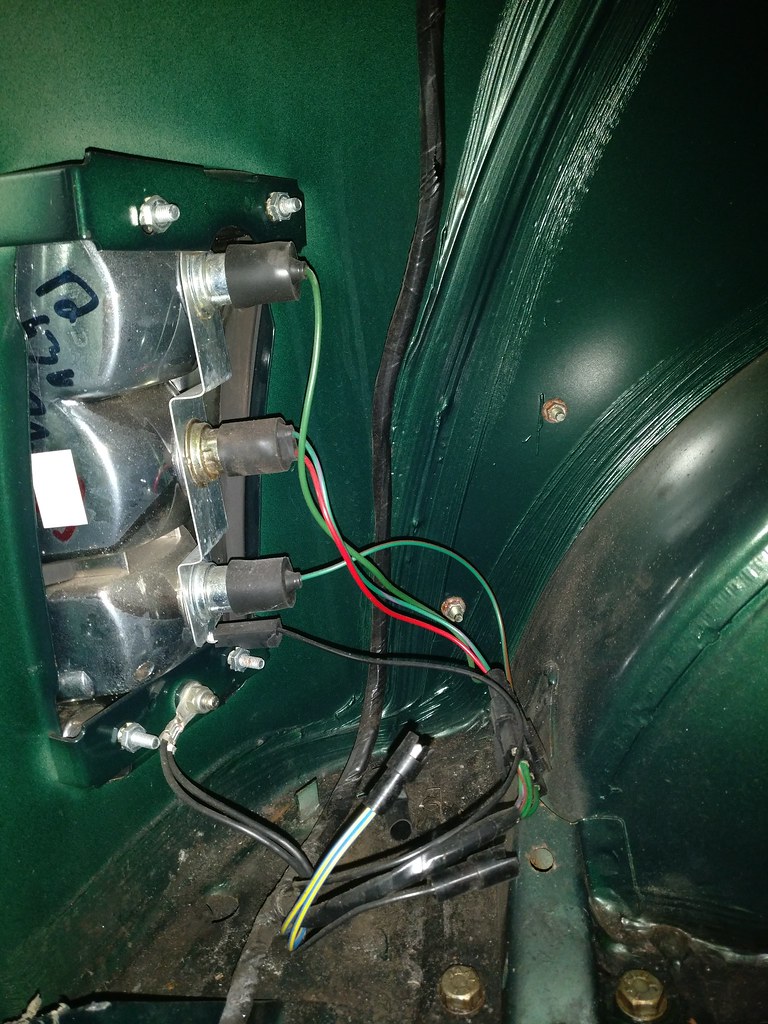
I can get to the wiring for the roof mounted aerial and internal roof light...
Roof looks great!...
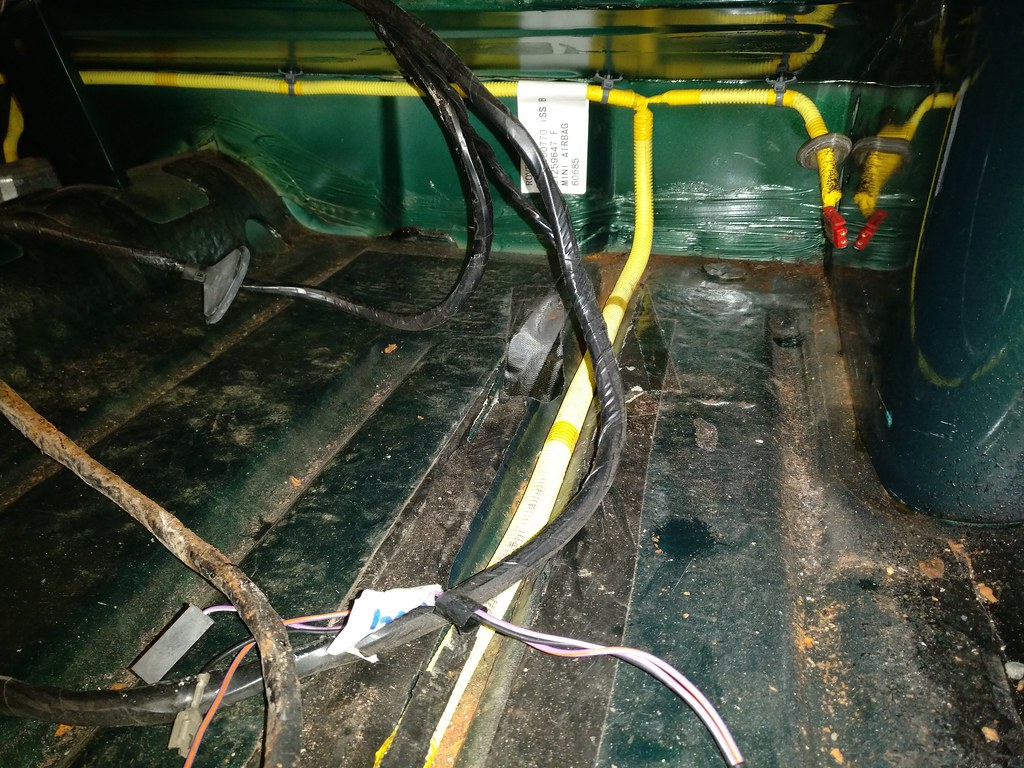
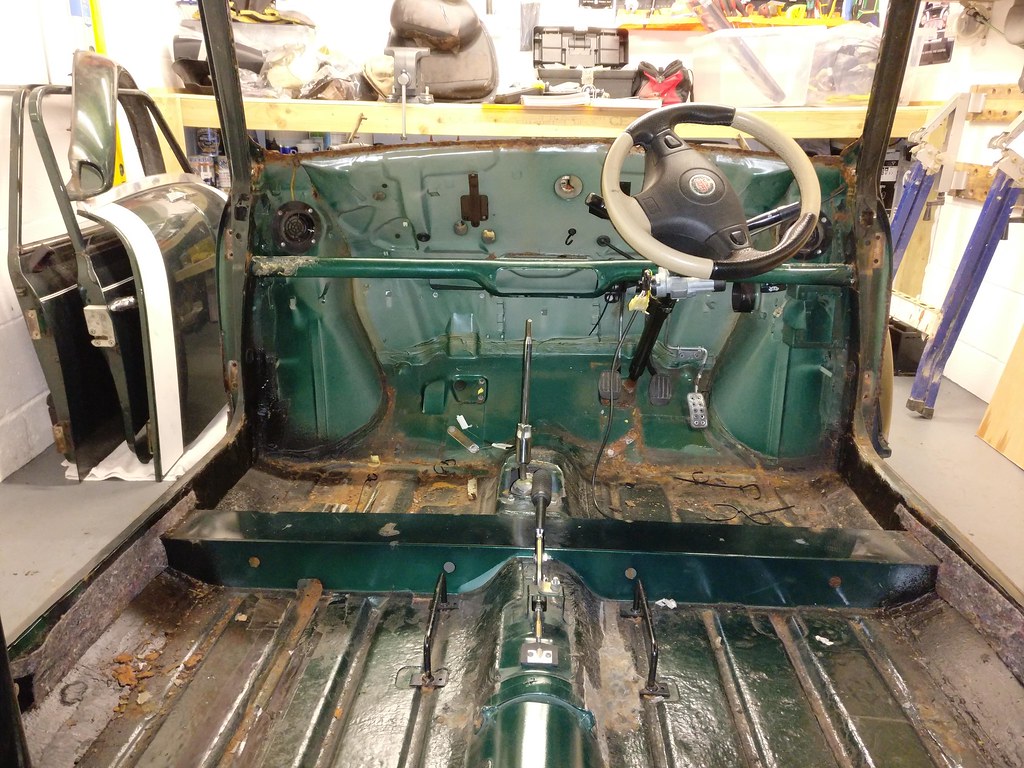
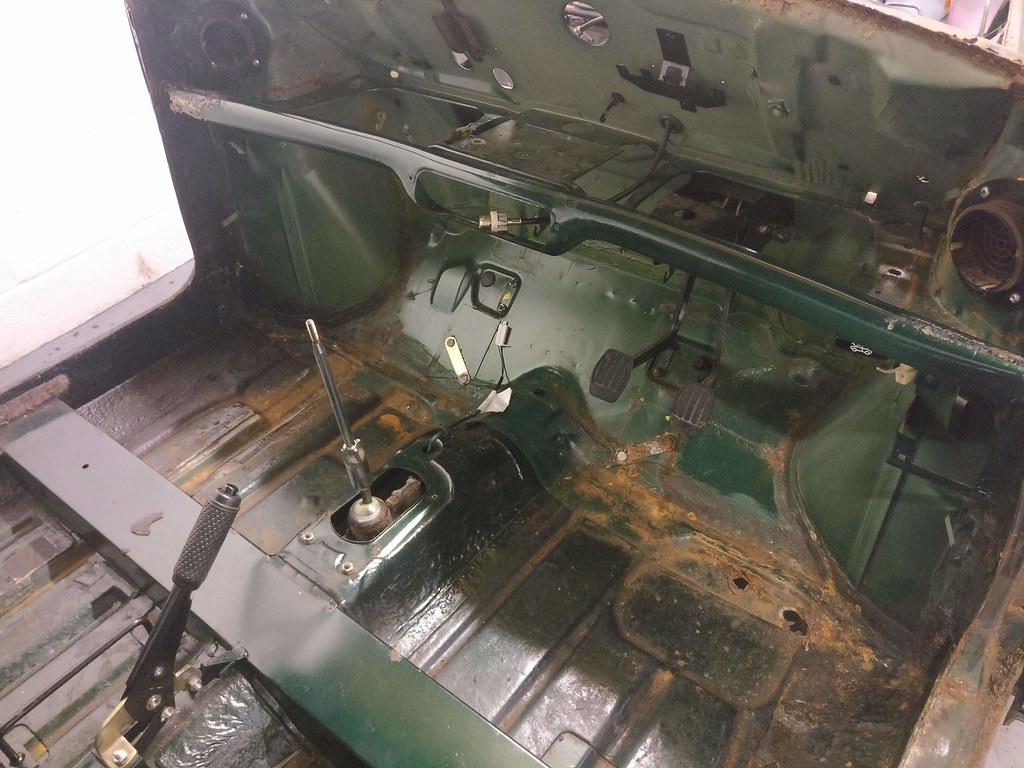
Internal bulkhead insulation removed...
Drivers side floor looks to have a few holes. I'm not sure if I can just patch these?...
Passenger side has surface rust but no holes...
Reference images of the dash...
#107
Posted 01 September 2019 - 08:22 PM
Number plate lights...
Rear bumper has come off really easily with no broken bolts...
Inside of boot where number plate light attaches...
No paint whatsoever underneath the boot hinges!!!!!!!!!!!!!!
Other than that there is no rust at all on the boot lid...
Big pile of parts to be stored away...
Fuel tank removal...
Fog light bracket completely rusted away and the panel will need to be replaced...
Speakers and rear parcel shelf out...
Reference pictures of fuel tank plumbing and wiring...
Washer bottle on the otherside of the boot and the wiring, not removed yet...
Picture of the top of the fuel tank taken through the speaker hole...
And its out!!!
Breather for the fuel tank...
Bolt for fuel tank strap behind rear seat...
Started on removal of rear lighting and fuel tank filler seal....
That's it for now! More to follow this week hopefully.
#108
Posted 06 September 2019 - 08:47 PM
This looks in similar condition to my pink 98 Cooper. The strip down of that was very much like this with lots of rusty fixings and panels coming away by hand due to rust.
Lots to do but it's all pretty much straight forward.
Cheers Ben
#109
Posted 07 September 2019 - 07:52 AM
Good going Ben.
This looks in similar condition to my pink 98 Cooper. The strip down of that was very much like this with lots of rusty fixings and panels coming away by hand due to rust.
Lots to do but it's all pretty much straight forward.
Cheers Ben
Cheers Ben.
Inside pretty much stripped now. Just need to get the pedal box out and I'm all done. Then I'm going to lift the car up again to remove rear sub frame, suspension etc. Then I'm going to remove the engine and front sub frame. Should have just a shell which I'm hoping will make body work easier. I've never done any body work before so I'm a bit hesitant but I figure if I go slow I should be ok. Looking forward to this next stage though.
#110
Posted 07 September 2019 - 09:31 AM
Good luck with this one Ben. I'd never done any bodywork before my project either.
#111
Posted 07 September 2019 - 12:56 PM
#112
Posted 07 September 2019 - 04:12 PM
Plenty of help available here ☺
Nice one Ben! Appreciate it. I'll definitely need it.
#113
Posted 07 September 2019 - 06:49 PM
Progress this week... I've taken over 100 pictures this week and I'm not putting them all on here so if you are interested they are all in my Flickr Album here: https://www.flickr.c...57709068151617/
Wiring pulled back from the boot...
Rear part of the loom out!
Fog Light wiring...
#114
Posted 07 September 2019 - 07:17 PM
SRS Wiring loom out...
Rest of the wiring loom coming out...
Its out!!
Getting there...
Wiring loom boxed up. I am storing EVERYTHING I have taken off the car. Once the shell is sorted I'll hopefully work backwards restoring what I can and replacing where necessary.
Negative battery cable in boot removed...
Roof mounted aerial being removed...
Surprisingly not too much rust...
Pedal box, accelerator pedal, steering column etc being removed...
Steering column did not want to be removed from the rack, took some persuading.
Scared the crap out of me removing the air bag. Stored safely in my garage.
Steering wheel removed. Images of horn wiring in my Flickr Album. Seems like some kind of bodge as one of the negative wires seems to have come off the connector and is now attached to the sterring wheel.
Mini's lost its go pedal...
Going to start removing what I can from the engine bay so I can get the engine out...
Clutch Slave cylinder..
Fuel Rail...
Inlet manifold to come off now...
Ran out of time, more next week now. Just glad to have all the wiring loom out and the boot / interior nearly completely bear. Wheels, brakes, suspension and subframes to come off next week hopefully. Then engine and gearbox which feels very scary.
Covered the gearbox breather (as suggested by Steve220).
Feel like I am getting closer to bodywork!
#115
Posted 07 September 2019 - 08:32 PM
#116
Posted 07 September 2019 - 08:35 PM
Looks like you're not far off of the bear shell now Ben. Good work!
Cheers mate. Appreciate the support.
#117
Posted 08 September 2019 - 06:49 AM
If you are replacing the front panels, remember to keep the body number form the slam panel, and the VIN from inside the gutter on the scuttle...
Q
#118
Posted 08 September 2019 - 07:43 AM
If you are replacing the front panels, remember to keep the body number form the slam panel, and the VIN from inside the gutter on the scuttle...
Q
Cheers Q. I'll make sure I cut them off. Earlier in my thread I've identified where these are on my car. 3 in total.
#119
Posted 10 September 2019 - 11:30 AM
Inlet manifold off. I've left it mainly intact as it is in need of a clean etc at a later date.
Exhaust Heat Shield Removed.
Horrible old sound proofing off the firewall. Did I hear someone say this had asbestos in?
I'll be keeping it to make a template for the new one I will make.
In needs of a vacuum me thinks! Cant take the amount of rust in the engine bay.
Practically restored!!
Whilst at the housekeeping I have vacuumed out the inside too.
Can anyone tell me what this rubber bit should have been for?
Clutch master cylinder coming off now...
I couldn't get to the rear nut easily so slackened off the hex screws and spun it round. Not sure if I should have done this but it worked. Brake fluid went everywhere though.
Gone...
Earthing strap removed...
Upper engine steady coming off...
Brake pipes removed...
Brake limiter valve thingy removed...
That's it for tonight, few more bits removed at least.
#120
Posted 10 September 2019 - 01:23 PM
Nearly there.
The rubber block sits between the wiper motor and the bulkhead I think
Also tagged with one or more of these keywords: roundnose
Projects →
Mini Saloons →
1965 Austin Mini Restoration - Canadian Mk1Started by DoubleEh , 14 Nov 2022 roundnose |
|
|
||
Projects →
Mini Saloons →
Project Joe - 1991 Mini Mayfair 998Started by Eggers , 02 Jun 2022 roundnose |
|
|
||
Projects →
Mini Saloons →
Mpi Dashboad ProblemStarted by mikeprez , 22 Dec 2021 roundnose |
|
|
||
Projects →
Mini Saloons →
1978 Oew - Willy The MiniStarted by smalltreegrower , 11 Nov 2021 roundnose |
|
|
||
Projects →
Mini Saloons →
1968 Mk2 Cooper BuildStarted by Minime998 , 15 Sep 2021 roundnose |
|
|
0 user(s) are reading this topic
0 members, 0 guests, 0 anonymous users