 is all i can say
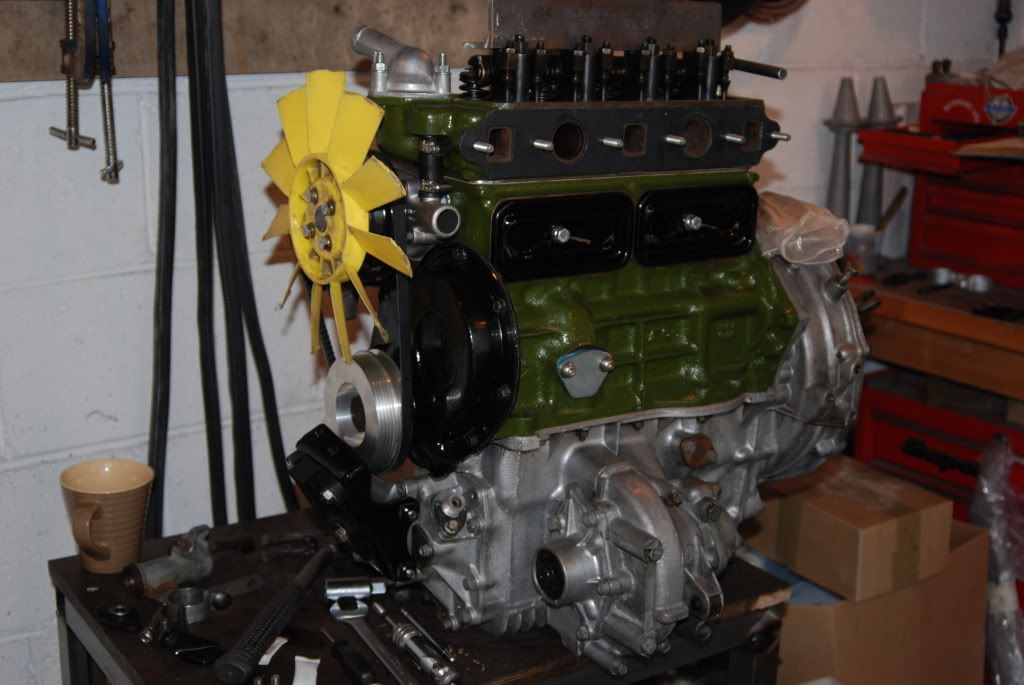
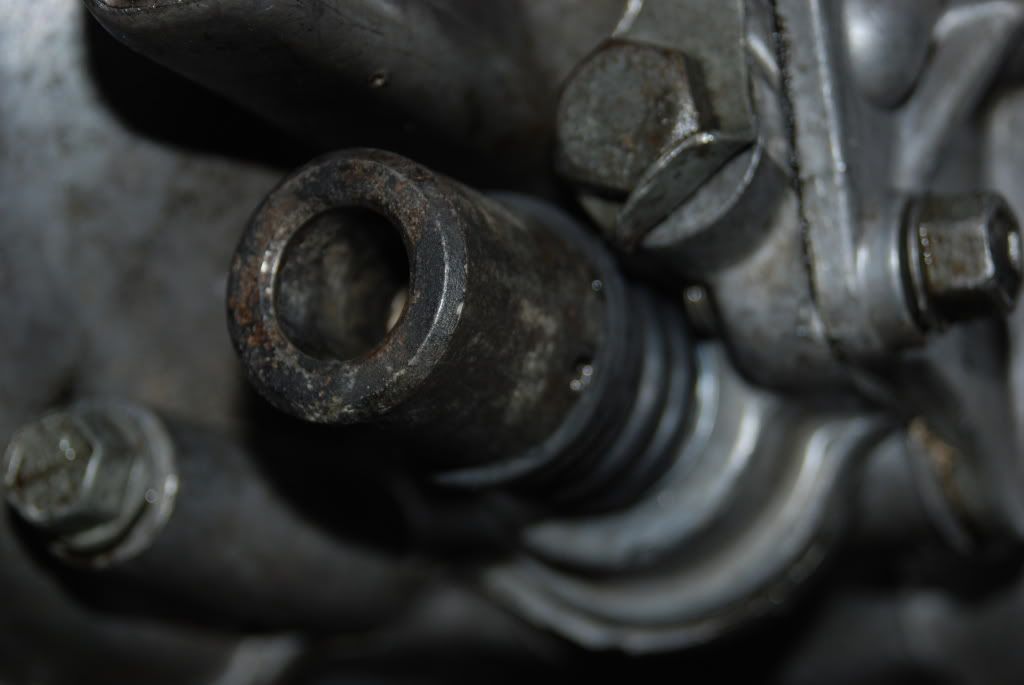
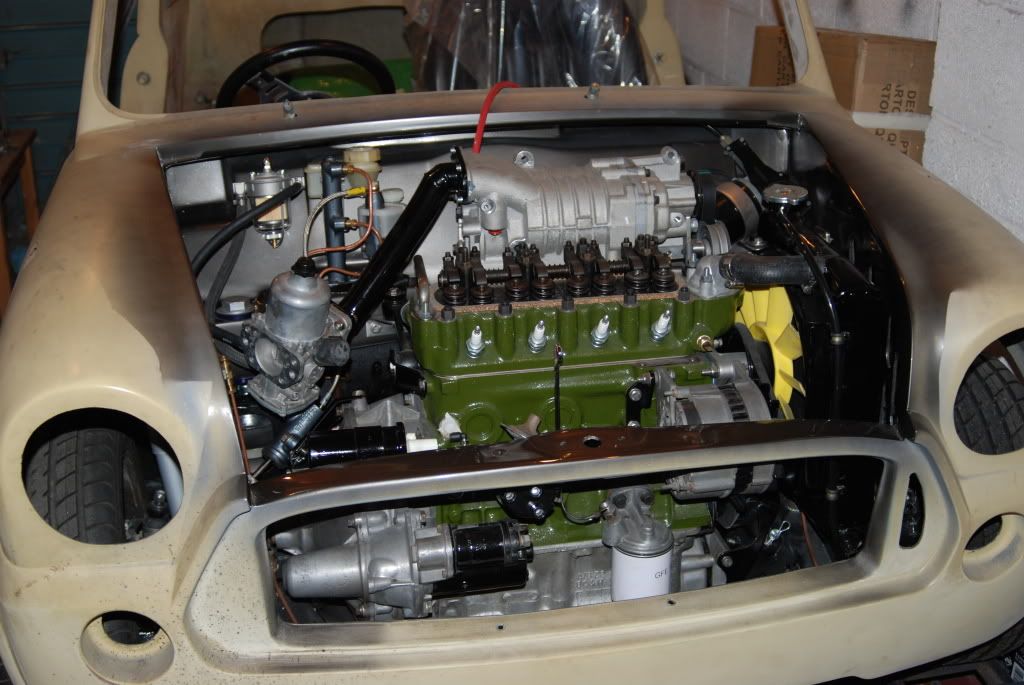
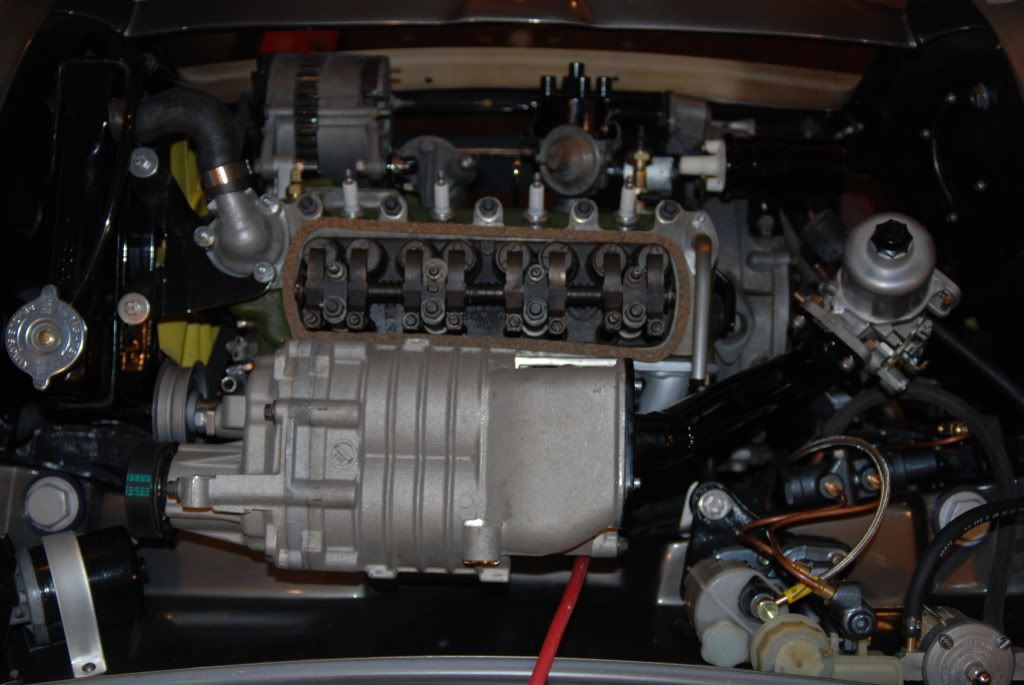
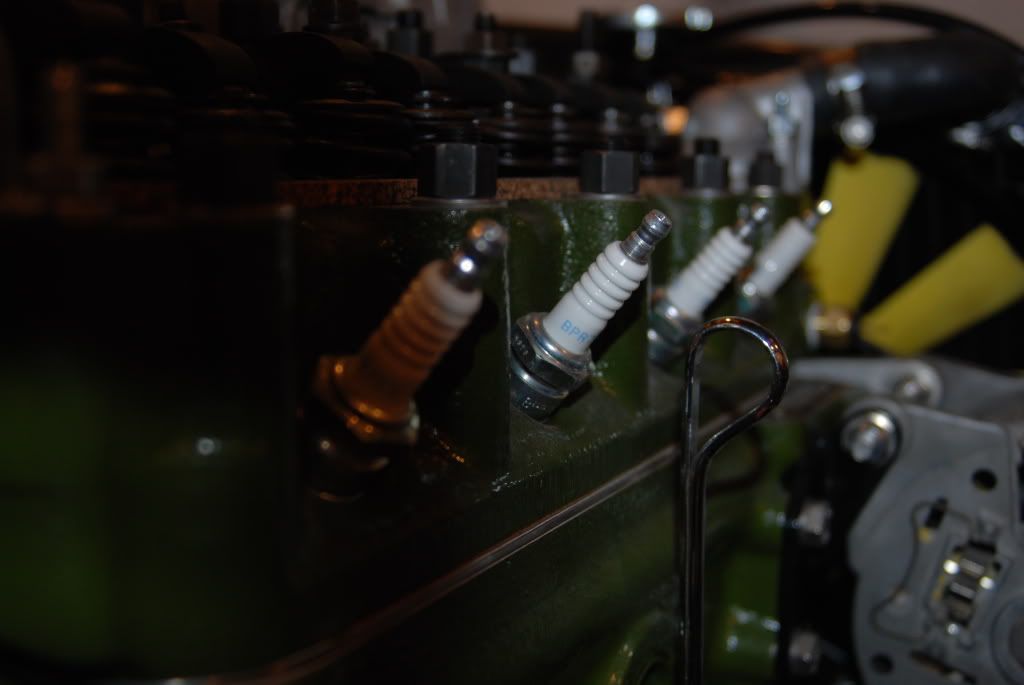
55 quid to have that superb piece of metal to be made.... damn it, well i will be giving you a call if i ever got super charged!....


Speeding Along Now


Posted 14 November 2008 - 12:36 AM
is all i can say On The Road
Posted 16 November 2008 - 10:00 PM

Mini Mad

Posted 16 November 2008 - 10:59 PM
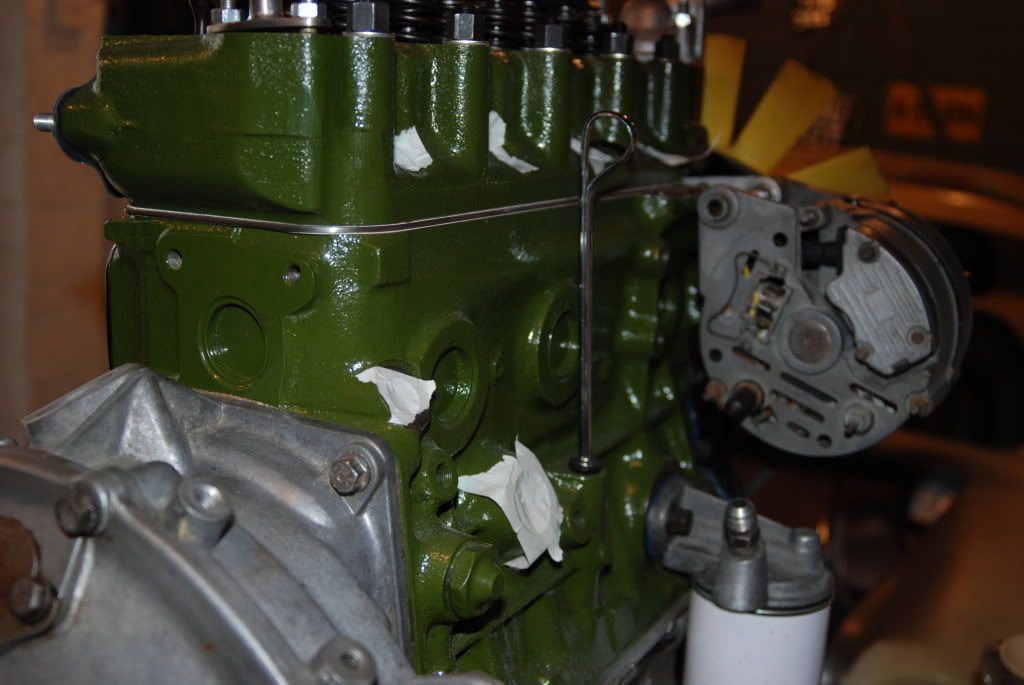
 . Anyhow looking great, good luck with the rest can't wait to see it now!
Baby Tom

Posted 16 November 2008 - 11:07 PM


On The Road
Posted 17 November 2008 - 12:42 PM
Baby Tom
Posted 17 November 2008 - 01:17 PM
On The Road
Posted 29 November 2008 - 07:32 PM

Speeding Along Now
Posted 29 November 2008 - 07:41 PM
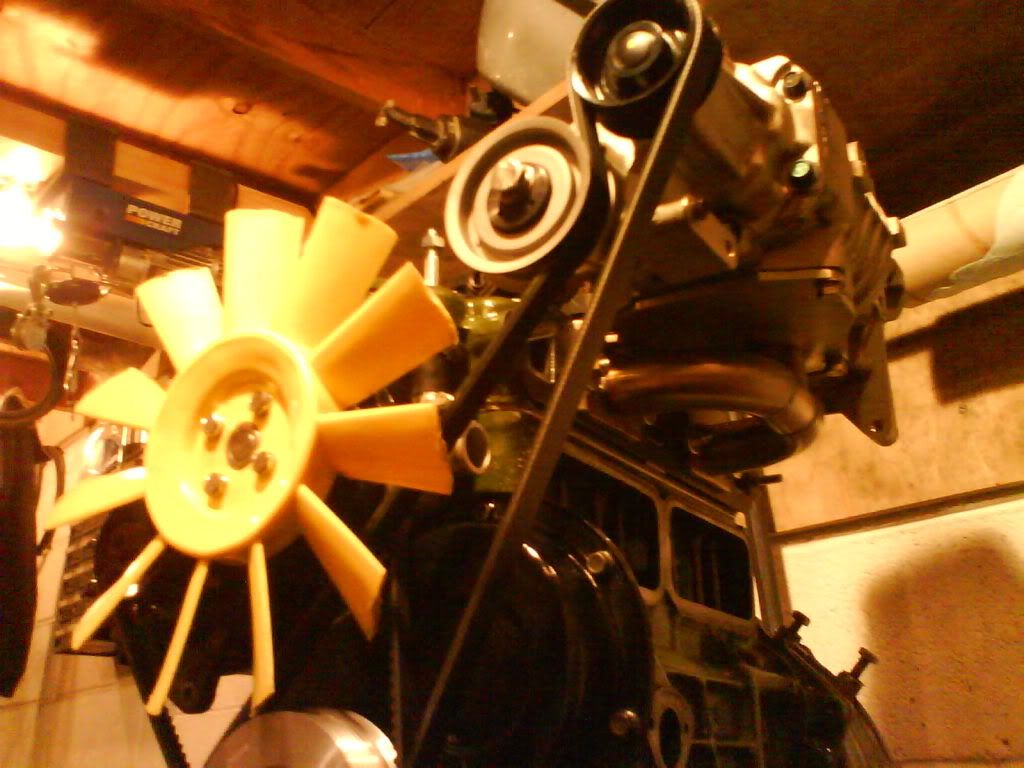
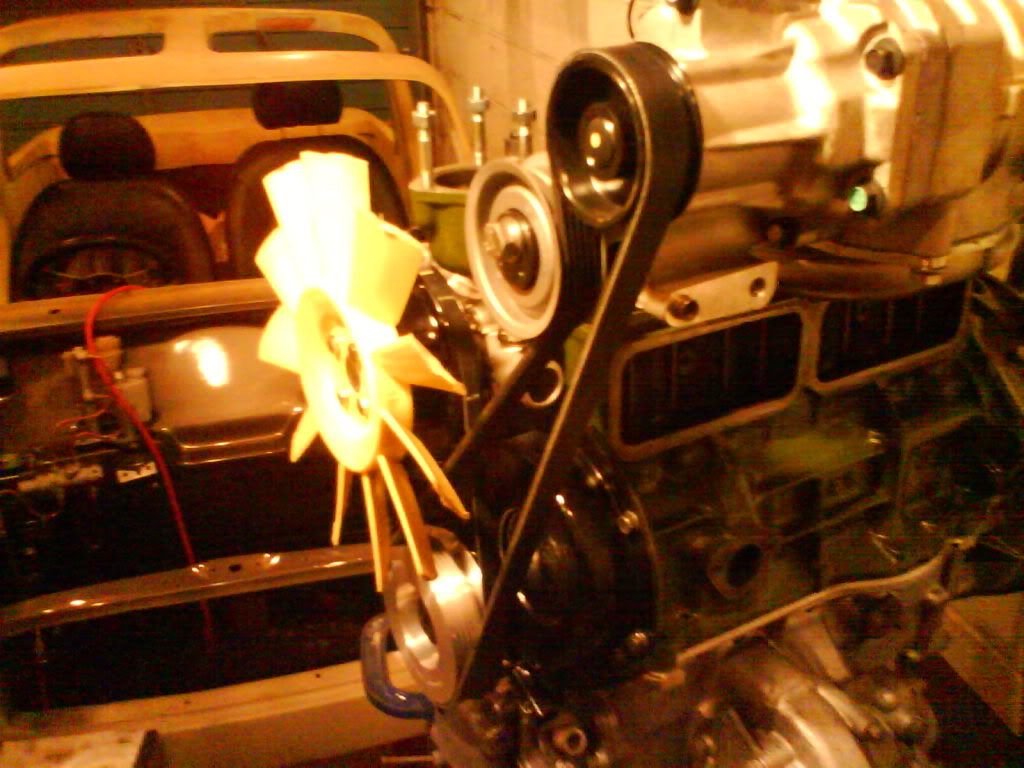
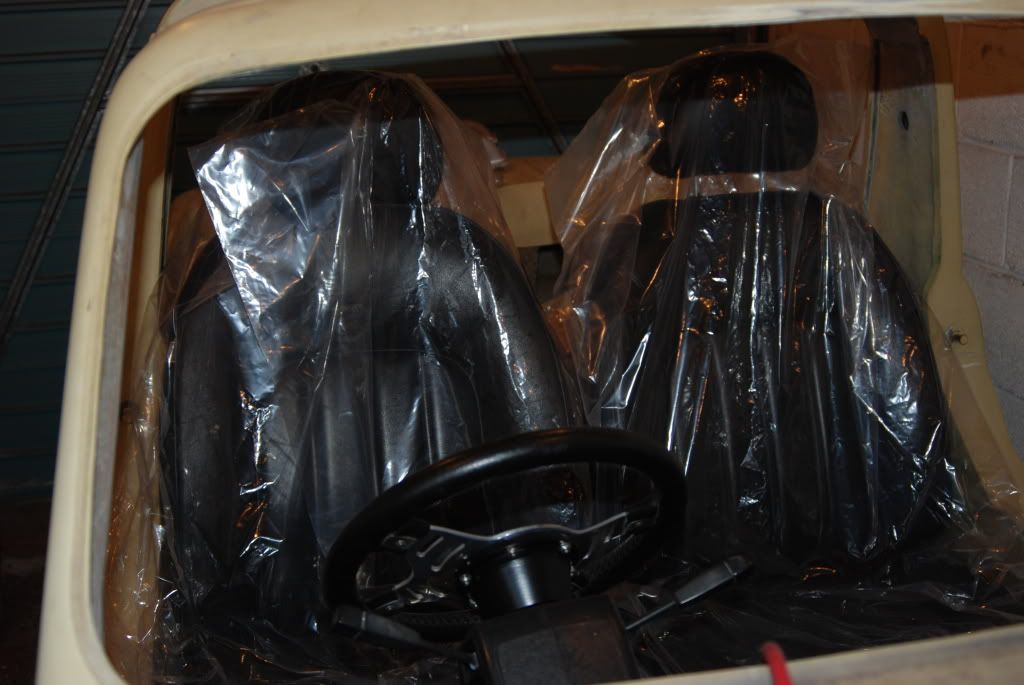
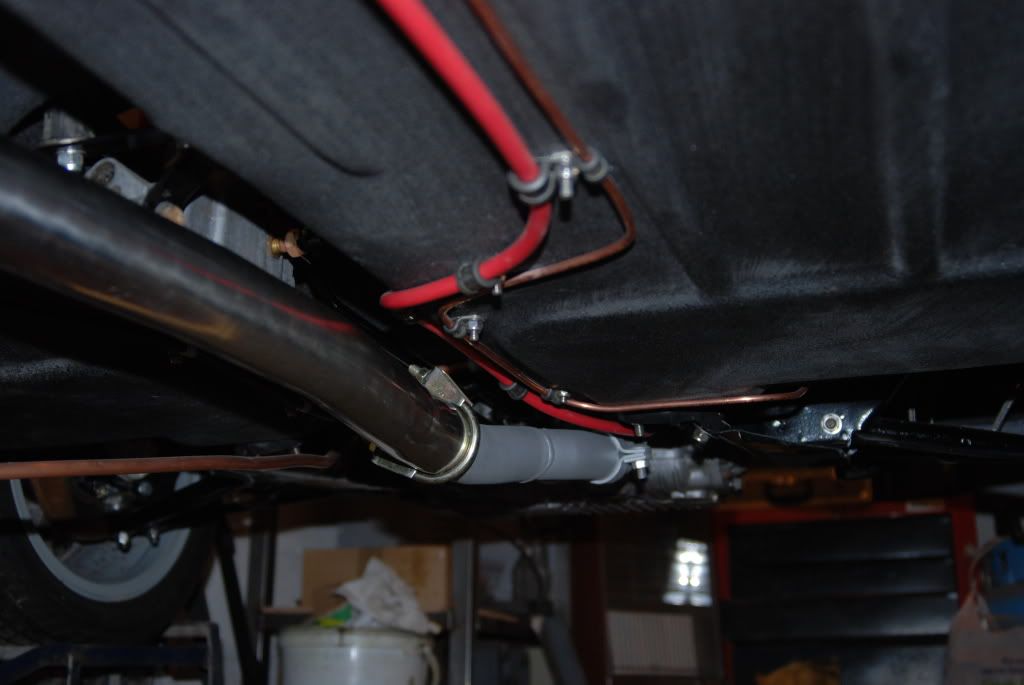
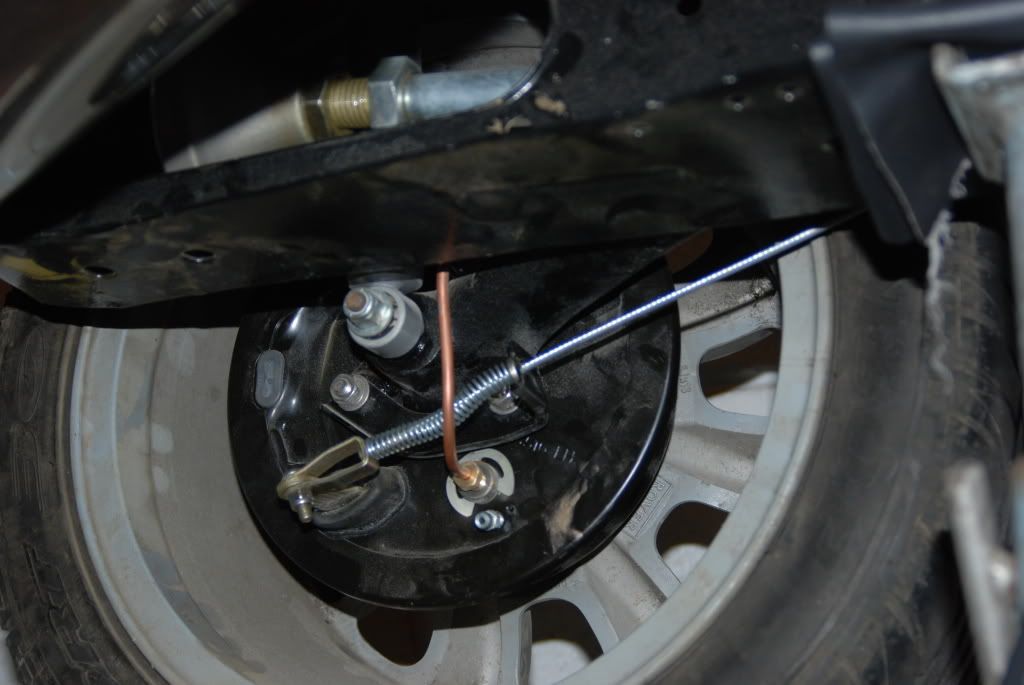
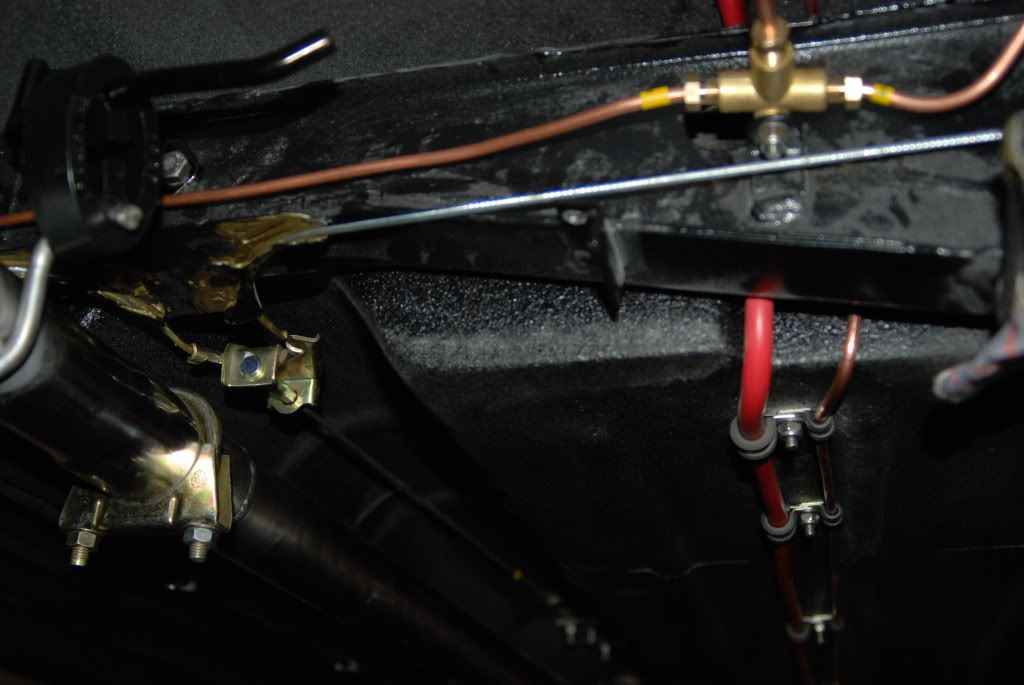
 Need I say more?
On The Road
Posted 21 December 2008 - 09:14 PM

Baby Tom
Posted 21 December 2008 - 09:22 PM
On The Road
Posted 21 December 2008 - 09:26 PM
As always looking exelent.
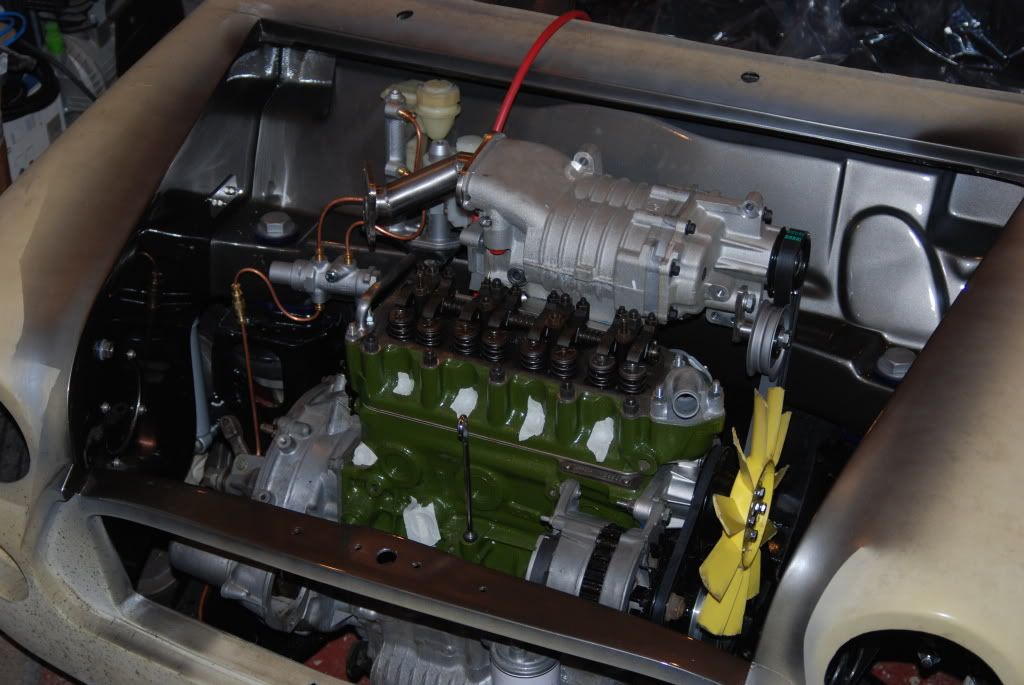
What did you do with the shorter charger to carb pipe? as it looked really good to me, why did you change the design?
If you still have the other one would you concider selling it?
Baby Tom
Posted 21 December 2008 - 09:34 PM
On The Road
Posted 21 December 2008 - 09:39 PM
Did you make the new one by modifying the shorter one or did you make another one from scratch, would you be interested in selling the shorter one?
I thoughts you might been in that sort of trade as you have alot of nice little custom bits in the project
One Carb Or Two?

Posted 21 December 2008 - 09:55 PM
On The Road
Posted 21 December 2008 - 10:02 PM
very nice project, whens it going for paint?
also what indicators are you using?


0 members, 1 guests, 0 anonymous users


