

Has quite a productive day yesterday. A friend from uni came down for the day (Rich), so i made the most of the extra pair of hands and cut the front off the mini! Whilst i had already made the decision to do this, there was still a thought of "what have i done" after i made the first cut and one of the wings was just flapping about!
We started off by removing everything front the wings and front panels. Things like, headlights, indicators, and all the wiring. Once this had been done i decided that the best tool for me to use for a neat cut would be the Nibbler on the Drill. I flattened out the wheel arch lip and started to make the cut. This was surprisingly easy until i got to the windscreen. Basically i couldn't get the right angle to cut, as the drill was quite bit and bumped into the windscreen. After a bit of jiggling though i managed to get the first wing off!

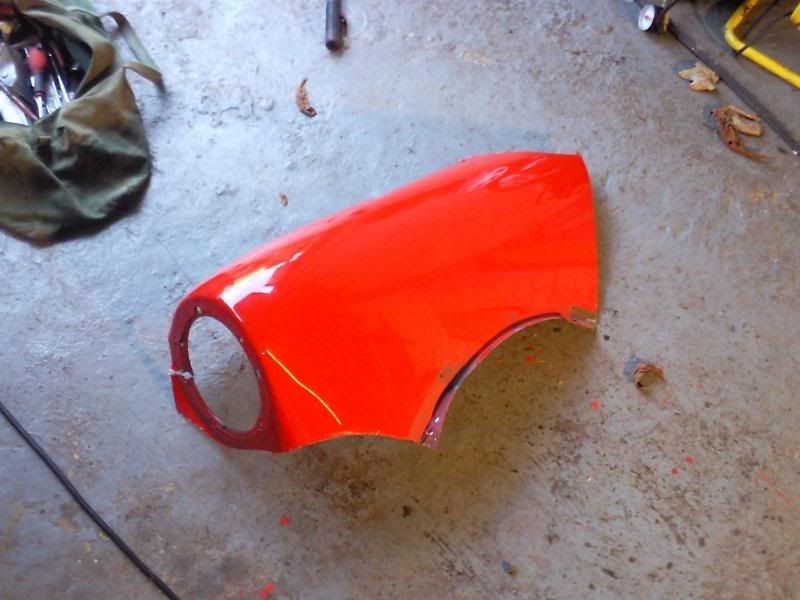
This First Cut
The Wing
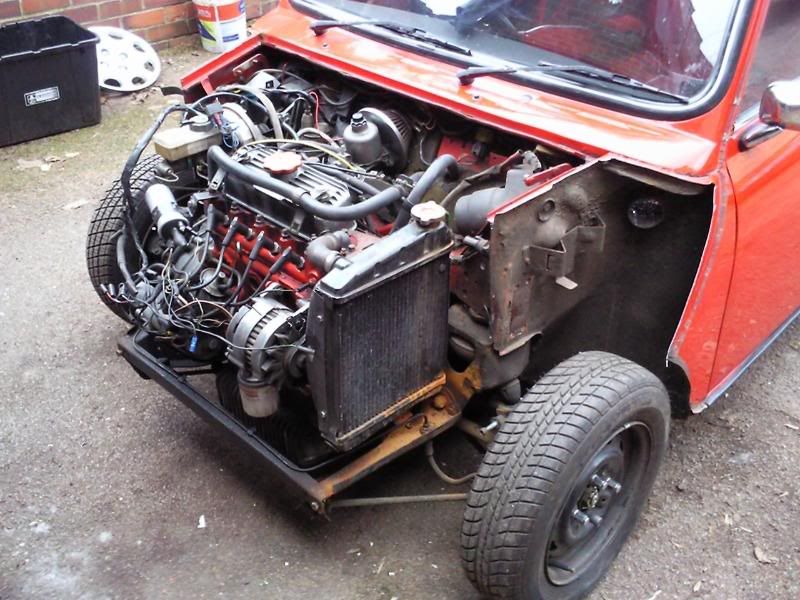
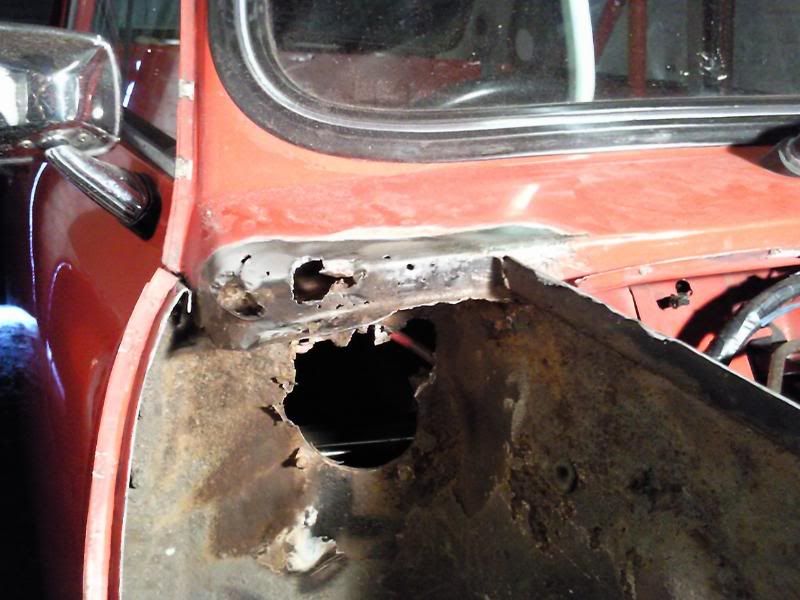
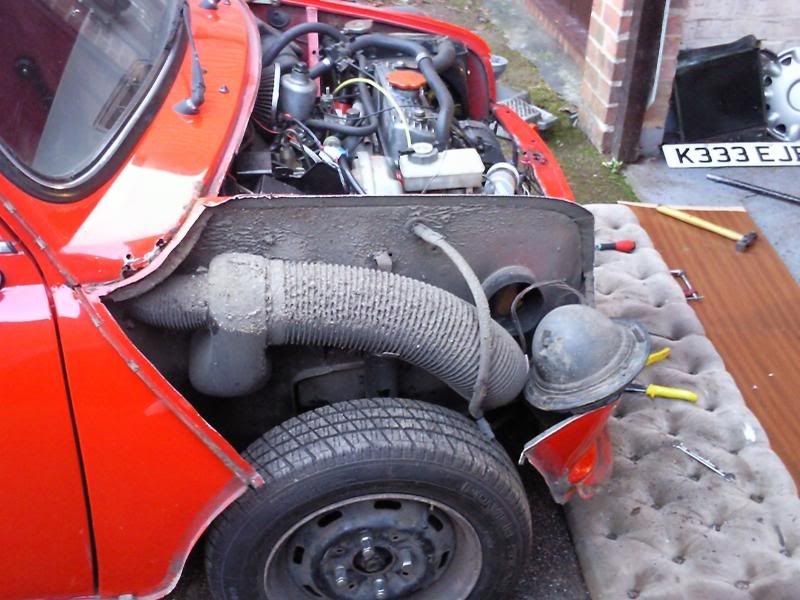
Where the wing was!

I let Rich have a go on the other wing and he reluctently tock me up on this offer. He said how he didn't want to mess up my car! Whilst it was nice that he didn't wan to ruin it, i did have to point out that i'd just cut a whole panel off so there wasn't really much he could do to make it worse! Anyway the other wing came off with very little fuss either.
Both Wings

Right Wing off
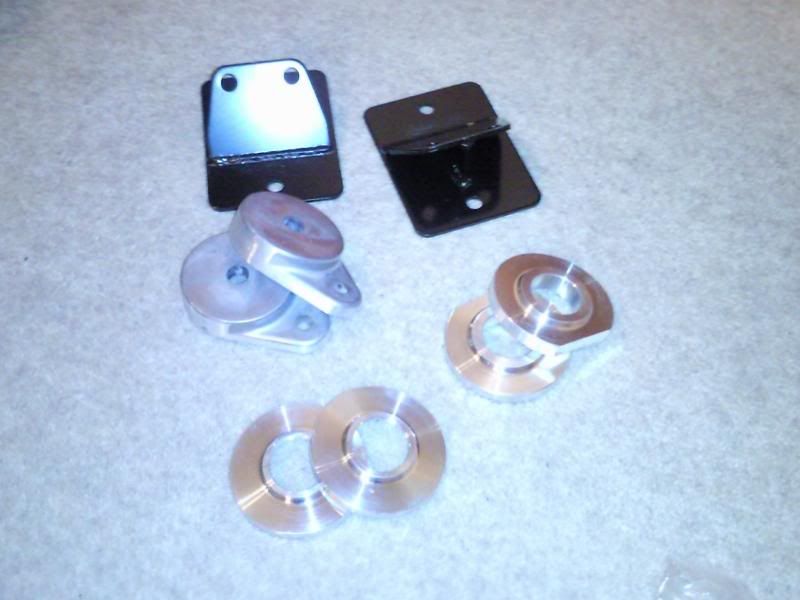
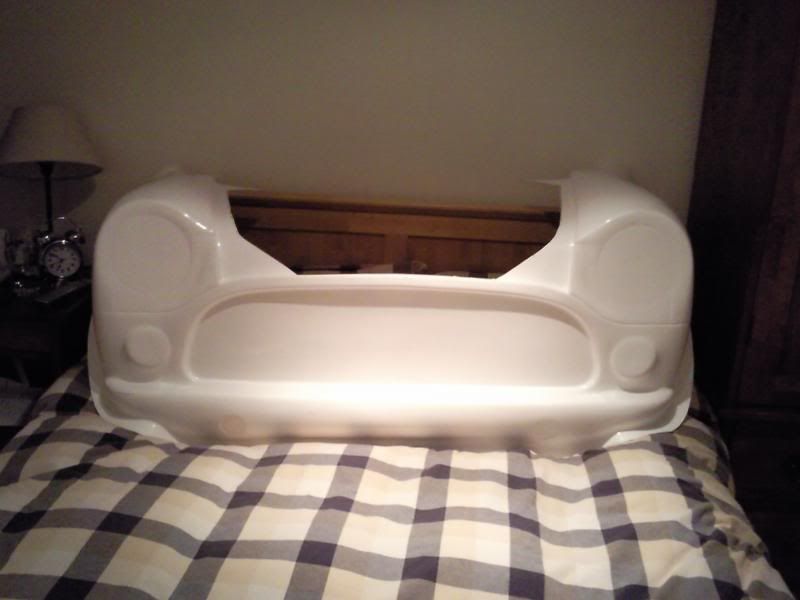
Not minutes after this wing came off my phone rang. It turned out to be ABS Motorsport that i called and left a message earlier in the morning. Perfect timing! i spoke to the guy and placed my order for a 2 piece fibreglass front end (standard rover style bonnet) and the fitting kit.
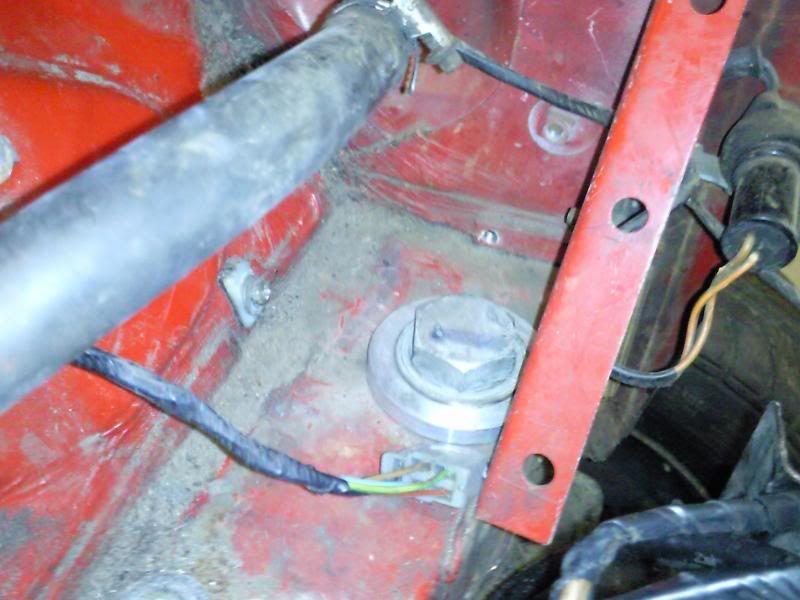
Anyway, the front panel was next, so we undid the bolts holding it too the front subframe and removed all the wiring that ran through it. Then we discovered that we couldn't use the nibbler to cut the front panel off, we'd have to use the angle grinder. After finding the grinder i discovered that i didn't have a cutting disc, so off to Halfrauds we went!
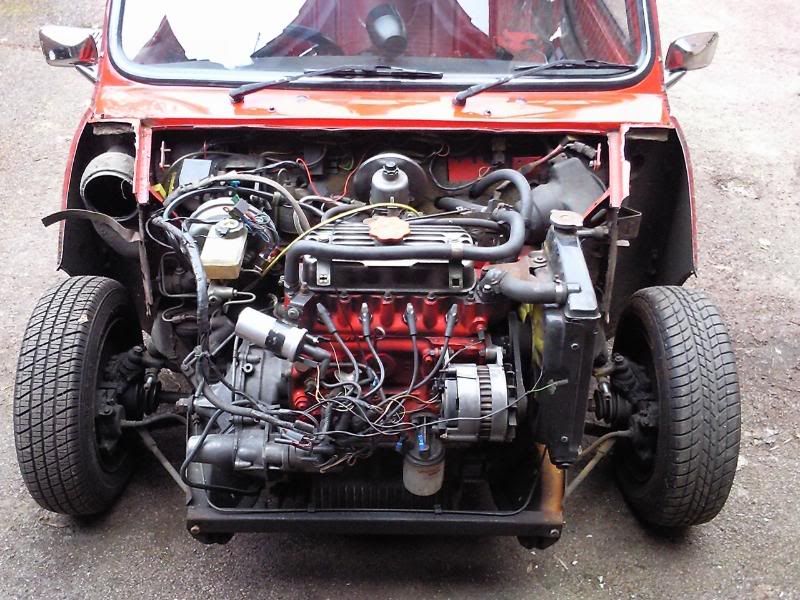
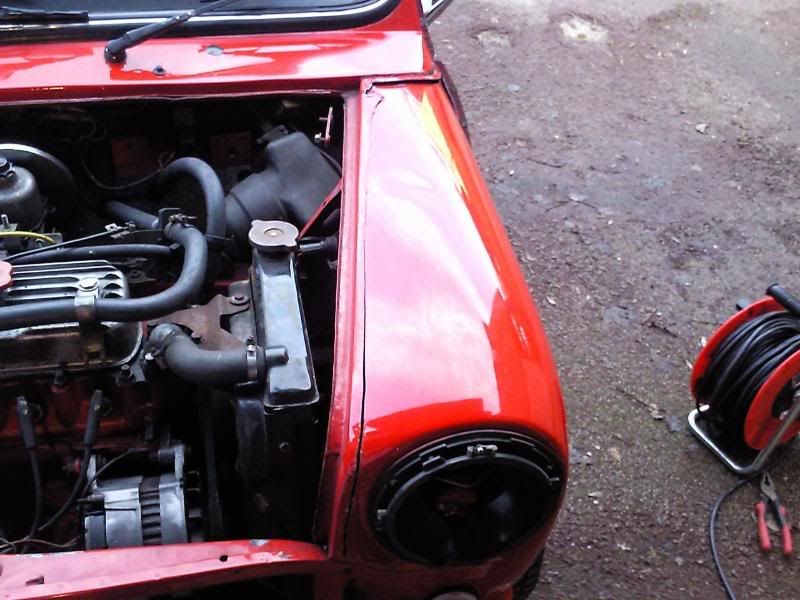
When we got back we were starting to lose the light a bit but were determined to get the last panel off. This was simply a case of two cuts. one on each side of the panel. Once we had done this the front panel just dropped to the floor, SUCCESS!
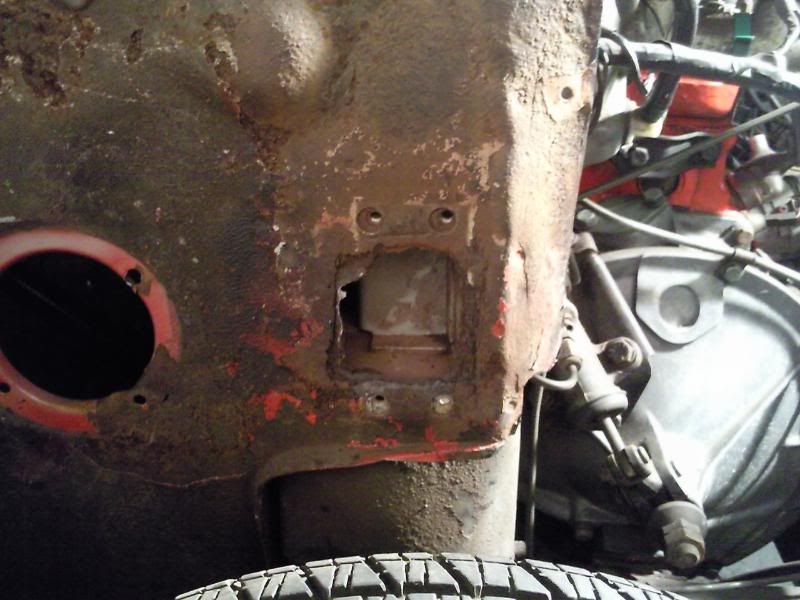
Front Panel Off
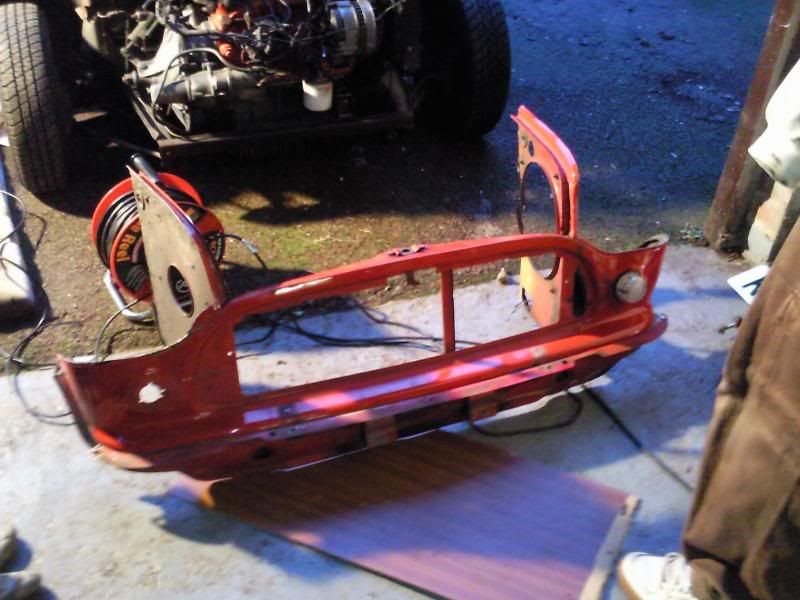
Naked front end!

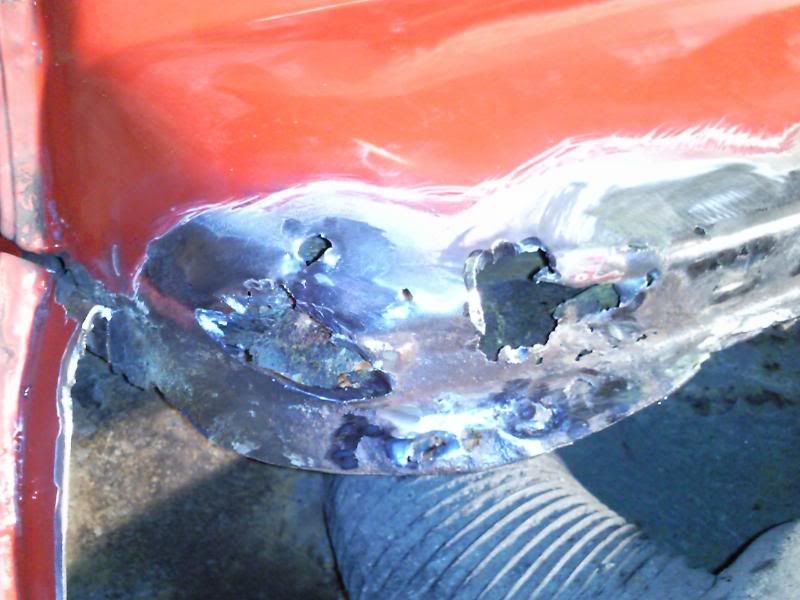
Today i think i going to go and neaten all the cuts up and remove the leftover bits of panel with the grinder. Also have a prod around in search of the dreaded tin worm!
thanks for reading, if you have any questions of suggestions dont hesitate to let me know!
Guennie
Edited by Guennie, 01 February 2009 - 07:33 PM.