 lol looking good mate cant wait to see more.
i want a real one
lolrich


Speeding Along Now


Posted 17 November 2009 - 09:39 PM
lol looking good mate cant wait to see more. lolOne Carb Or Two?
Posted 20 November 2009 - 10:20 PM

Edited by rosco454, 20 November 2009 - 10:24 PM.
Mini Mad

Posted 21 November 2009 - 01:14 AM
Got a little more done tonight but it was one of those days where each job took twice as long as it should have.
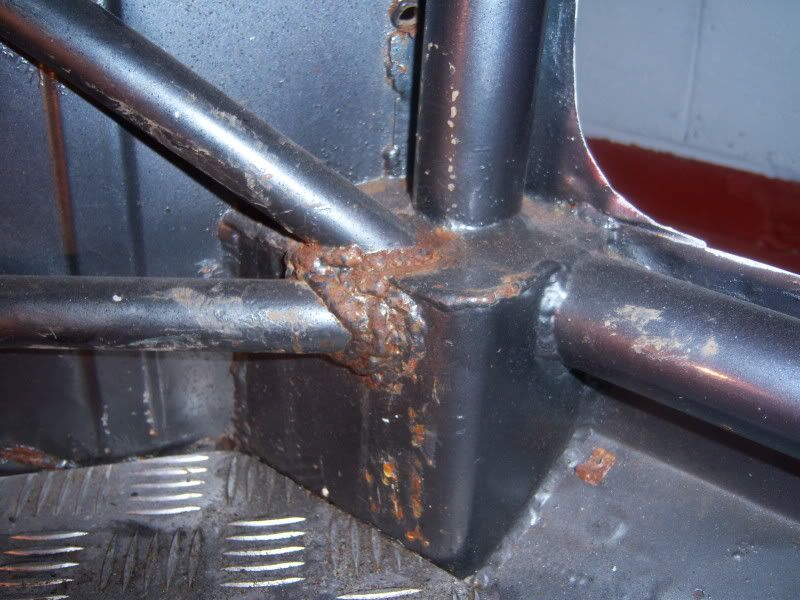
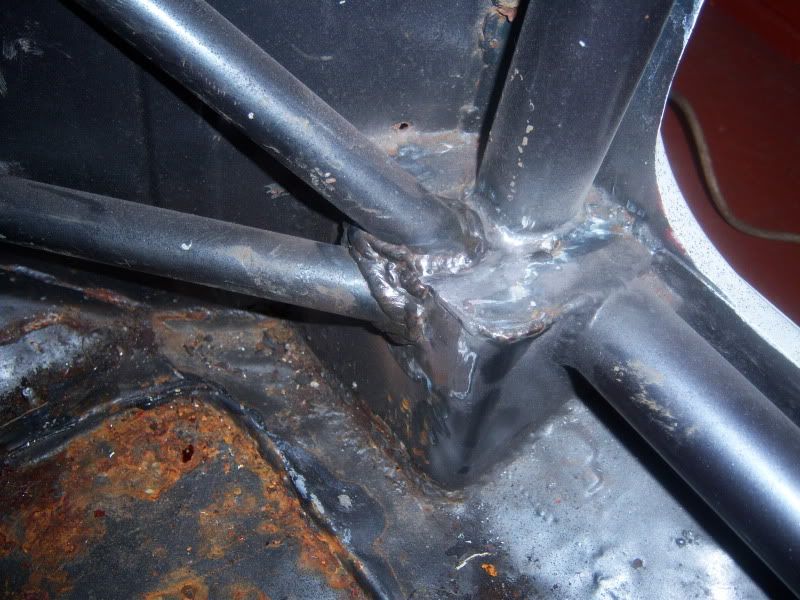
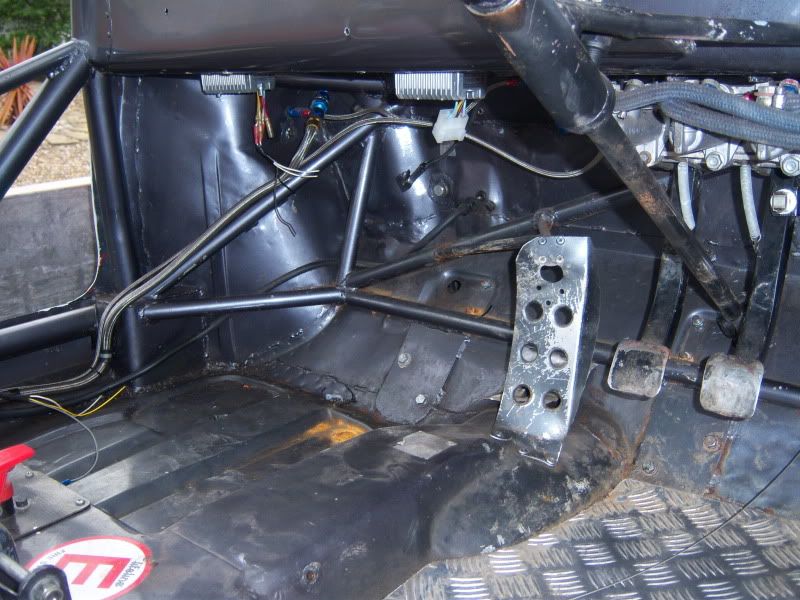
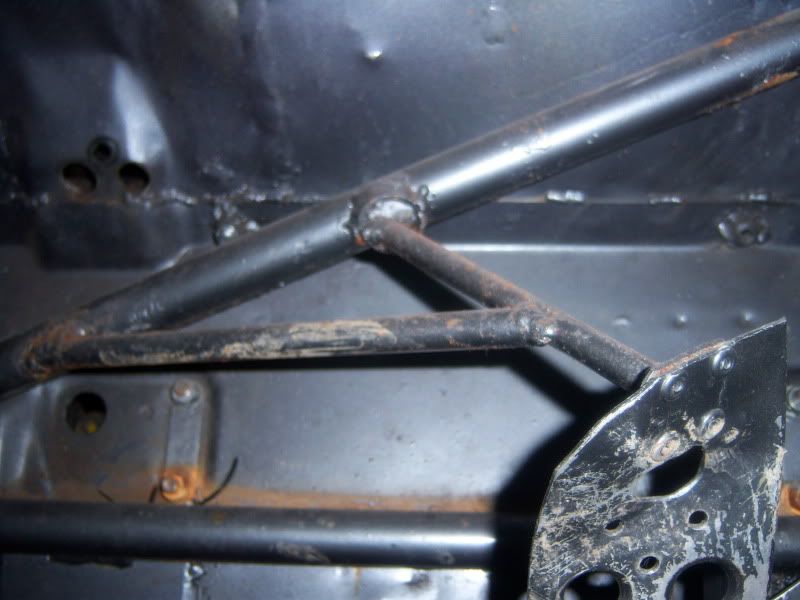
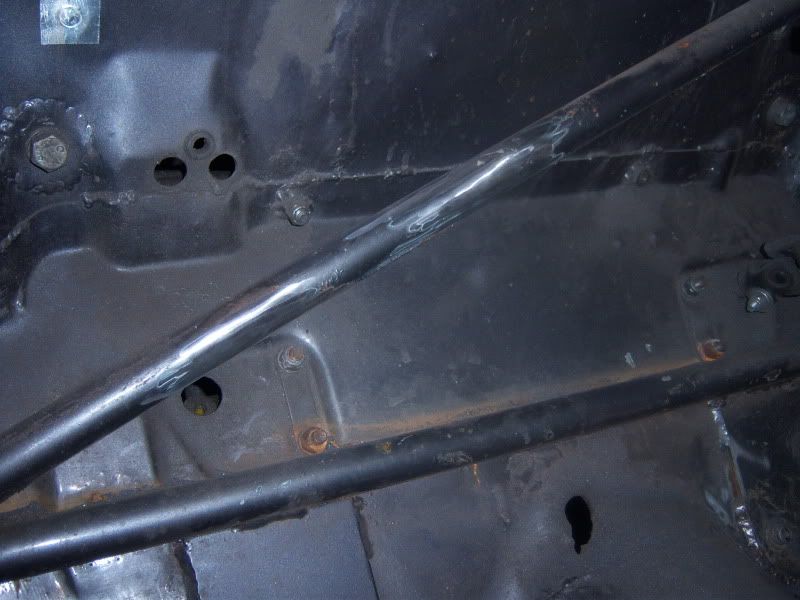
Did a little bit of tidying on the rollcage where for whatever reason 2 bars on the car had been moved and rewelded about 10mm away from the original position leaving small amounts of them behind.While the welding was sound it had left a bit of a mess so i tidied it up as best i could and took the surface rust off from round about with a little wire wheel on the dremel.
Before
After
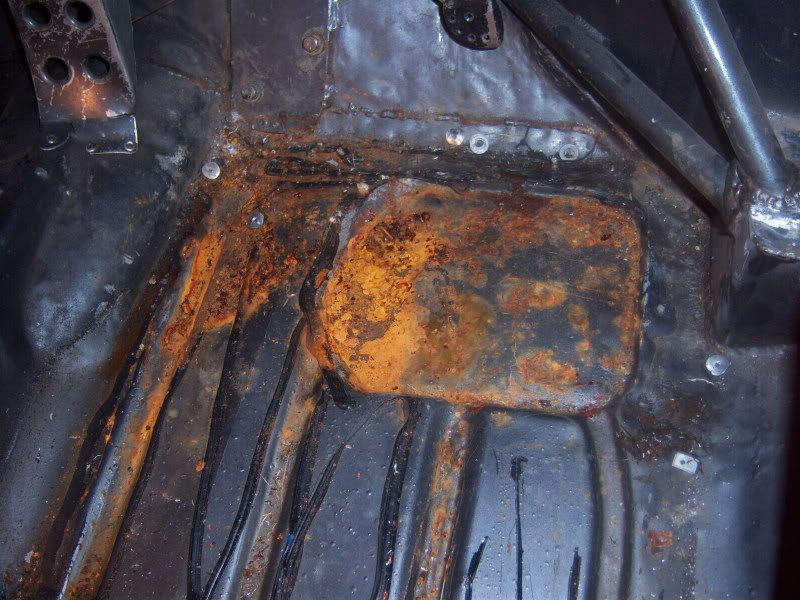
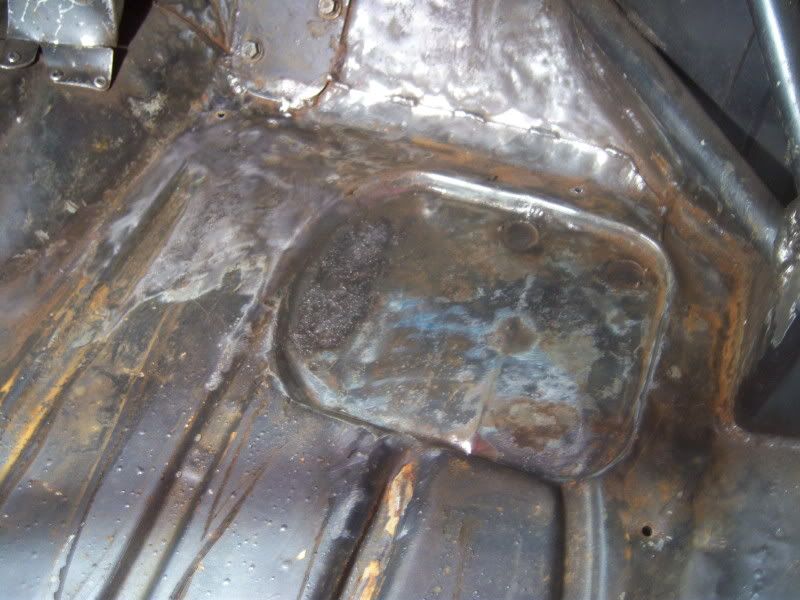
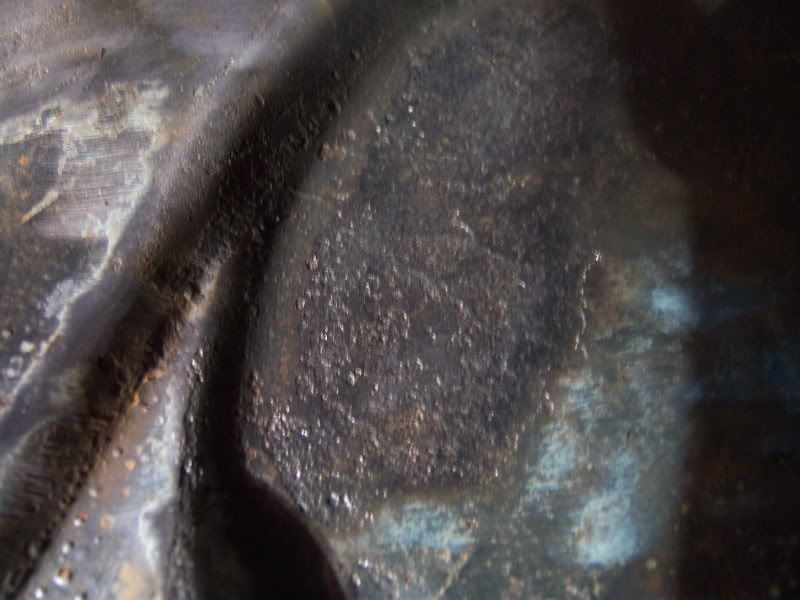
I then removed the checker plate floor cover from the footwell which took far too long and once it was out reveled a mess.Luckily its only surface rust with loads of muck and crud built up on it making it look far worse than it is.I wire brushed the loose stuff off and theres nothing at all to worry about,its barely even through the paint in most areas.
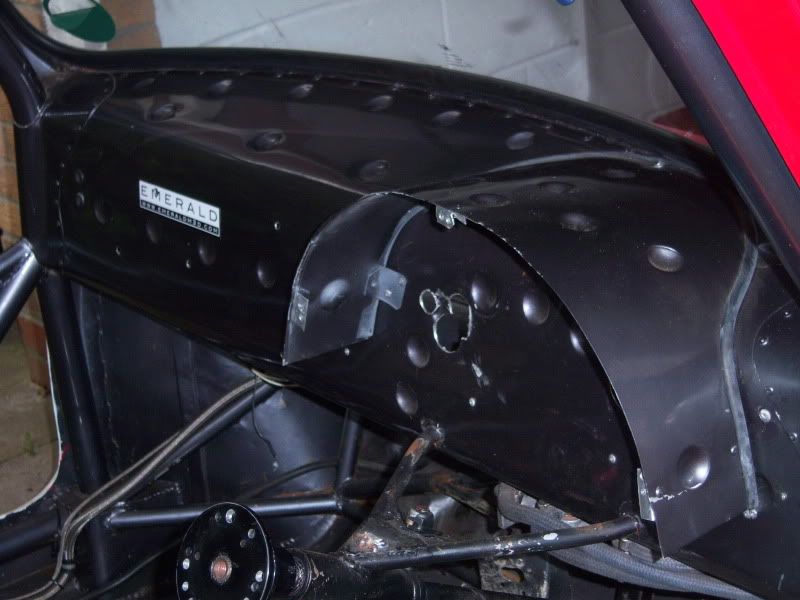
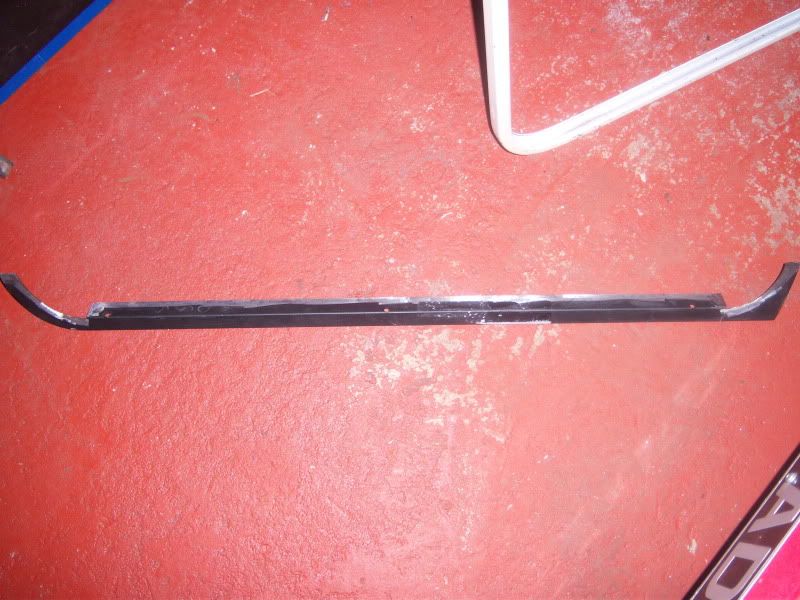
Was getting a bit late by then and I didnt want to go mad with the noise so i took the carbon parcel shelf out which was also a pain as it was bonded with some awful mastik impregnated cloth type stuff as well as riveted down.
Once this was off it revealed a snazzy dimpled vickers parcel shelf that matches the dash and a pillar tags etc.Il post some pics of the vickes shelf once ive cleaned the cloth stuff off it but I might just ditch the carbon one and leave it as it is.
More to follow tomorrow if time allows.Cheers Ross.
One Carb Or Two?
Posted 21 November 2009 - 07:26 PM
Learner Driver

Posted 22 November 2009 - 07:39 PM
 the cage looks pretty special!!! just wondering what the dash is made out of?? and how its fixed to the car??
Camshaft & Stage Two Head

Posted 22 November 2009 - 07:48 PM

One Carb Or Two?
Posted 22 November 2009 - 09:32 PM
Edited by rosco454, 22 November 2009 - 09:33 PM.
Learner Driver
Posted 24 November 2009 - 04:19 PM
Speeding Along Now

Posted 26 November 2009 - 08:38 PM

One Carb Or Two?
Posted 27 November 2009 - 08:48 PM
Edited by rosco454, 28 November 2009 - 08:47 PM.
One Carb Or Two?
Posted 02 December 2009 - 11:15 PM


Edited by rosco454, 02 December 2009 - 11:25 PM.
One Carb Or Two?
Posted 03 December 2009 - 03:53 PM
On The Road

Posted 10 December 2009 - 08:33 PM

One Carb Or Two?
Posted 11 December 2009 - 05:16 PM
Excellent stuff Ross.....
With the front of the cage plated and bolted to the bottom of the front subframe lower mounts, i reckon thats gonna be a teeth rattler
Have you got any pictures of the roof braces/bars?
Speeding Along Now

Posted 20 December 2009 - 07:22 PM


0 members, 2 guests, 0 anonymous users


