looking good.
I only have one question though, how well is the engine going to run with a 12g295 head?
I'm only asking because I have no idea and I just bought one for my 998cc

1961 Mk1 Austin Mini 850 - "flying Flea" - Lot's Of Pictures
Started by
Thorpsta
, Feb 04 2012 09:44 PM
225 replies to this topic
#136

Camshaft1982
-

- Noobies
-

- 60 posts
Stage One Kit Fitted
- Location: Oshawa
Posted 24 April 2013 - 11:24 PM
#137
Thorpsta
-
- Members
-
- 327 posts
Speeding Along Now
- Location: Wisbech
- Local Club: Kings Lynn Mini Owners Club
Posted 25 April 2013 - 07:36 PM
looking good.
I only have one question though, how well is the engine going to run with a 12g295 head?
I'm only asking because I have no idea and I just bought one for my 998cc
I believe it the best head you can get for an 850 so i'd say quite well, not sure if i'll be keeping it on there yet though
#138
Thorpsta
-
- Members
-
- 327 posts
Speeding Along Now
- Location: Wisbech
- Local Club: Kings Lynn Mini Owners Club
Posted 25 April 2013 - 08:13 PM
Done some final work on the head last night, all but 1 side is totally clean and it's been given to dads friends to be fitted with unleaded seats
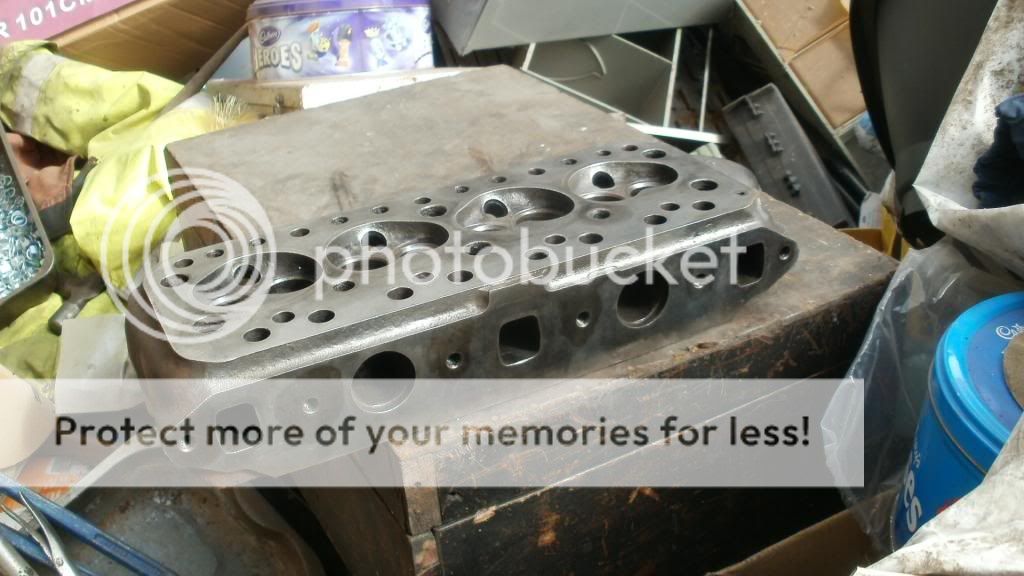
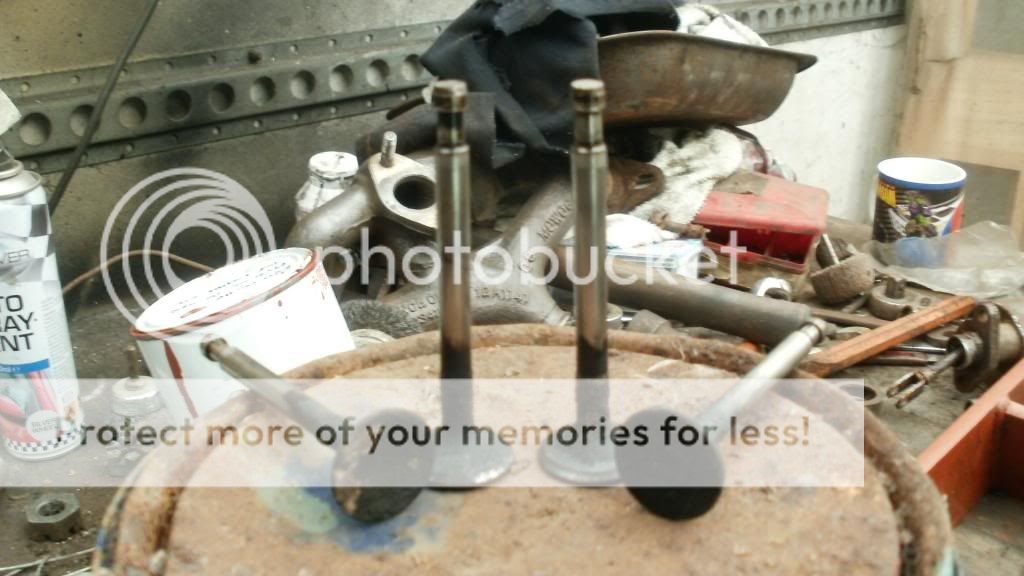
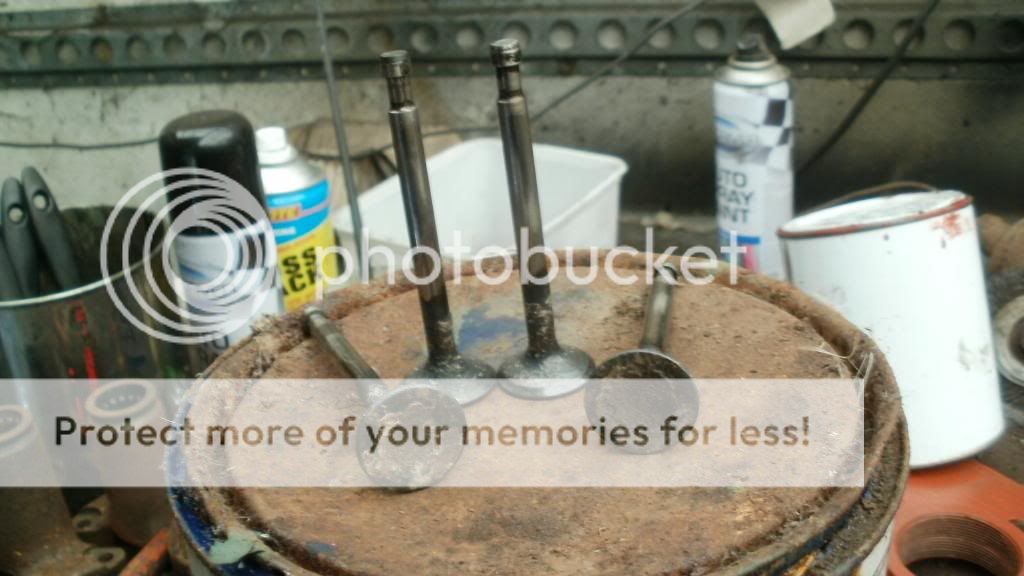
I gave the 4 exhaust valves a quick once over
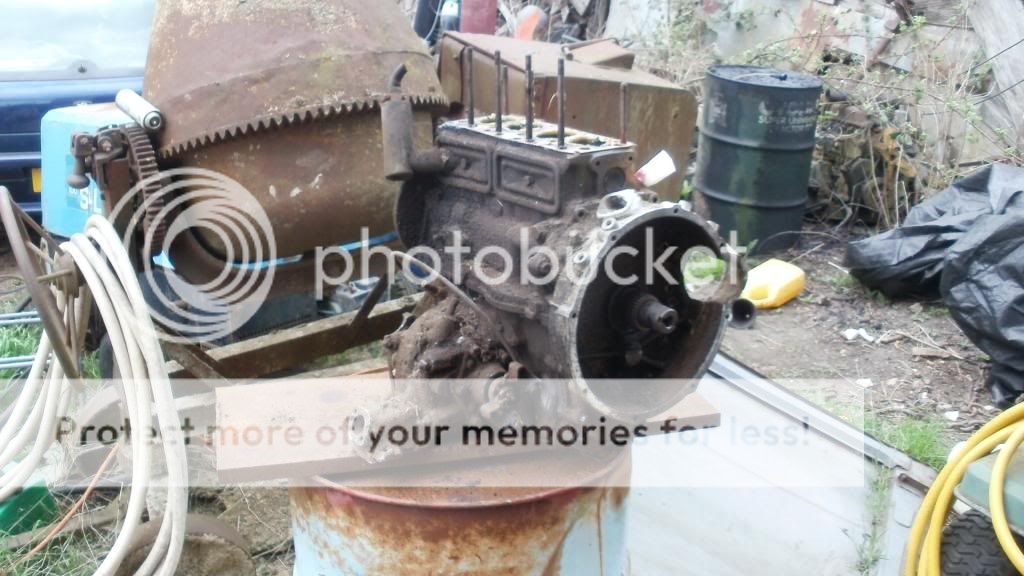
Next up was to get the engine in a easier place for me to do the dreaded clean, I let dad do the majority of this as it's his area and if I broke something I wont be to blame
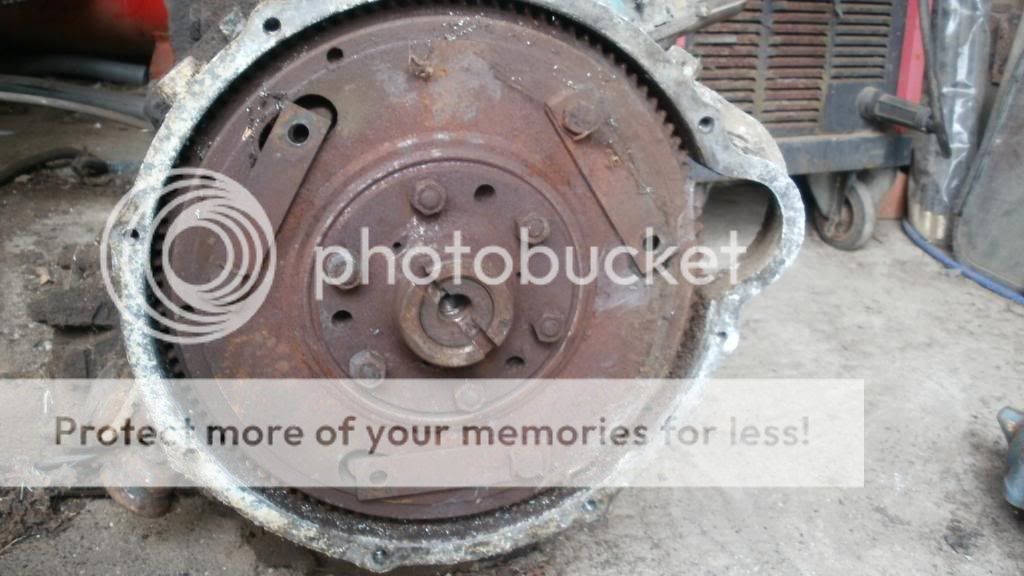
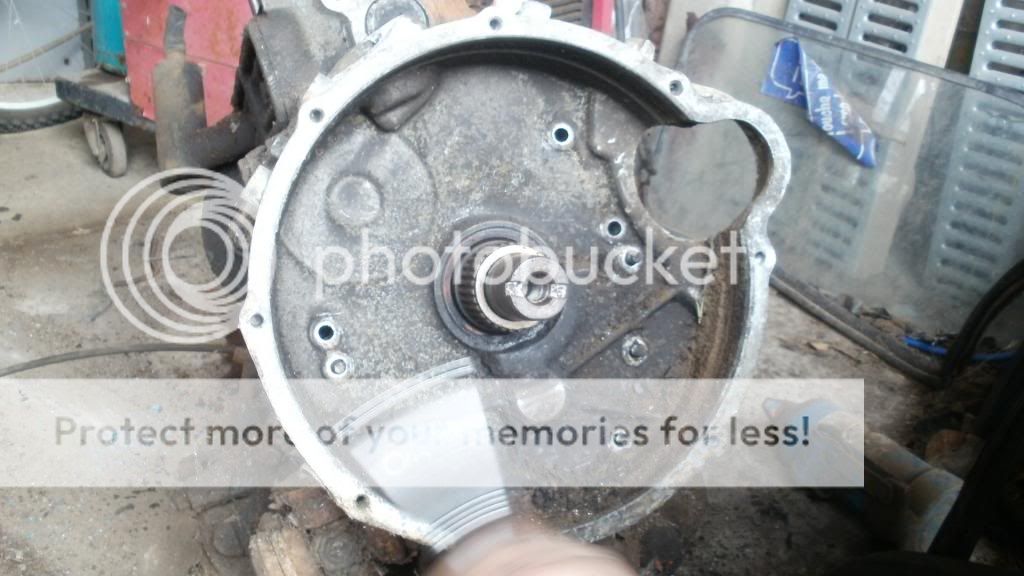
Removed the bell housing
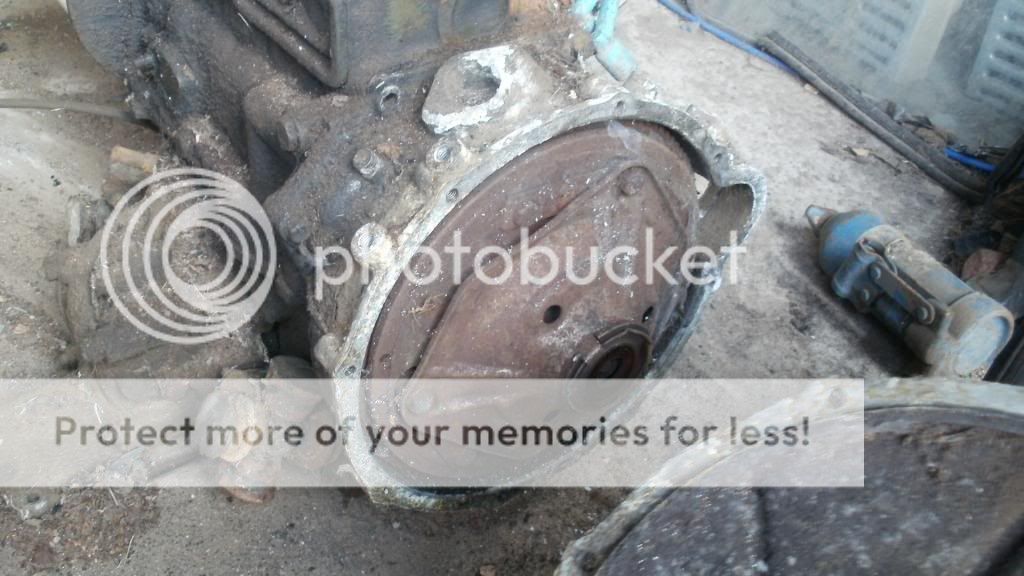
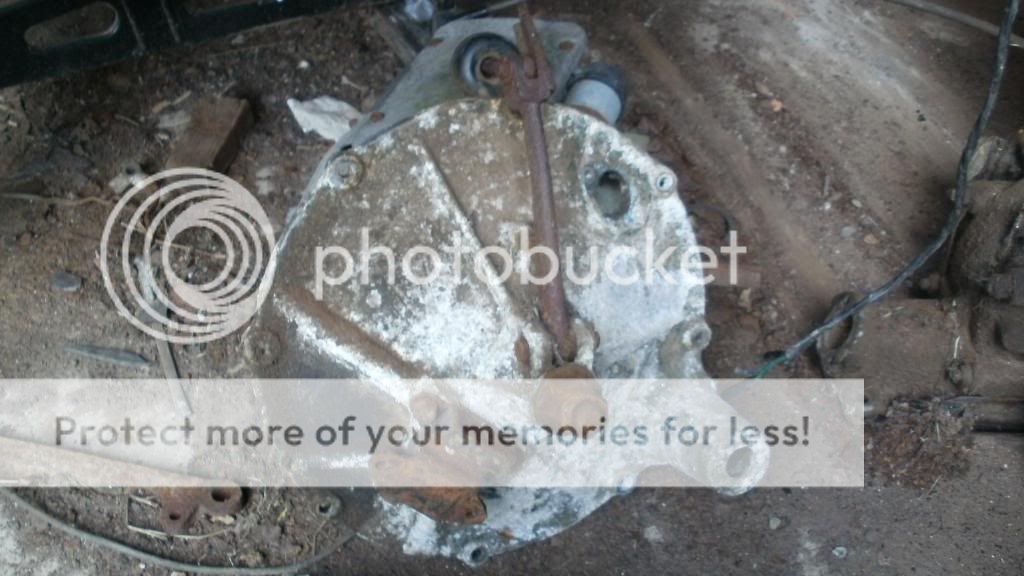
I did know the name of this bit but I've forgotten
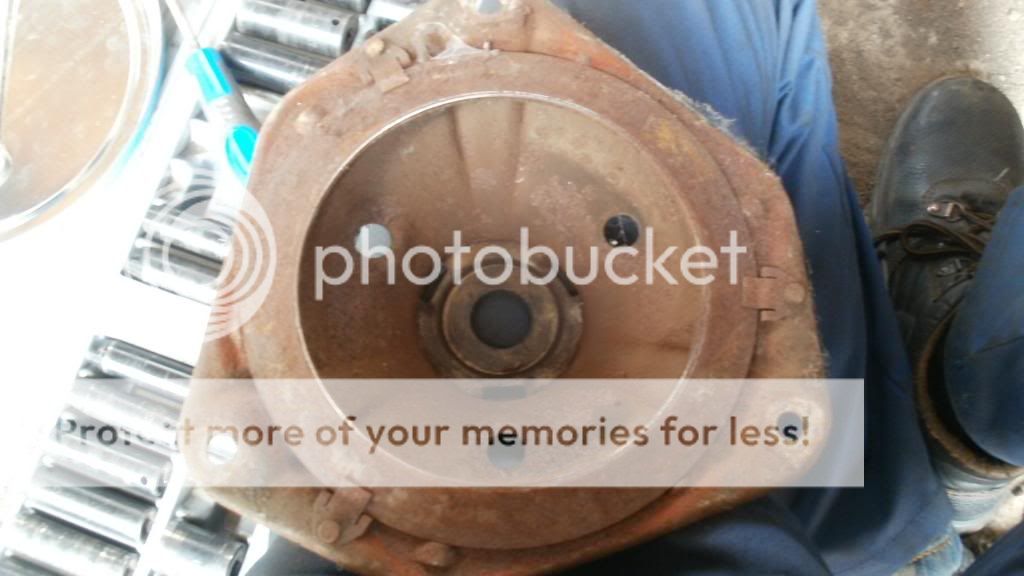
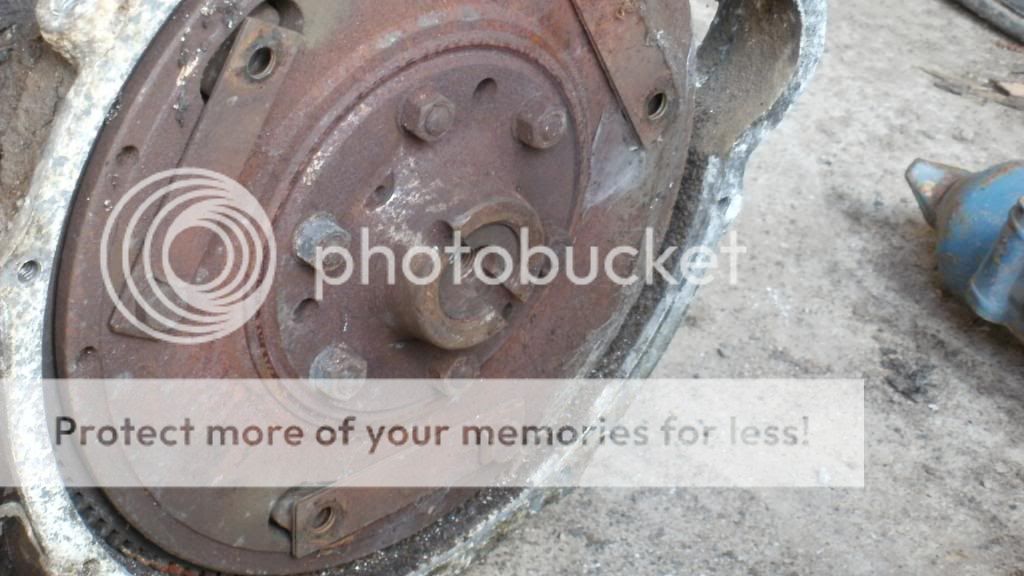
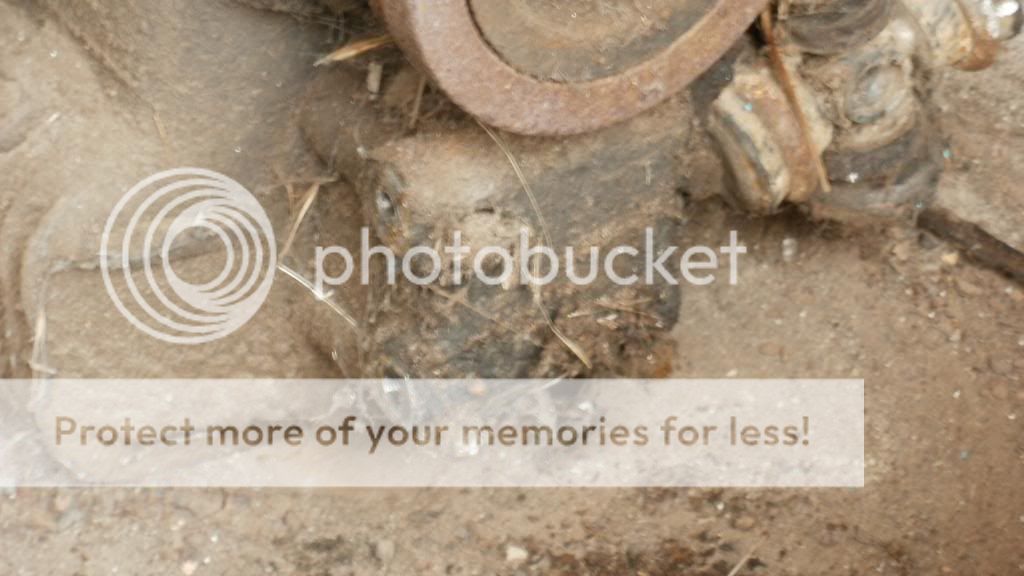
Flywheel
Fly wheel puller
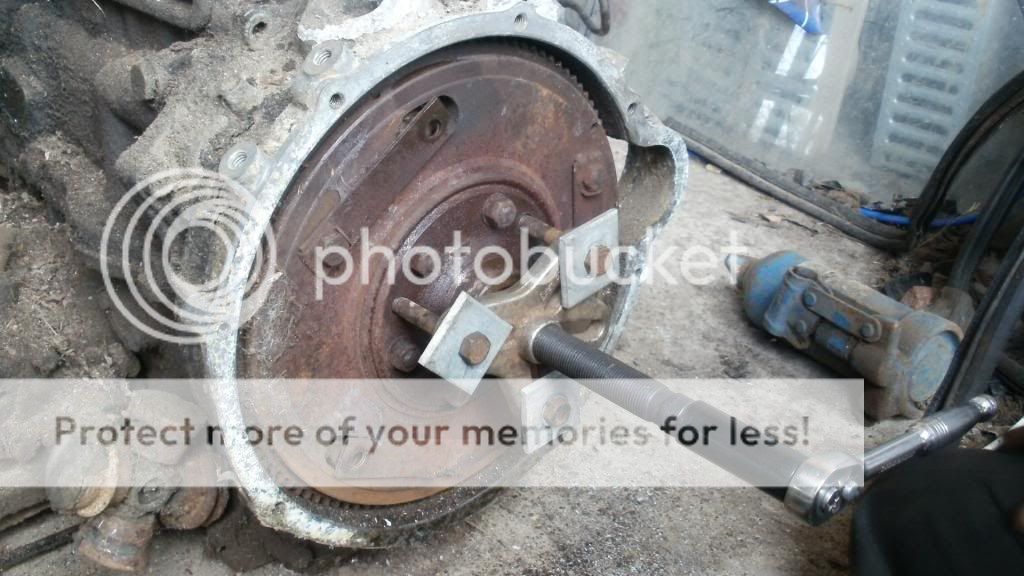
Fly wheel
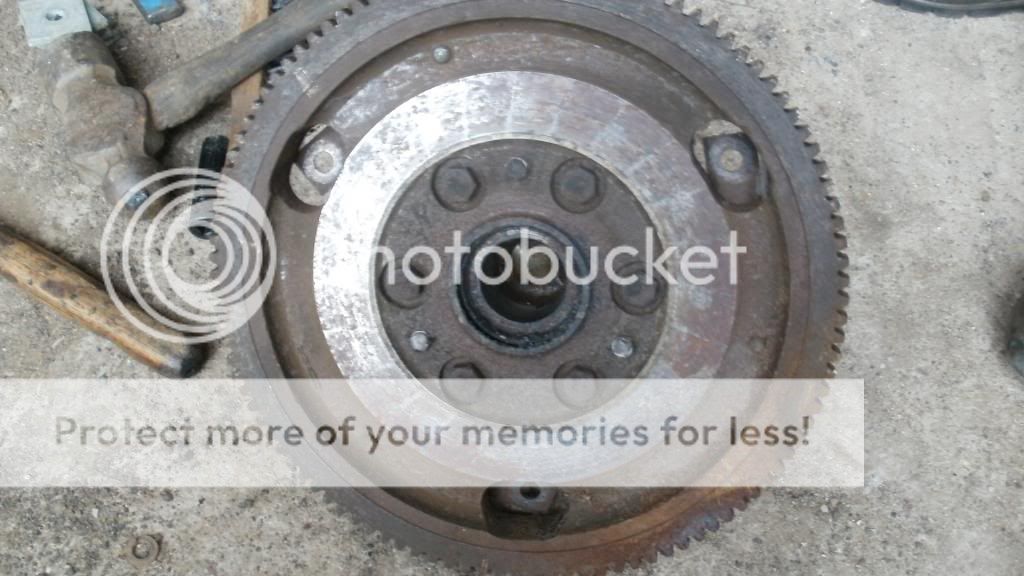
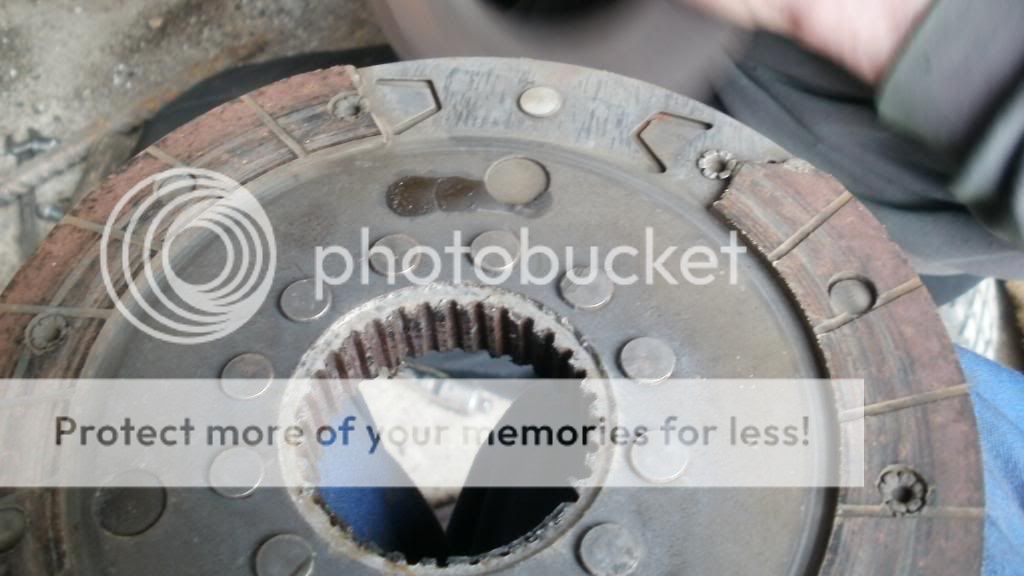
Clutch, not seized or anything but there's a chunk broke off that we couldn't seem to find, not sure how that ended up in there
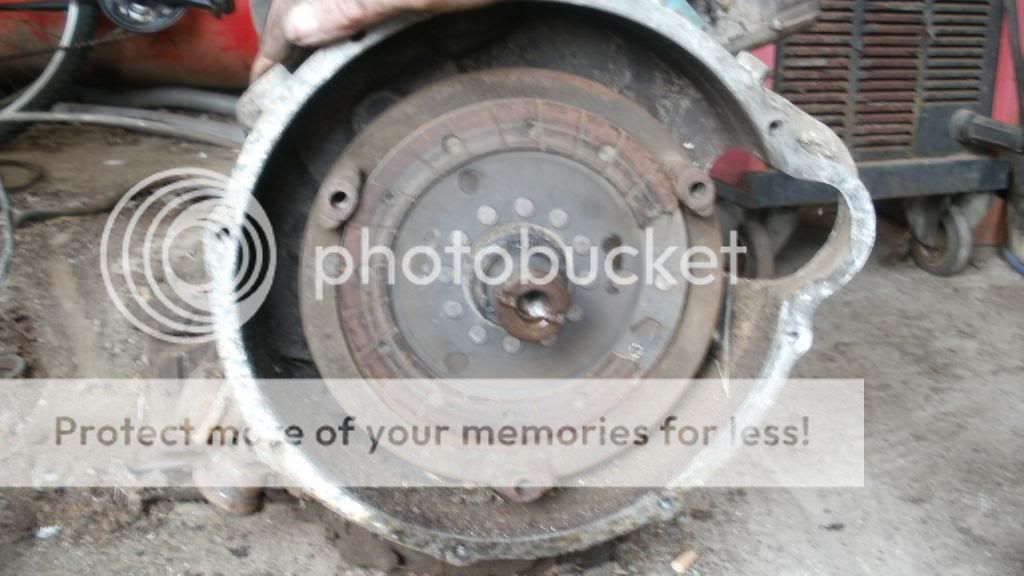
Clutch plate
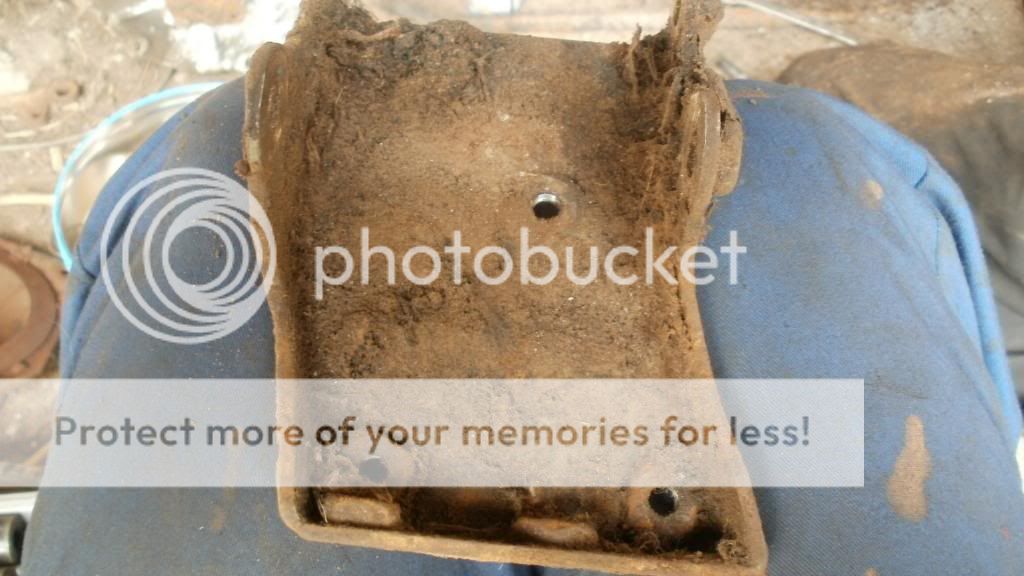
Engine mount removed
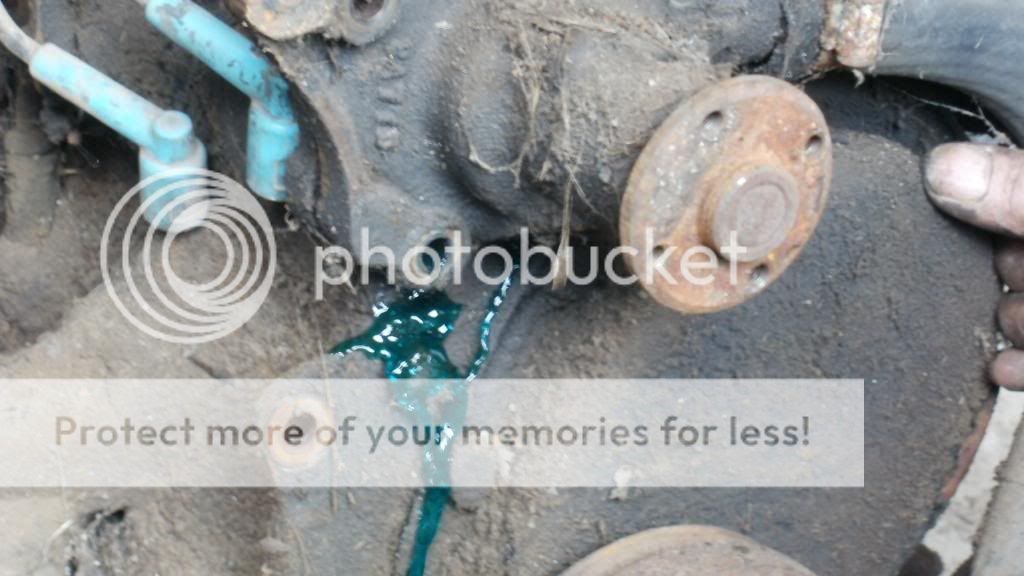
Water pump
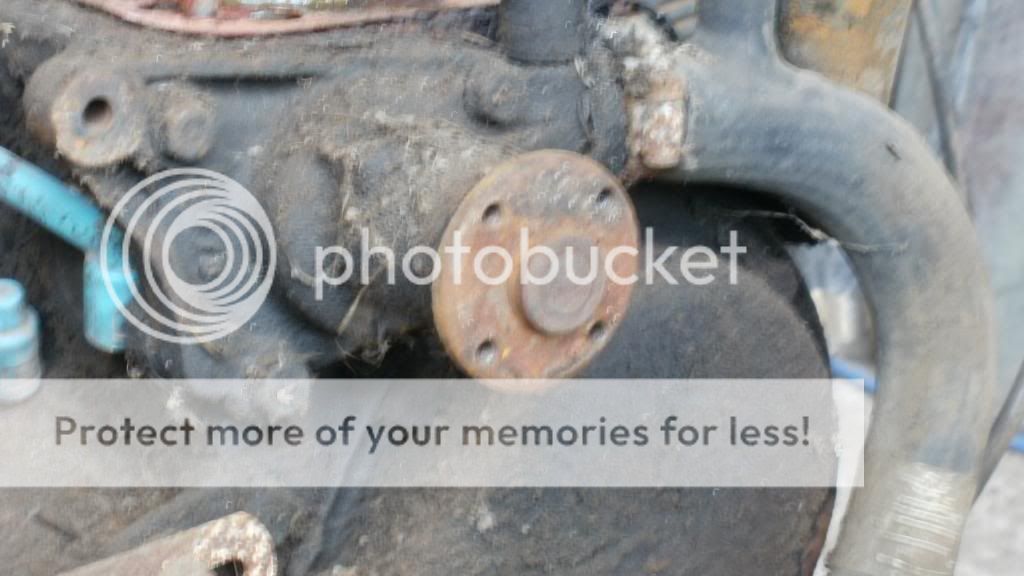
Now can't remember what this was, I'm going to say start motor bolt :S
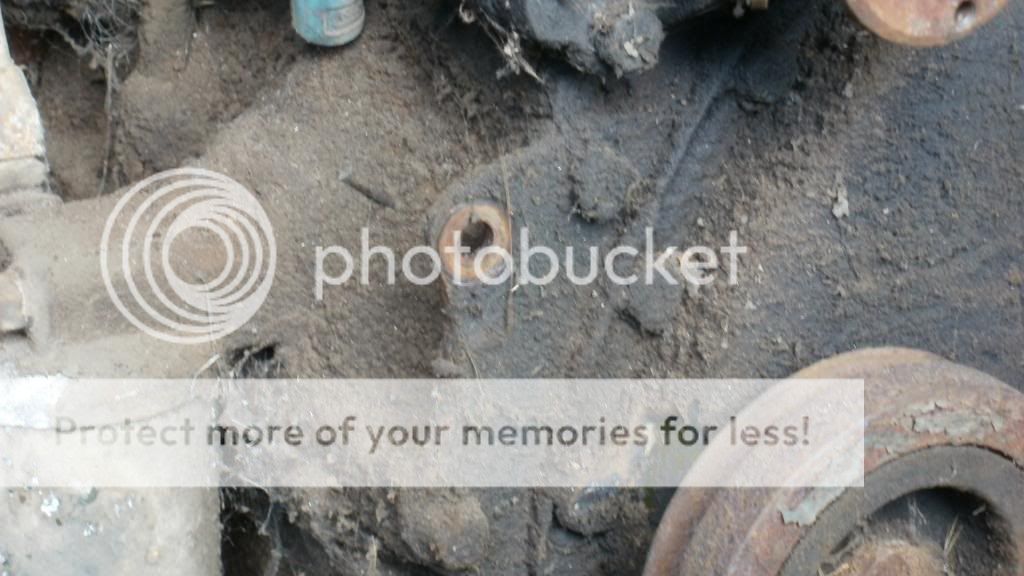
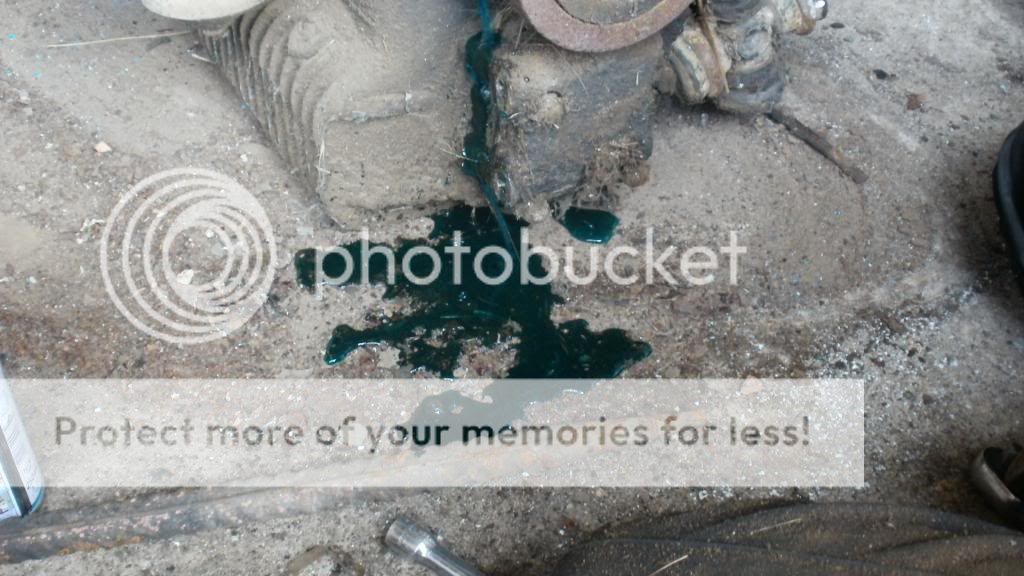
A lot more anti freeze came out with the water pump
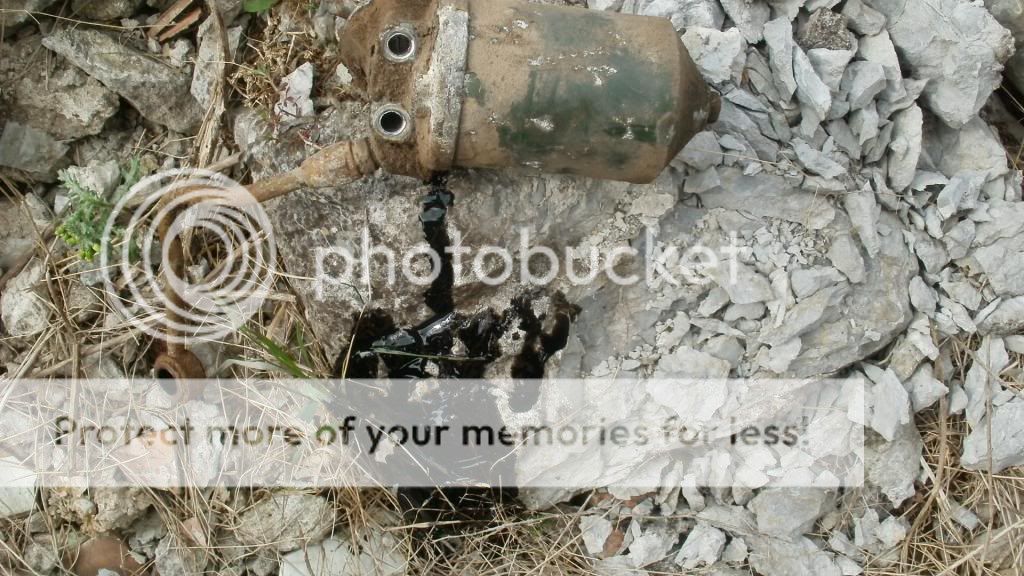
Next up was the oil filter
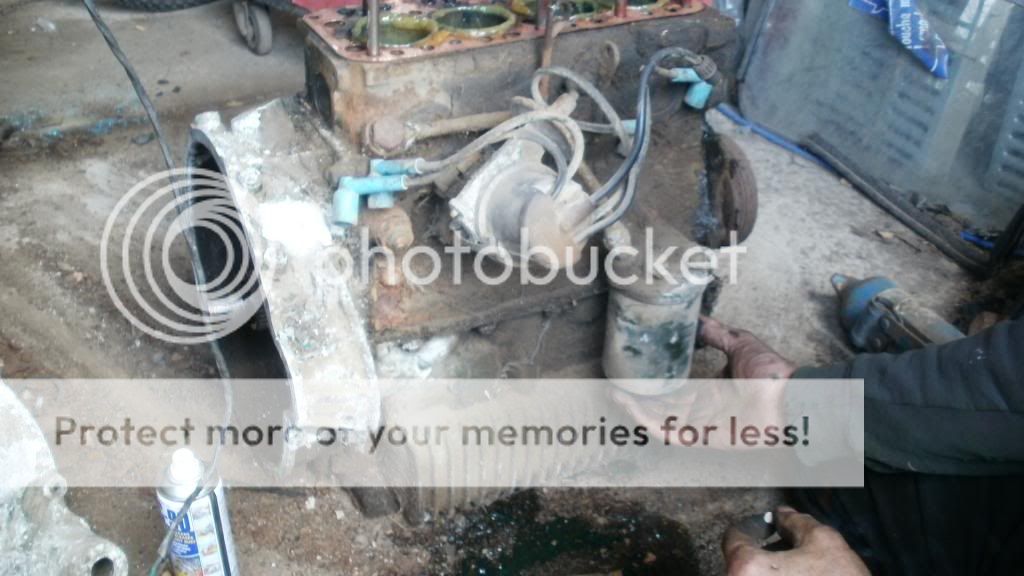
Cracked the nuts then took the distributor off, followed by the filter

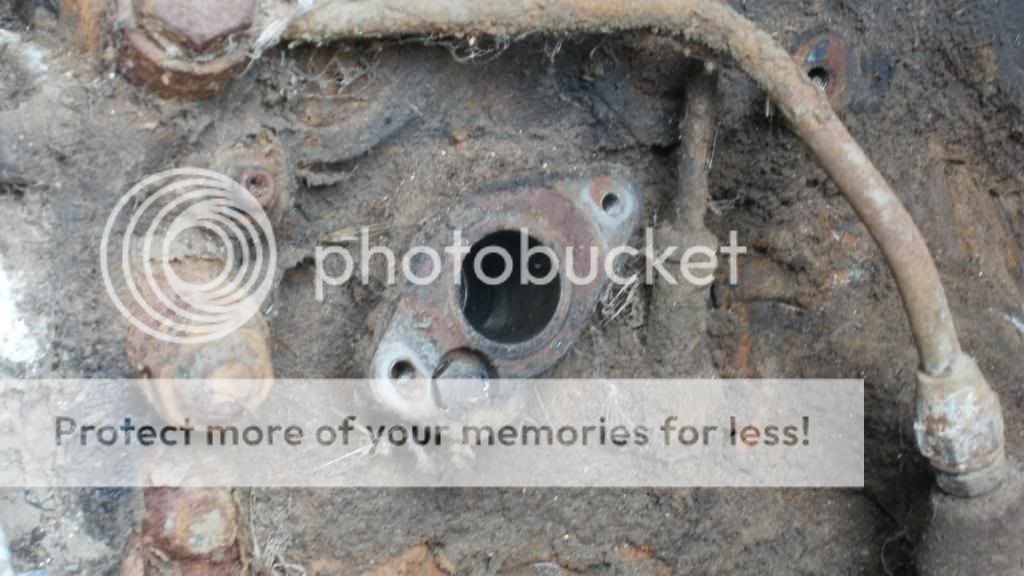
Then blocked the holes up
32 year old oil
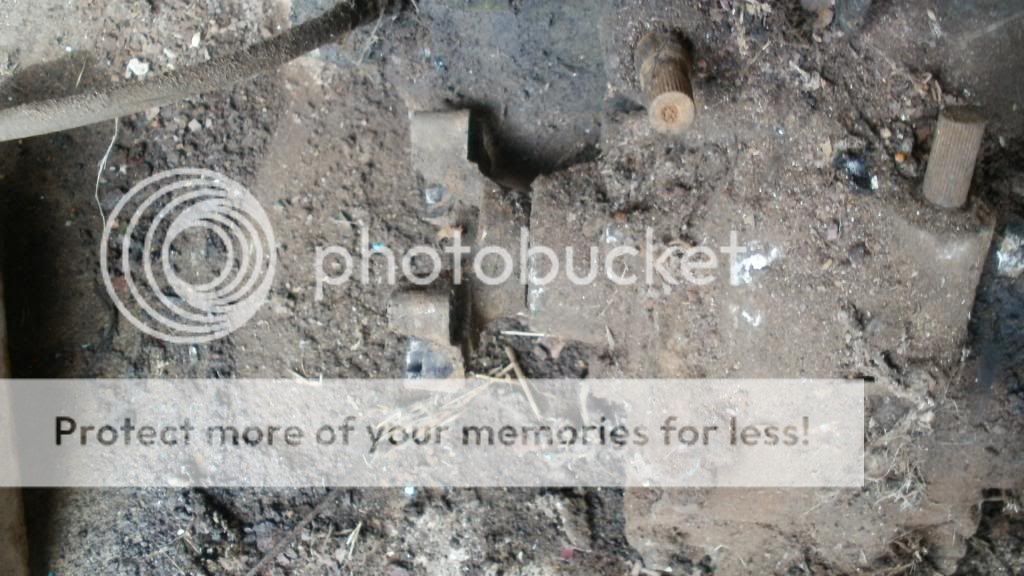
Not sure what to call this, but we took it off
Took these off, also forgot the name of them but we got some brand new old stock ones of ebay
1 off
2 off
Looking rather... "Mini" eheh
More 32 year old oil

Looking eve more.. "Mini"
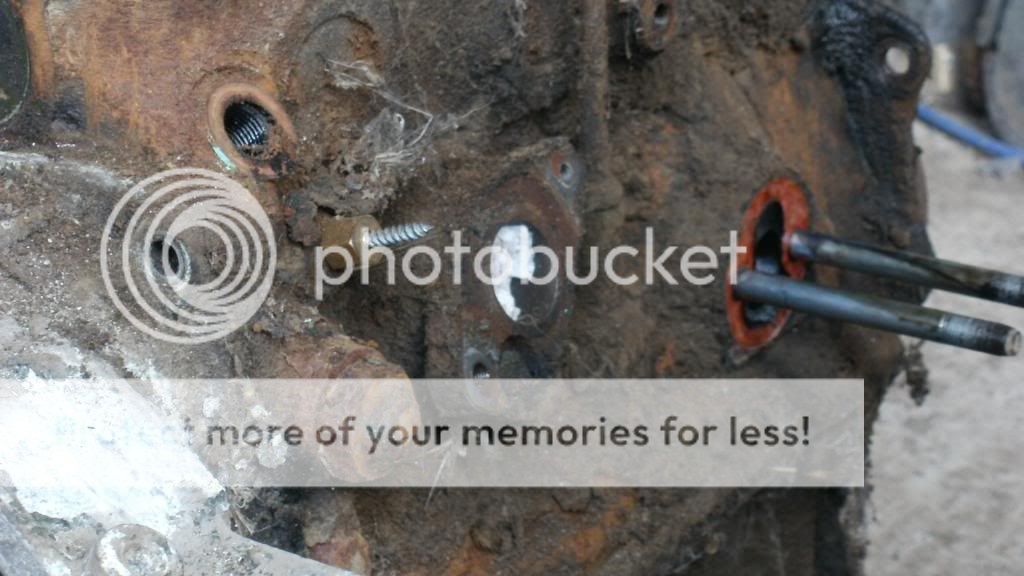
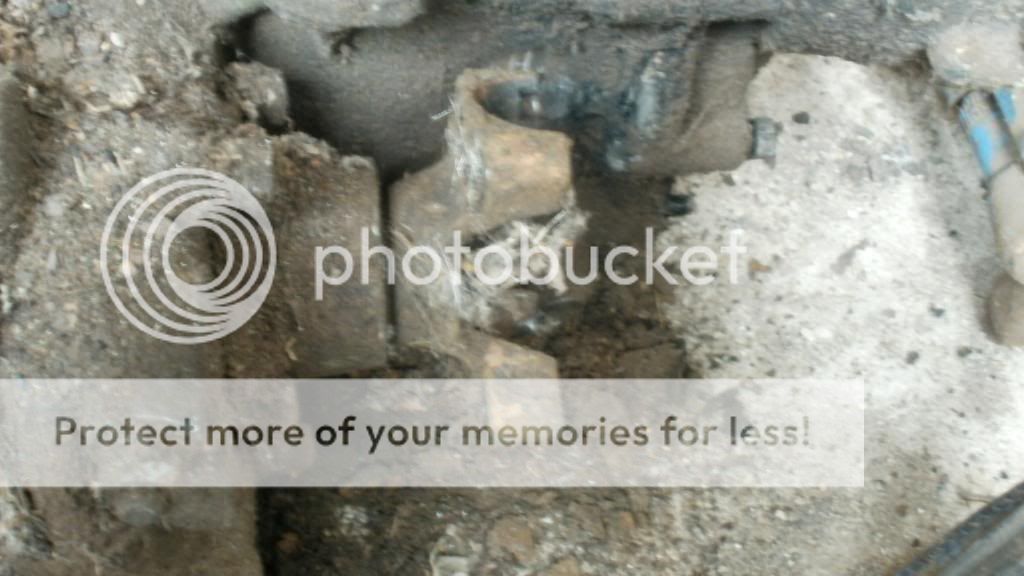
Removed some studs
Head studs removed
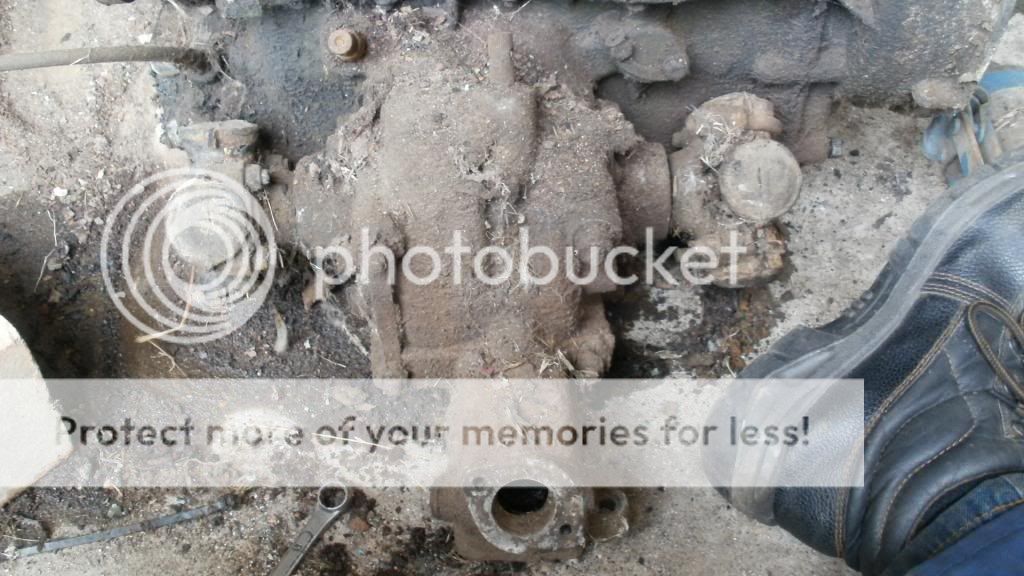
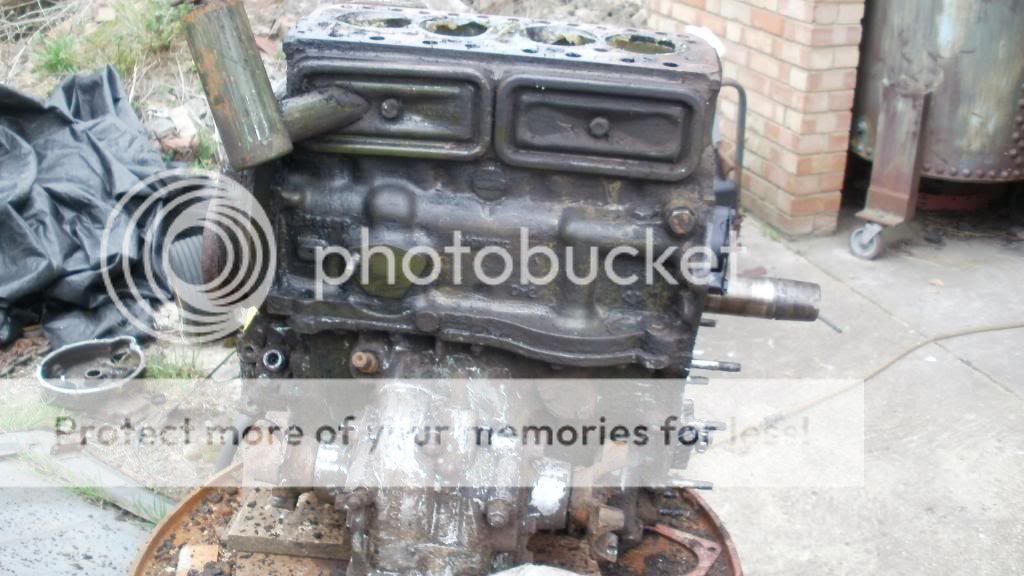
Then got ready for the dreaded clean, I scraped most of the grease off, tomorrow I'll wash it down


I gave the 4 exhaust valves a quick once over


Next up was to get the engine in a easier place for me to do the dreaded clean, I let dad do the majority of this as it's his area and if I broke something I wont be to blame
Removed the bell housing


I did know the name of this bit but I've forgotten

Flywheel


Fly wheel puller

Fly wheel

Clutch, not seized or anything but there's a chunk broke off that we couldn't seem to find, not sure how that ended up in there

Clutch plate

Engine mount removed


Water pump

Now can't remember what this was, I'm going to say start motor bolt :S

A lot more anti freeze came out with the water pump


Next up was the oil filter

Cracked the nuts then took the distributor off, followed by the filter


Then blocked the holes up

32 year old oil

Not sure what to call this, but we took it off

Took these off, also forgot the name of them but we got some brand new old stock ones of ebay

1 off

2 off

Looking rather... "Mini" eheh

More 32 year old oil


Looking eve more.. "Mini"

Removed some studs

Head studs removed

Then got ready for the dreaded clean, I scraped most of the grease off, tomorrow I'll wash it down


Edited by Thorpsta, 26 April 2013 - 04:55 PM.
#139
ToM 2012
-

- Members
-
- 4,066 posts
Up Into Fourth
- Location: halesowen
Posted 25 April 2013 - 08:54 PM
looking great bud. give it a few weeks it will look like new again.
#140
Thorpsta
-
- Members
-
- 327 posts
Speeding Along Now
- Location: Wisbech
- Local Club: Kings Lynn Mini Owners Club
Posted 25 April 2013 - 10:53 PM
looking great bud. give it a few weeks it will look like new again.
I wish I could skip those few weeks, I hate degreasing and cleaning enough as it is
 It's all worth it but majority of it is such awkward angles
Edited by Thorpsta, 26 April 2013 - 04:55 PM.
#141
Thorpsta
-
- Members
-
- 327 posts
Speeding Along Now
- Location: Wisbech
- Local Club: Kings Lynn Mini Owners Club
Posted 27 April 2013 - 10:10 PM
Done a fair bit of cleaning this afternoon, got a dead line of 3 weeks to get the engine cleaned, painted, running and in the motor
I'll let the pictures do the majority of the talking
Pile of parts, went out and got that gear box knuckle thing last night

engine mount

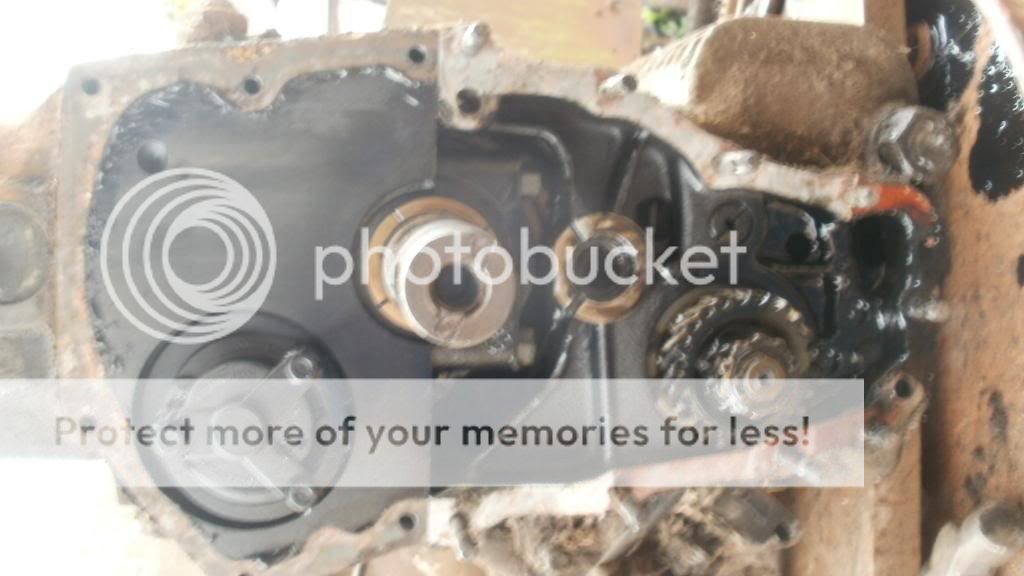
timing eye cover

something to do with the clutch

Fly wheel


Casing, scraped the majority off, I'm doing this tomorrow

Bell housing, I was gonna stop here which is why it's dirty on the inside, but I decided to carry on


Another water pully, I'm going to clean this one as the other one is rusted in awkward places to clean, this one isn't

Clutch bit, it's dirty but I got that with some sand paper

Pile o' parts

Unfortunately we ran out of etch so they get red oxided

#142
Thorpsta
-
- Members
-
- 327 posts
Speeding Along Now
- Location: Wisbech
- Local Club: Kings Lynn Mini Owners Club
Posted 02 May 2013 - 05:47 PM
Done a fair amount on the engine today, casing is all clean but I forgot to take a picture of that.
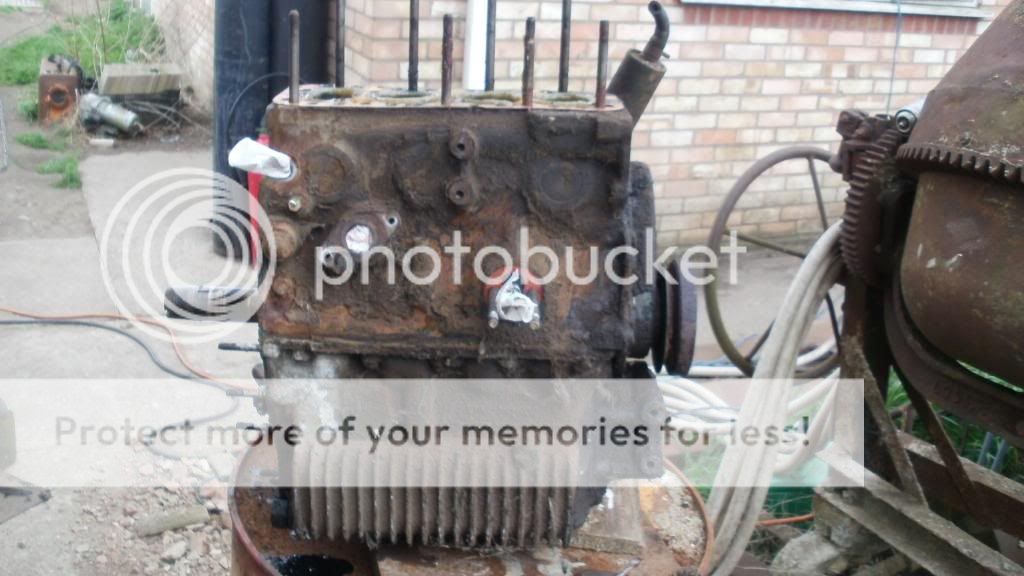
First I soaked the engine in a few coats of Jizer to get a majority of grease and gunk of it, left it over night then took it into the shed


Can you tell what it is yet?

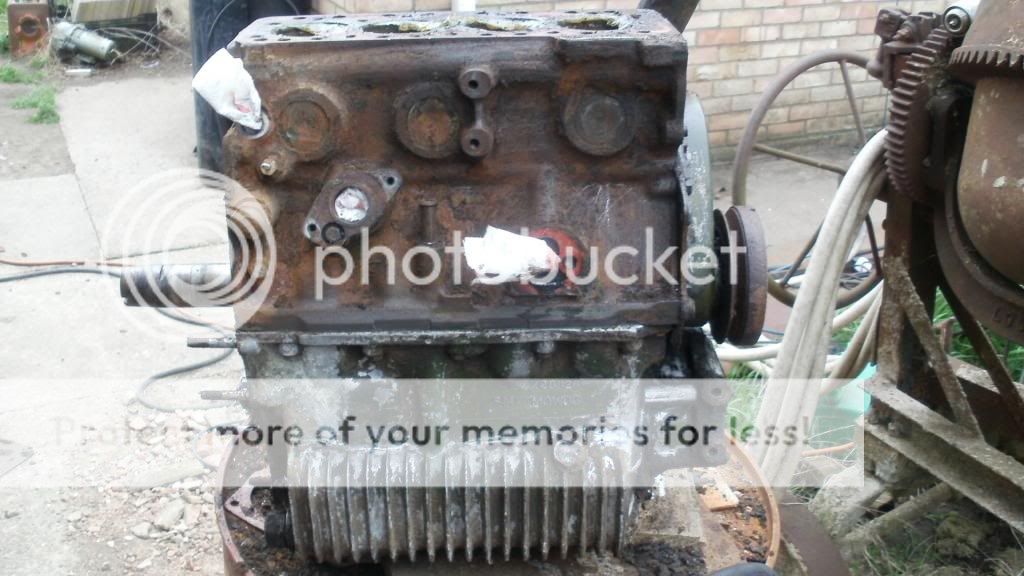
I noticed this MOWOG stamp was starting to grind of so I thought I'd photograph it before it did


That was as far as I got due to a foot injury I can't stand for long
On another note, the wiring loom has arrived

#143
Thorpsta
-
- Members
-
- 327 posts
Speeding Along Now
- Location: Wisbech
- Local Club: Kings Lynn Mini Owners Club
Posted 03 May 2013 - 10:30 PM
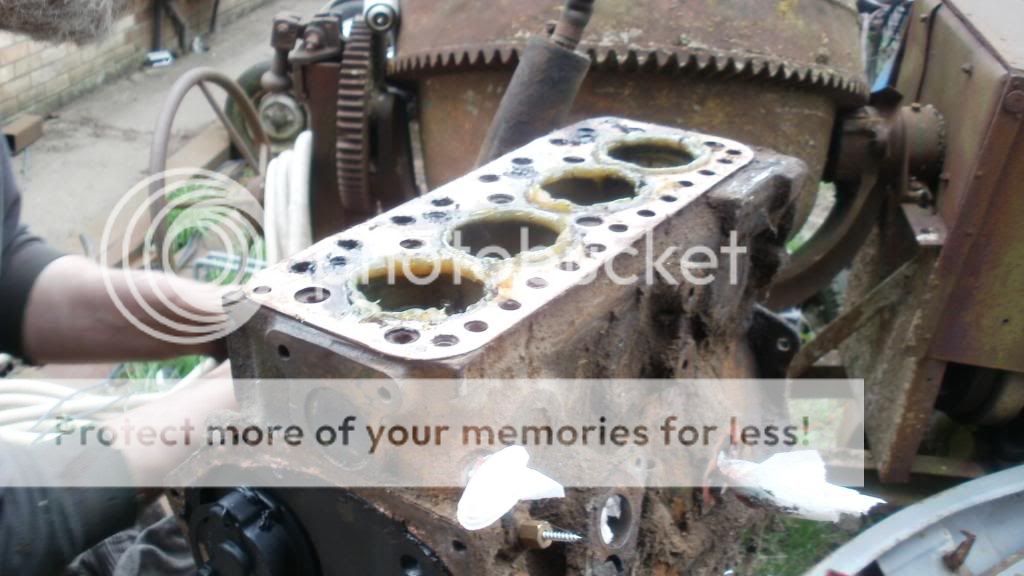
Engine is fully clean, I wont be able to do any work on it till Wednesday when me and dad are going to build it up
The head is almost ready, 3/4 seats are in and the 4th seat is ready to go in... once it arrives, for 10minutes of work its delayed us putting it together for painting by another week
I'll let the pictures talk


#144
Thorpsta
-
- Members
-
- 327 posts
Speeding Along Now
- Location: Wisbech
- Local Club: Kings Lynn Mini Owners Club
Posted 09 May 2013 - 10:19 PM
Well, the camera is playing up again so the majority of these pictures are terrible, sorry
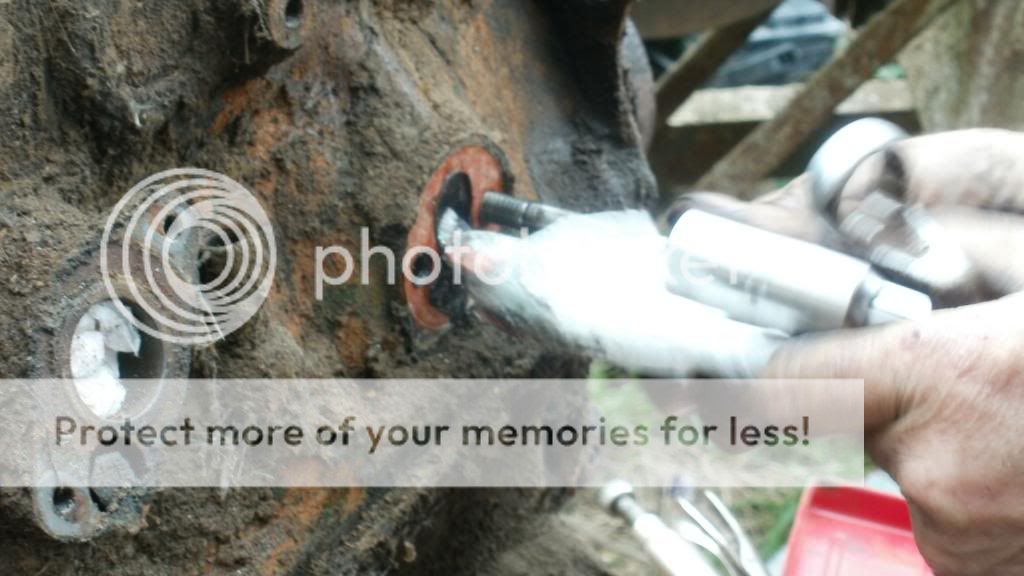
The first job was to remove the remaining studs of the side and give the gears a wash down in petrol


Washed these down in petrol aswell


Cleaned the studs up then did a test fit

I'm really unsure whats up with my camera, if you zoom it in slightly it will sometimes focus, takes about 30 attempts for one decent picture


#145
ba-tat
-

- Noobies
-
- 53 posts
Stage One Kit Fitted
Posted 10 May 2013 - 08:58 AM
Your camera might need a sensor clean, or it might be in a low light environment and struggling with the auto focus. Is it a DSLR or a point and shoot? If it's a DSLR then switch to manual focus for a bit to see it it's that.
The test fit shot is excellent, which makes me think it is a DSLR camera.
Anyway - enjoying the build - keep updating!
#146
Thorpsta
-
- Members
-
- 327 posts
Speeding Along Now
- Location: Wisbech
- Local Club: Kings Lynn Mini Owners Club
Posted 10 May 2013 - 10:23 AM
Your camera might need a sensor clean, or it might be in a low light environment and struggling with the auto focus. Is it a DSLR or a point and shoot? If it's a DSLR then switch to manual focus for a bit to see it it's that.
The test fit shot is excellent, which makes me think it is a DSLR camera.
Anyway - enjoying the build - keep updating!
Thanks
I wouldn't know, I'm going to hazard a guess at a point and shoot, the majority of the photos on here I've taken without a flash as it blured quite a bit with a flash on, I've given it a over all clean and I'll see how it goes tonight
Here's a review if it helps
#147
Thorpsta
-
- Members
-
- 327 posts
Speeding Along Now
- Location: Wisbech
- Local Club: Kings Lynn Mini Owners Club
Posted 11 May 2013 - 10:09 PM
Done a fair bit since the last update, my hands are sore from grinding in the valves 
Fly wheel is in

Then whipped out the AirFix paint to mark the timing points


Stuck the pressure plate on then the bell housing


Cleaned this clutch cylinder, forgot to take an after picture though

Looking alot better now

That was yesterdays work
Went and picked the head up today, unleaded seats are fitted

Then I started the long...tedious grind.. of grinding the valves in. Managed to get 5 done in a day which isn't too bad


While I was doing that dad put the gear knuckle on and gave the shaft a clean to get the mud and grease out, then refurbed the cylinder you saw above

Not long till paint now!
#148
Jmccrary
-
- Members
-
- 171 posts
Mini Mad
- Location: Mildenhall
Posted 11 May 2013 - 10:56 PM
Wow....engine is looking new...what all did you use to clean it...may have missed that part
#149
Thorpsta
-
- Members
-
- 327 posts
Speeding Along Now
- Location: Wisbech
- Local Club: Kings Lynn Mini Owners Club
Posted 11 May 2013 - 11:17 PM
Wow....engine is looking new...what all did you use to clean it...may have missed that part
Thanks
I scrapped some of the bigger clumps of grim off with a scraper and air gun then gave it a good soaking with a engine brush in Jizer, the engine brush brushes dont move and are like a rock, gave it a few scrubbings with that and let it dry up over night as it evaporates and takes grease with it then spent just over a day with a wire brush on a drill for the engine block and gear box, then for the bell housing and casing there was a wire brush on a grinder
#150
Jmccrary
-
- Members
-
- 171 posts
Mini Mad
- Location: Mildenhall
Posted 11 May 2013 - 11:20 PM
Cheers mate...keep it up!


1 user(s) are reading this topic
0 members, 1 guests, 0 anonymous users


