
Arrived home from work today to be greeted by a nice big package from M-Machine !


Wasn't expecting a Heritage companion bin but I'm not complaining

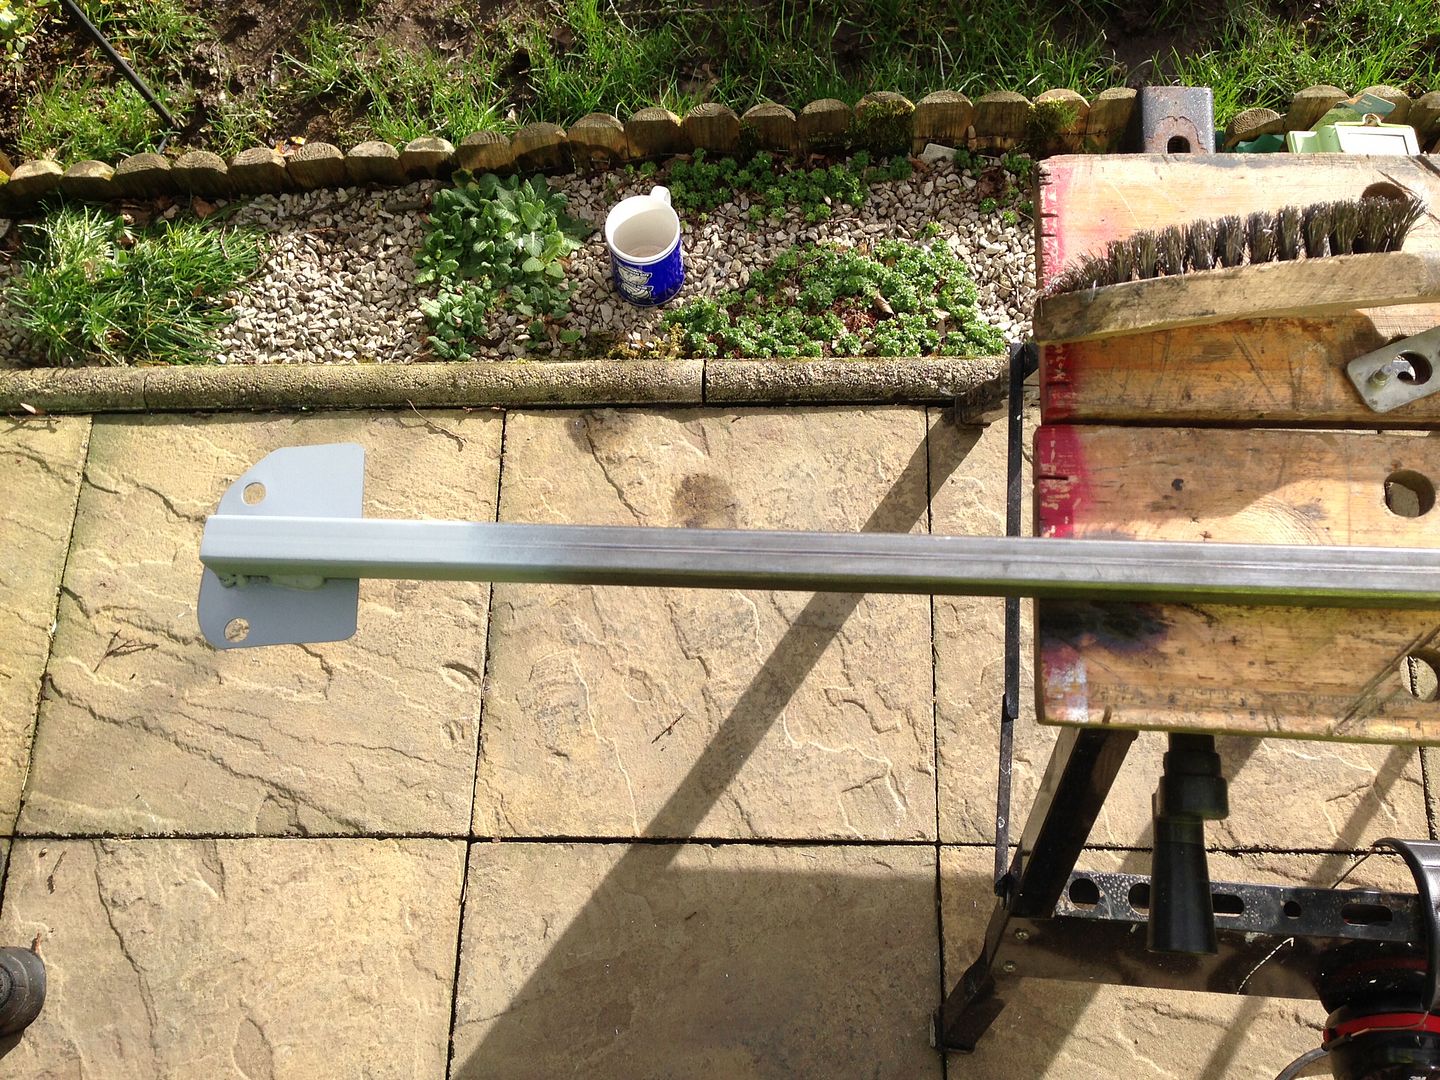
Should be making some progress with this little lot over the weekend so updates ahead !

Super Mini Mad

Posted 31 January 2014 - 06:24 PM
Super Mini Mad
Posted 01 February 2014 - 08:55 PM


Edited by big-jay, 27 June 2014 - 12:45 AM.
Super Mini Mad
Posted 02 February 2014 - 07:51 PM


Edited by big-jay, 27 June 2014 - 12:53 AM.
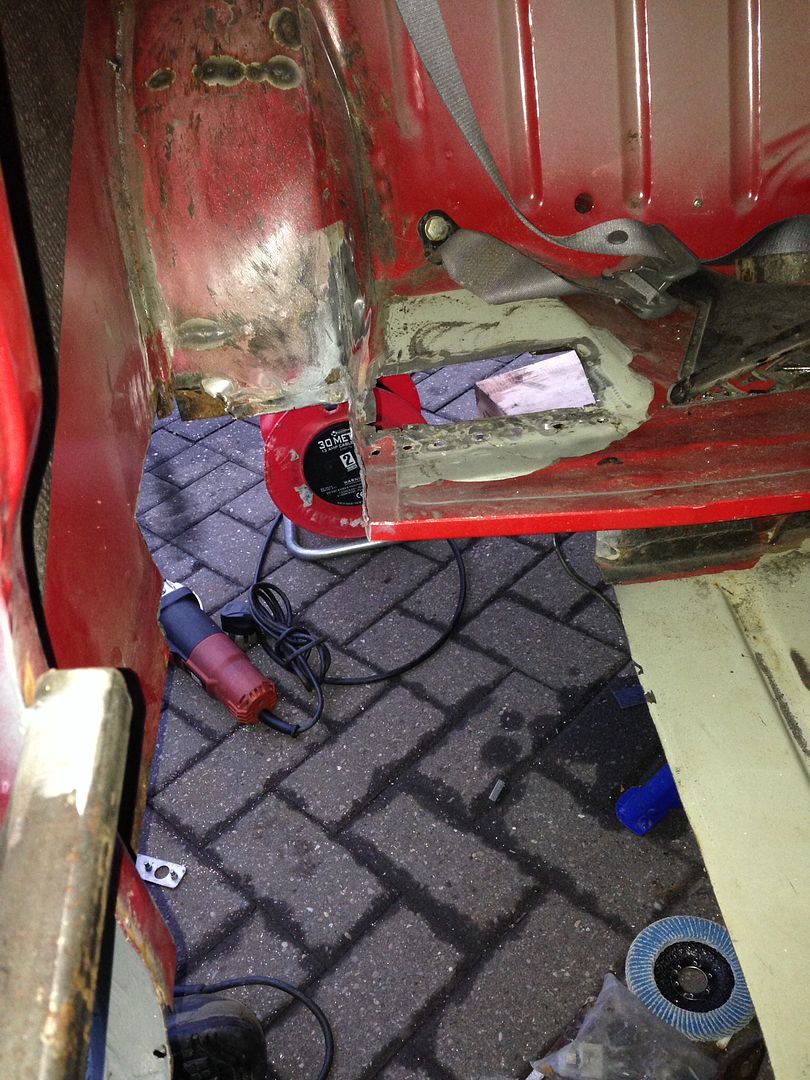
Super Mini Mad
Posted 03 February 2014 - 07:00 PM


 . It's the last time I'm going to see it like this for a while though
  -
-
Edited by big-jay, 27 June 2014 - 01:00 AM.
Mini Mad

Posted 03 February 2014 - 07:37 PM
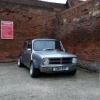
Mini's do look nice with a bit of lowering....I'm looking at getting a project car and popping 10's on it with a bit of lowering. Nice work again dude.
Super Mini Mad
Posted 03 February 2014 - 08:10 PM
Mini Mad
Posted 03 February 2014 - 09:47 PM
Had one as my first car and have had multiple other cars since, but I still miss the Mini. Will definitely get another one. Just waiting for the right one to pop up :)
Edited by Minimoke8394, 03 February 2014 - 09:47 PM.
Super Mini Mad
Posted 09 February 2014 - 07:51 PM


Edited by big-jay, 27 June 2014 - 01:07 AM.
One Carb Or Two?
Posted 09 February 2014 - 08:34 PM
Looks like your doing a good job mate :)
Super Mini Mad
Posted 09 February 2014 - 09:20 PM
Looks like your doing a good job mate :)
Edited by big-jay, 27 June 2014 - 01:08 AM.
Mini Mad
Posted 10 February 2014 - 11:30 AM
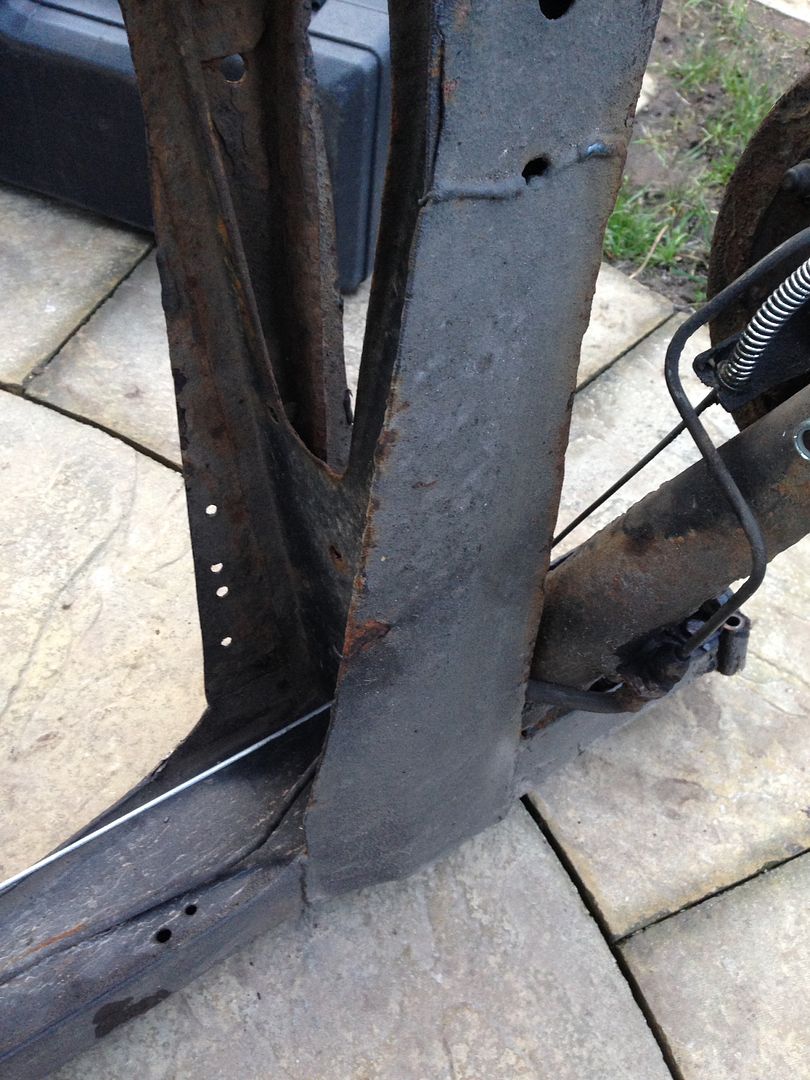
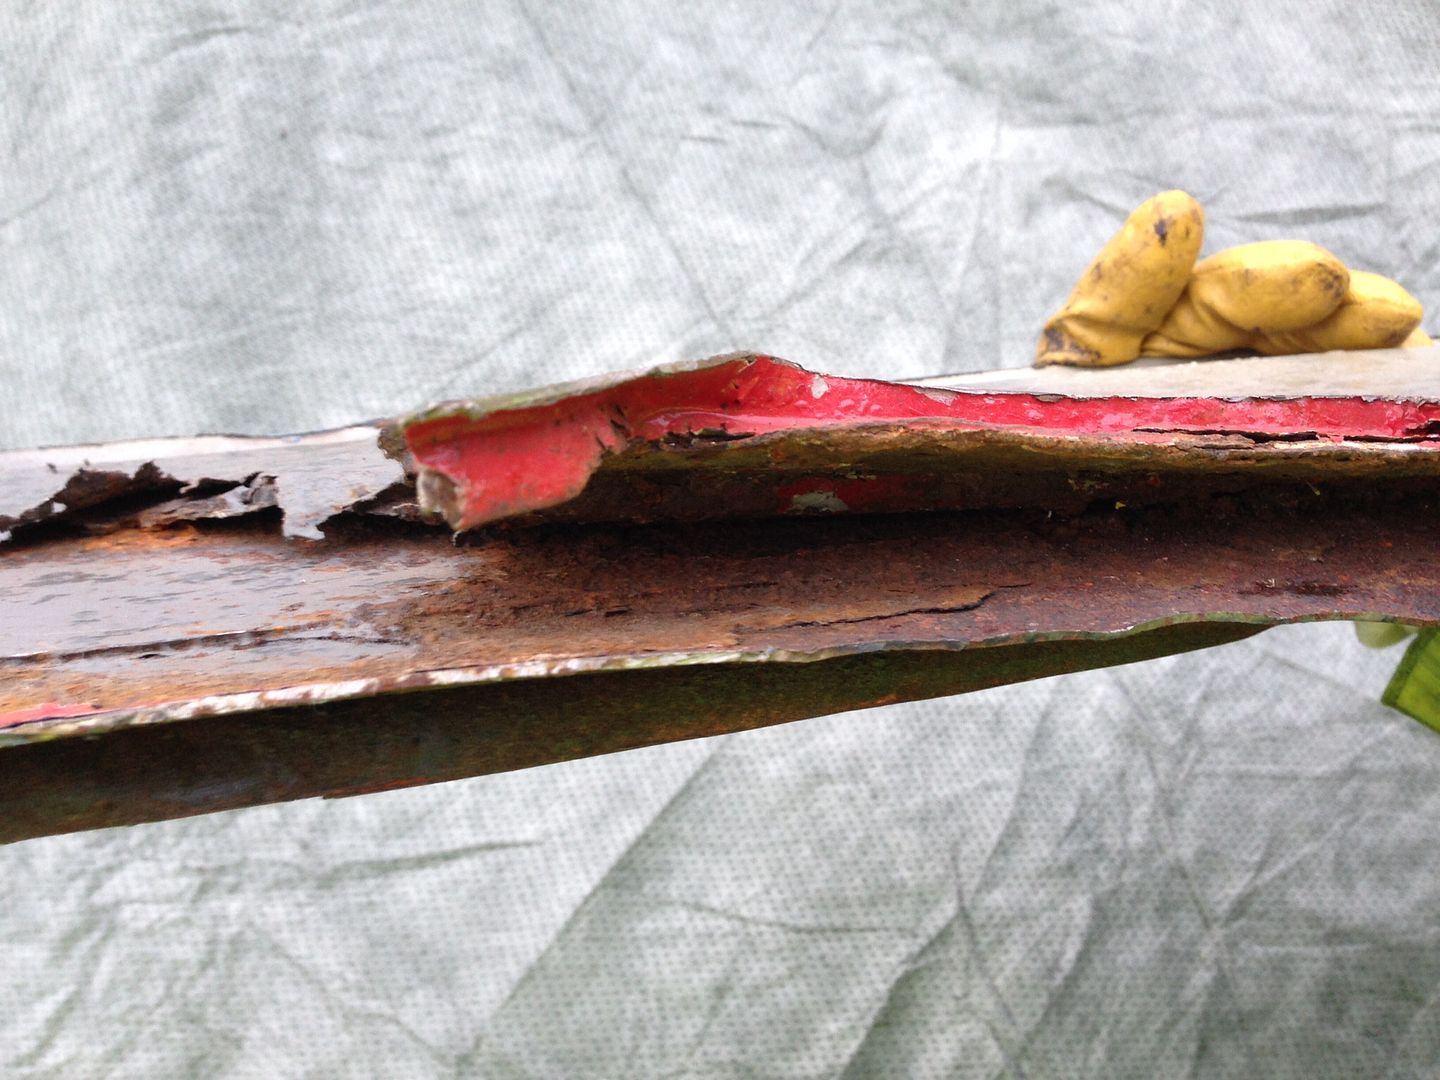
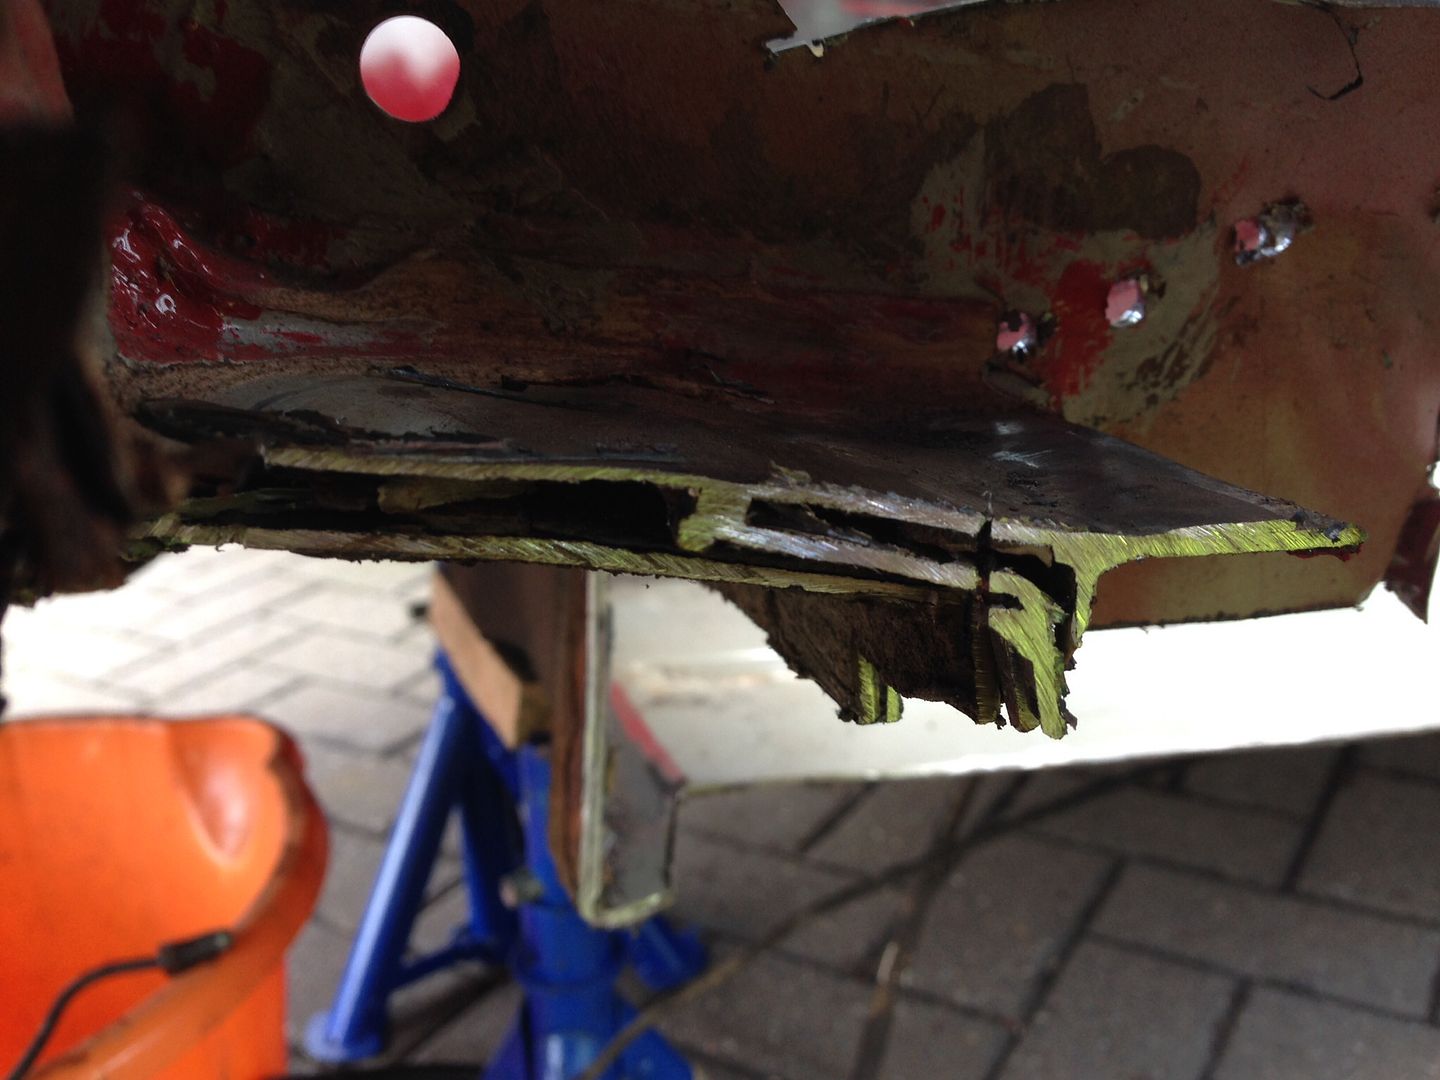
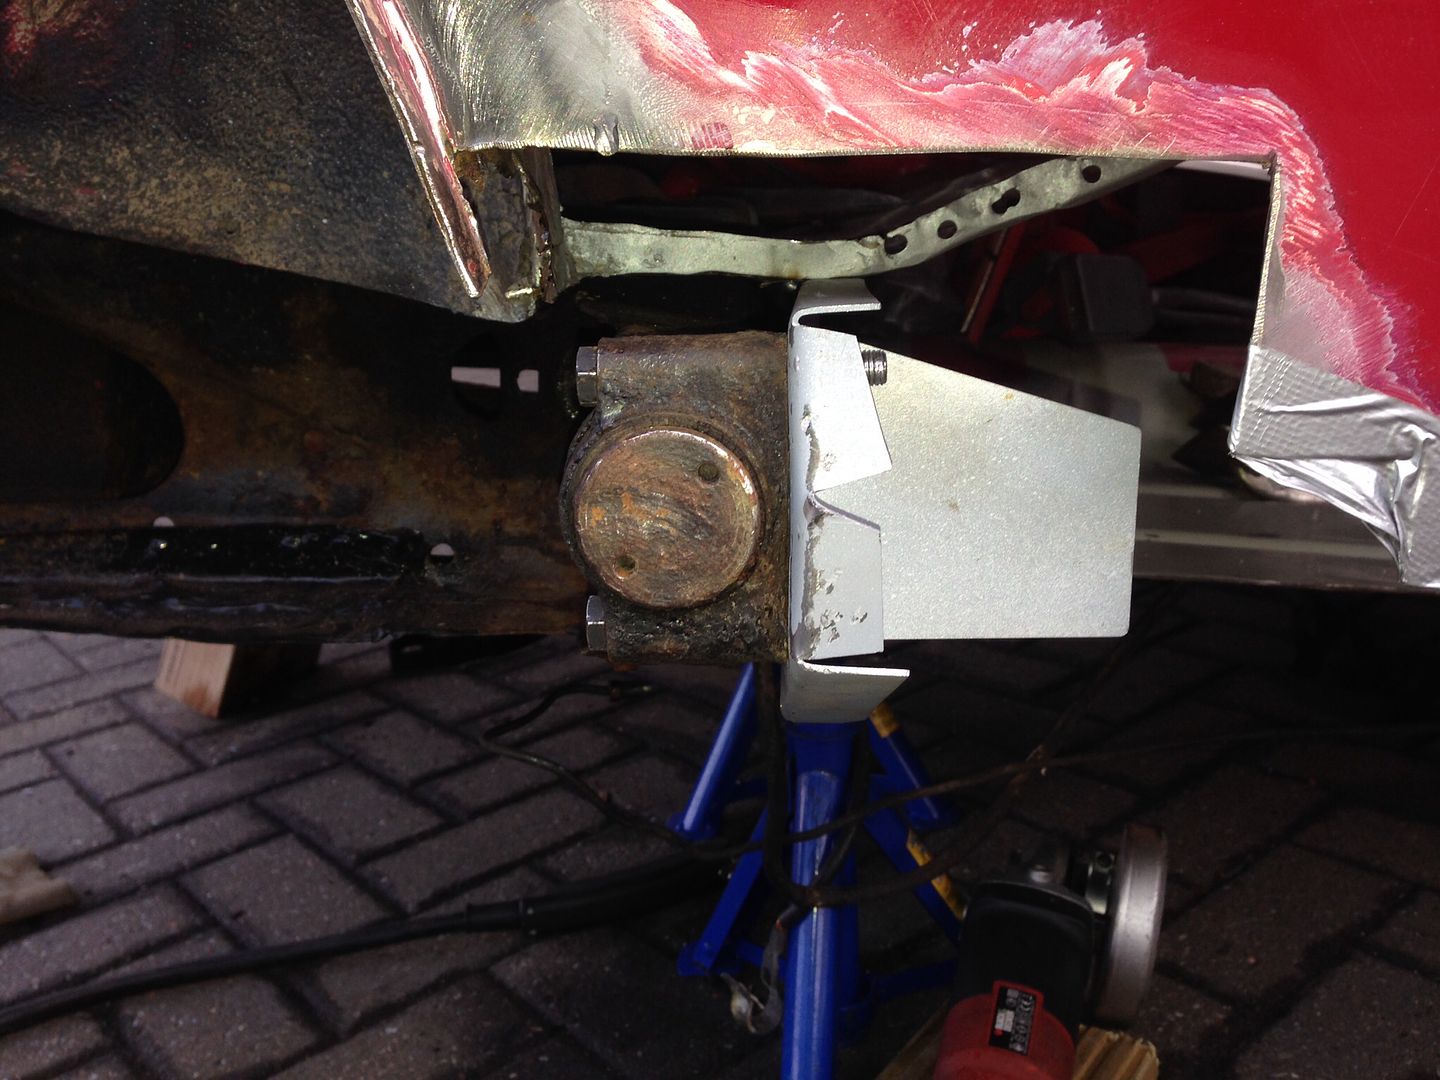
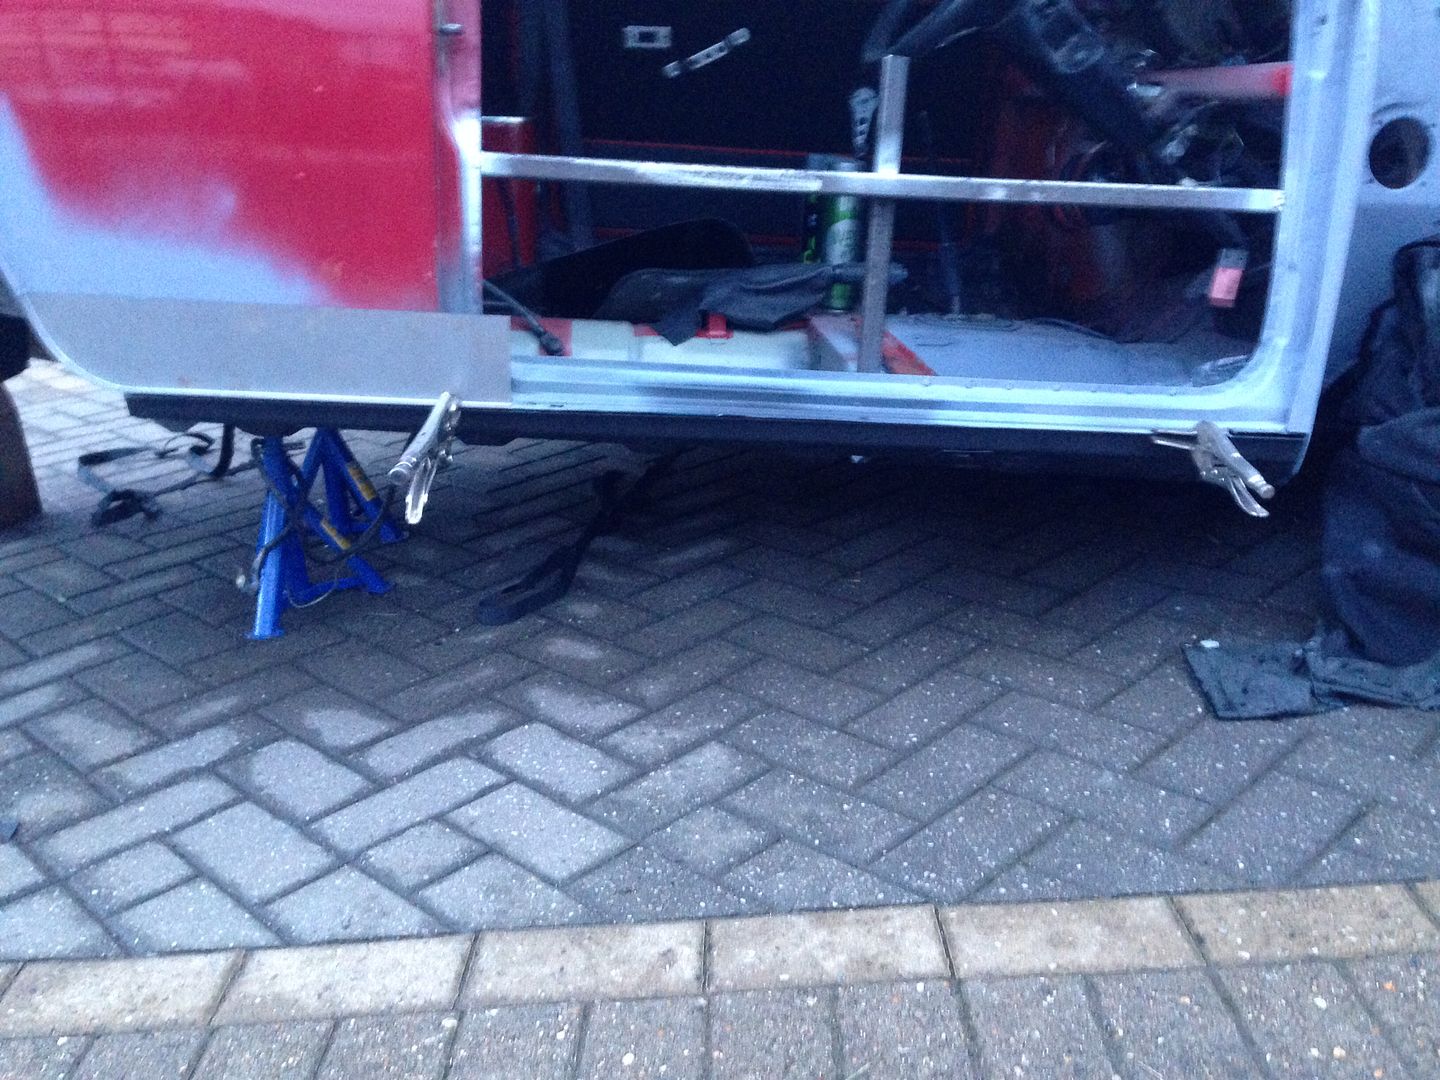
You're making good progress mate, looks like someone's had a right go at fixing her up in the past ;)
Super Mini Mad
Posted 10 February 2014 - 12:00 PM
You're making good progress mate, looks like someone's had a right go at fixing her up in the past ;)
Edited by big-jay, 27 June 2014 - 01:10 AM.
Super Mini Mad
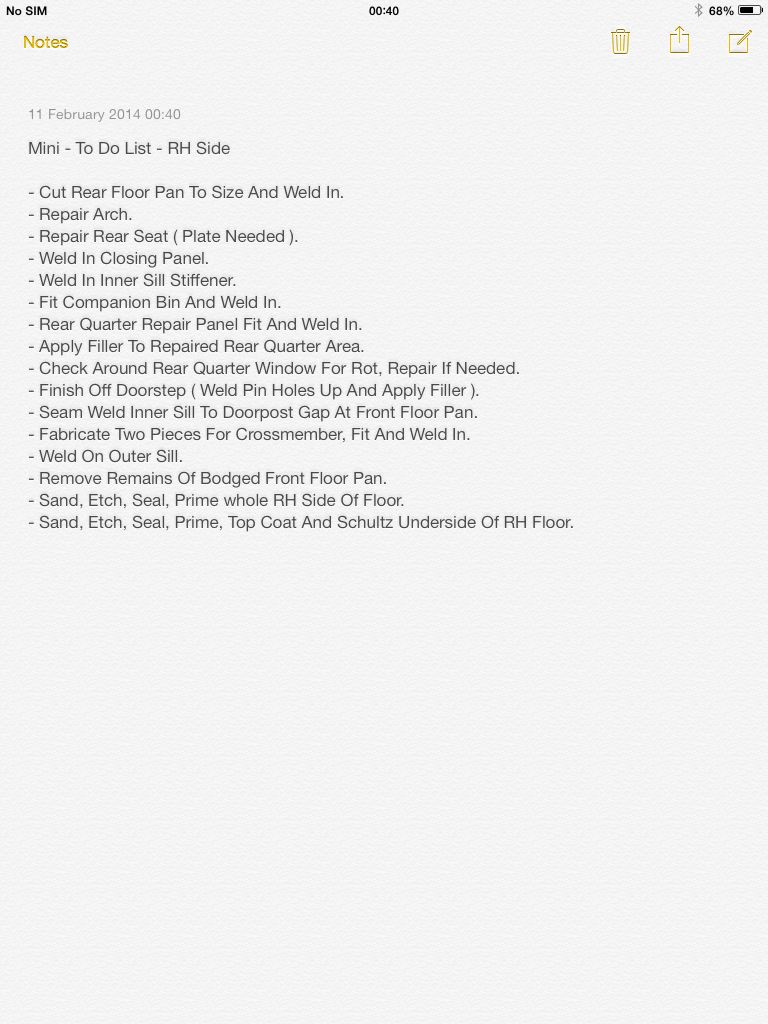
Posted 12 February 2014 - 12:29 AM


Edited by big-jay, 27 June 2014 - 10:25 AM.
Mini Mad
Posted 12 February 2014 - 11:34 AM
Said I would didn't I!
Super Mini Mad
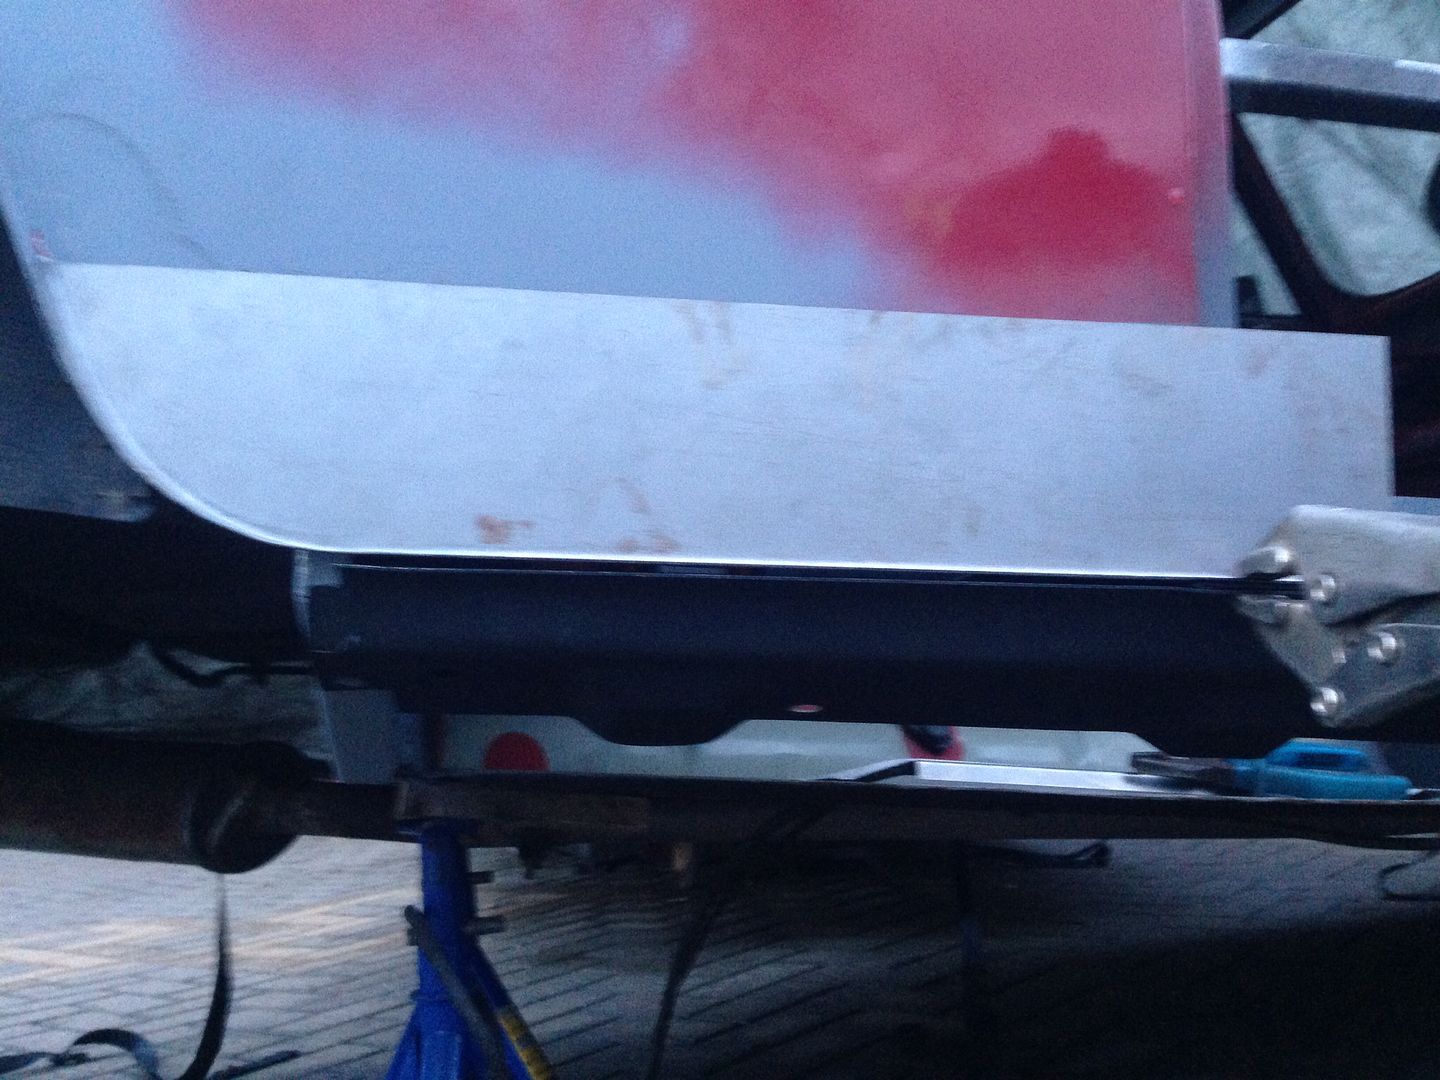
Posted 12 February 2014 - 05:02 PM
Looking more like a Mini with every update. I can't understand why people do bodged repairs like those. If you're going to go through the trouble of (badly) welding plates over things, you might as well just take a little more time and do it properly. Keep up the sweet work dude. I got another Mini....
Edited by big-jay, 27 June 2014 - 10:26 AM.


Projects →
Mini Saloons →
1976 Mini 1000 Le "stripey"Started by cafeclassic , 03 Sep 2025 |
|

|
||
Projects →
Mini Saloons →
Mini Cooper Project - Finally StartsStarted by piphatch , 08 Jan 2025 |
|

|
||
Projects →
Mini Saloons →
1965 Austin Mini Restoration - Canadian Mk1Started by DoubleEh , 14 Nov 2022 |
|

|
||
Projects →
Mini Saloons →
Project Joe - 1991 Mini Mayfair 998Started by Eggers , 02 Jun 2022 |
|

|
||
Projects →
Mini Saloons →
Mpi Dashboad ProblemStarted by mikeprez , 22 Dec 2021 |
|

|
0 members, 0 guests, 0 anonymous users


