
Cheers m8, thanks for that.

290 replies to this topic
#166

ger
-
- Just Joined
-

- 233 posts
Mini Mad
- Location: The Land Of Song
- Local Club: M4 Minis
Posted 30 November 2015 - 05:08 PM
#167
DEPS
-

- Members
-
- 188 posts
Mini Mad
- Location: Leicestershire
- Local Club: Carlton & District Motor Club
Posted 01 December 2015 - 10:56 PM
Superb work. Looks like this will be stronger than an original shell with the amount of welds you are putting in!
Were you ever tempted to buy a heritage shell?
Were you ever tempted to buy a heritage shell?
#168
ger
-
- Just Joined
-
- 233 posts
Mini Mad
- Location: The Land Of Song
- Local Club: M4 Minis
Posted 02 December 2015 - 07:30 AM
Hi DEPS - Yer I was tempted but at over £6500 I couldn't afford that in one chunk. So I gave myself a budget of £250 to £300 a month ordering panels every other month, and I just managed to keep to it  , with the resto going to take place over 2 years. Anyway I've heard some bad reports on the quality of new Heritage shells. Its been a steep learning curve having not done anything like this before. Ive been following a couple of restos on here and that's where I've been getting my training from.
Ger
#169
Jase
-

- Traders
-
- 1,166 posts
One Carb Or Two?
- Location: Wales
Posted 02 December 2015 - 11:22 AM
Having purchased a new shell a few years ago I have to say I am very impressed with the build quality. Luckily the price wasn't 6.5K at the time and purposely looked for a car that was beyond saving with a welding torch.
This build is fantastic, keep the pics coming.
#170
DEPS
-
- Members
-
- 188 posts
Mini Mad
- Location: Leicestershire
- Local Club: Carlton & District Motor Club
Posted 02 December 2015 - 10:58 PM
Hi DEPS - Yer I was tempted but at over £6500 I couldn't afford that in one chunk. So I gave myself a budget of £250 to £300 a month ordering panels every other month, and I just managed to keep to it
Ger
Understand that. A little less painful when you are buying things as you go along. Surprising how much you spend though! I was keeping a spreadsheet at the start of mine, but stopped part way through.......probably a good job I did;-)
Also, have new shells gone up in price a lot ? Sure they were about £4k a couple of years ago, but noticed they weird £6.5k now???
Anyway you are doing a fab job. Well impressed.
#171
ger
-
- Just Joined
-
- 233 posts
Mini Mad
- Location: The Land Of Song
- Local Club: M4 Minis
Posted 07 December 2015 - 07:36 AM
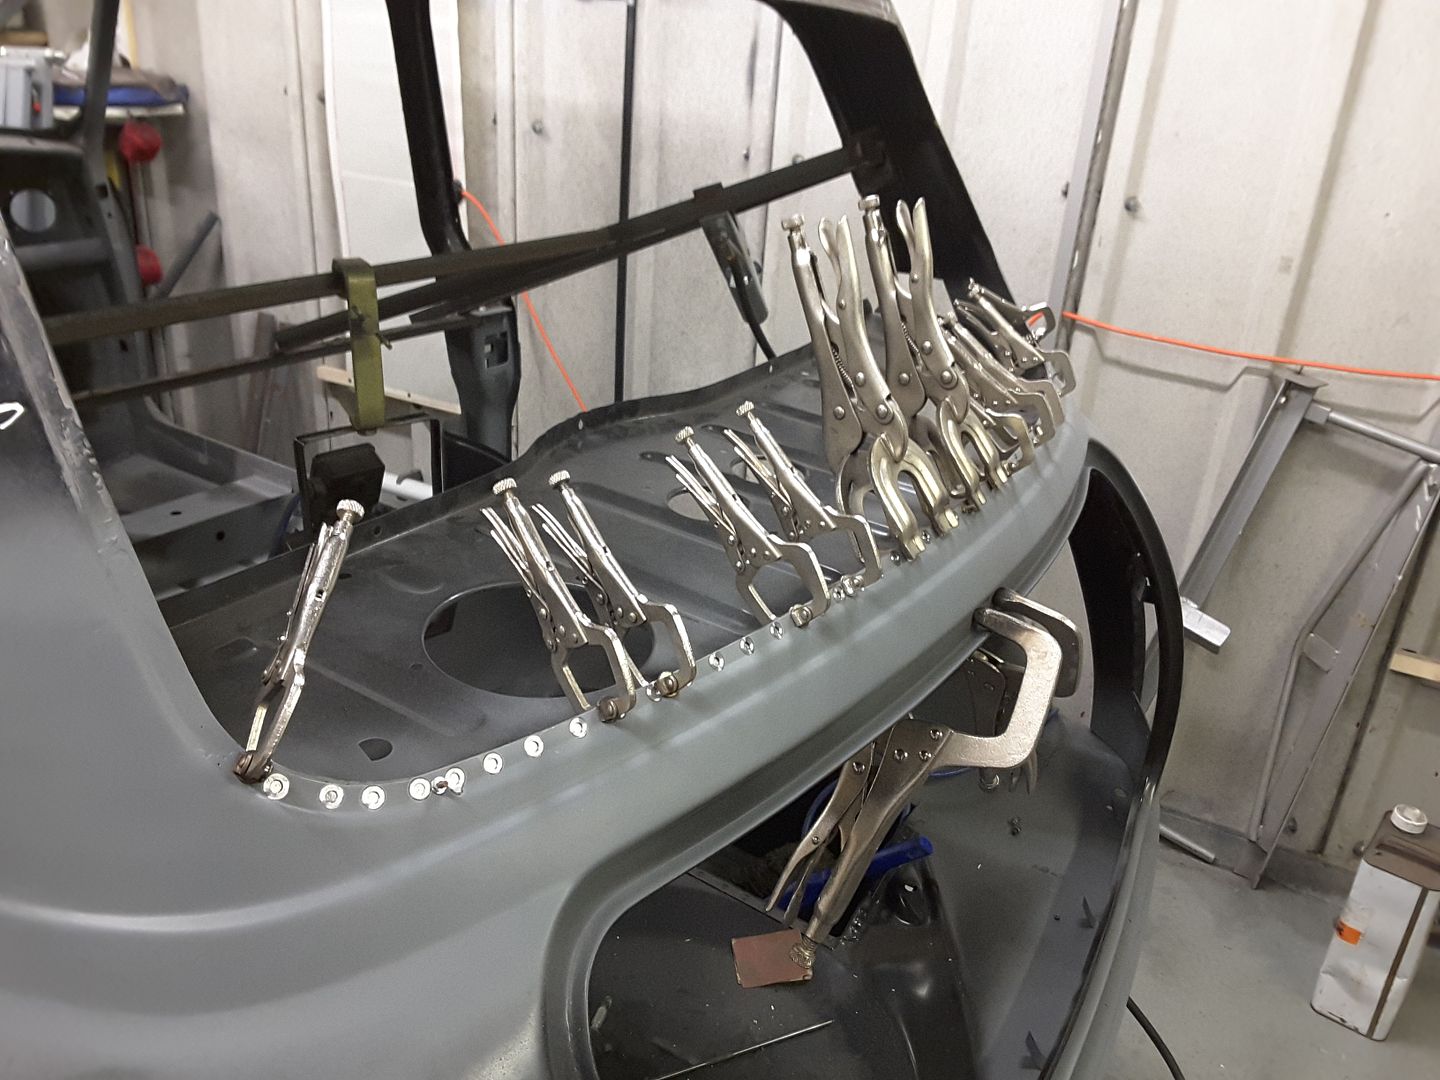
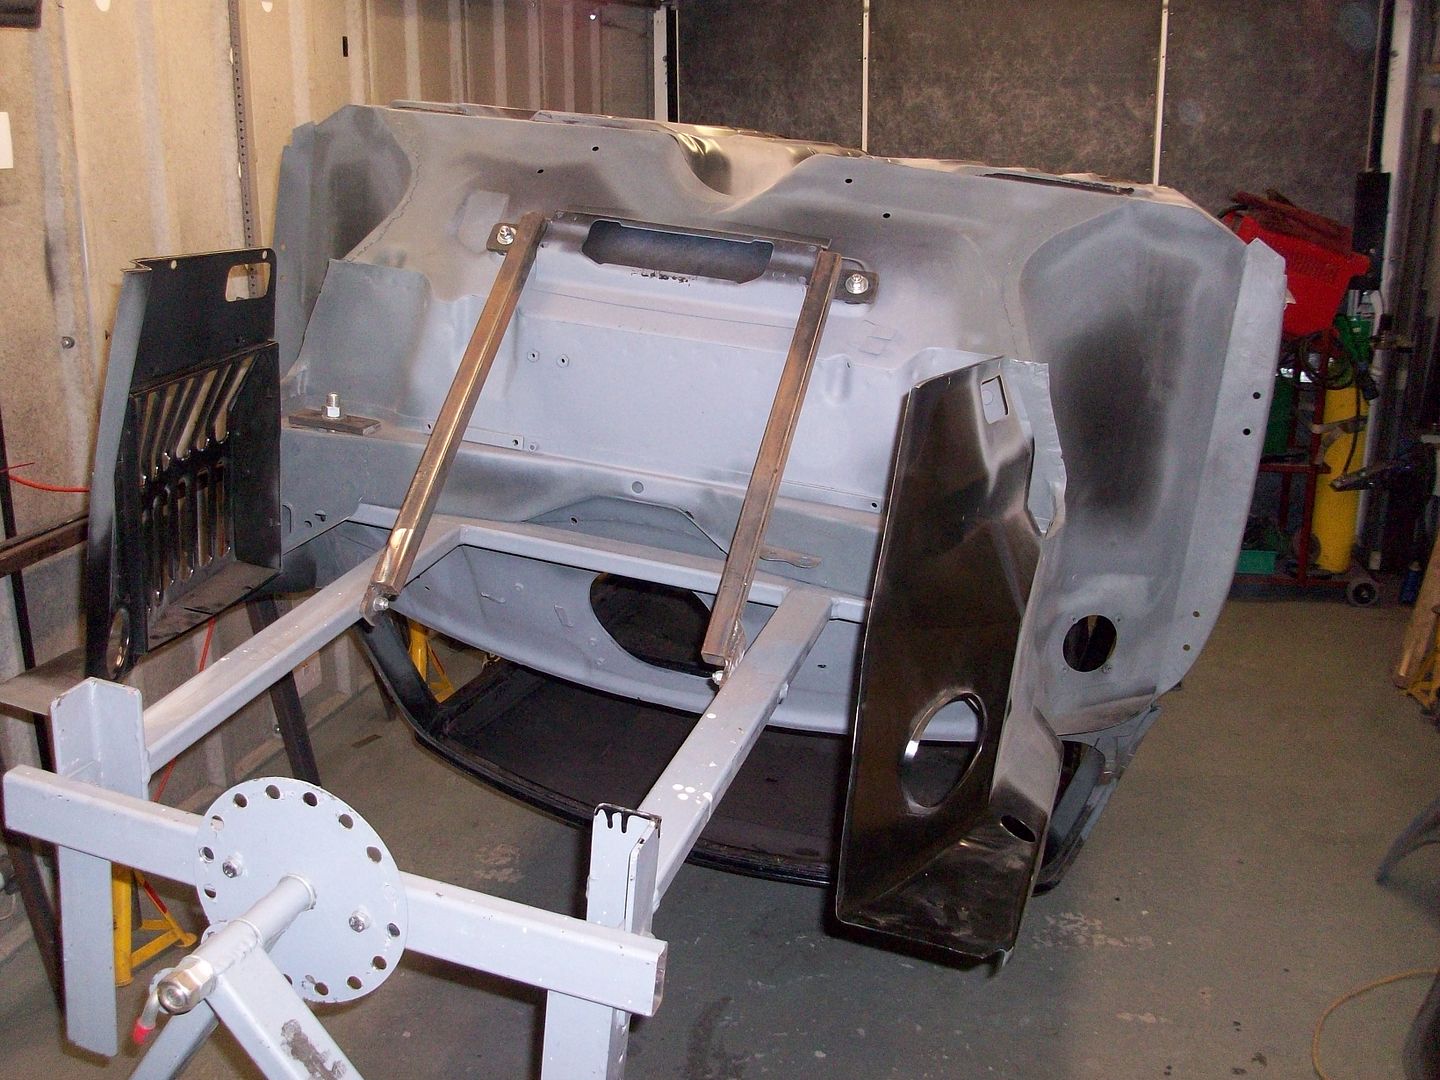
On the w/e I welded the C-Pillars to the rear panel.
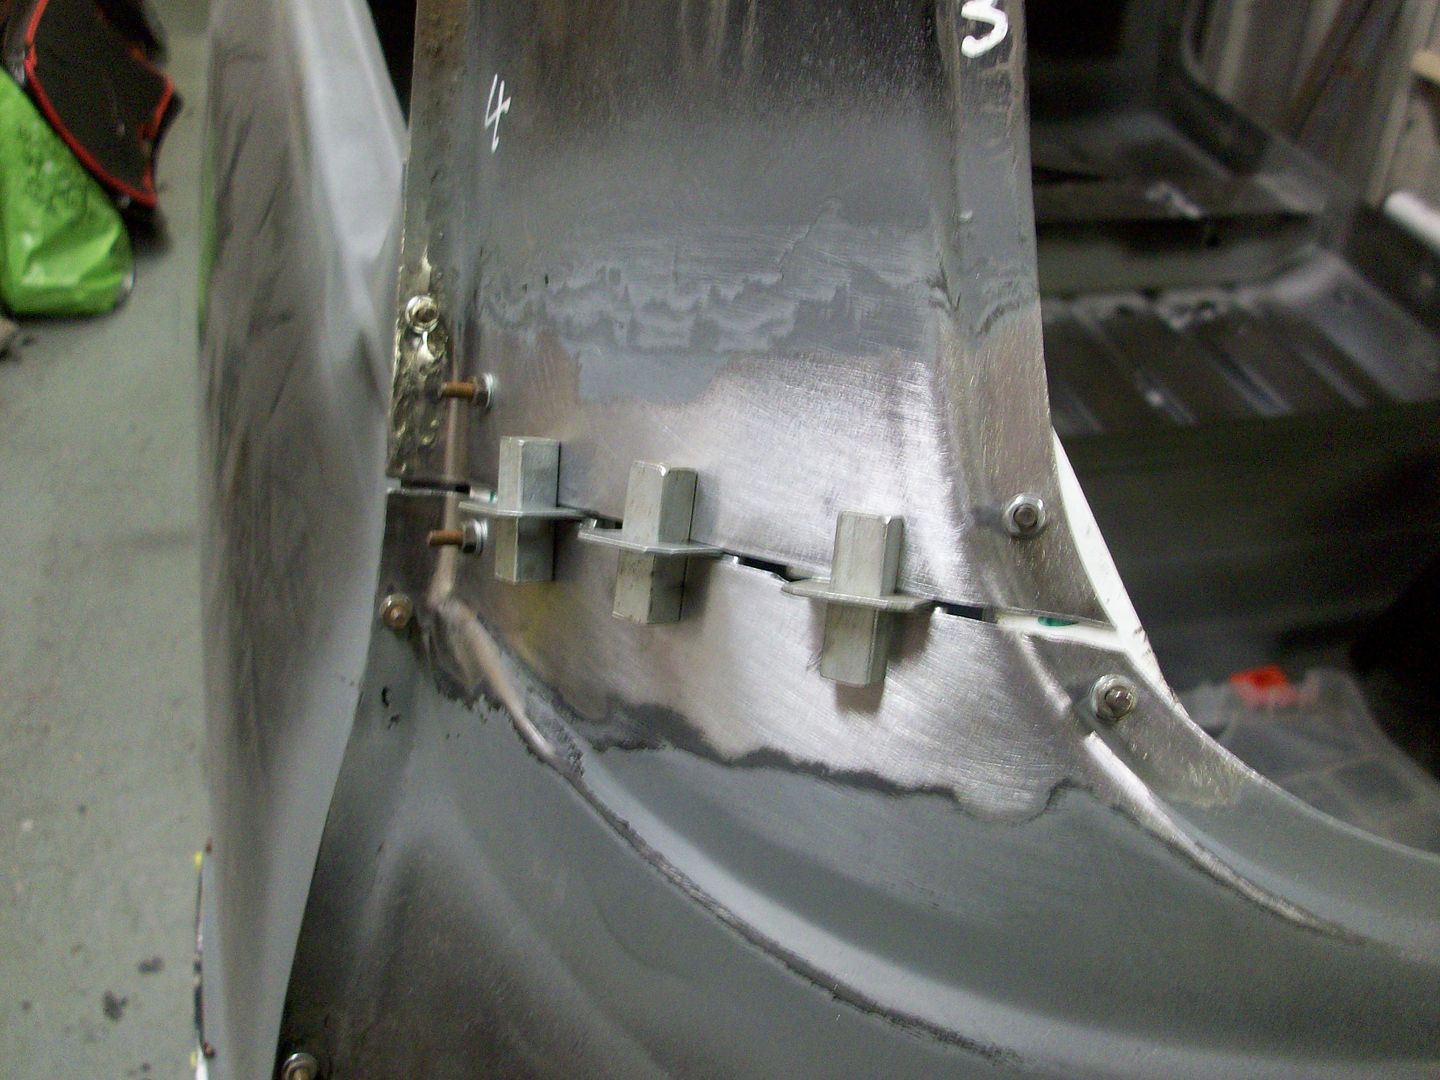


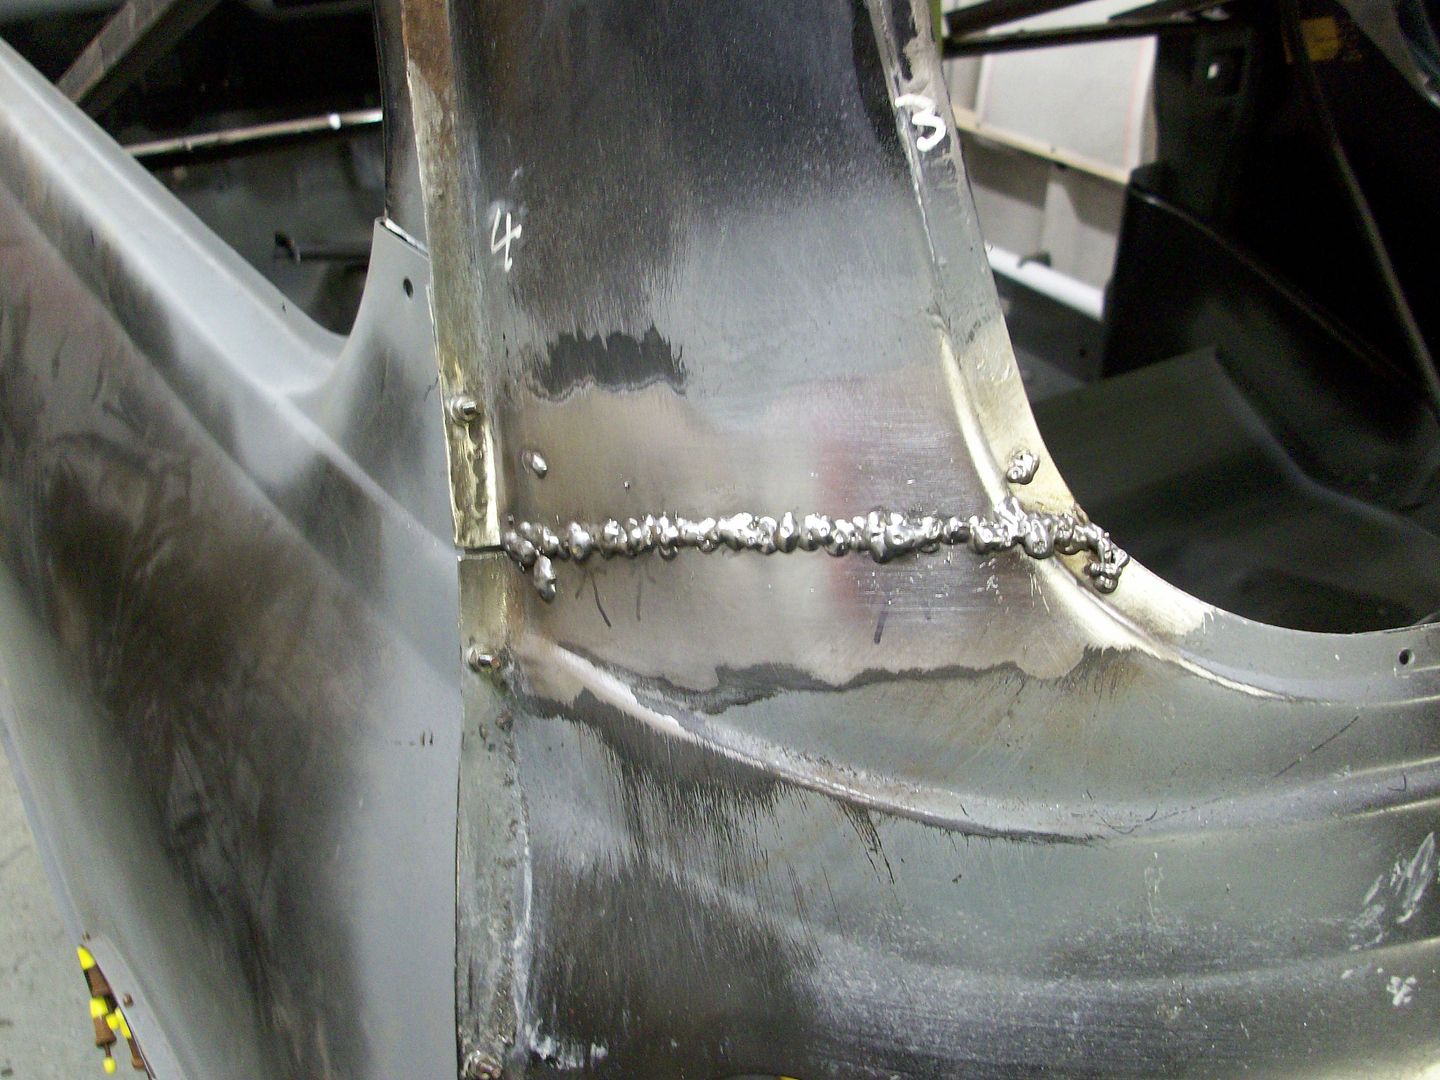

Ground down the welds and primed, but will need a skim of filler to tidy them up.

Took off the rear quarter panels so that I could prep the bulkhead and parcel shelf ready for welding.
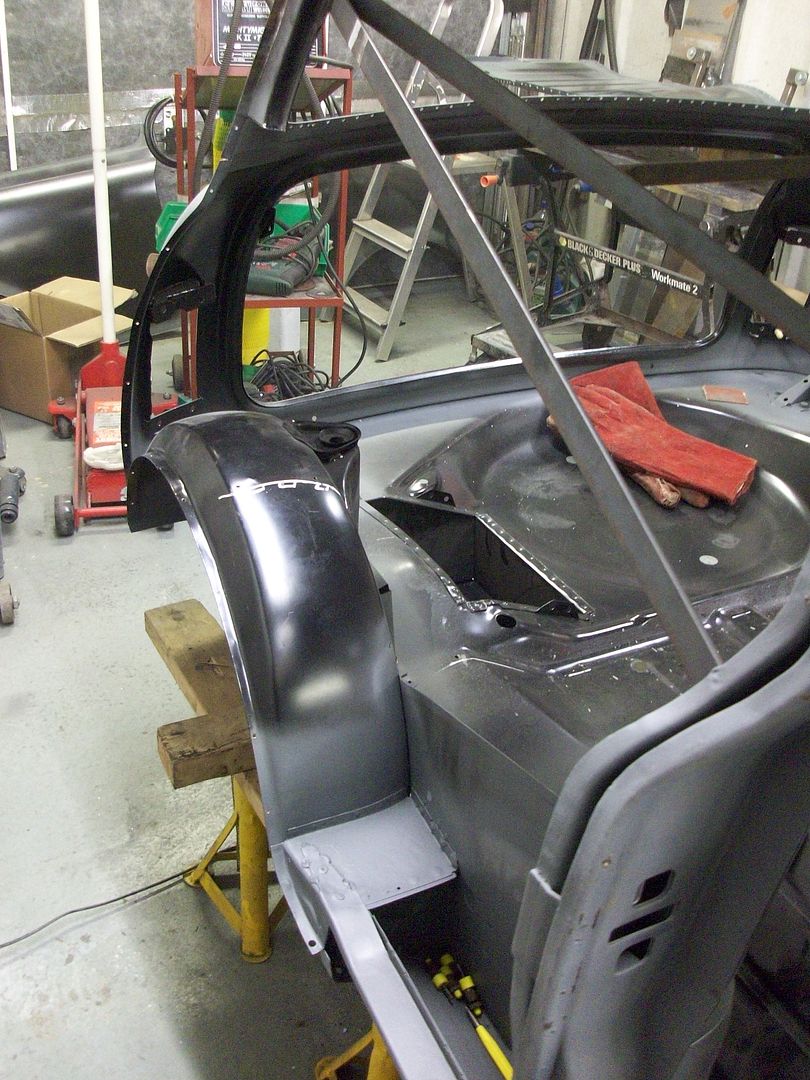

All ready for next w/e.
Ger
#172
James_eaton_thewholething
-

- Members
-
- 1,063 posts
One Carb Or Two?
- Location: Manchester
Posted 07 December 2015 - 09:49 AM
Looking good there and coming together nicely
#173
ger
-
- Just Joined
-
- 233 posts
Mini Mad
- Location: The Land Of Song
- Local Club: M4 Minis
Posted 14 December 2015 - 01:32 PM
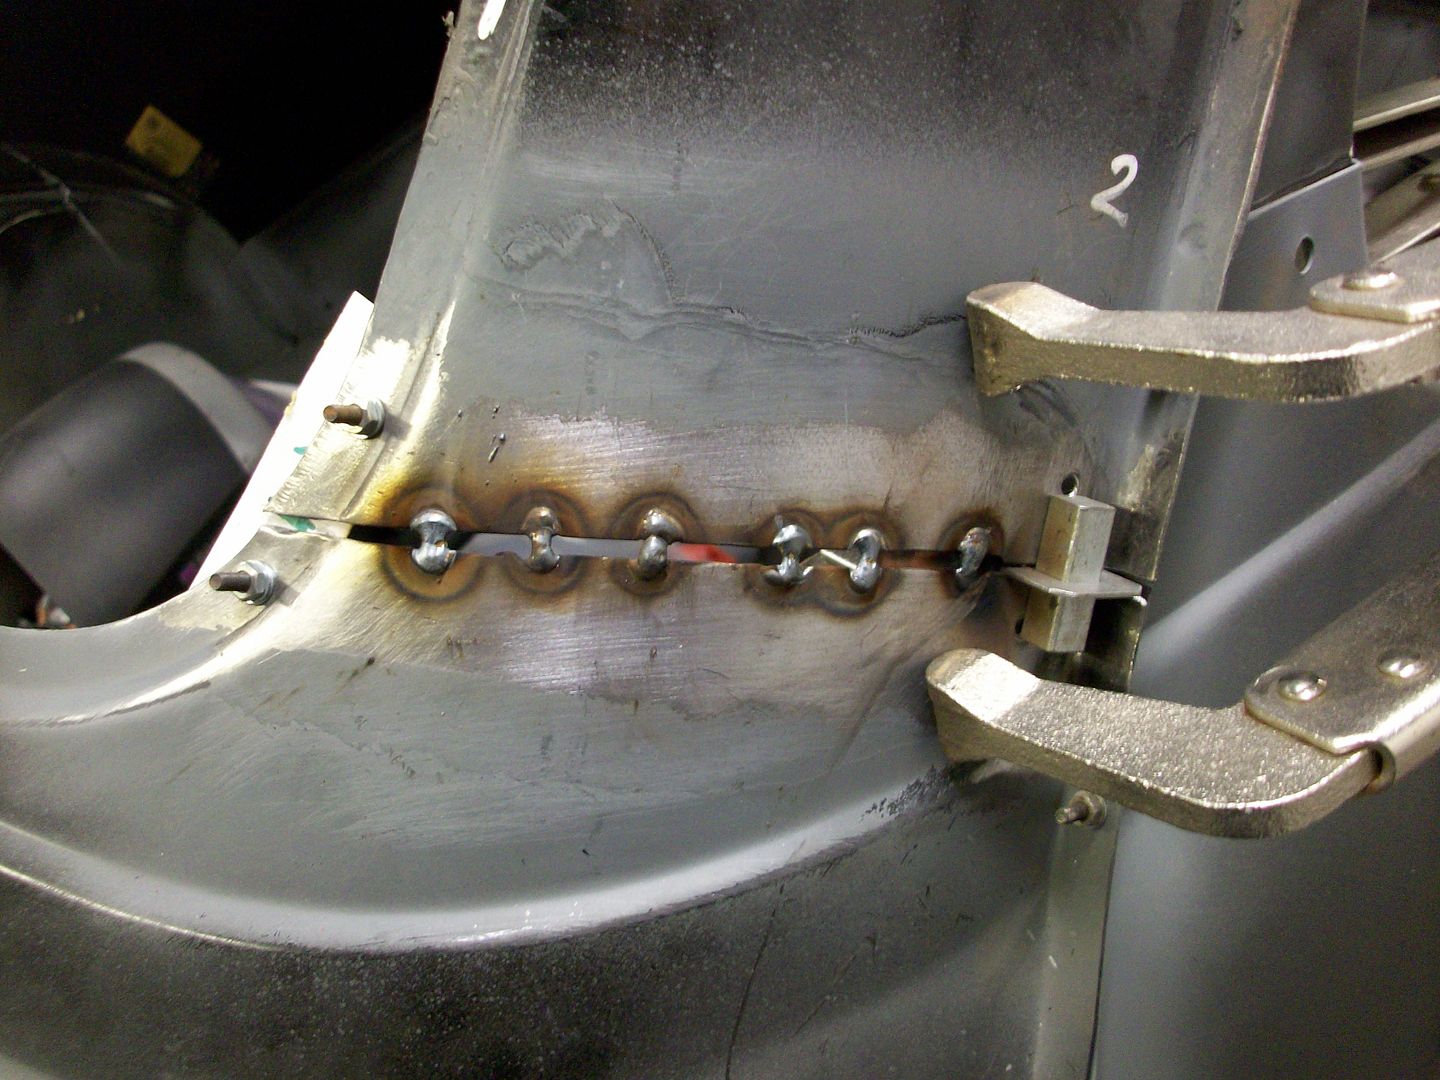
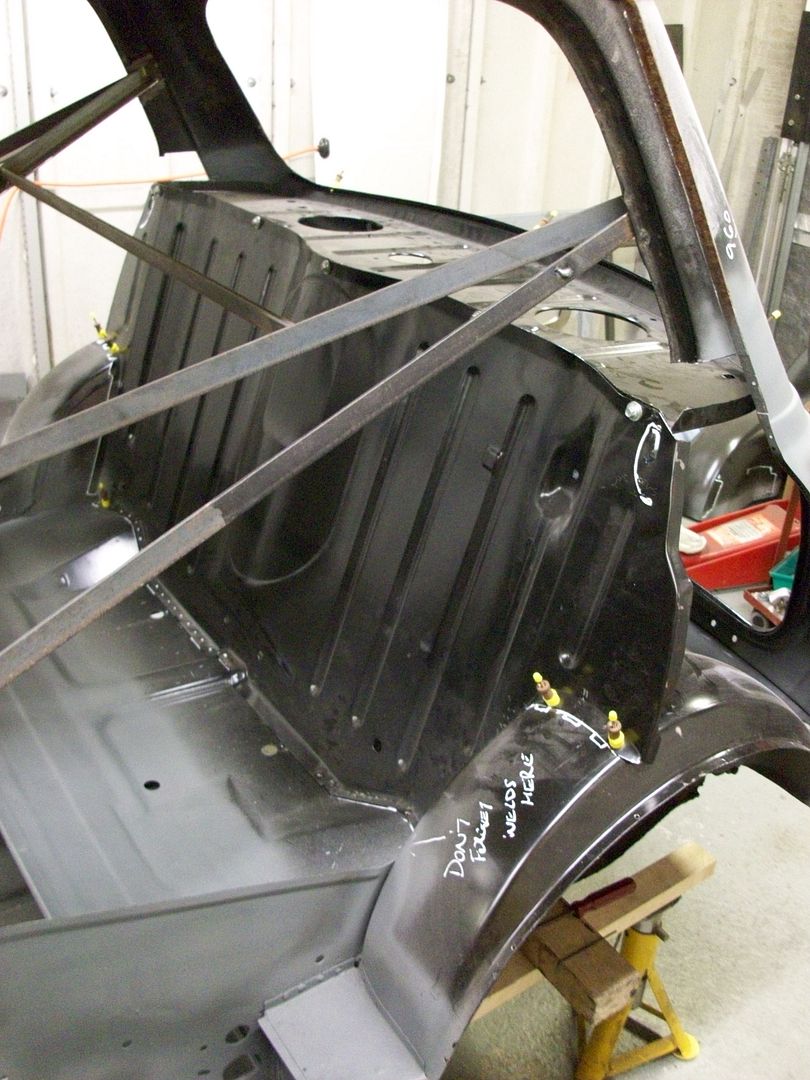
Busy w/e.
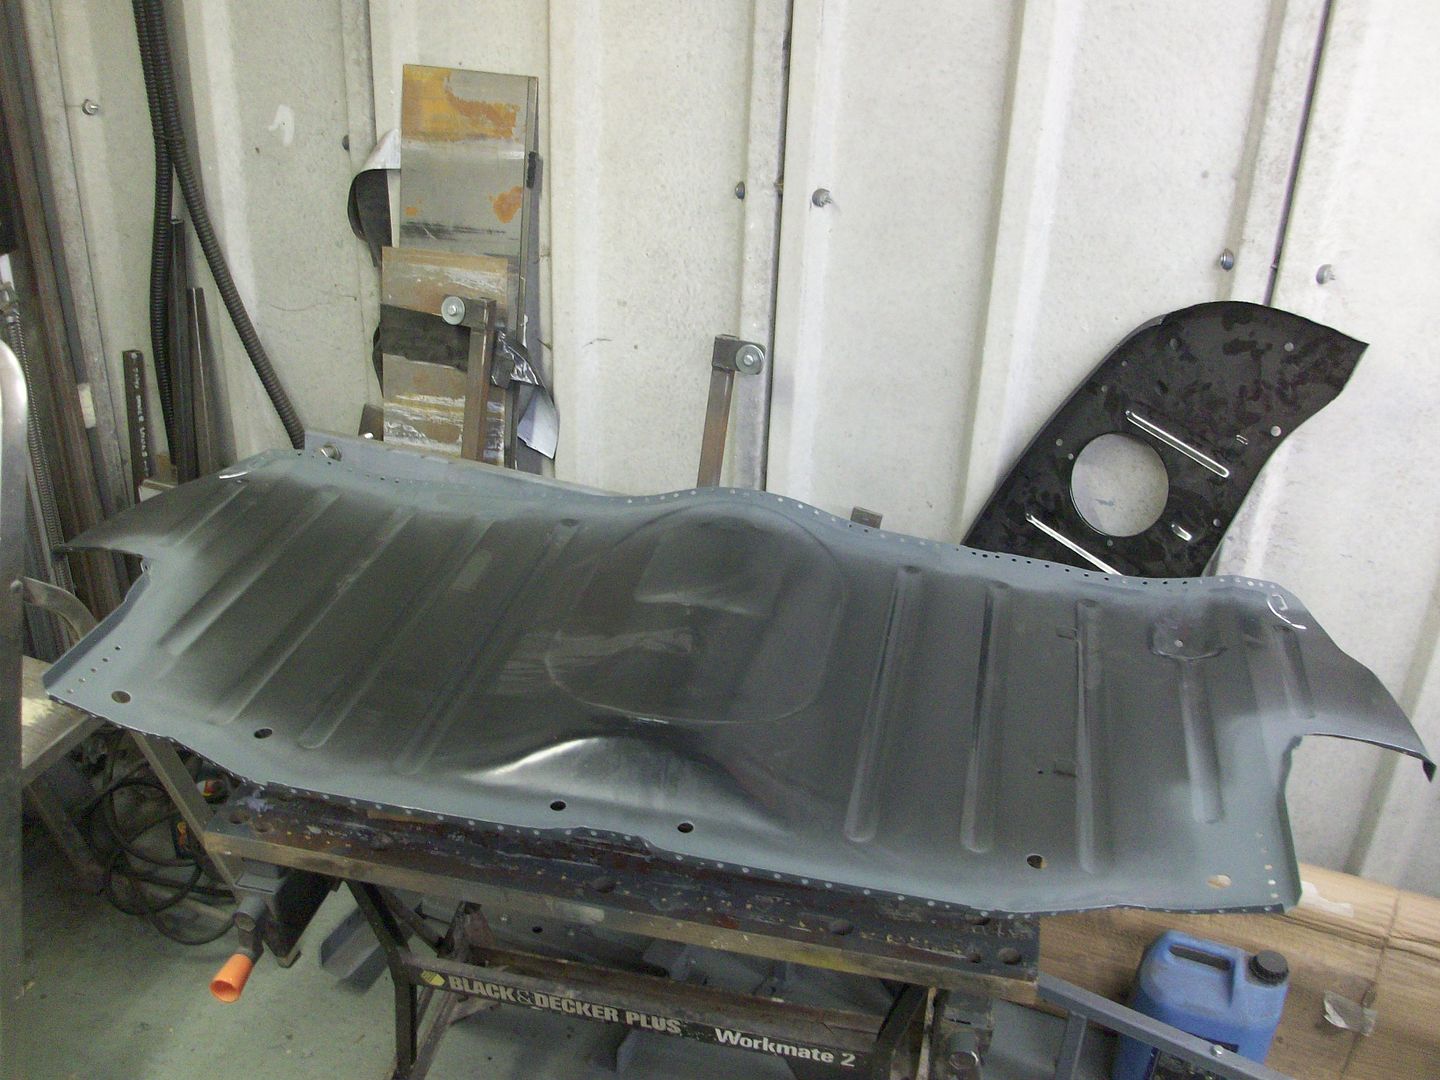
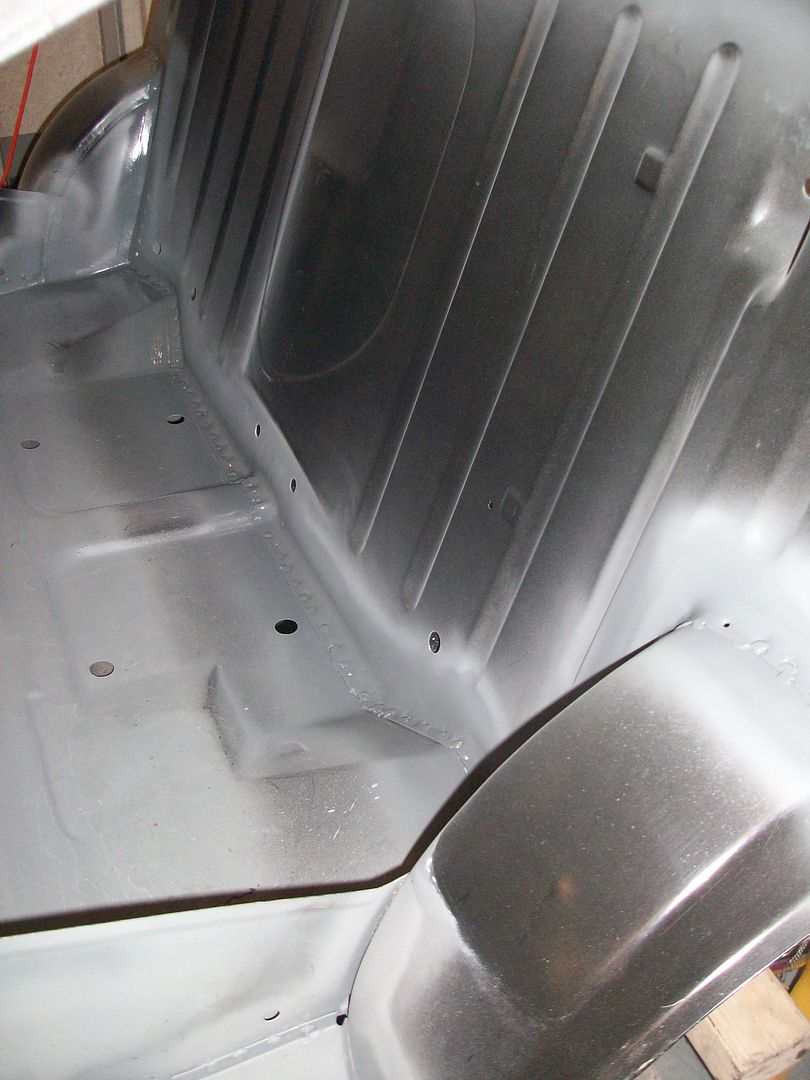
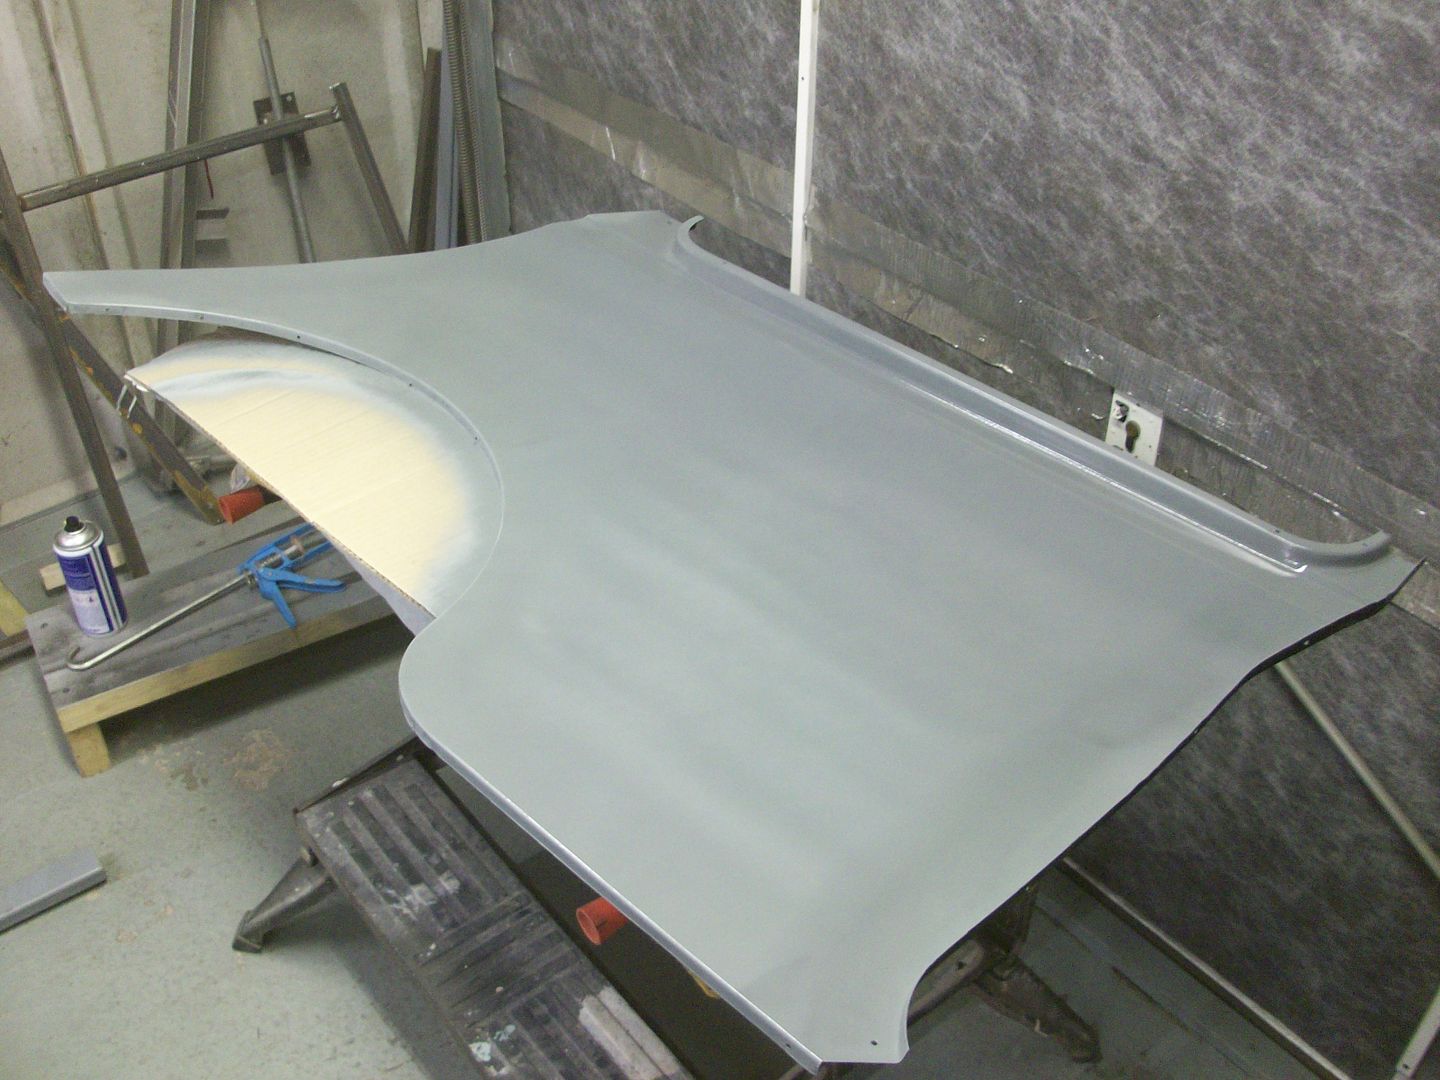
Prepped and welded in rear parcel shelf, ground down welds and sprayed with primer.


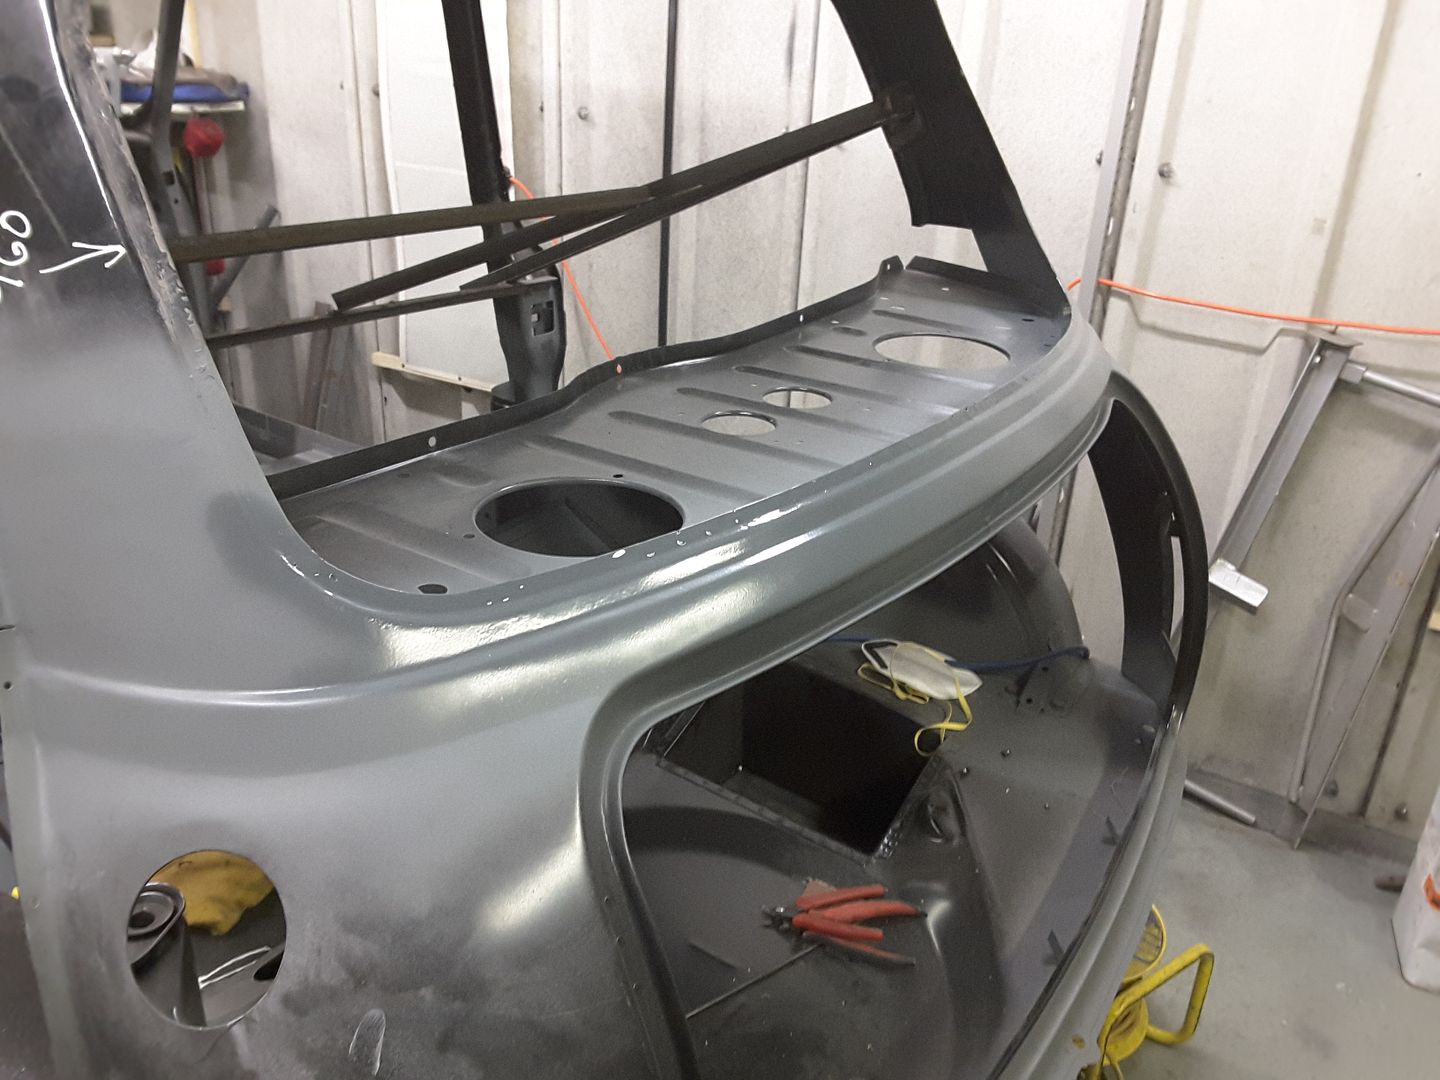

Prepped and welded in rear bulkhead, ground down welds and sprayed with primer.

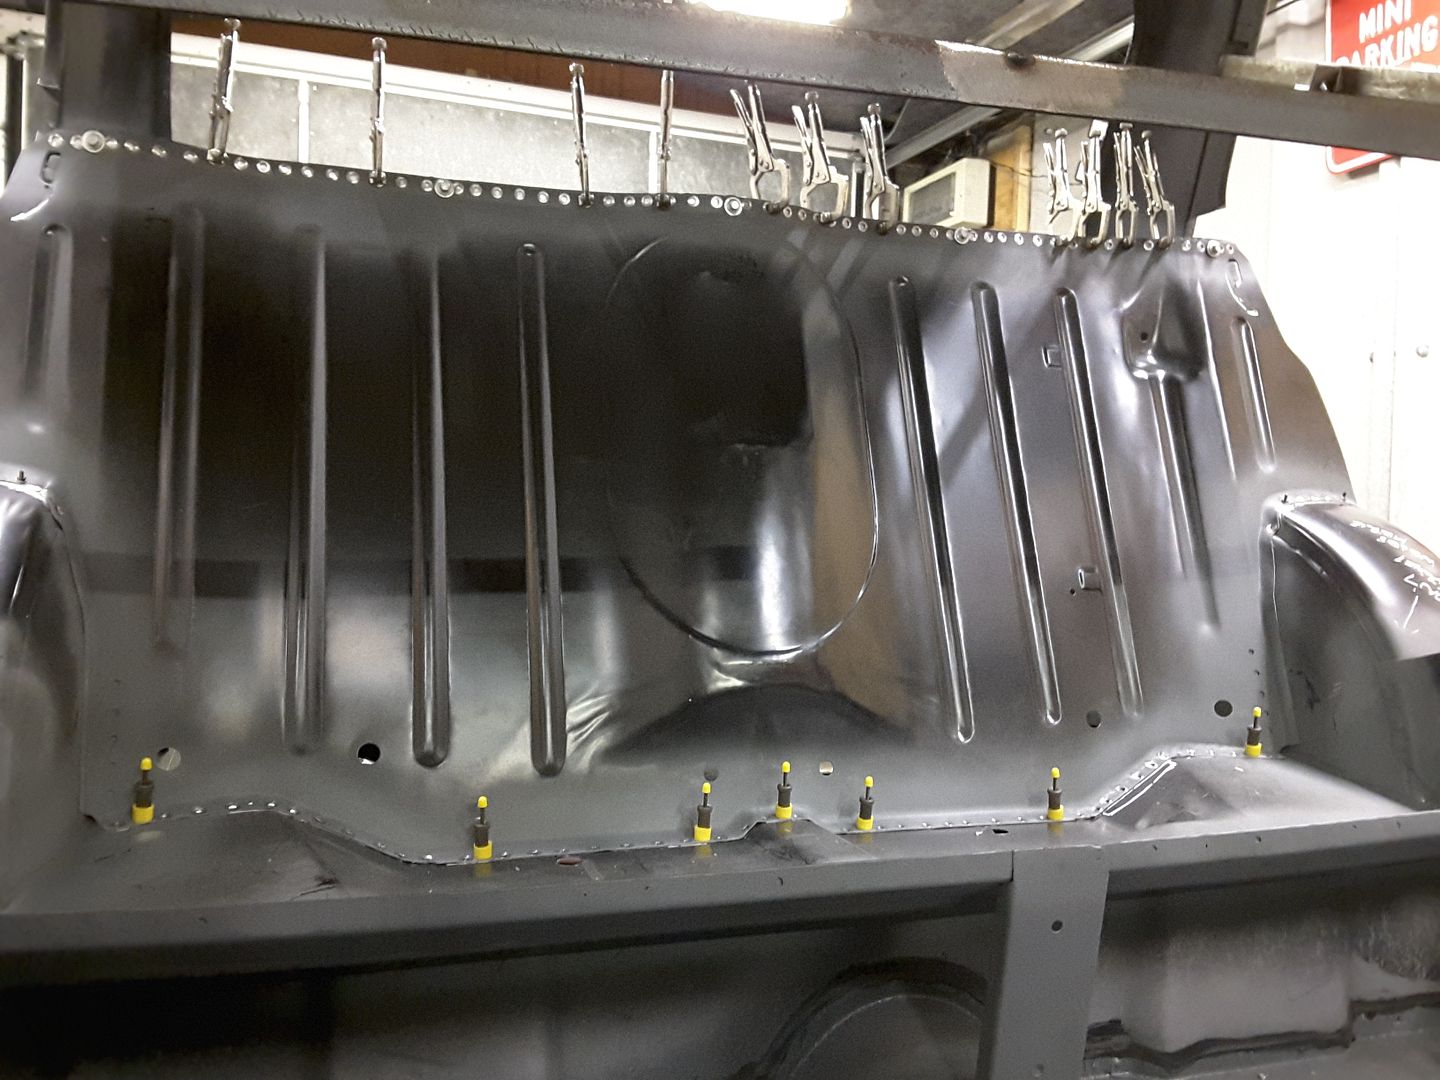


Allready to back on the spit next w/e.
Ger
Edited by ger, 14 December 2015 - 01:33 PM.
#174
GraemeC
-

- TMF+ Member
-
- 7,469 posts
Crazy About Mini's
- Location: Carnforth
Posted 14 December 2015 - 04:04 PM
This is fantastic work.
I may have missed it, but what do you use to get prep the perfect circles around the plug weld holes?
#175
ger
-
- Just Joined
-
- 233 posts
Mini Mad
- Location: The Land Of Song
- Local Club: M4 Minis
Posted 14 December 2015 - 08:57 PM
Hi GraemeC - I bought a couple of sets of these wire brushes.
http://www.ebay.co.u...=item35f53912d8
Ger
http://www.ebay.co.u...=item35f53912d8
Ger
Edited by ger, 14 December 2015 - 08:58 PM.
#176
GraemeC
-
- TMF+ Member
-
- 7,469 posts
Crazy About Mini's
- Location: Carnforth
Posted 14 December 2015 - 09:40 PM
Ah OK - they look much neater than I expected a wire brush would do. I was imagining a very small sanding disc which centred in the hole!
#177
Ben_O
-

- Paint Doctor
-
- 9,794 posts
Mill Road Garage
- Location: Isle of Wight
Posted 15 December 2015 - 07:59 PM
Ah OK - they look much neater than I expected a wire brush would do. I was imagining a very small sanding disc which centred in the hole!
i use these too.
when the wear to a certain point, they are hard and compacted so just position the brush in the hole and then drill straight.


#178
ger
-
- Just Joined
-
- 233 posts
Mini Mad
- Location: The Land Of Song
- Local Club: M4 Minis
Posted 21 December 2015 - 07:36 AM
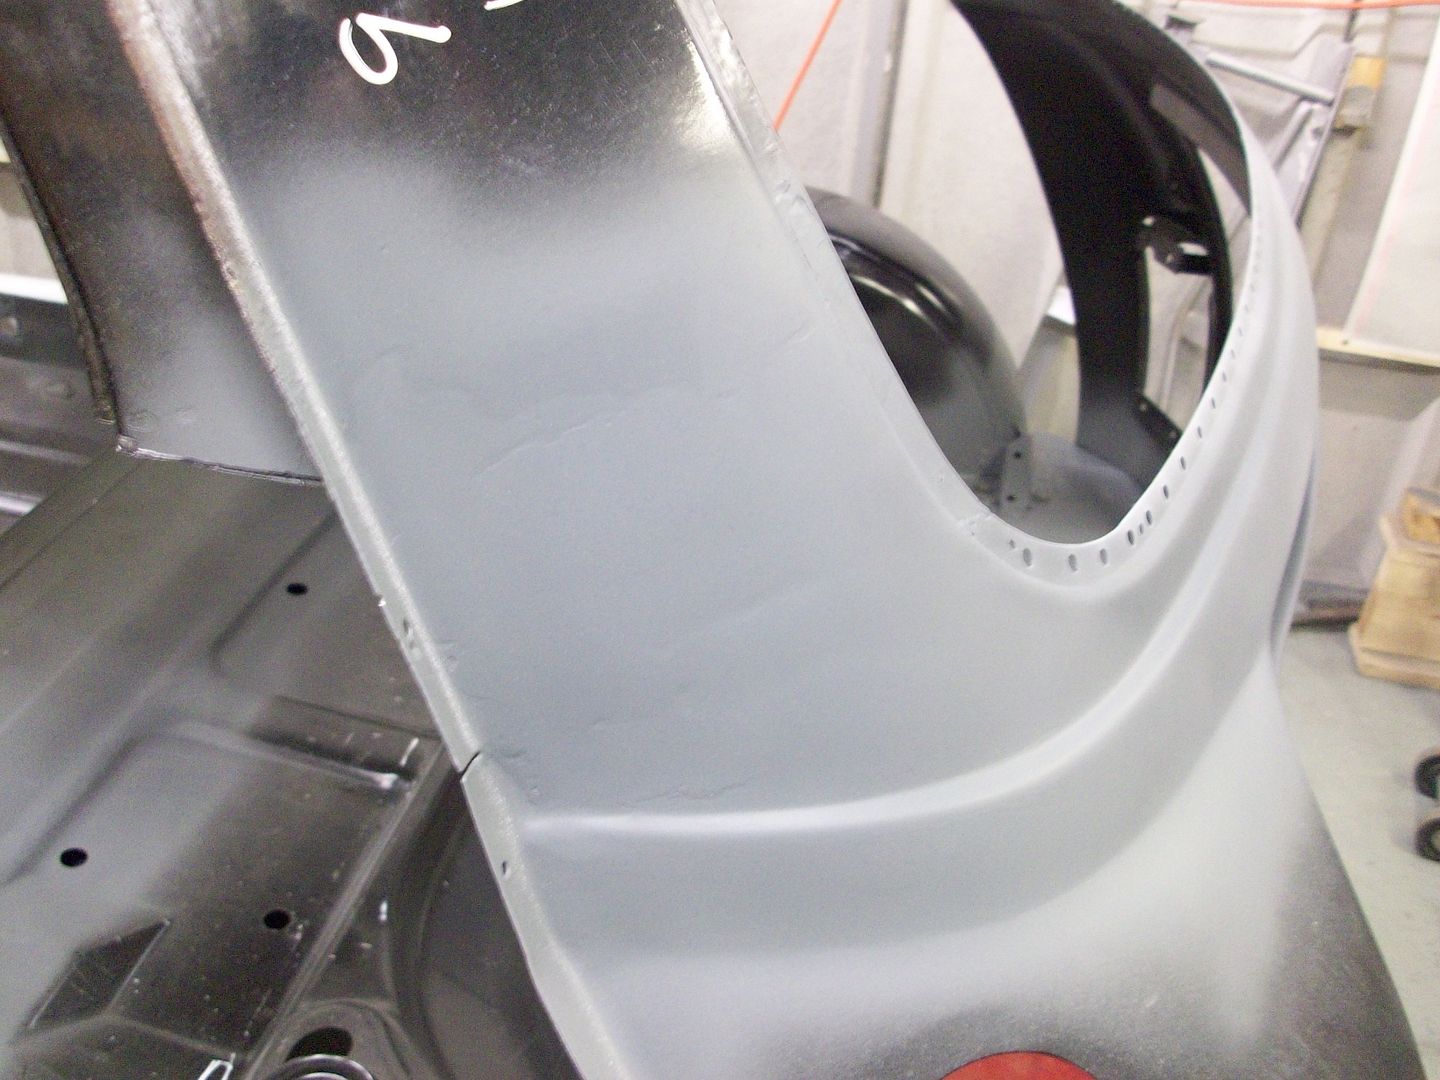
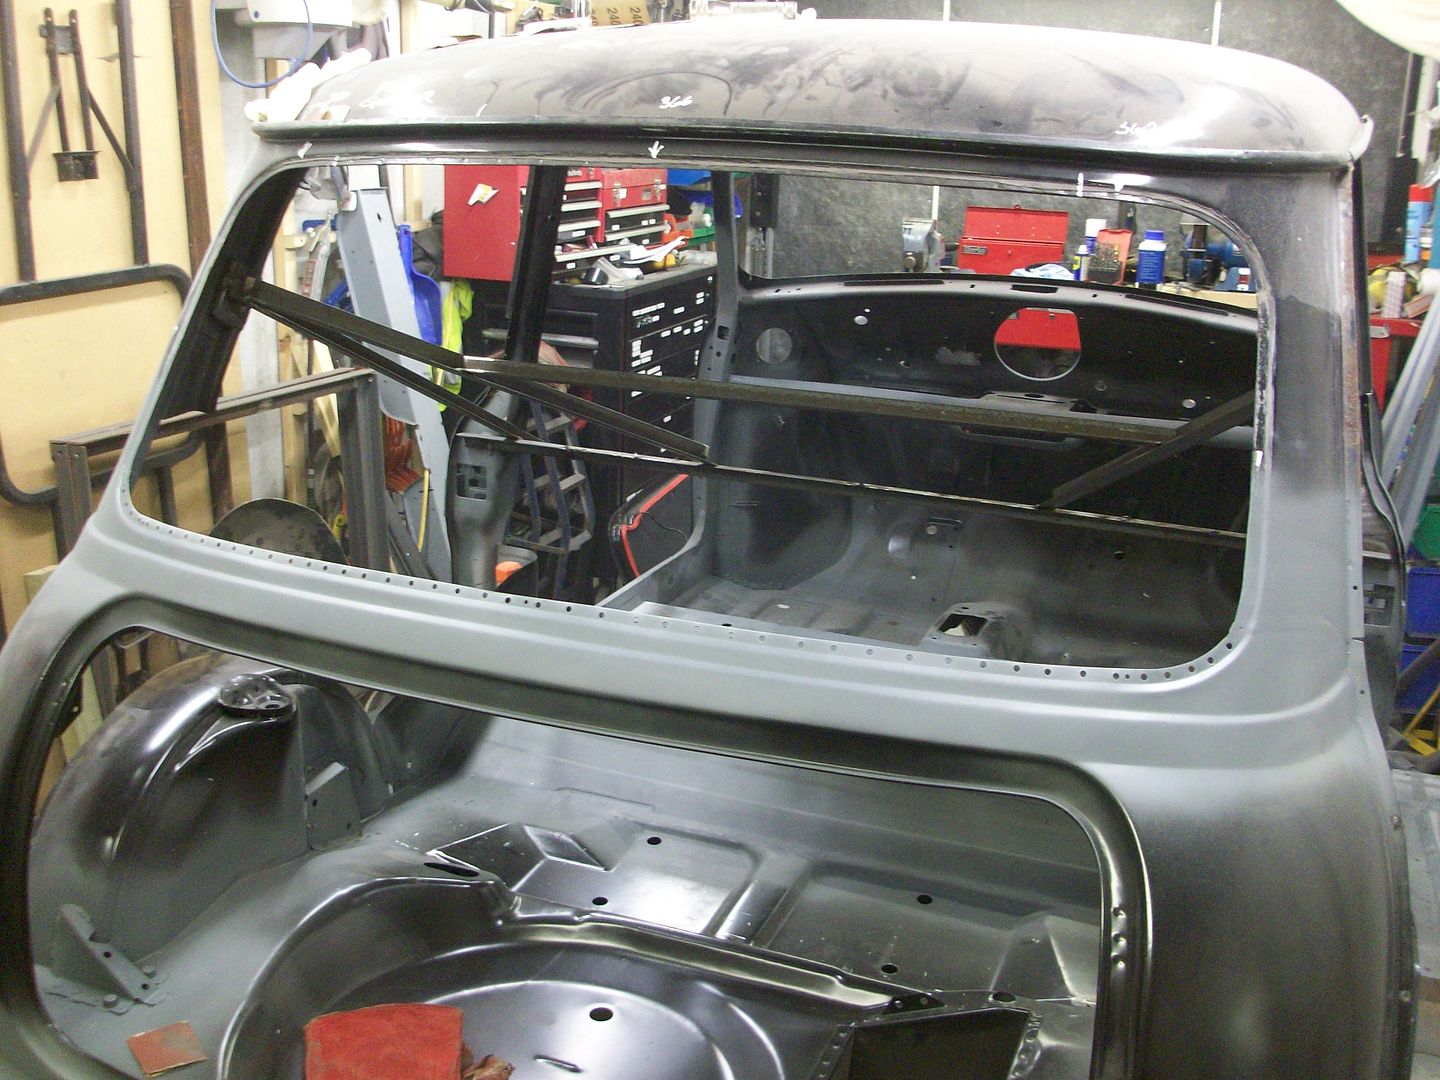
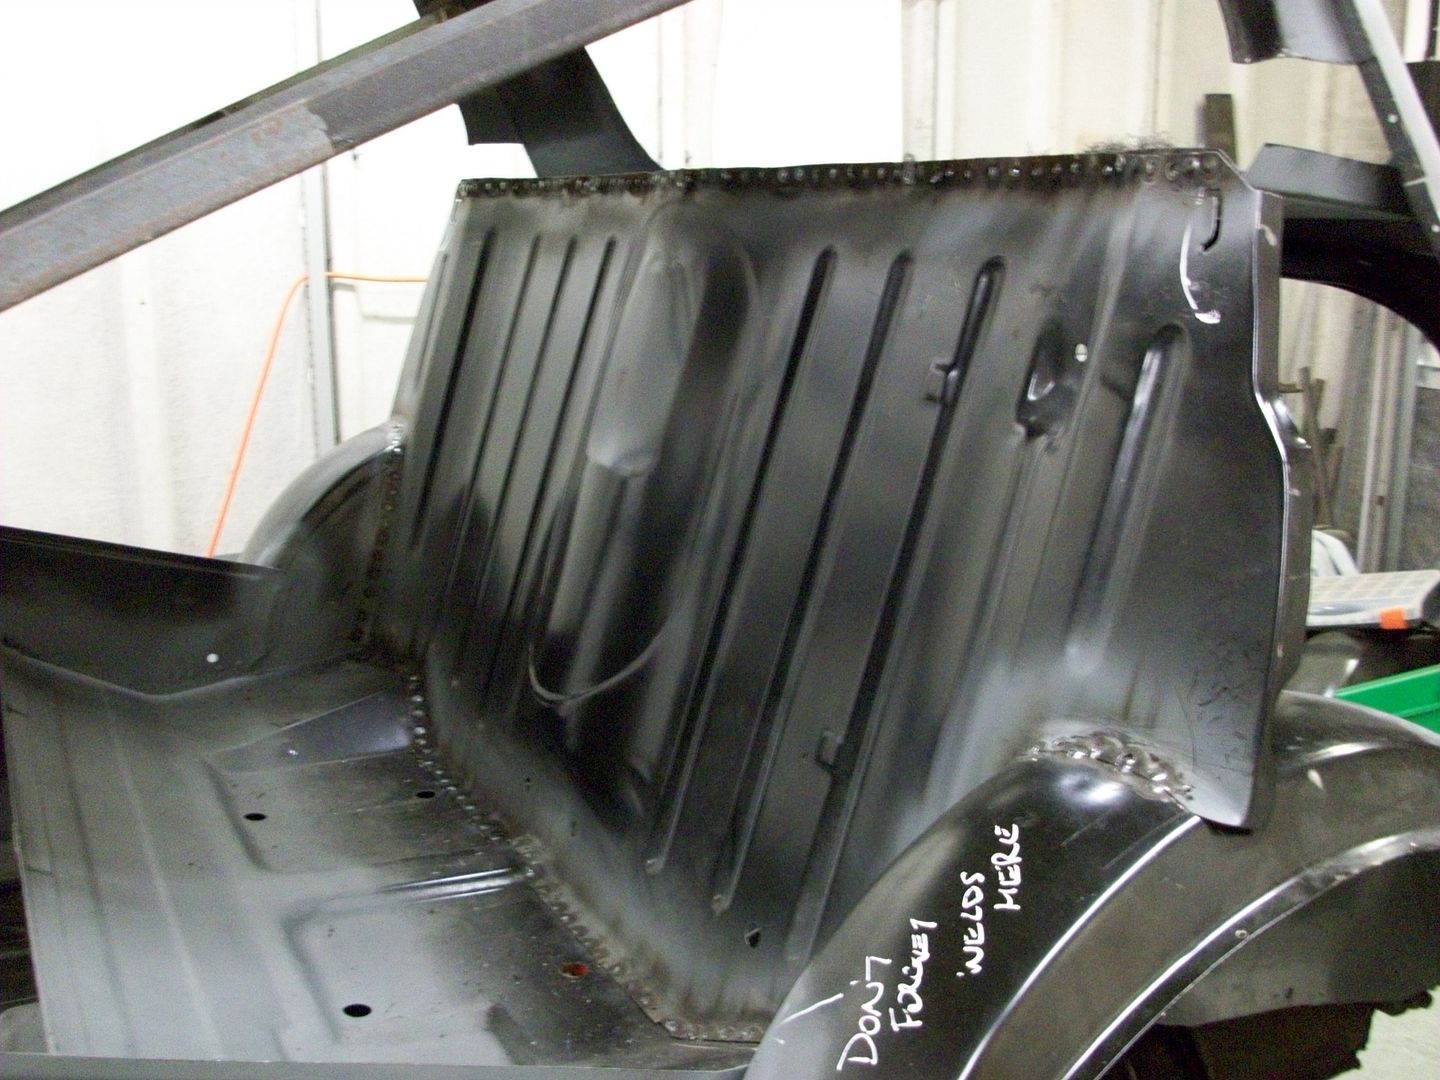
Not a lot done this w/e but it still took me ages to do.
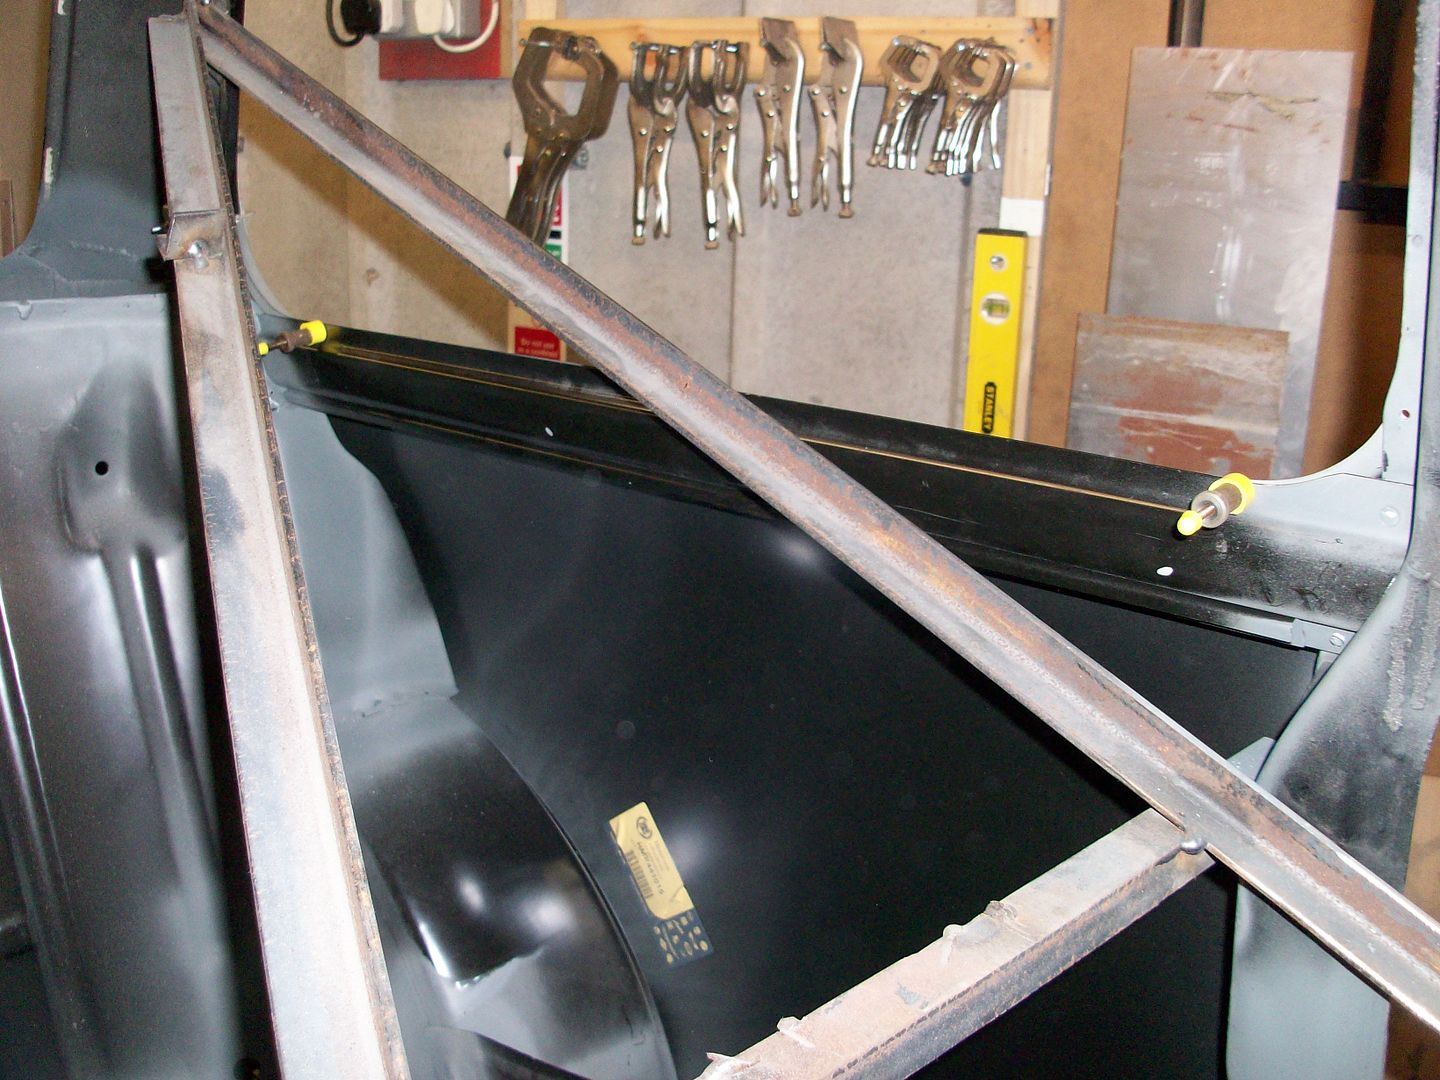
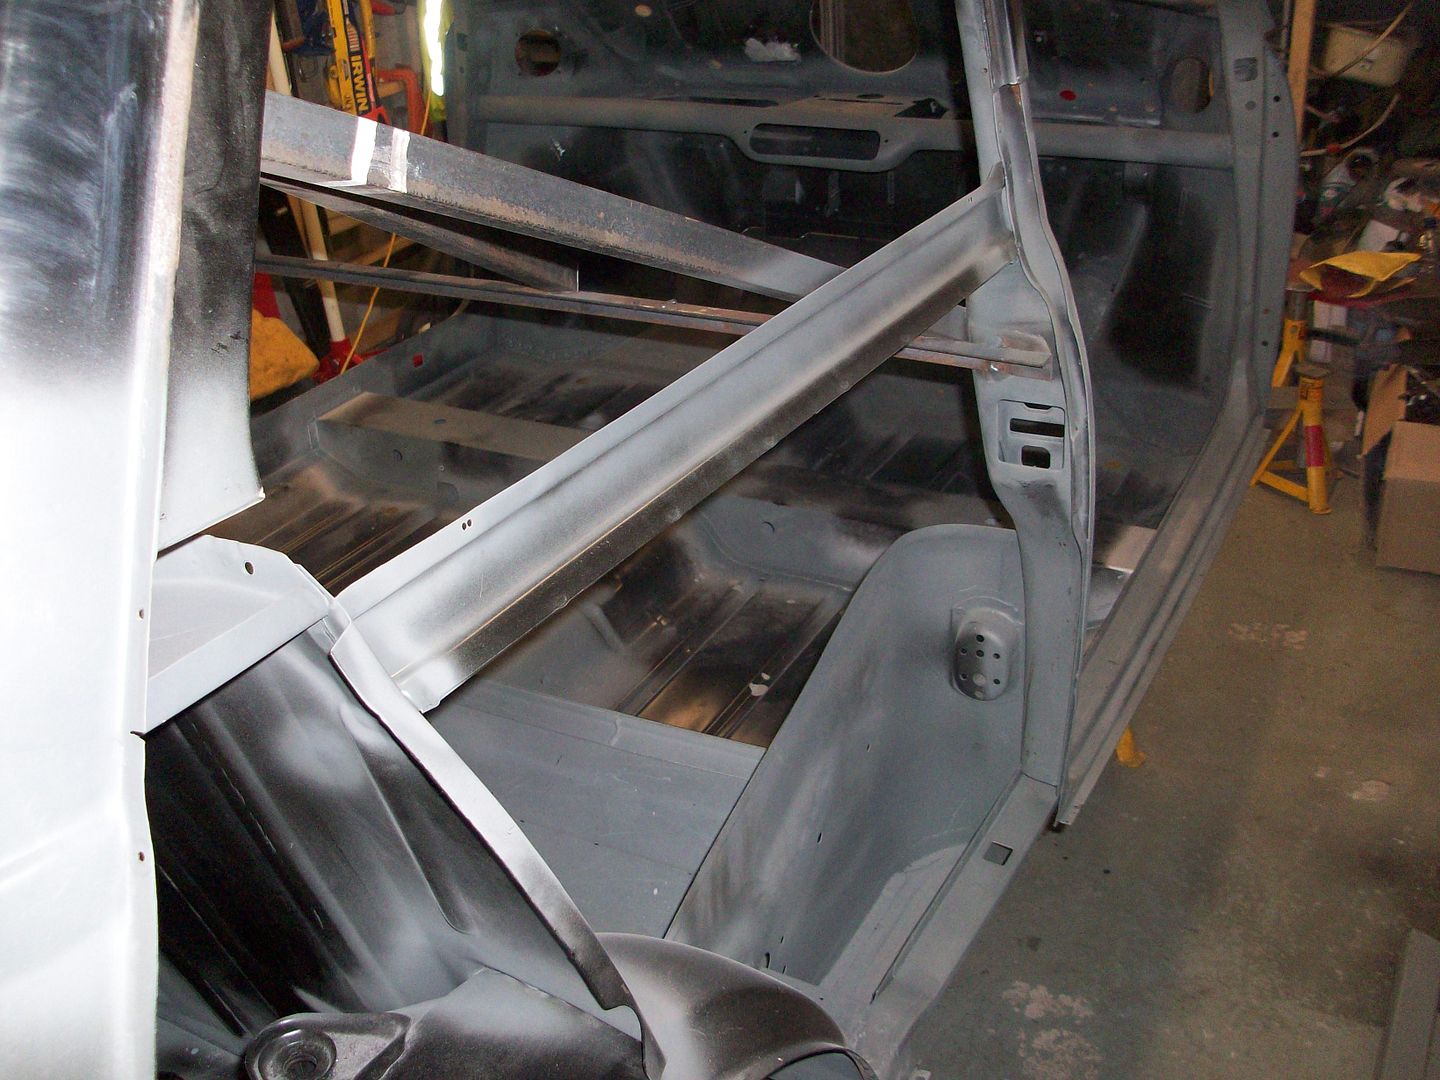
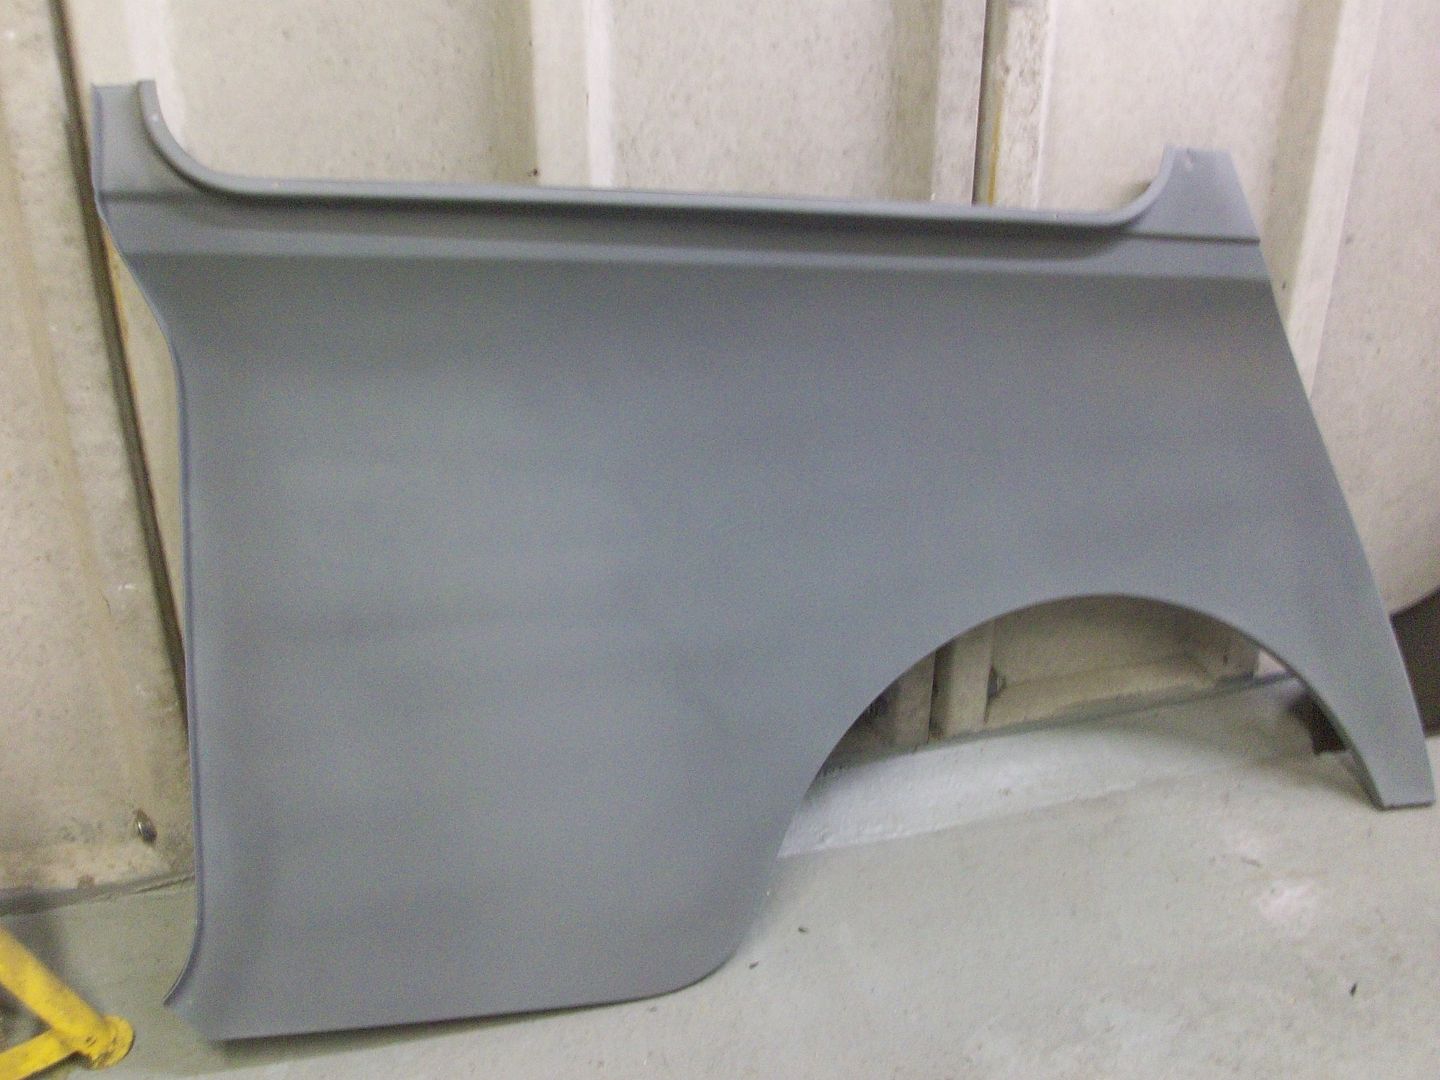
Yet again the rear quarter panels were put back on - I can now do these in my sleep. and the waist rails welded into place.

Then the panels were taken back off again.

Rear quarters wrer then scuffed up inside and given a coat of primer ready for some top coat before they're fitted.
Then the old girl was put back on the spit.
There should be a big update over xmas.
Ger
#179
alchall
-

- Just Joined
-
- 604 posts
Super Mini Mad
- Location: Chorley
Posted 21 December 2015 - 03:33 PM
Looking good, soon to look like a complete mini again at the rear!
Like you I'm also becoming an expert at fitting the rear quarter, I've had the panels on and off a number of times to get it all aligned nicely, I'm ready to get welding on one side and am hoping the other side will be easier (experience will help plus it's not bent through accident damage like the first side was which muddied the waters a little for me).
#180
minimissions
-

- Members
-
- 3,427 posts
Up Into Fourth
- Location: North West
- Local Club: M.M.O.C
Posted 21 December 2015 - 04:06 PM
Looking really good I bet it makes life so much easier with that spit doesn't it? so need to invest in one for my next project when the time comes :)


Also tagged with one or more of these keywords: clubman
Projects →
Mini Saloons →
Black 1979 1275GtStarted by StuaR32t , 15 Feb 2025 |
|

|
||
Projects →
Mini Saloons →
Cape Town 🇿🇦 1275HleStarted by JAYO , 28 Feb 2021 |
|

|
||
Projects →
Mini Saloons →
Budget Mini Clubman Shell Restoration For £1500Started by minimissions , 13 Nov 2019 |
|

|
||
Projects →
Mini Saloons →
1275Gt Tarmac Rally Car - From ScratchStarted by KRM_Simon , 26 May 2019 |
|

|
||
Projects →
Mini Saloons →
1275Gt Resto - From Flip To FactoryStarted by Verderad , 12 Mar 2018 |
|

|
4 user(s) are reading this topic
0 members, 2 guests, 0 anonymous users
-
Bing (2)


