Jump to content


Photo
- - - - -

1980 Mini1275 Gt - Aka The Tart

clubman

  • Please log in to reply
290 replies to this topic

#181 ger

ger

    Mini Mad

  • Just Joined
  • PipPipPipPip
  • 233 posts
  • Location: The Land Of Song
  • Local Club: M4 Minis

Posted 06 January 2016 - 01:35 PM

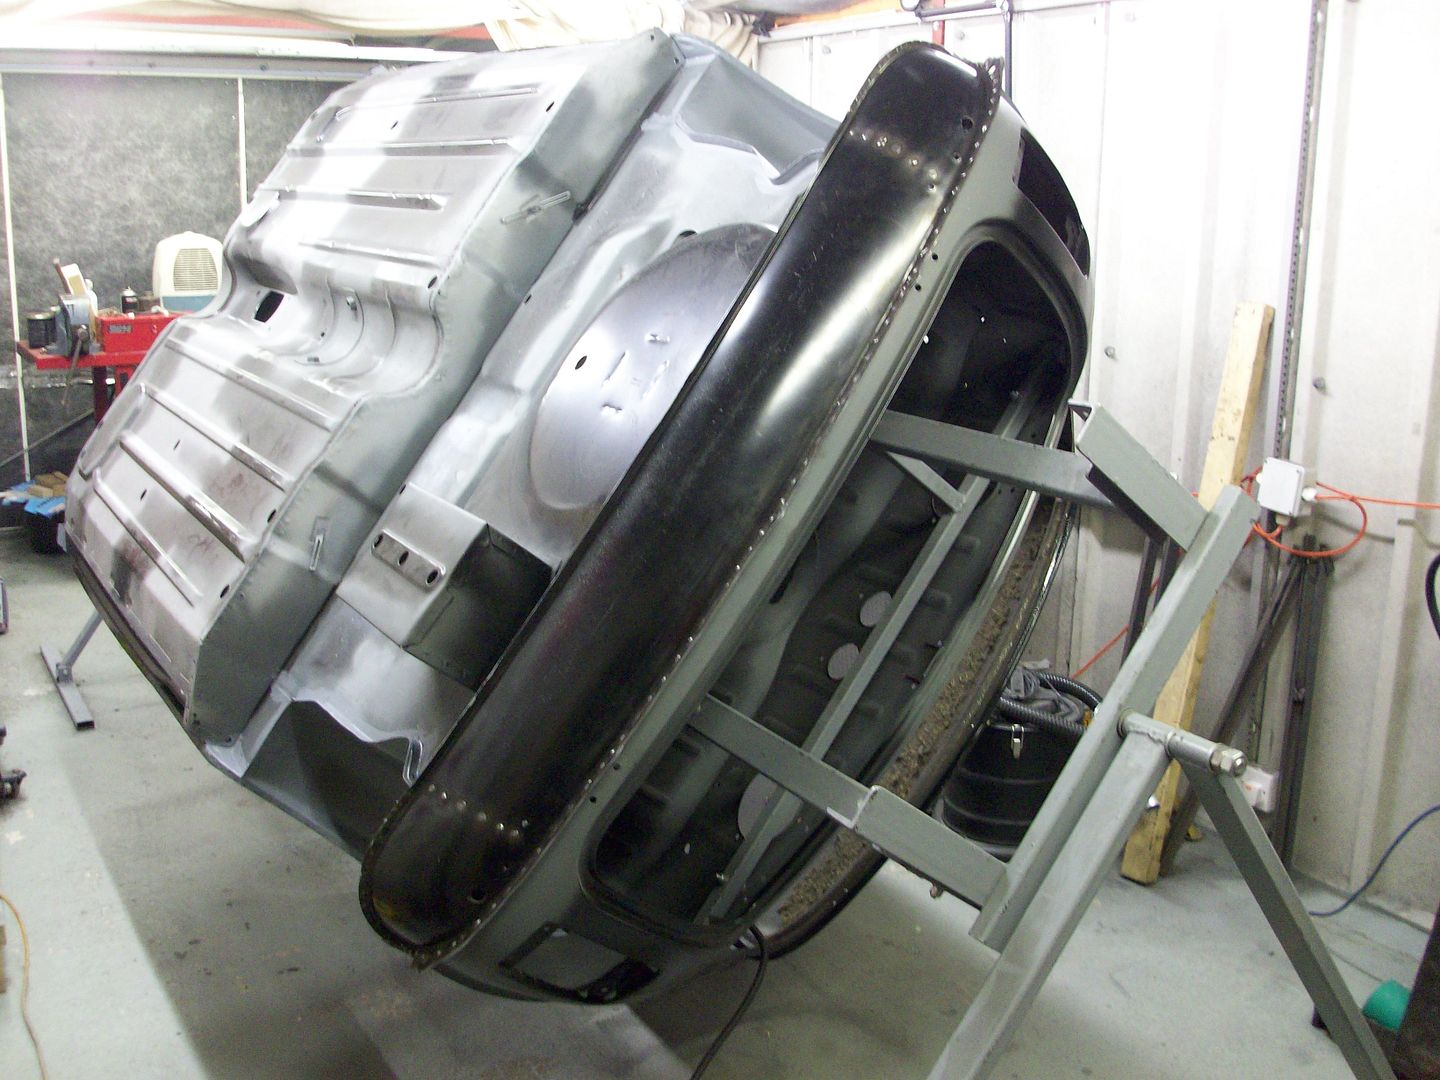
Update for over the Xmas holidays.


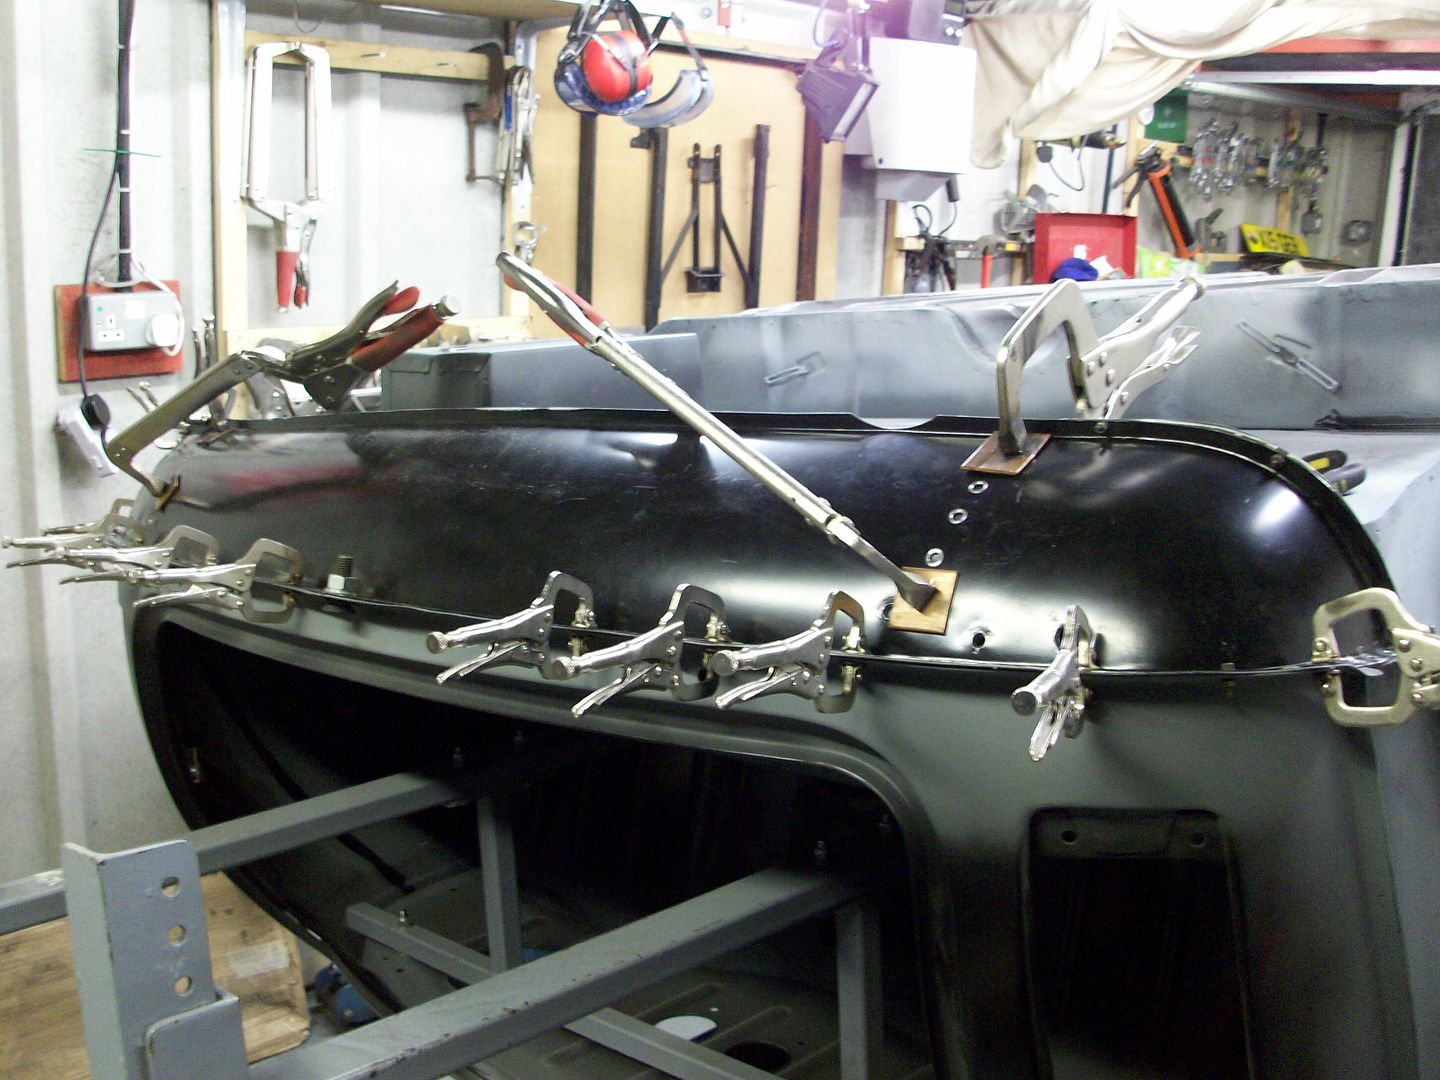
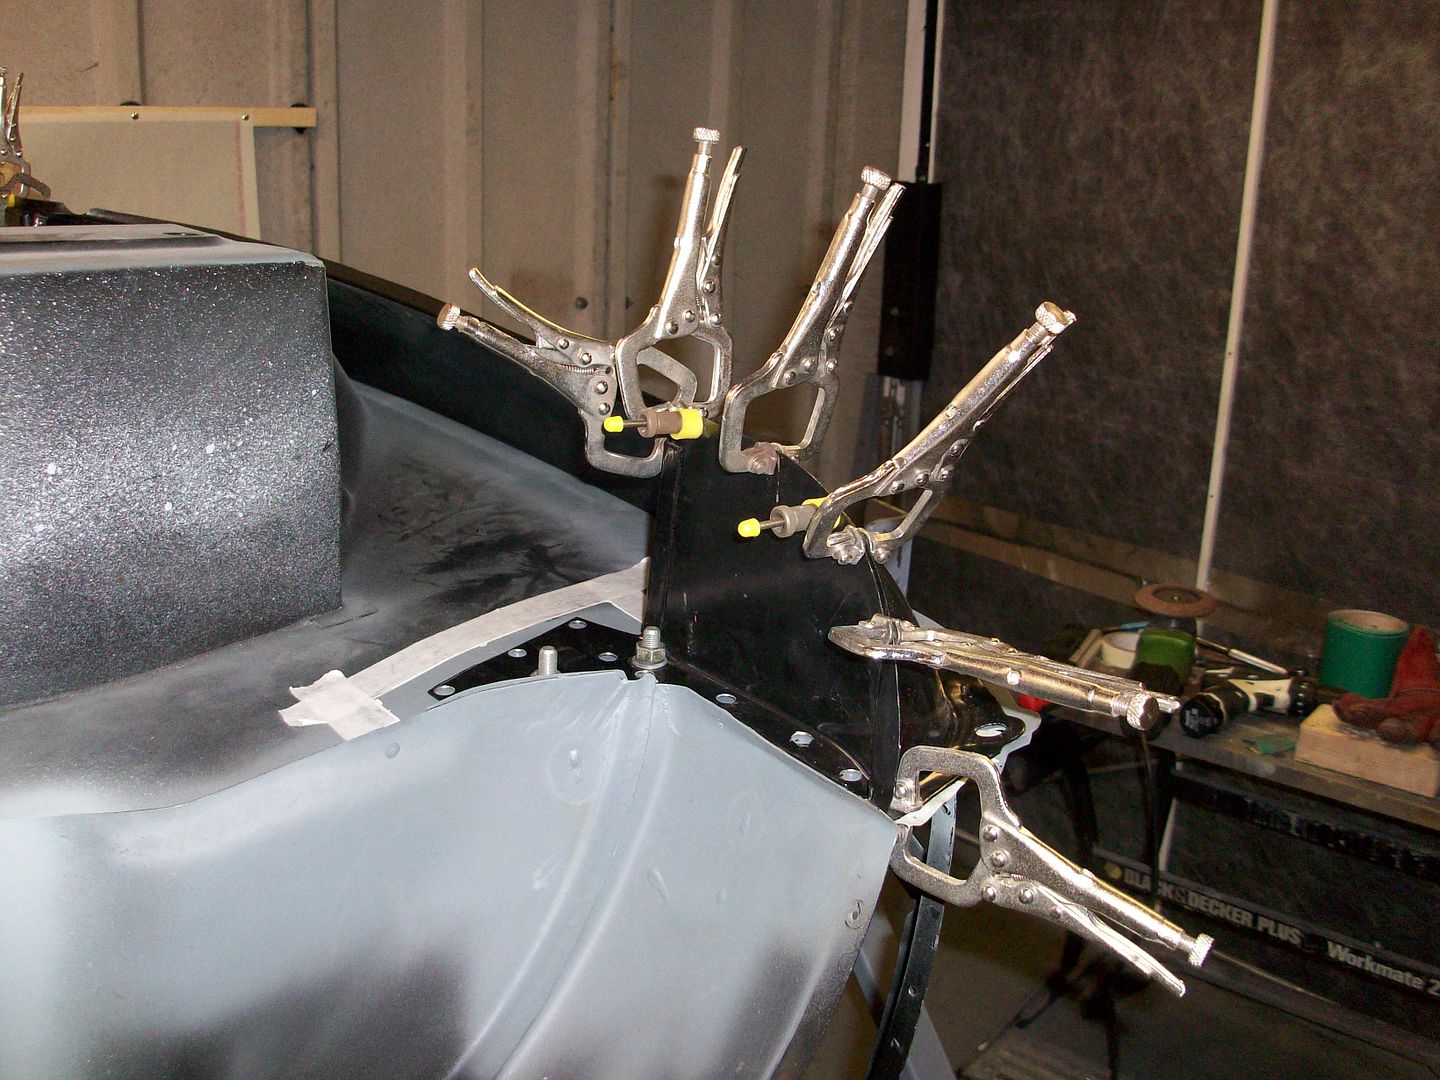
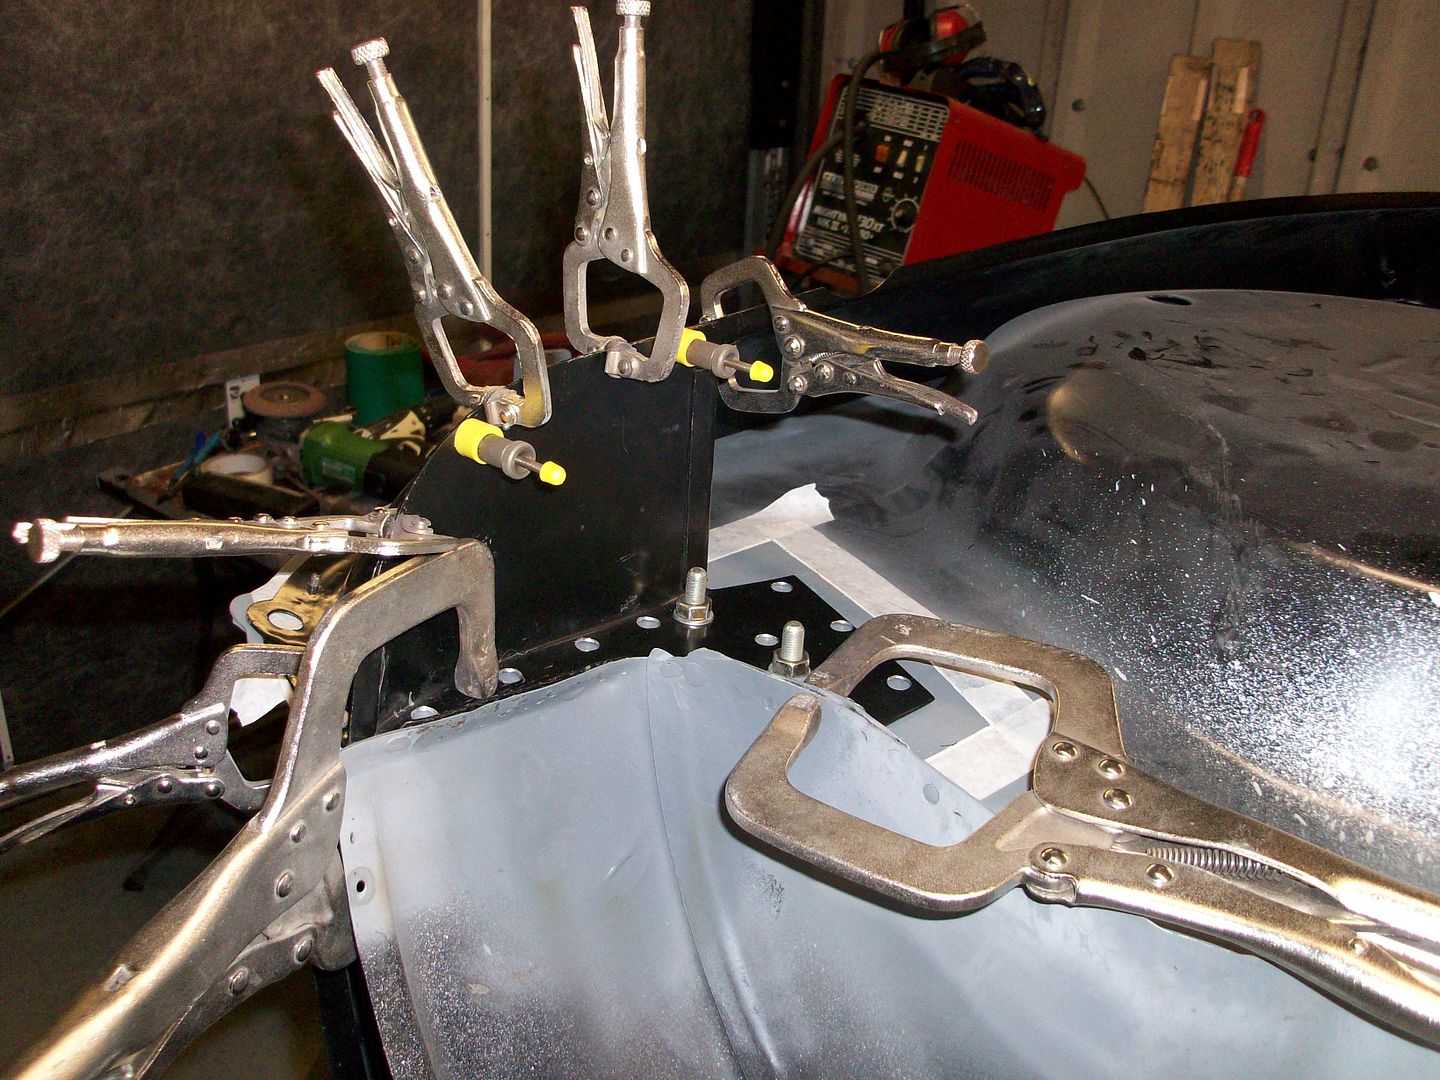
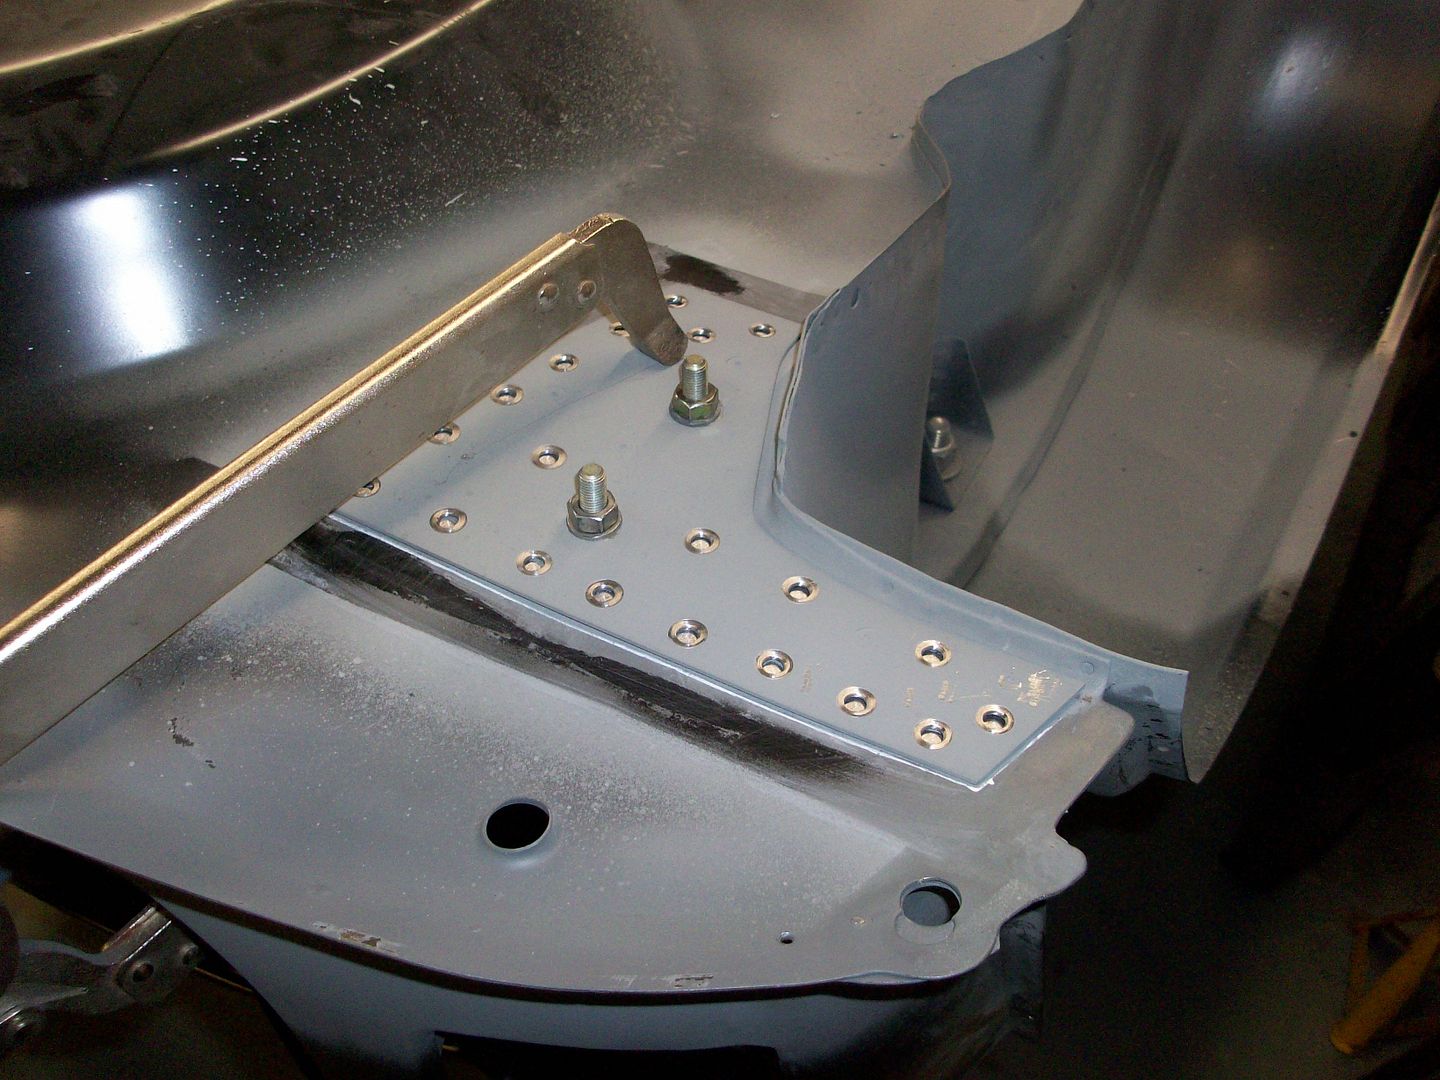
Fitted the rear arch to floor strengtheners.

100_6809.jpg100_6808.jpg


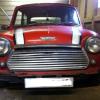
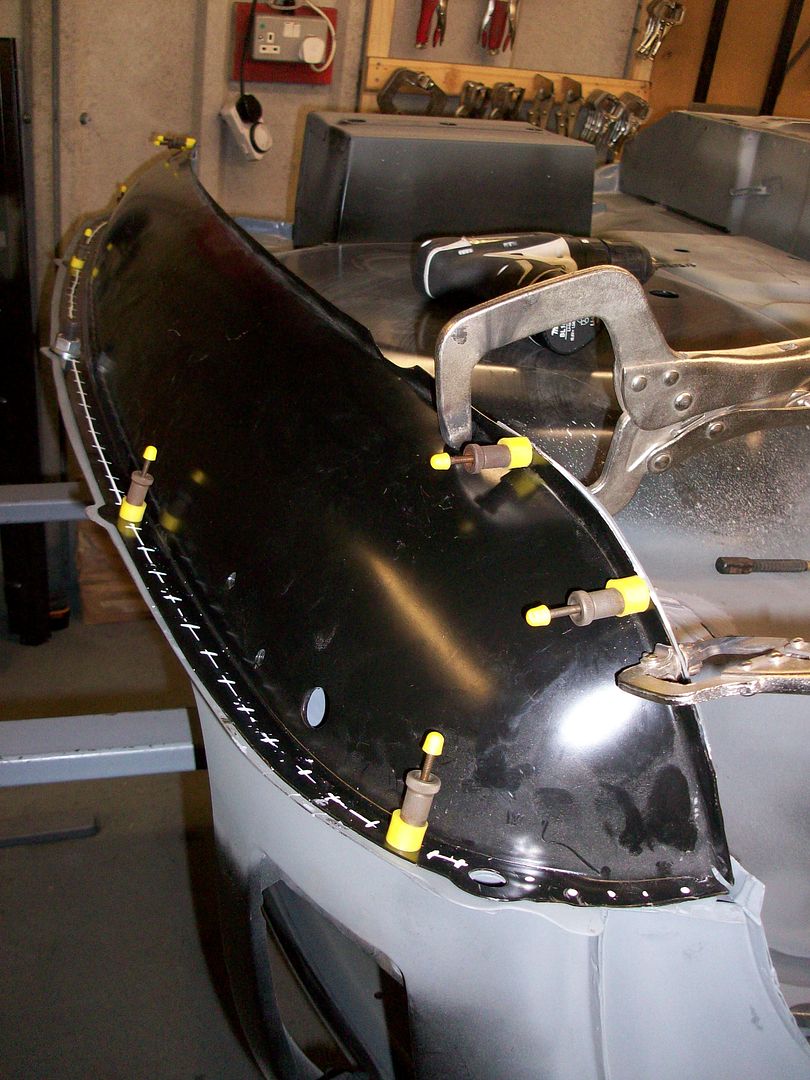
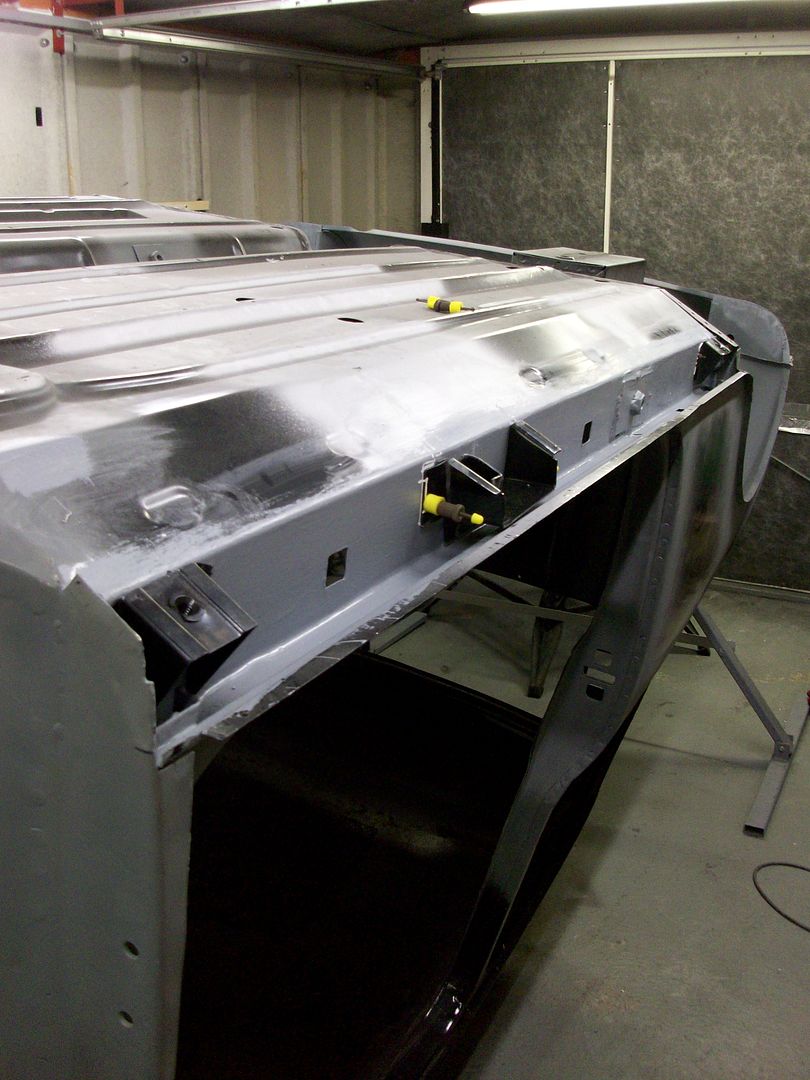
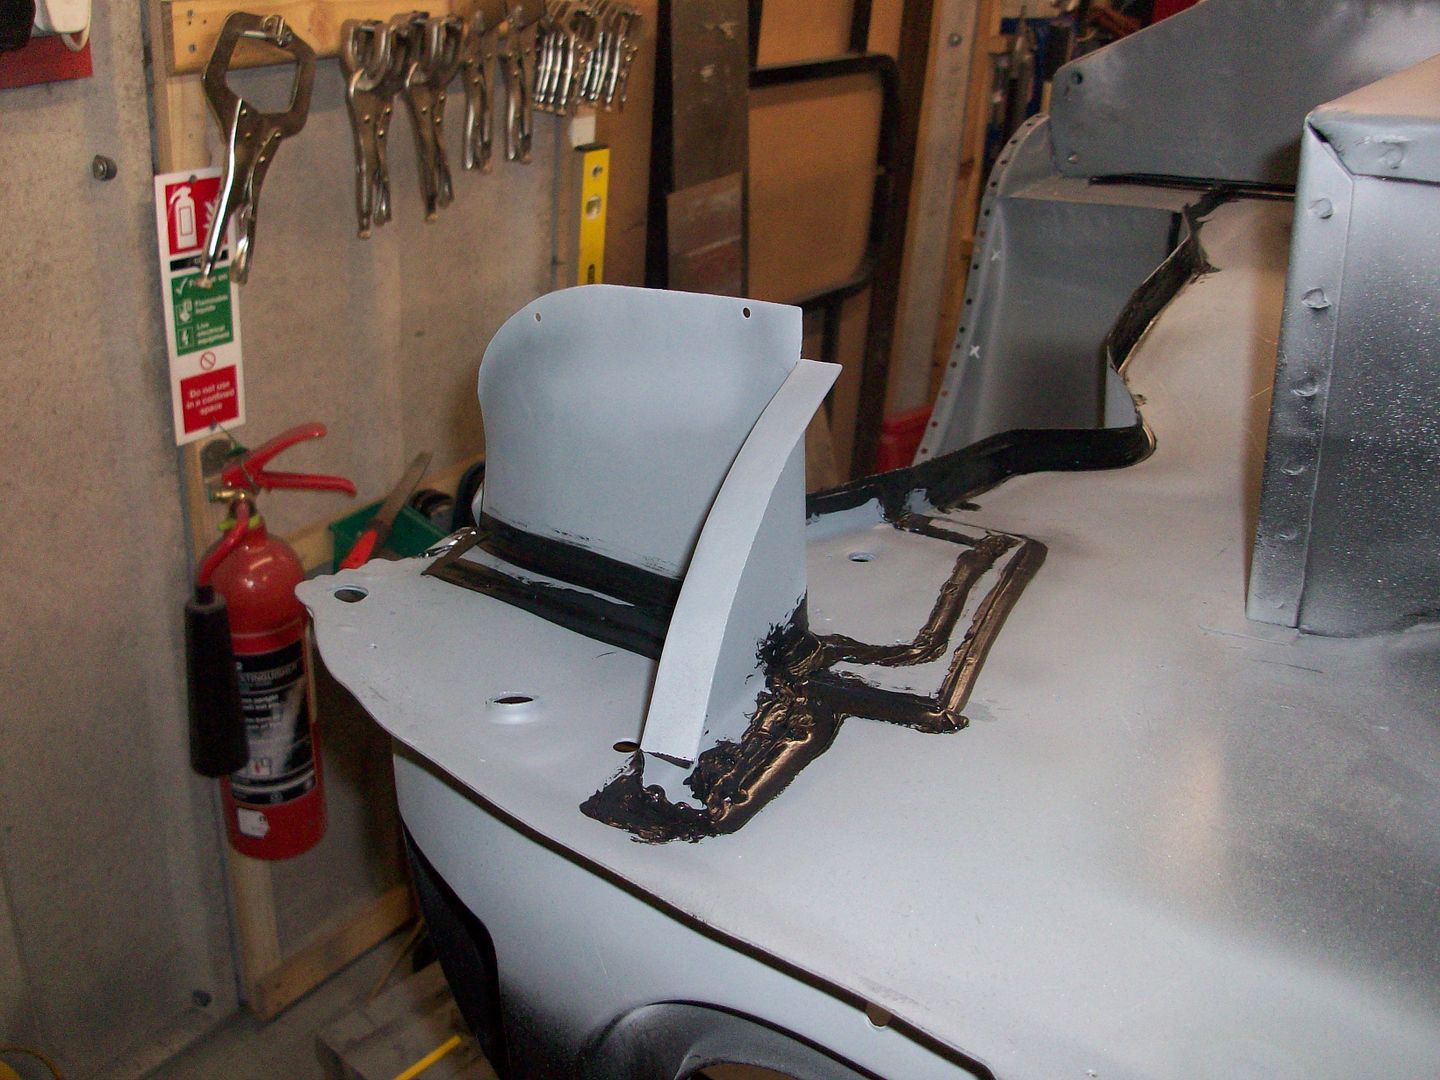
Trial fitted the rear valence and closing panels and found they wouldn't fit so had to separate the reinforcing plate from the closing panel bit and fit them separately.

100_6818.jpg

100_6815.jpg

100_6816.jpg


100_6813.jpg

100_6812.jpg


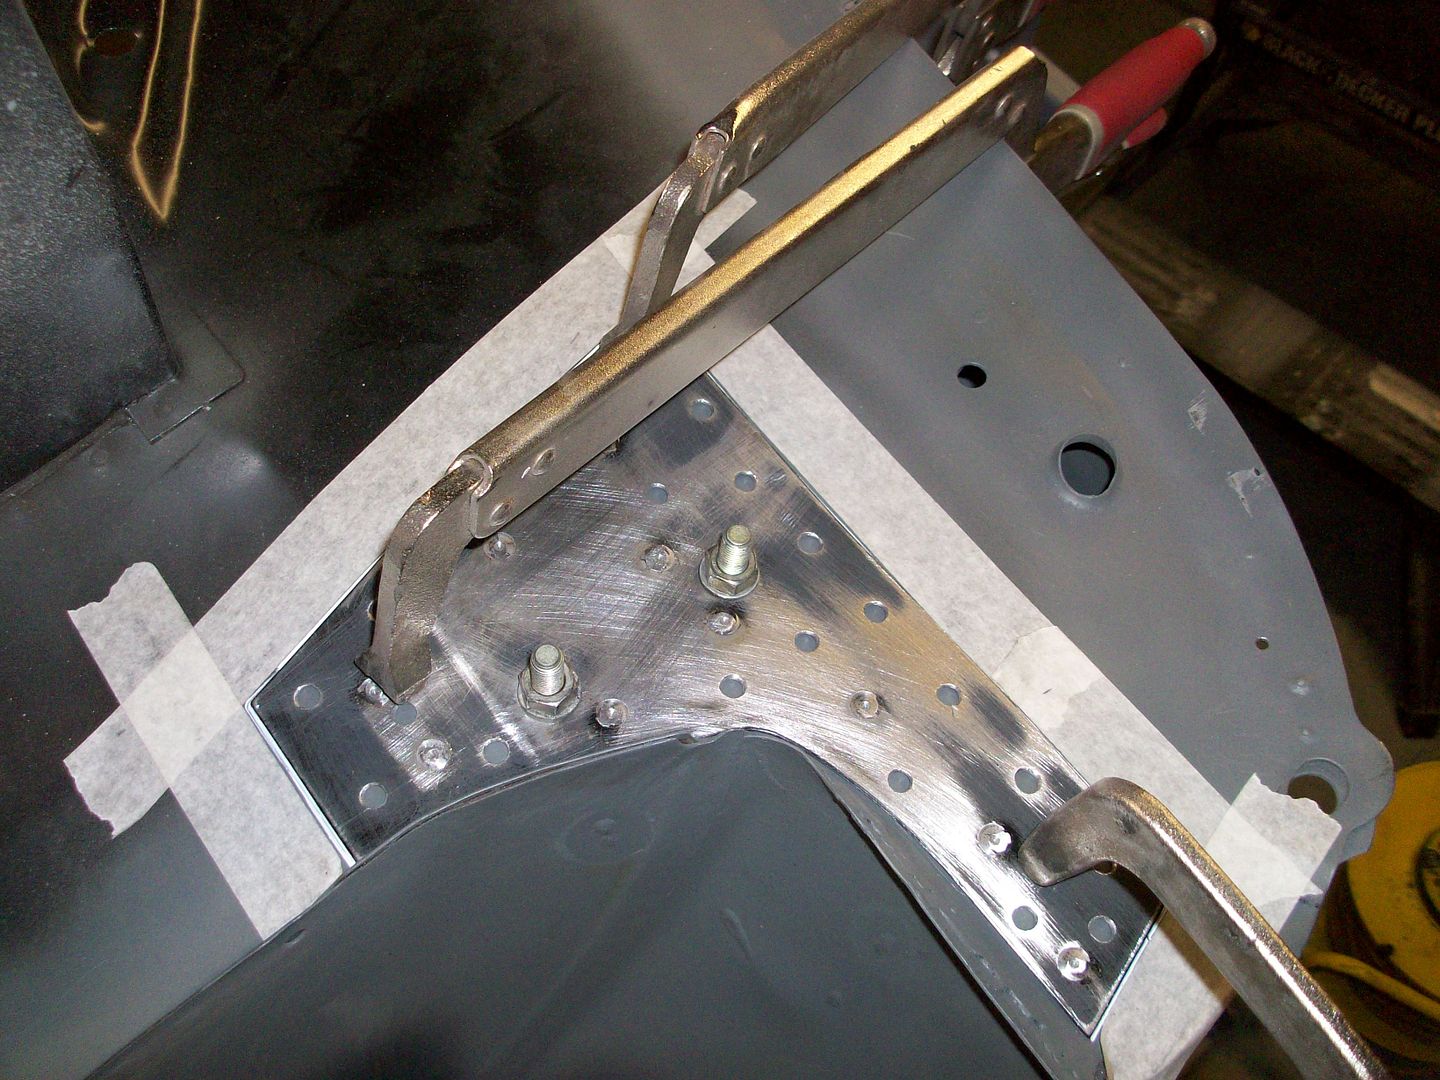
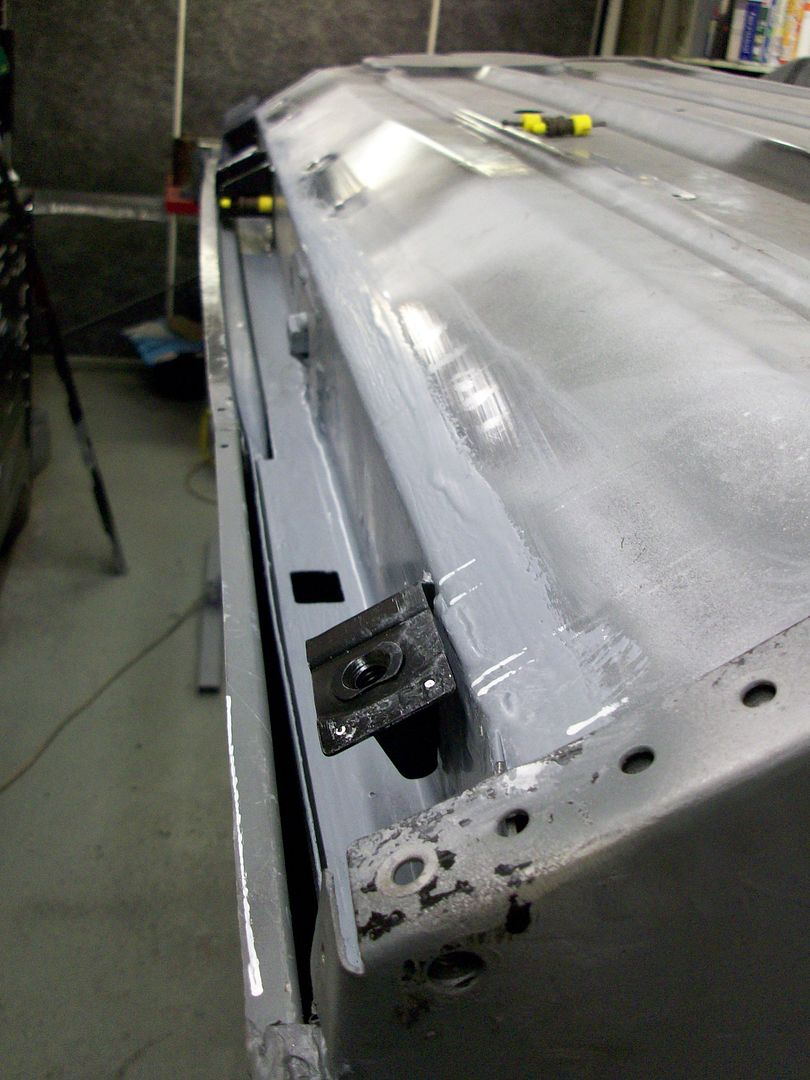
Separated bits given a good coat of zinc primer for all the mating surfaces.

100_6823.jpg


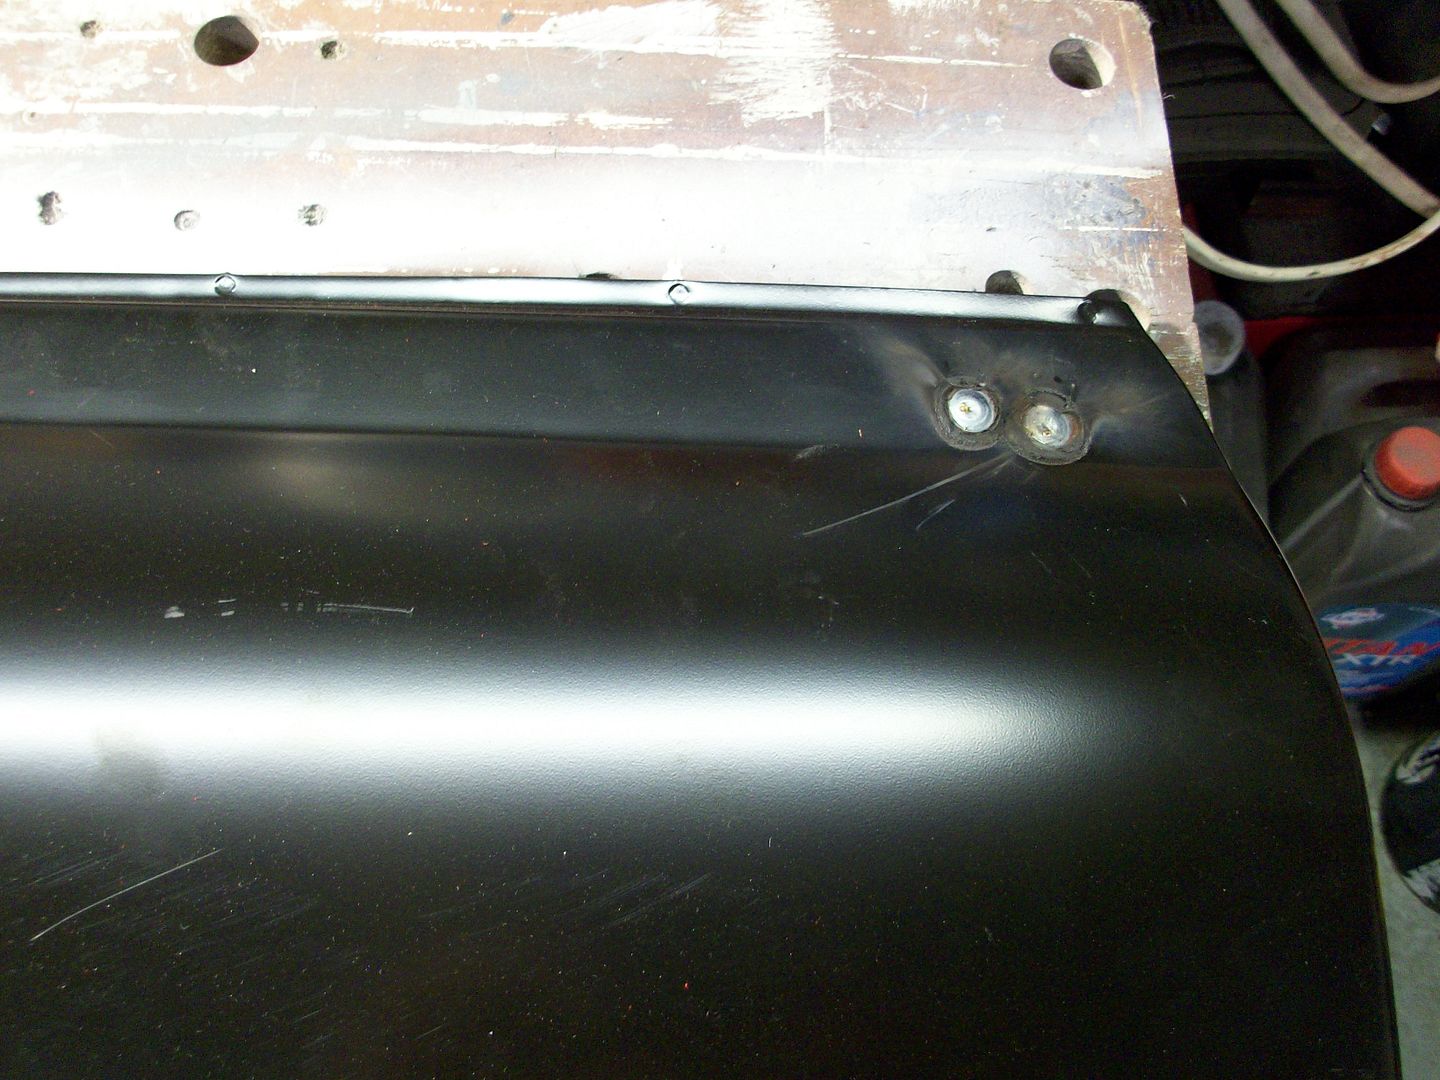
Reinforcing plates then welded on.

100_6825.jpg

100_6826.jpg

100_6827.jpg

100_6829.jpg


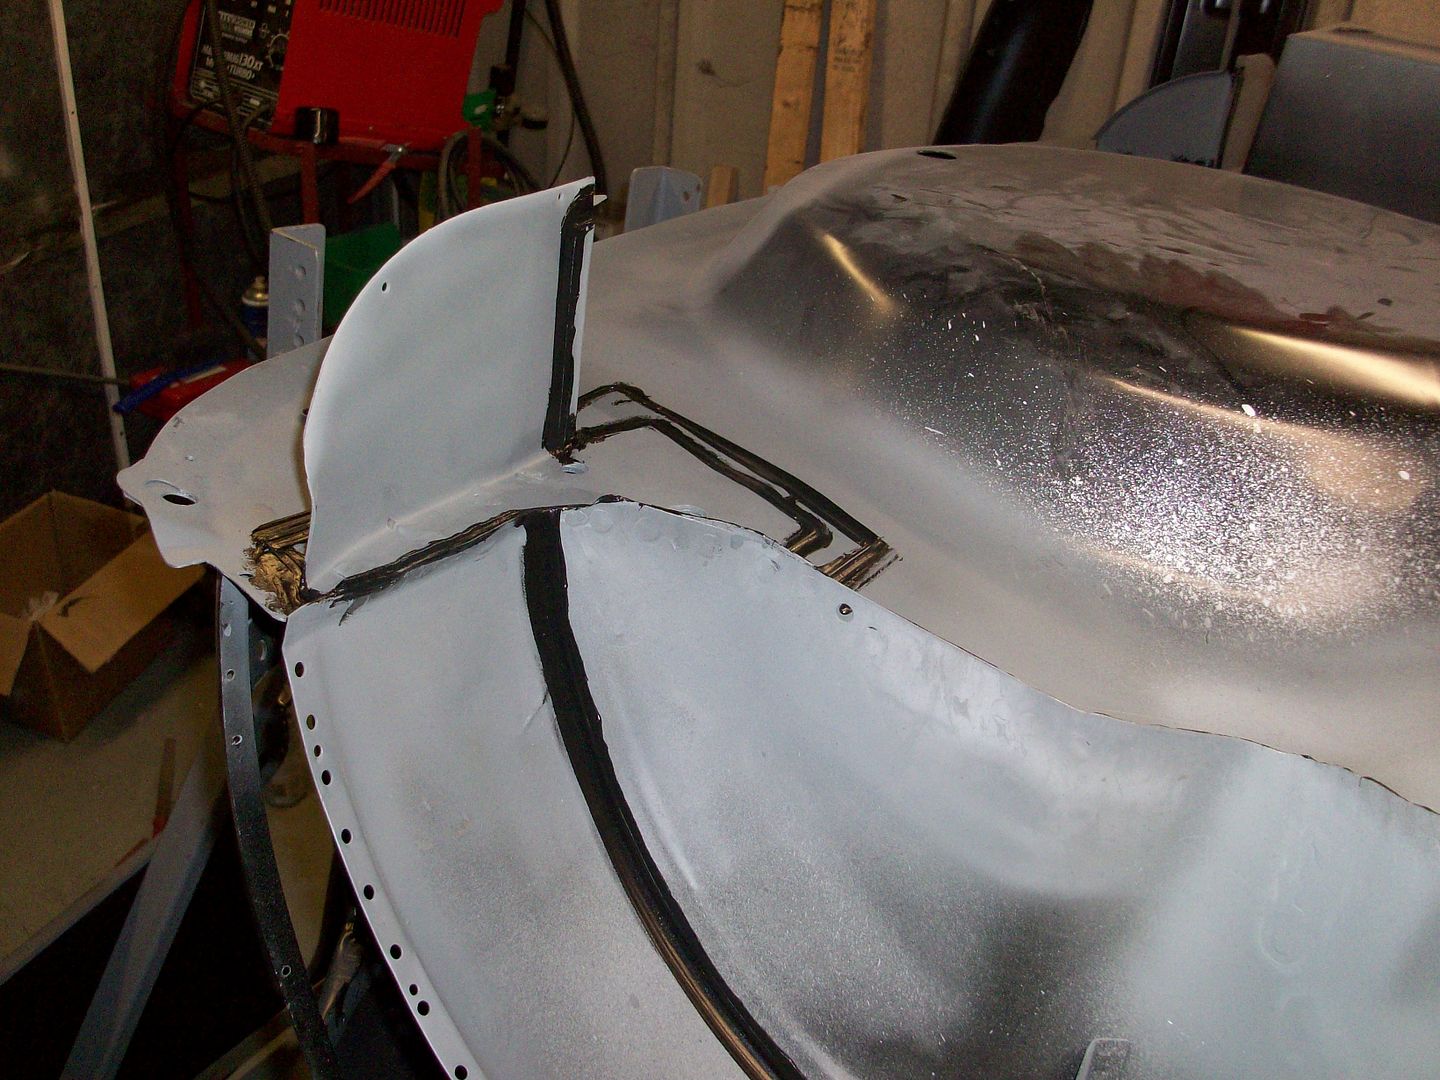
Then closer parts welded on.

100_6832.jpg

100_6835.jpg


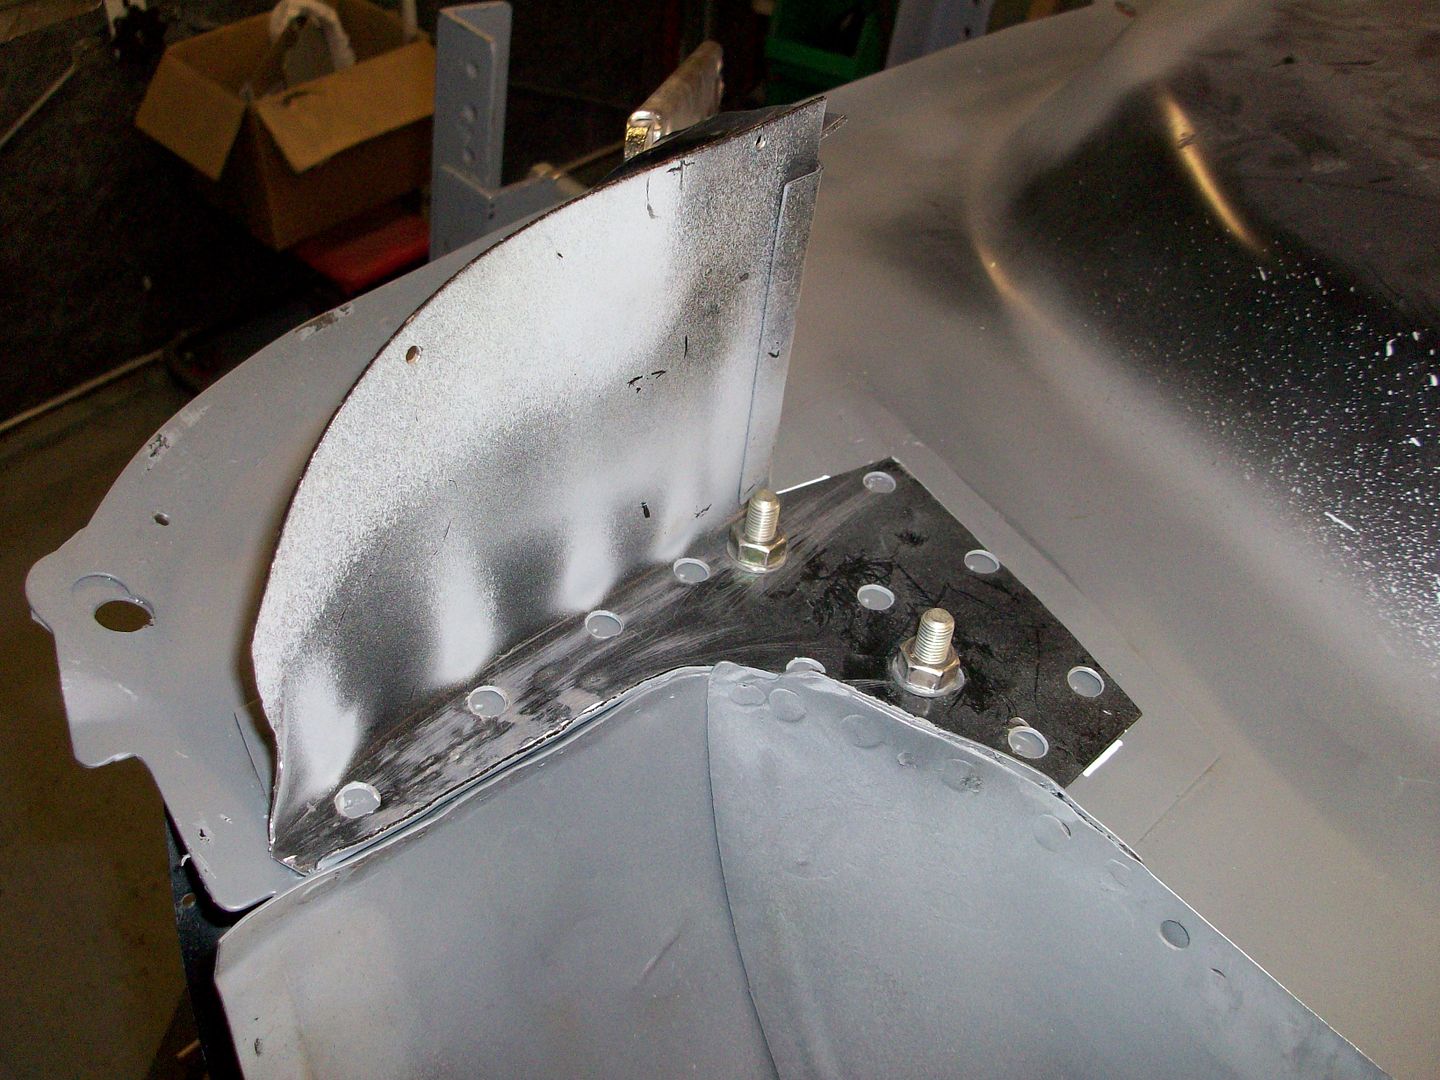
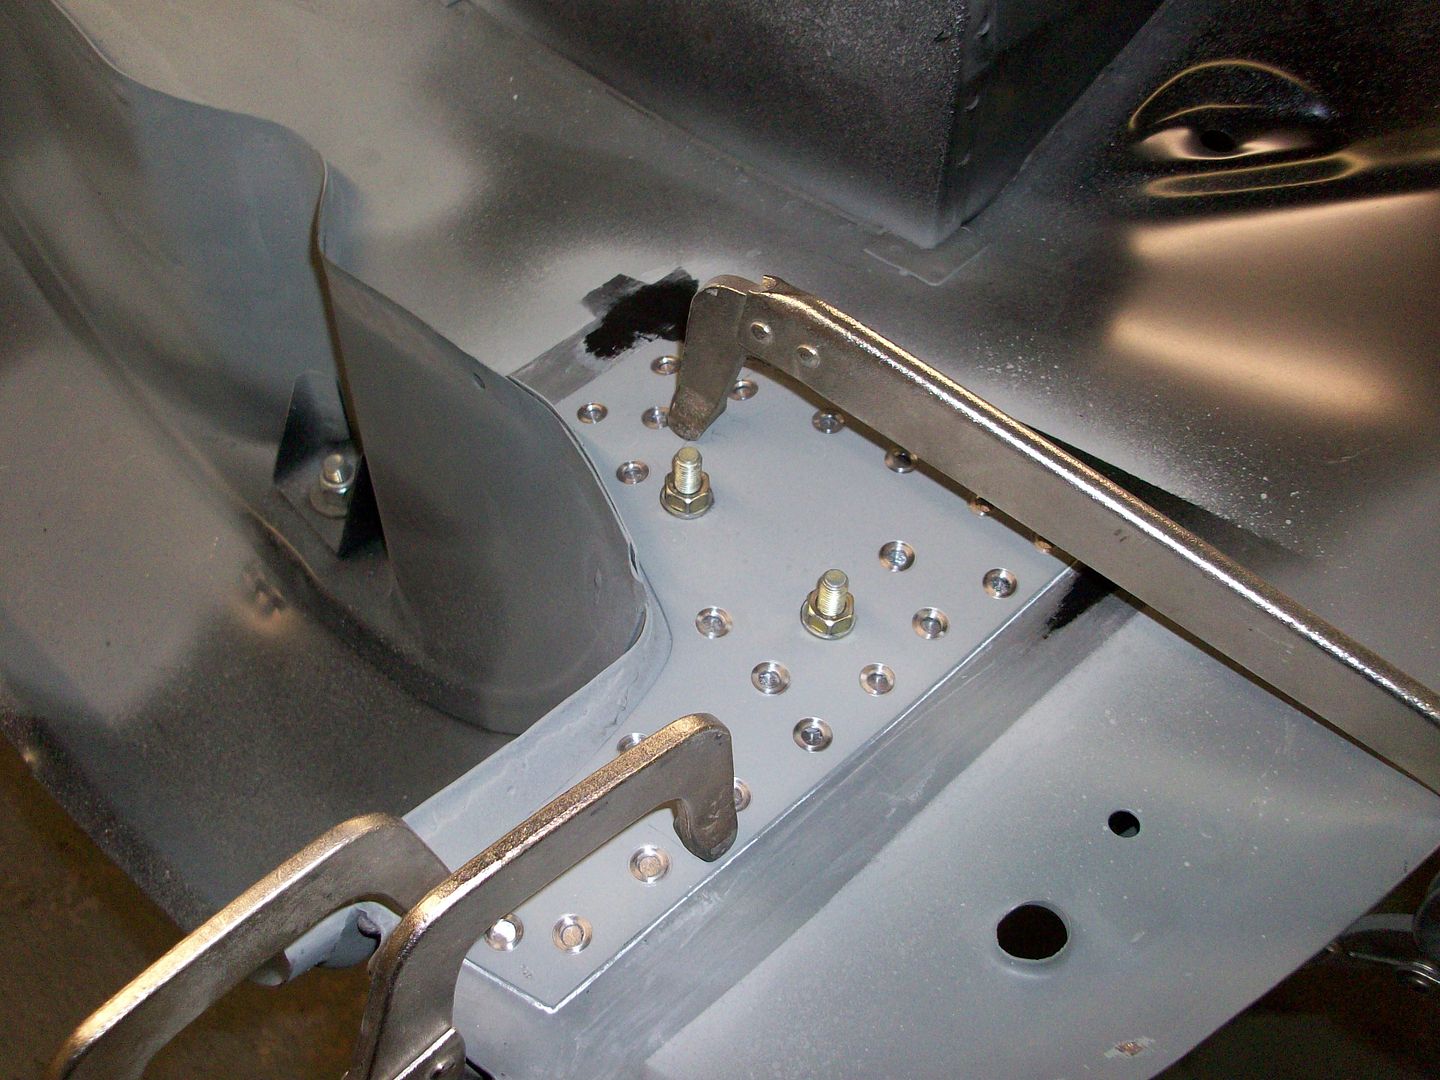
Welds ground down and all given a coat of zinc primer again.
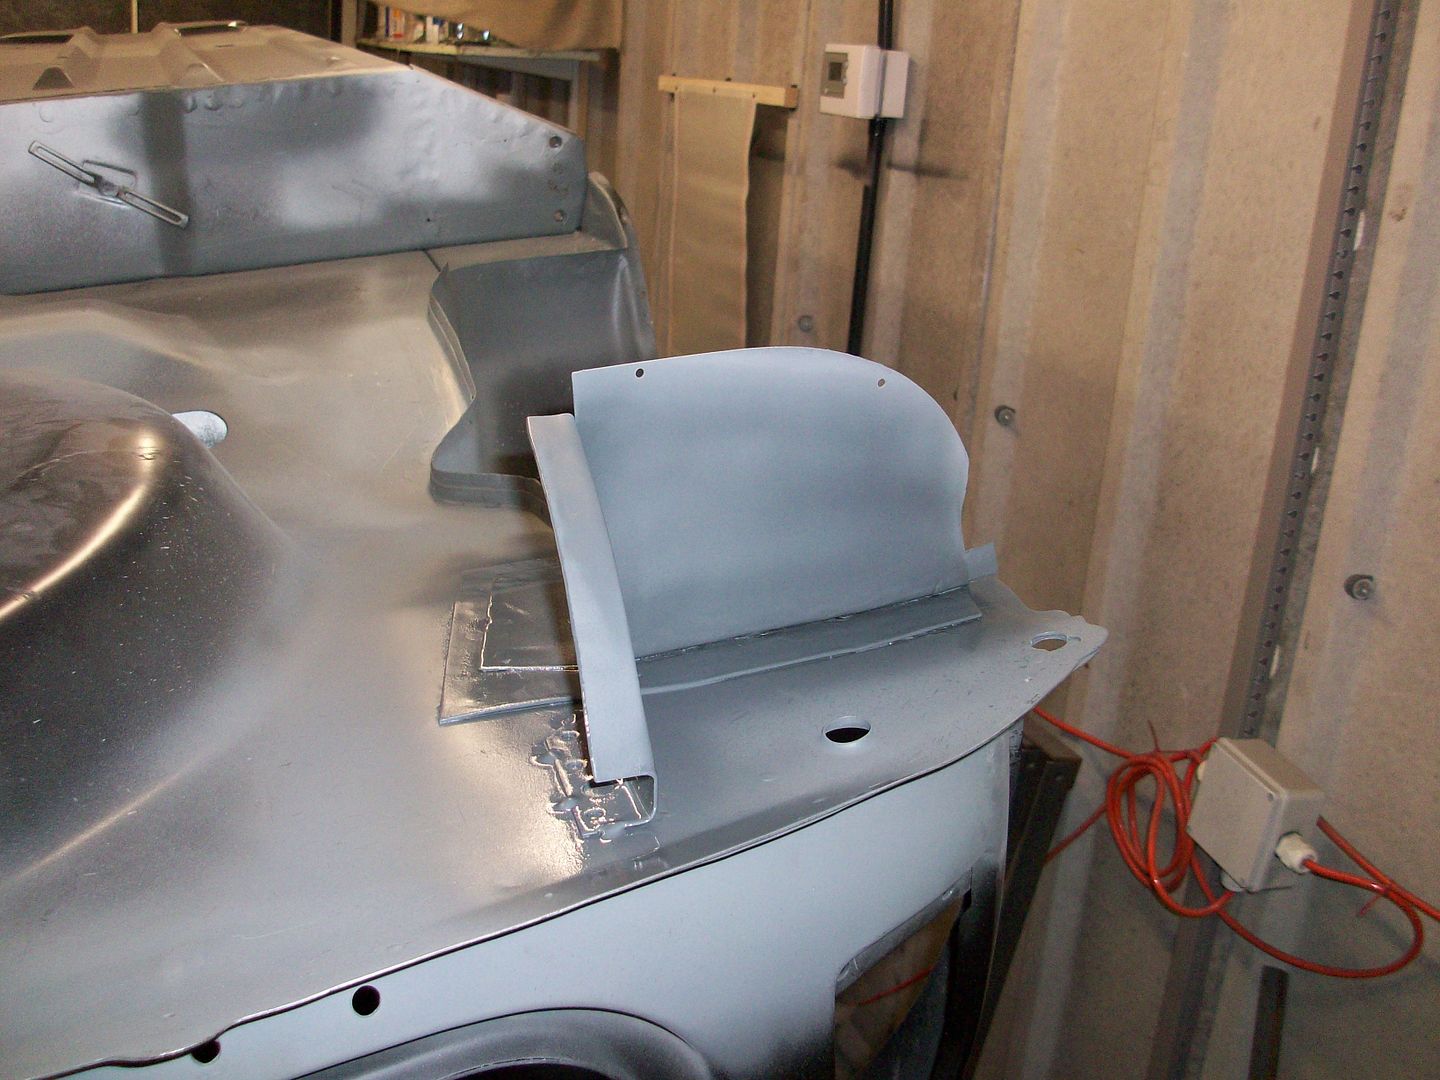
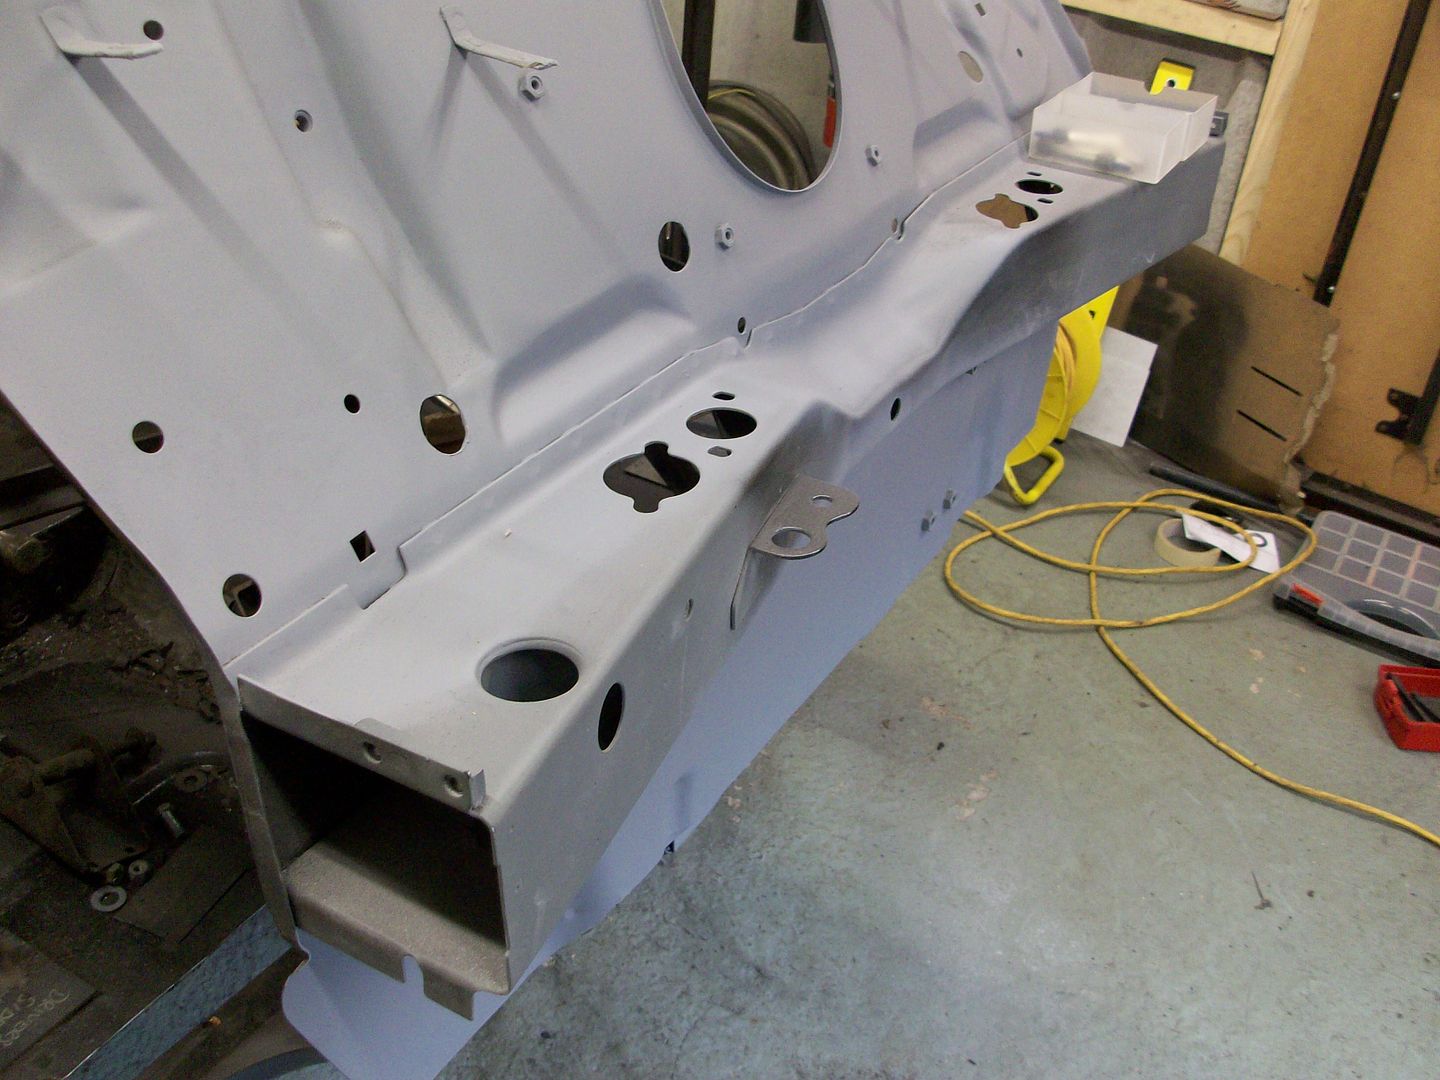
100_6837.jpg

100_6838.jpg

100_6839.jpg


Some seam sealer.

100_6845.jpg

100_6846.jpg

100_6847.jpg


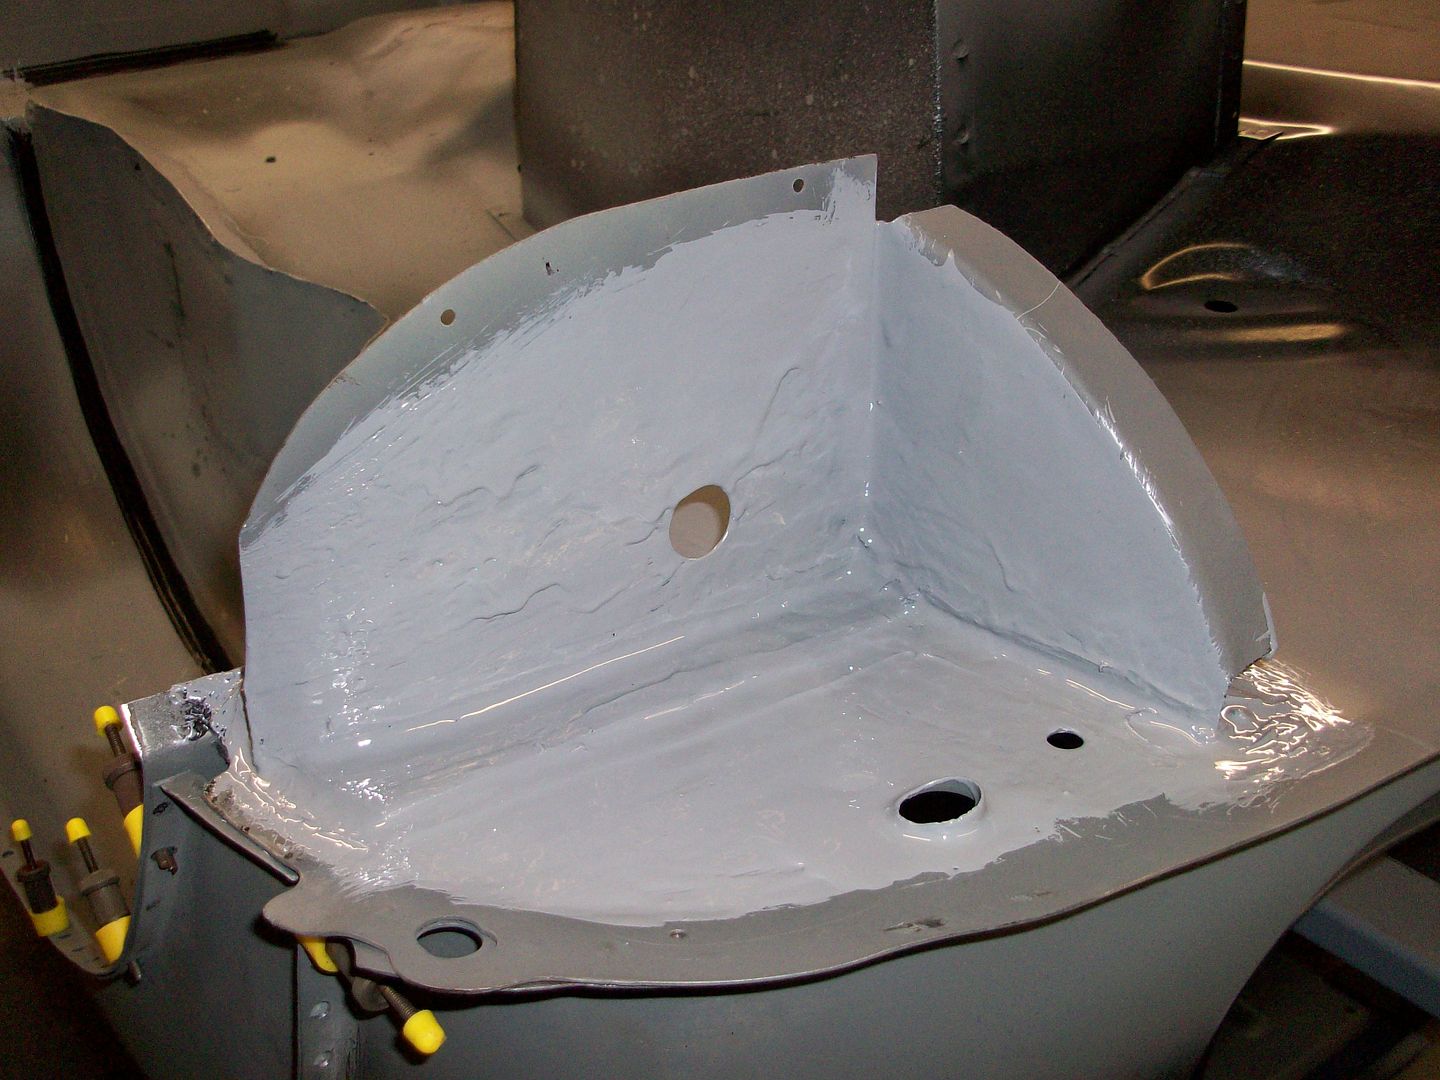
And just to make sure - A nice brushed on coat of Zinc182 just for good measure.

100_6859.jpg

100_6858_2.jpg


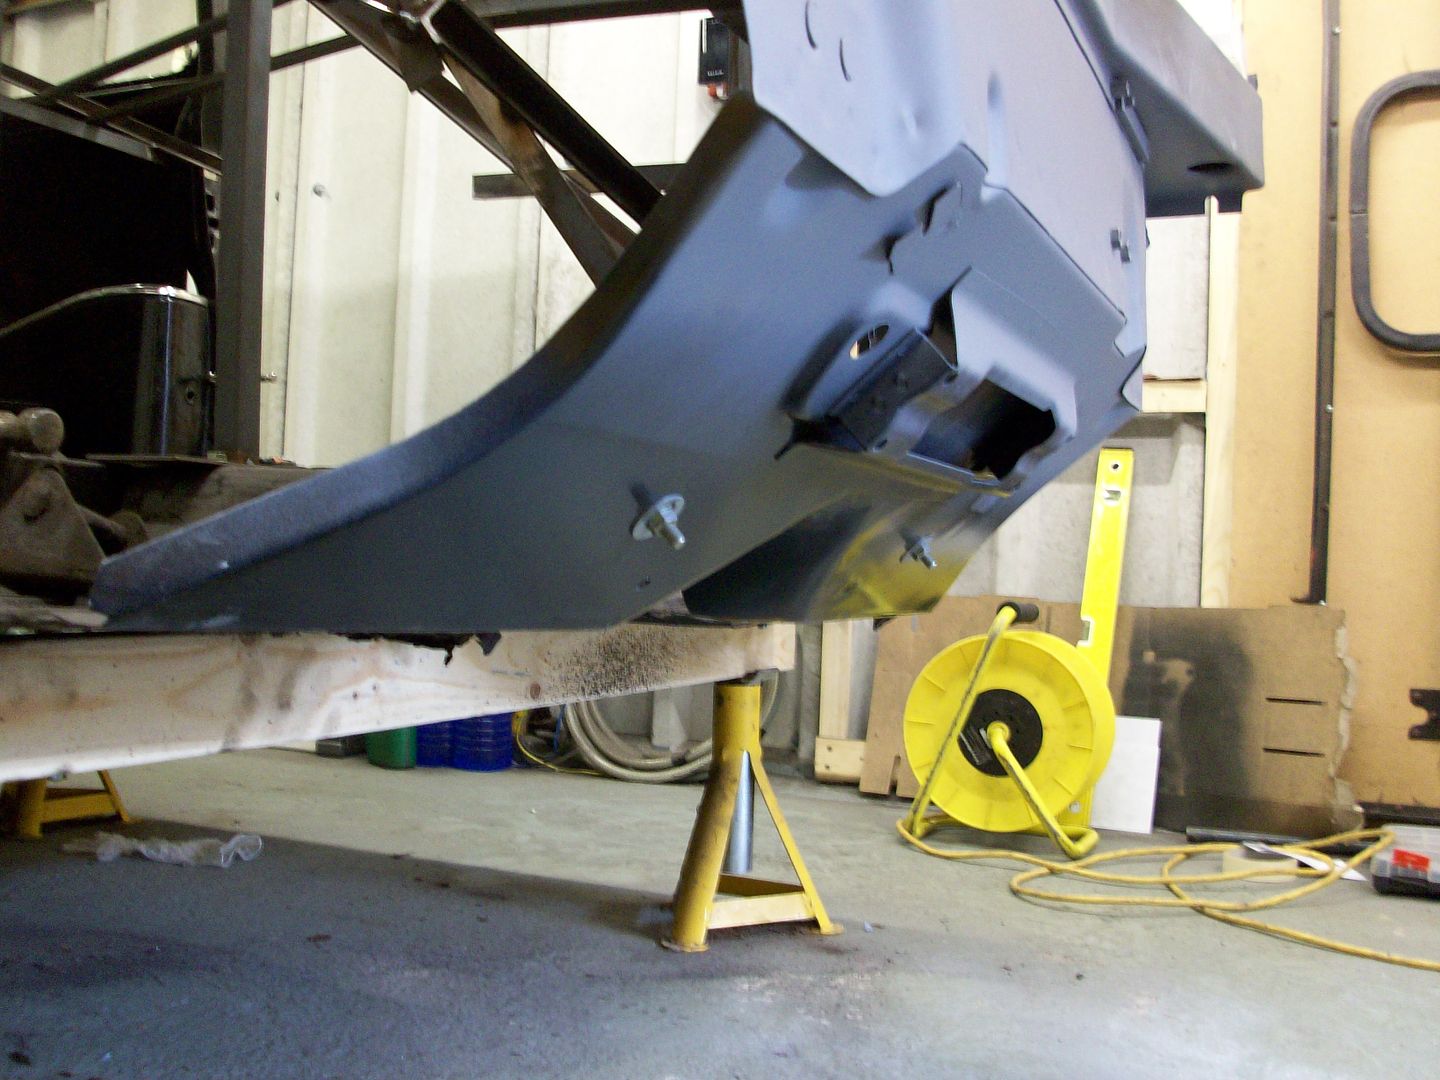
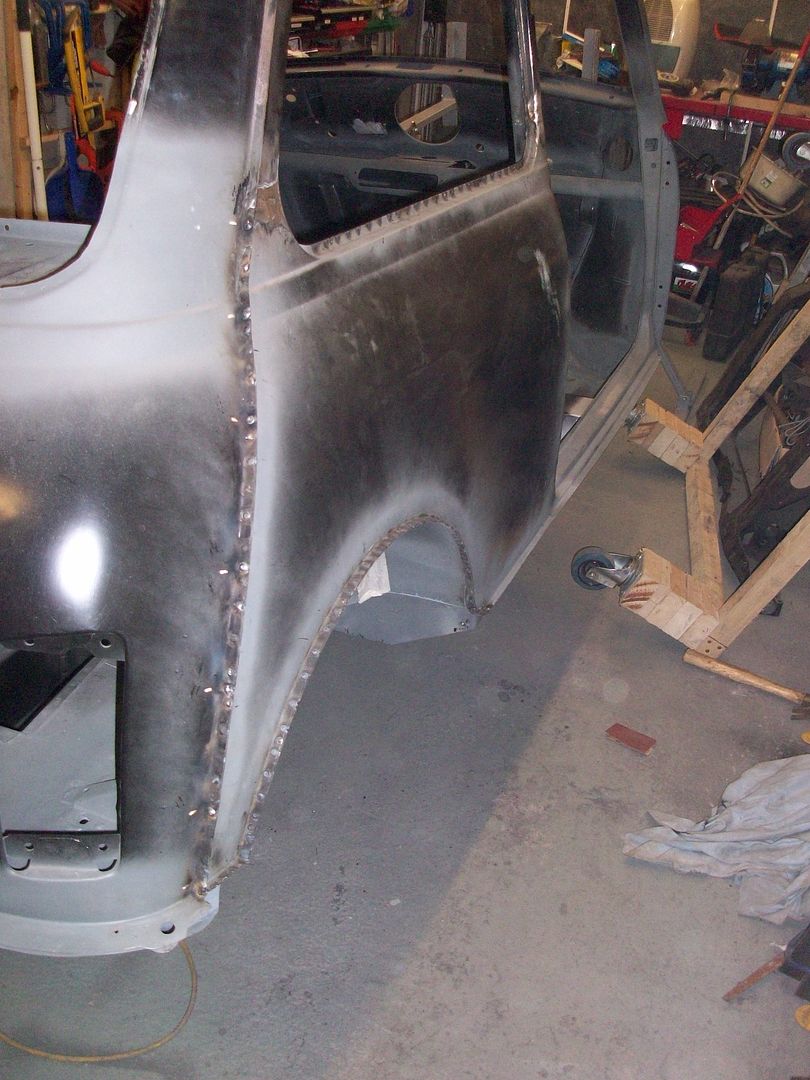
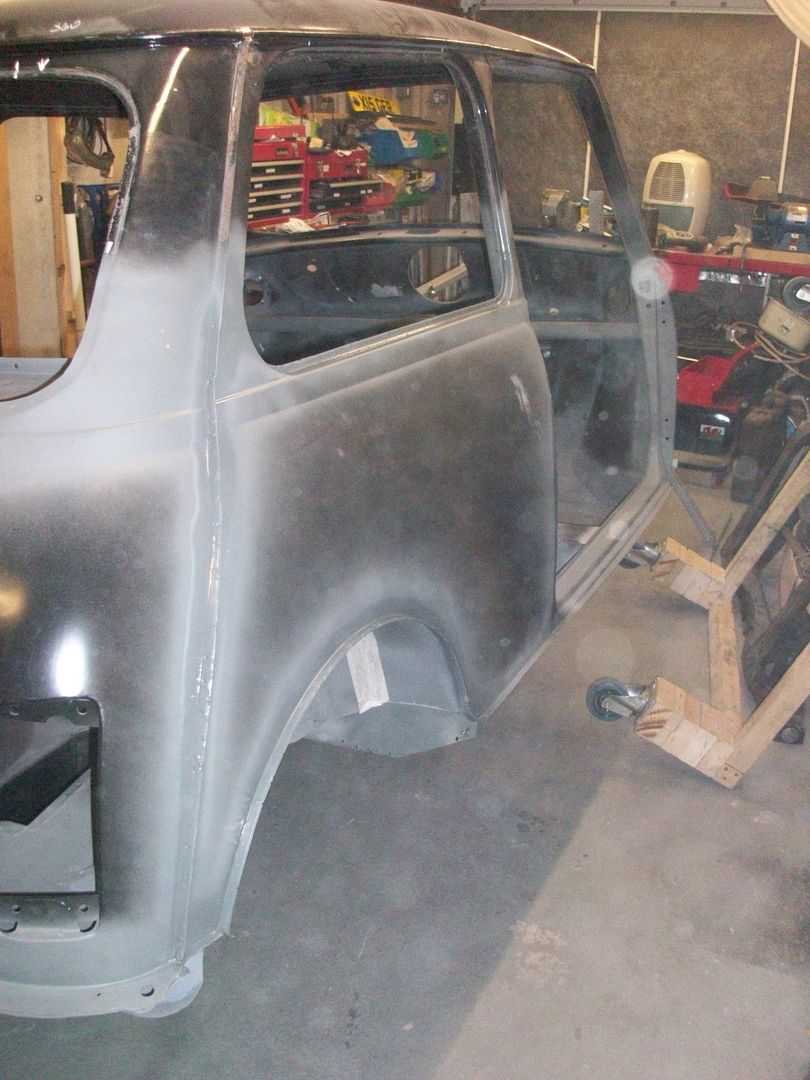
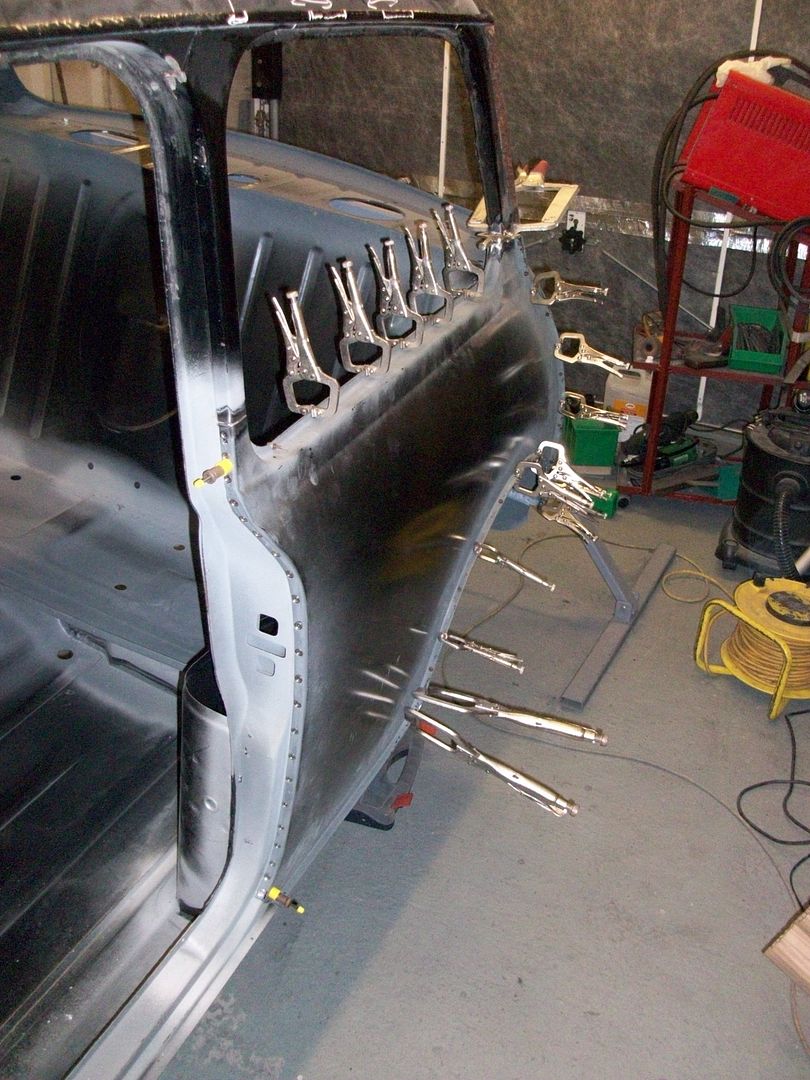
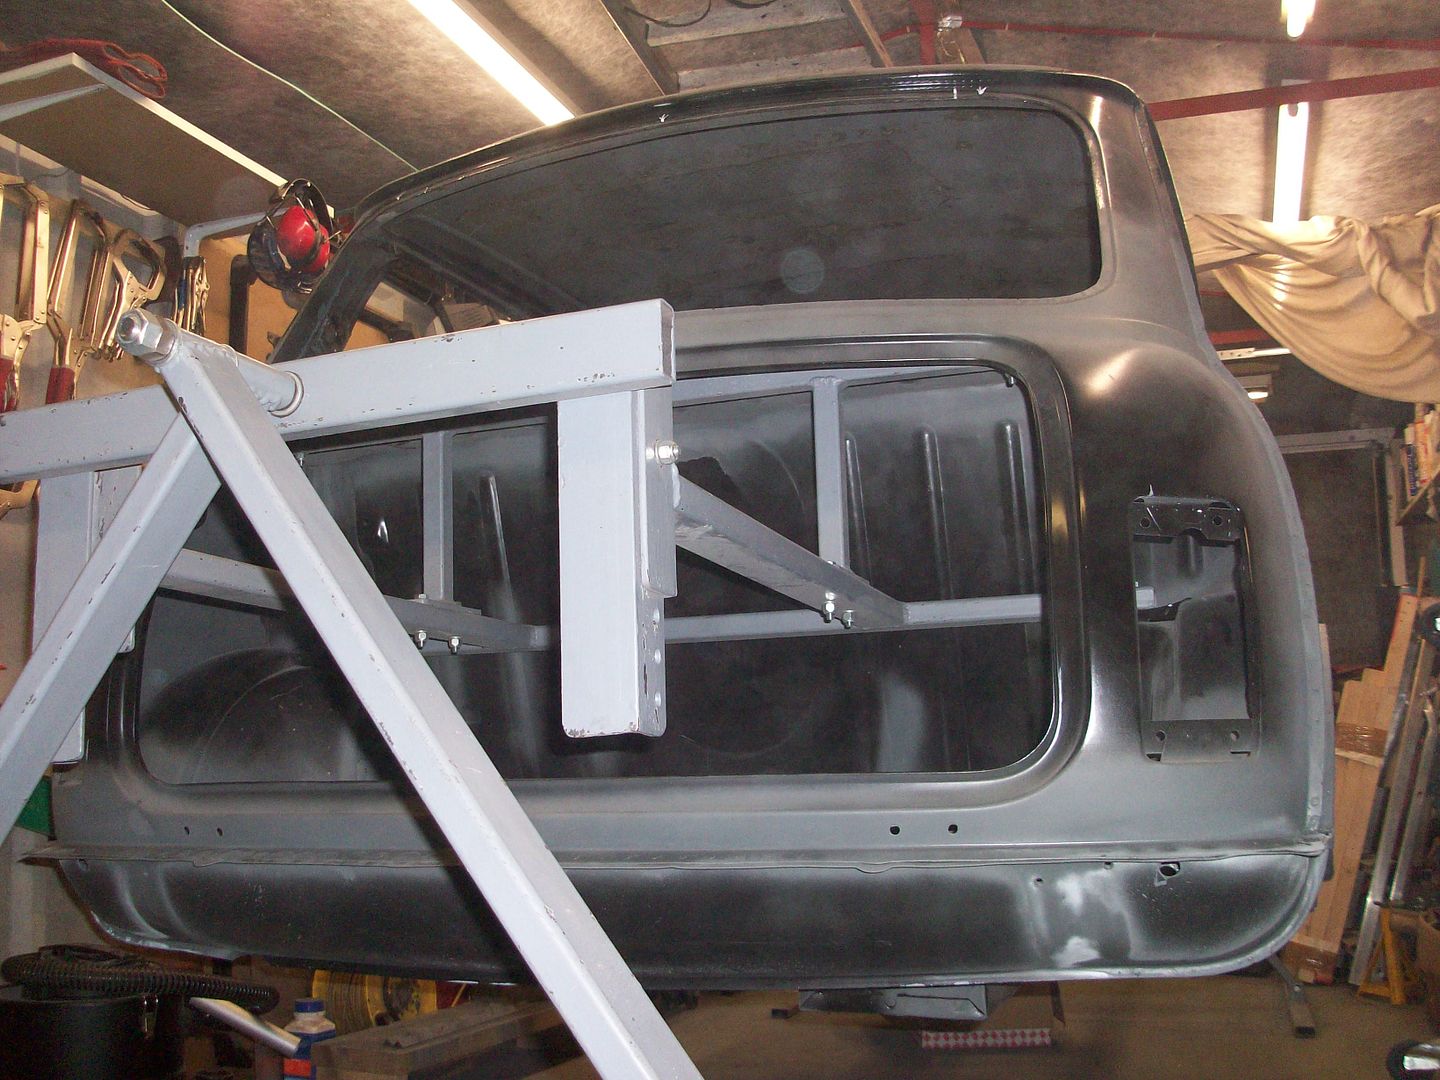
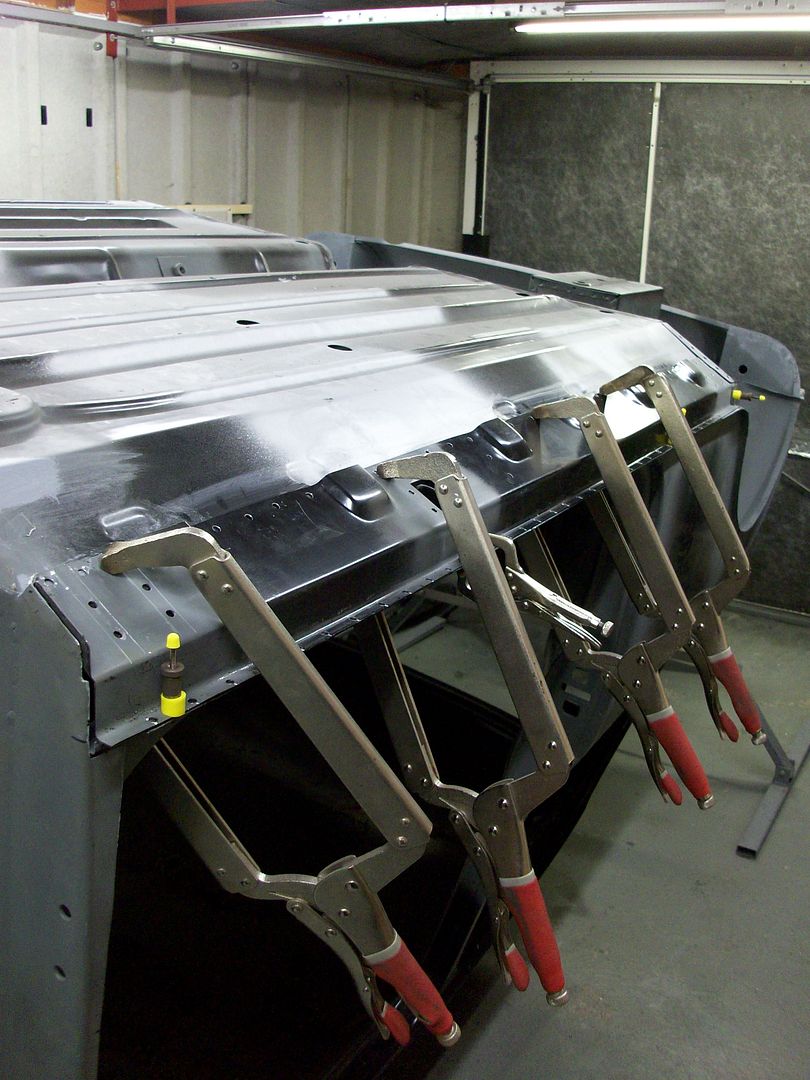
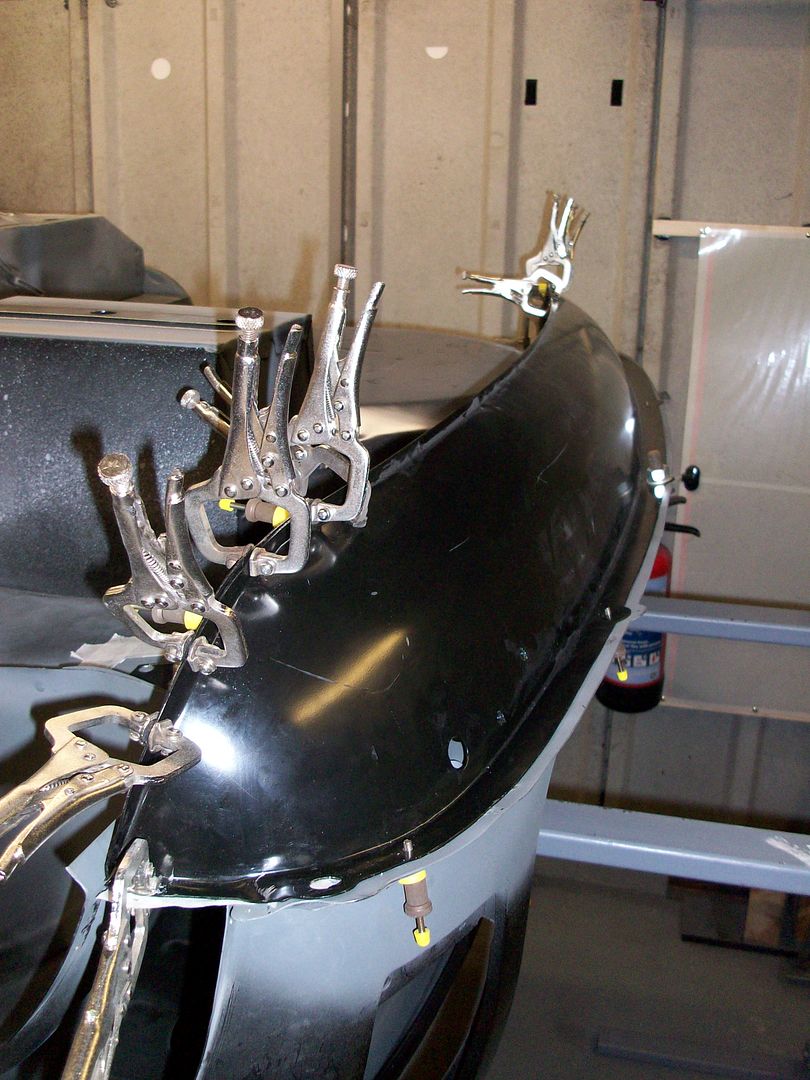
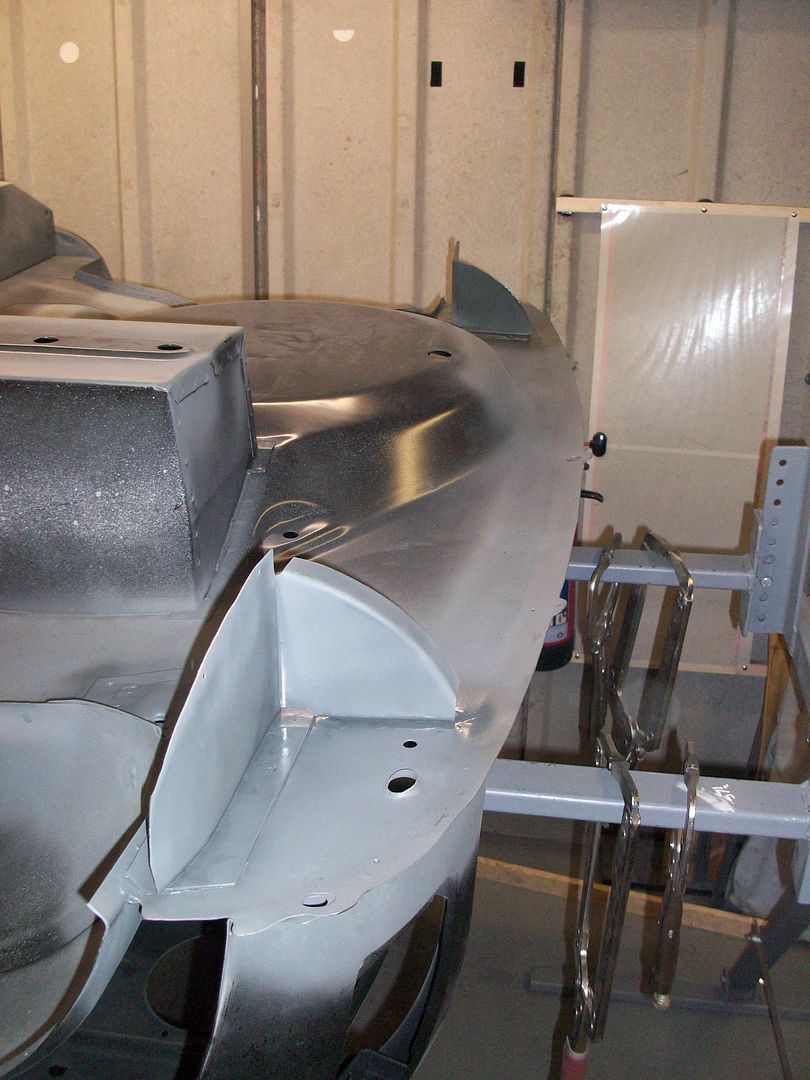
And finally the rear quarters were fitted again all ready for welding.

100_6841.jpg

100_6840.jpg

100_6843.jpg

100_6842.jpg


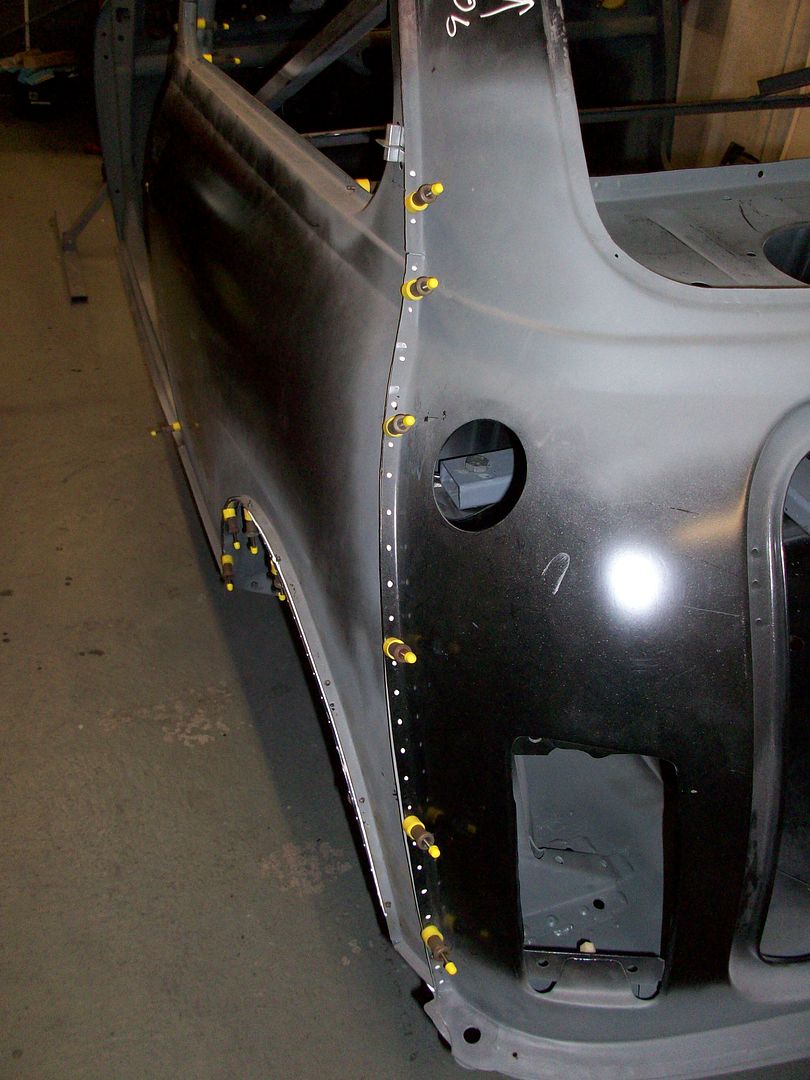
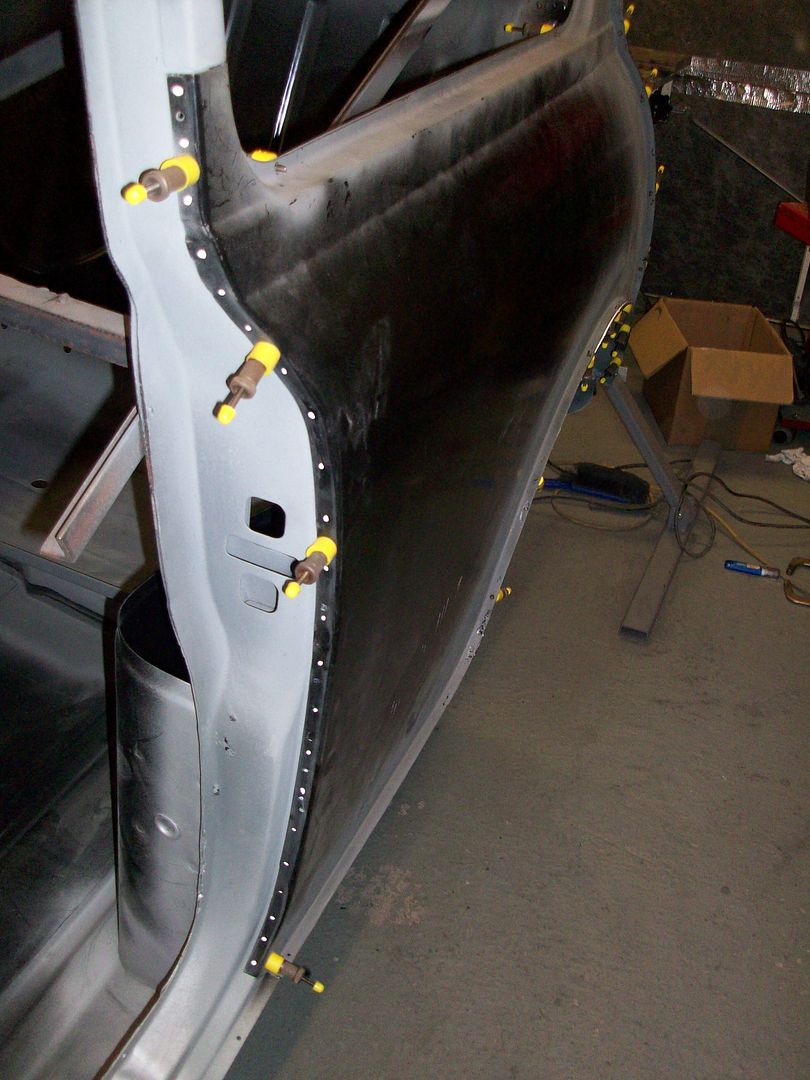
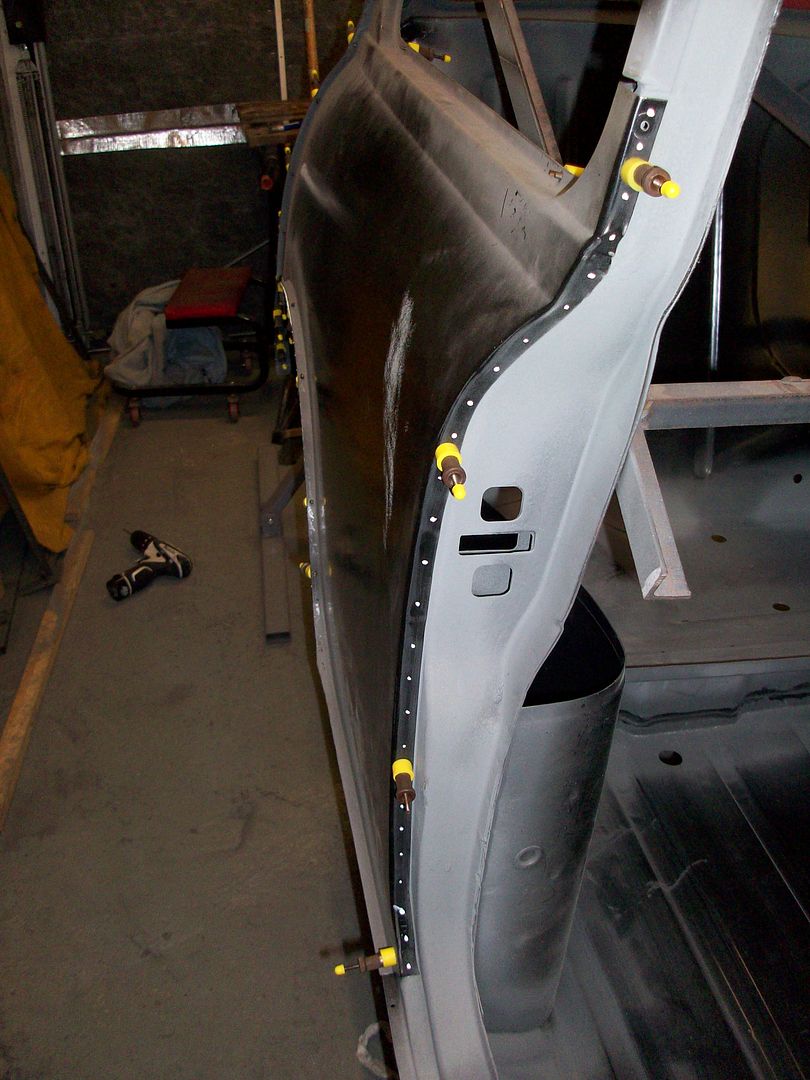
Not quite all I wanted to do nevertheless alot done.


Ger


#182 minimissions

minimissions

    Up Into Fourth

  • Members
  • PipPipPipPipPipPipPipPipPip
  • 3,427 posts
  • Location: North West
  • Local Club: M.M.O.C

Posted 06 January 2016 - 02:21 PM

wow you have been busy :) Some more very nice tidy work there... cant see that rear valance rusting anytime soon lol :) nice one!


#183 Toeknee

Toeknee

    Stage One Kit Fitted

  • Noobies
  • PipPipPip
  • 59 posts
  • Location: West Sussex

Posted 06 January 2016 - 02:32 PM

Sterling work as ever.  Looking forward to seeing this in paint!


#184 alchall

alchall

    Super Mini Mad

  • Just Joined
  • PipPipPipPipPipPip
  • 604 posts
  • Location: Chorley

Posted 06 January 2016 - 03:13 PM

So very close now to getting that rear end finished, great work as always!


Seems to me that everything takes that bit longer than you expect it too, even now I now that to be the case I still underestimate the time required for most everything I do on mine.


#185 The Pot Wash

The Pot Wash

    On The Road

  • Noobies
  • PipPip
  • 41 posts
  • Location: Skip Town

Posted 06 January 2016 - 10:31 PM

I am spending all my weekends restoring my Mini for the last 4 months but no where near as neet as this. OMG you have made a new car. Its immaculate. Well done keep up the AMAZING work and just think soon you will be driving it down the road like it was a BRAND NEW CAR. I can't wait to get mine on the road..... 


#186 ger

ger

    Mini Mad

  • Just Joined
  • PipPipPipPip
  • 233 posts
  • Location: The Land Of Song
  • Local Club: M4 Minis

Posted 07 January 2016 - 01:12 PM

Thanks for all your comments guys


Ger


#187 CBJ805T

CBJ805T

    Speeding Along Now

  • Members
  • PipPipPipPipPip
  • 438 posts
  • Location: Kenilworth

Posted 07 January 2016 - 10:10 PM

Bit of a large update this w/e, and as I've got this week off should get a decent bit done.
 
The front crossmember and toe board finally arrived so they werer the first jobs.
 
100_5909.jpg
100_5910.jpg

 
Ger


Hi Ger, might have to do this job myself soon. Just wondered how you ensured you got the cross member back in the same place?

Thanks, Chris

#188 ger

ger

    Mini Mad

  • Just Joined
  • PipPipPipPip
  • 233 posts
  • Location: The Land Of Song
  • Local Club: M4 Minis

Posted 07 January 2016 - 10:45 PM

Hi Chris, just took lots of measurements from the top of the crossmember to the bottom of the windscreen, plus the crossmember sits on the flanges of the rectangular holes in the bulkhead, you should just about see them in the pic.

Ger


IMG_20150207_114233.jpg

#189 ger

ger

    Mini Mad

  • Just Joined
  • PipPipPipPip
  • 233 posts
  • Location: The Land Of Song
  • Local Club: M4 Minis

Posted 11 January 2016 - 07:34 AM

At long last the drivers side rear quarter panel has been welded on, welds ground down and primed. The B-pillar needs a bit of tidying up but at least its on.


100_6860.jpg

100_6861.jpg

100_6863.jpg

100_6864.jpg


Ger


#190 Vinay-RS

Vinay-RS

    Put's foolish ideas in peoples heads

  • Members
  • PipPipPipPipPipPipPipPipPip
  • 2,115 posts
  • Location: Cape Town

Posted 11 January 2016 - 07:50 AM

You are working so quickly. Seriously impressive work.


#191 The Pot Wash

The Pot Wash

    On The Road

  • Noobies
  • PipPip
  • 41 posts
  • Location: Skip Town

Posted 11 January 2016 - 06:26 PM

I can't wait to see the finished item... It will be like a new car just rolled off the production line..  Great work.


#192 ger

ger

    Mini Mad

  • Just Joined
  • PipPipPipPip
  • 233 posts
  • Location: The Land Of Song
  • Local Club: M4 Minis

Posted 26 January 2016 - 12:30 PM

More work done on the w/e.


Welded in the passenger rear quarter panel, ground down plug welds and a coat of primer.


100_6865.jpg

100_6866_1.jpg

100_6867_1.jpg

100_6868.jpg

100_6871.jpg

100_6870_1.jpg


Then prepped rear valence ready for welding.


100_6872.jpg

100_6873.jpg

100_6874.jpg


Ger


#193 minimissions

minimissions

    Up Into Fourth

  • Members
  • PipPipPipPipPipPipPipPipPip
  • 3,427 posts
  • Location: North West
  • Local Club: M.M.O.C

Posted 26 January 2016 - 02:29 PM

Really coming together now :)


#194 ger

ger

    Mini Mad

  • Just Joined
  • PipPipPipPip
  • 233 posts
  • Location: The Land Of Song
  • Local Club: M4 Minis

Posted 31 January 2016 - 12:29 PM

Had last week off so more done.


Welded on the rear valence.

100_6878.jpg

100_6877.jpg

100_6880.jpg


Welds ground down and a coat of primer.

100_6885.jpg

100_6882.jpg


The Tarts arse is now complete.  :shades:

100_6884.jpg


Made a start on the drivers side sill. As I won't be using the jacking points to lift the car I decided to fill in the holes along with the ones for the slinging brackets, and while i was at it I did the door mirror holes on the new door skins.

100_6831.jpg

100_6889.jpg

100_6887.jpg

100_6891.jpg


After grinding the welds down they had a coat of primer.

100_6895.jpg

100_6899.jpg

100_6900.jpg


The main jacking point holes will be filled when I've positioned the seat crossmember extension brackets.


Positioning the crossmember extensions and slinging brackets - not used just there for a bit more strength.

100_6902.jpg

100_6904.jpg


Drivers sill fitted with all the plug weld holes drilled.

100_6905.jpg


Ger


#195 Vinay-RS

Vinay-RS

    Put's foolish ideas in peoples heads

  • Members
  • PipPipPipPipPipPipPipPipPip
  • 2,115 posts
  • Location: Cape Town

Posted 01 February 2016 - 05:37 AM

Wow, this car is coming together really well. You're very good at fabrication. 


Also tagged with one or more of these keywords: clubman

1 user(s) are reading this topic

0 members, 1 guests, 0 anonymous users