
Stunning as ever!

290 replies to this topic
#196

minimissions
-

- Members
-

- 3,427 posts
Up Into Fourth
- Location: North West
- Local Club: M.M.O.C
Posted 01 February 2016 - 06:40 AM
#197
Bungleaio
-

- TMF+ Member
-
- 201 posts
Mini Mad
- Location: Leicestershire
- Local Club: Not in one.
Posted 01 February 2016 - 06:53 AM
Just read the whole thread. Amazing work well done!
#198
ger
-
- Just Joined
-
- 233 posts
Mini Mad
- Location: The Land Of Song
- Local Club: M4 Minis
Posted 15 February 2016 - 12:46 PM
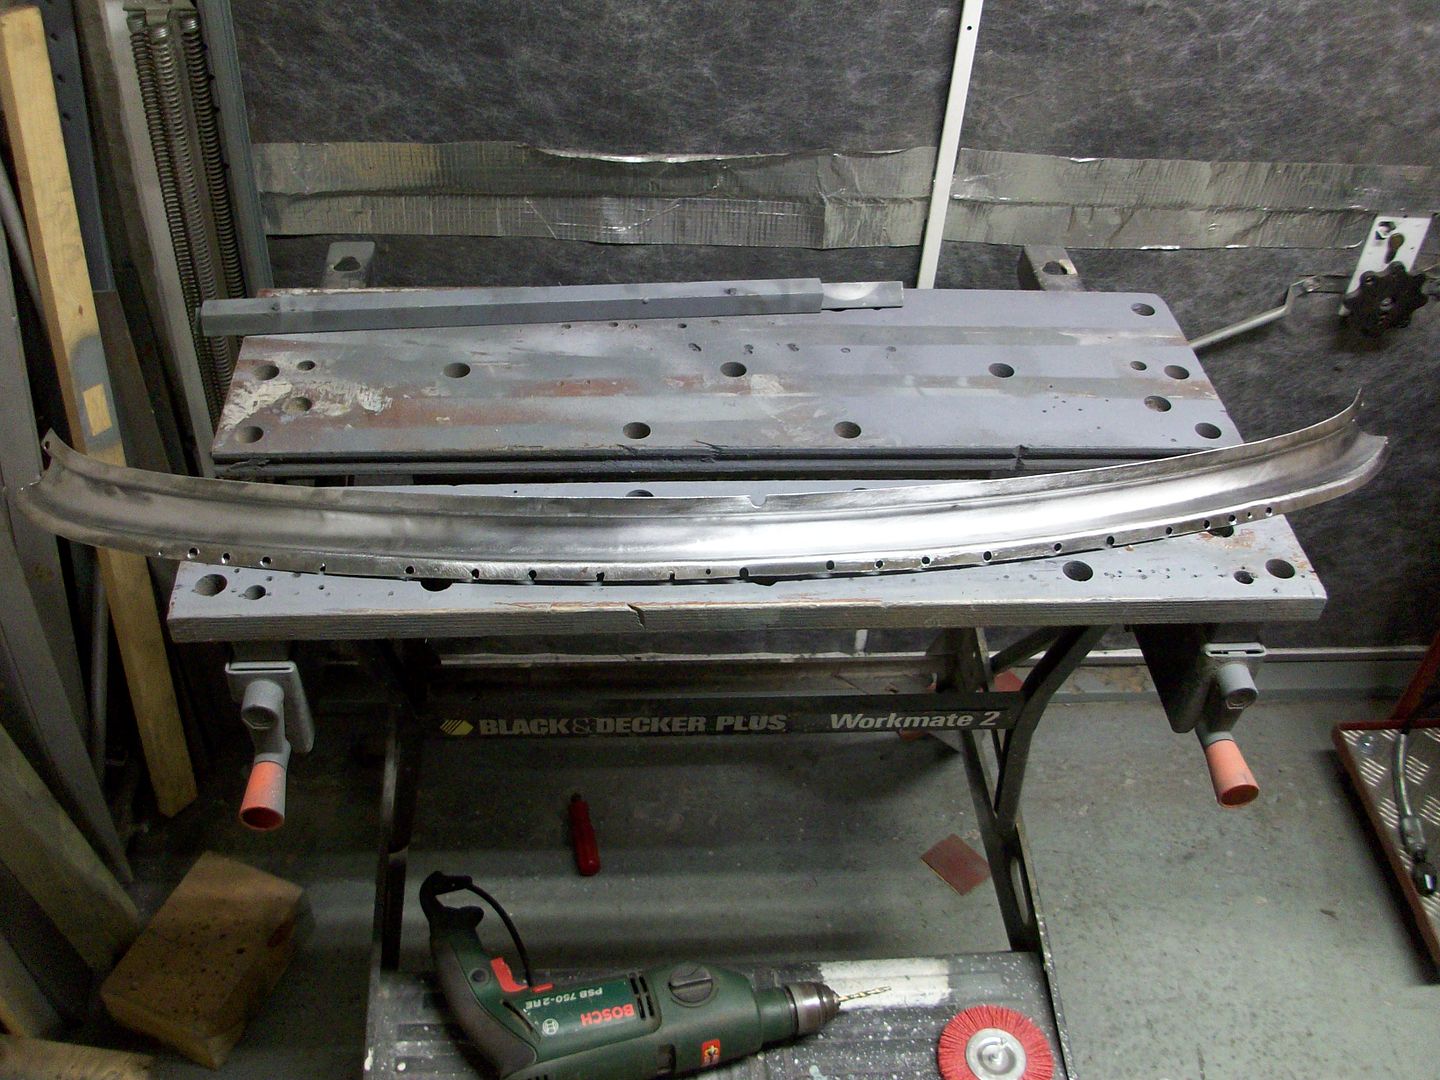
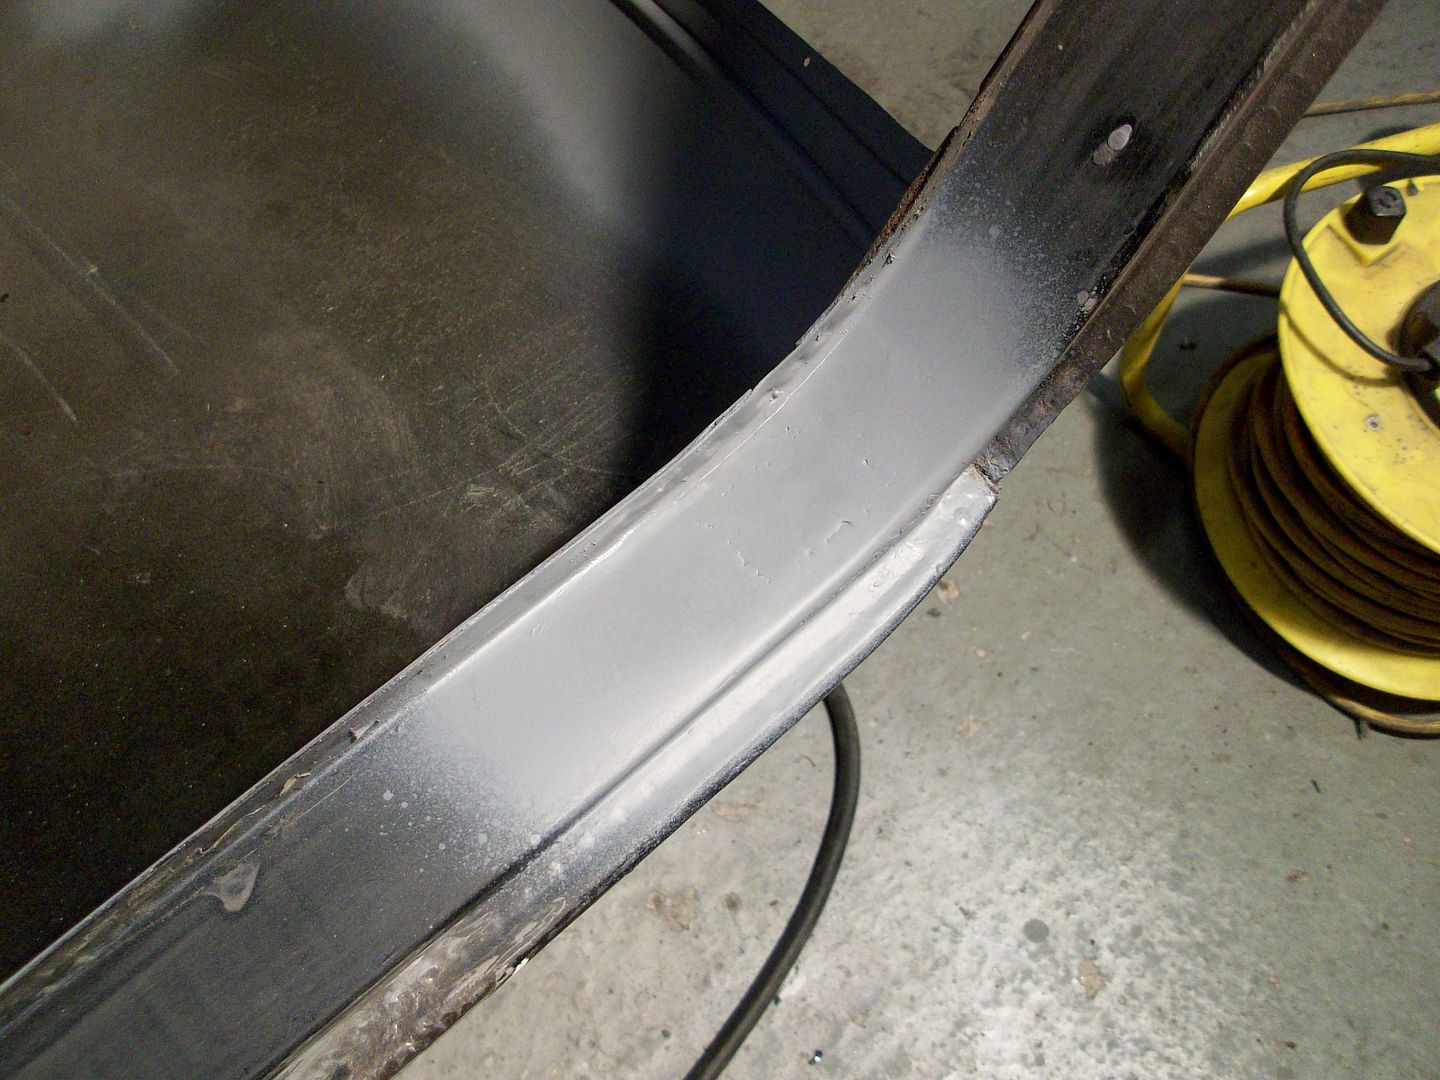
Update from over the last couple of weeks.
Jacking points and slinging brackets welded on even they won't be used.
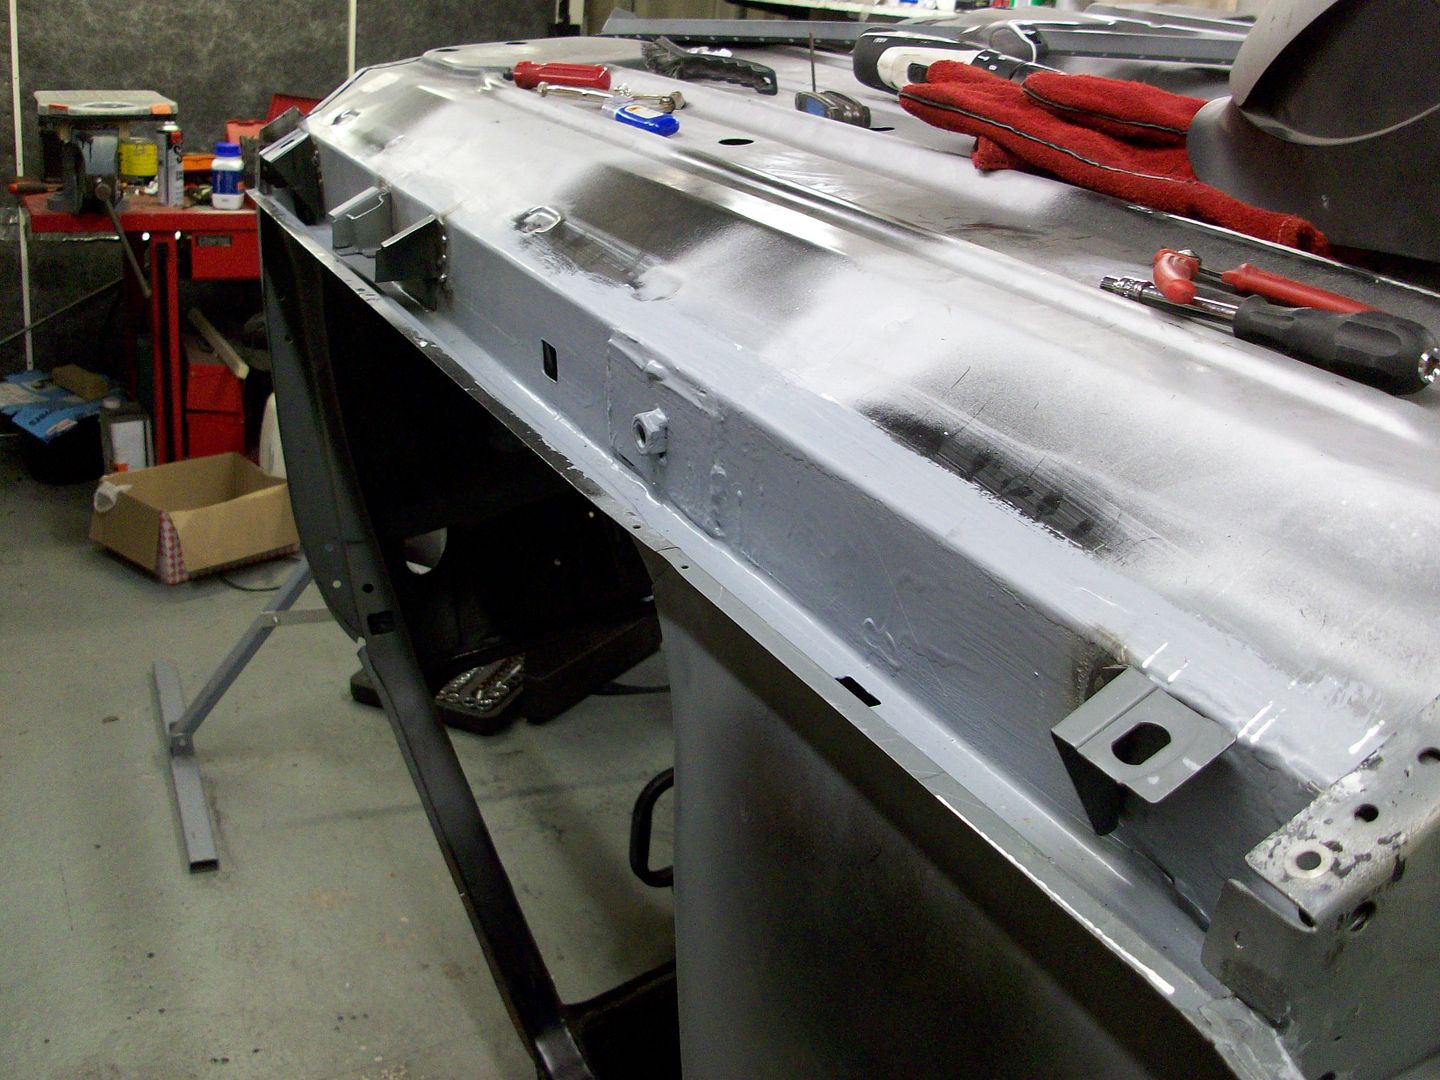
Primed
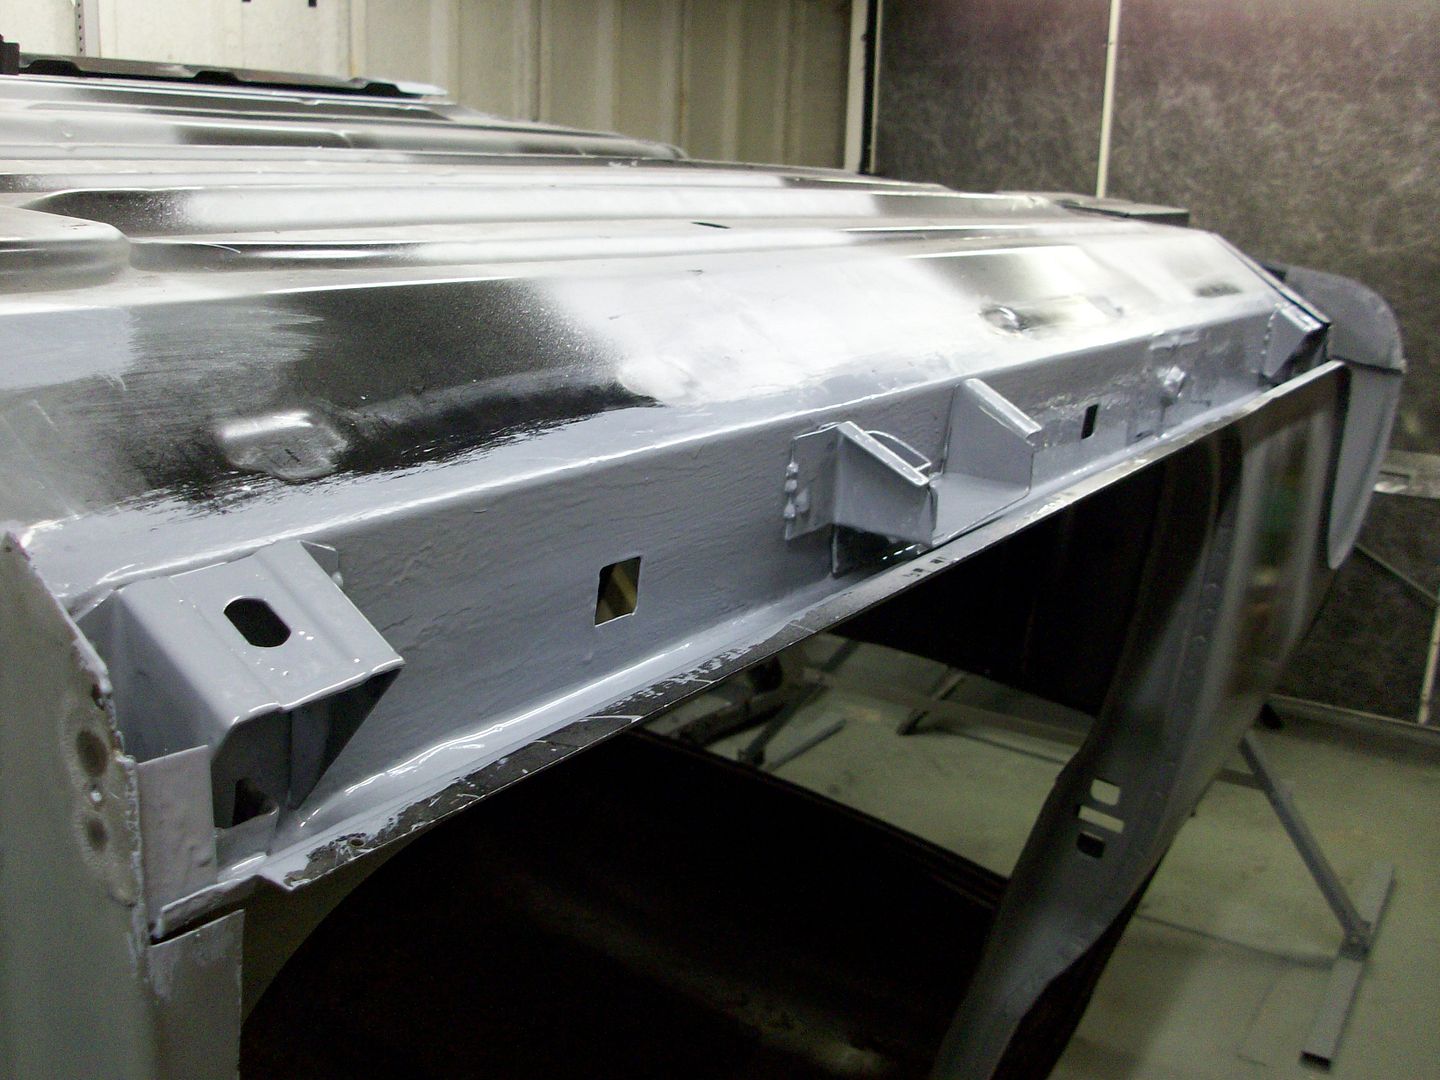
Jacking point holes were welded up on the sills.

Then sills welded on.


Ground down and primered.


Then just for good measure primered inside the box section with Bilt Hamber using a 360 degree spray head.

The first time she's had propper sills, since I've owned her anyway.

Ger
Jacking points and slinging brackets welded on even they won't be used.
Primed
Jacking point holes were welded up on the sills.
Then sills welded on.
Ground down and primered.
Then just for good measure primered inside the box section with Bilt Hamber using a 360 degree spray head.
The first time she's had propper sills, since I've owned her anyway.
Ger
Edited by ger, 15 February 2016 - 09:08 PM.
#199
phil hill
-

- TMF+ Member
-
- 616 posts
Super Mini Mad
- Location: Lincoln, UK
Posted 16 February 2016 - 08:24 AM
Outstanding work Ger !!
Phil.
#200
James_eaton_thewholething
-

- Members
-
- 1,063 posts
One Carb Or Two?
- Location: Manchester
Posted 16 February 2016 - 08:51 AM
One thing I will say is I think you need more clamps. But other than that work looks good
#201
ger
-
- Just Joined
-
- 233 posts
Mini Mad
- Location: The Land Of Song
- Local Club: M4 Minis
Posted 16 February 2016 - 12:58 PM
One thing I will say is I think you need more clamps. But other than that work looks good
Never have too many clamps. 
Ger
#202
Vinay-RS
-

- Members
-
- 2,115 posts
Put's foolish ideas in peoples heads
- Location: Cape Town
Posted 16 February 2016 - 01:03 PM
Those sills look better than factory. Great job :)
#203
Wupding
-

- Noobies
-
- 38 posts
On The Road
- Location: Chorley
Posted 16 February 2016 - 07:35 PM
Hi Ger
Looking at starting my GT renovation on Saturday and using your thread as our bible.
Can you advise which skin pins I need to order and also anything else that I need to get started?
Thanks in advance
Looking at starting my GT renovation on Saturday and using your thread as our bible.
Can you advise which skin pins I need to order and also anything else that I need to get started?
Thanks in advance
#204
ger
-
- Just Joined
-
- 233 posts
Mini Mad
- Location: The Land Of Song
- Local Club: M4 Minis
Posted 17 February 2016 - 08:24 AM
Hi Wupding
1/8" skin pins http://www.ebay.co.u...LkAAOSwX~dWp8qG
I've also used Cleco Pins http://www.ebay.co.u...6AAAOSwFqJWpNh9
With the Cleco Pins you will need a tool to fit them http://www.ebay.co.u...B0AAMXQyY1TVkRG
The only thing with the first lot of skin pins is the plastic part of them does melt if you weld too near them. I seem to remember sonikk4 saying there are skinpins that are all metal and are tightened by a wingnut, but i think ther were expensive and I could find them on the interweb.
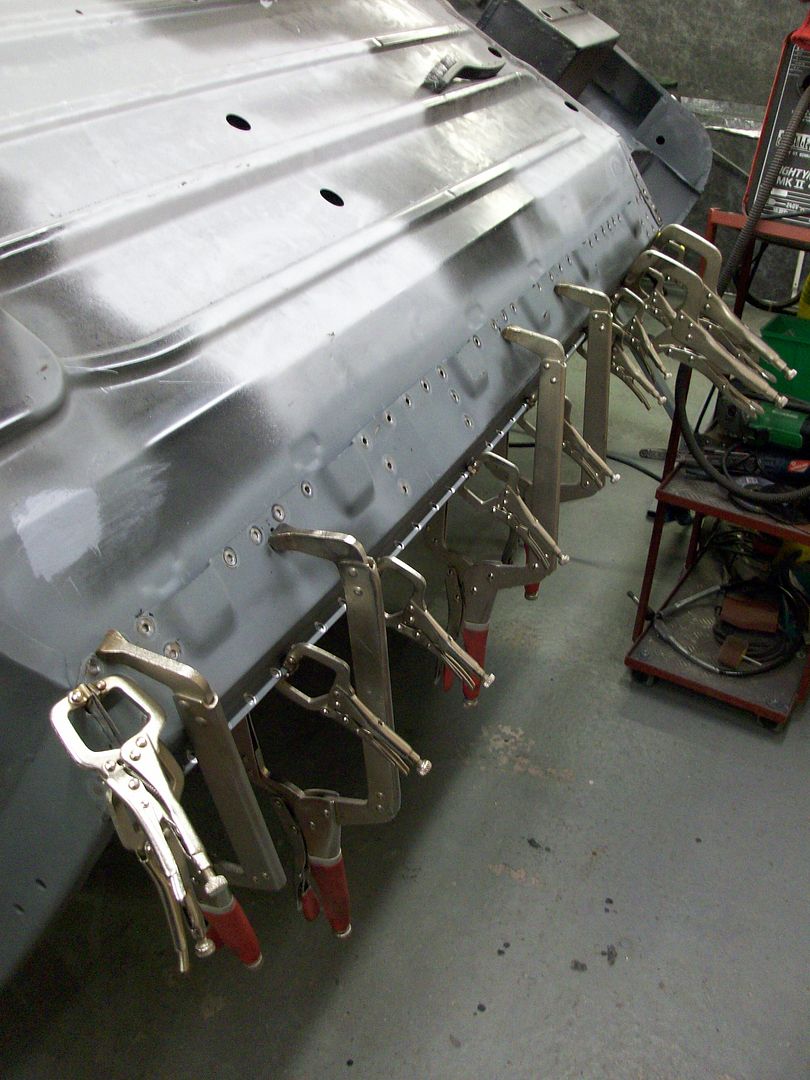
Oh and lots of clamps.
Theres a thread here http://www.theminifo...se-for-welding/ giving a general outline for tools/bits to get.
Along with my thread have a look at sonikk4 resto threads http://www.theminifo...howtopic=134178 and http://www.theminifo...3 Also Ben_O has a resto thread here http://www.theminifo...5-full-rebuild/
Those are the threads that I've been reading as both of them are more experienced than myself, as this is my first resto of any kind.
If you need any more info just let me know.
Regards
Ger
#205
ger
-
- Just Joined
-
- 233 posts
Mini Mad
- Location: The Land Of Song
- Local Club: M4 Minis
Posted 22 February 2016 - 01:00 PM
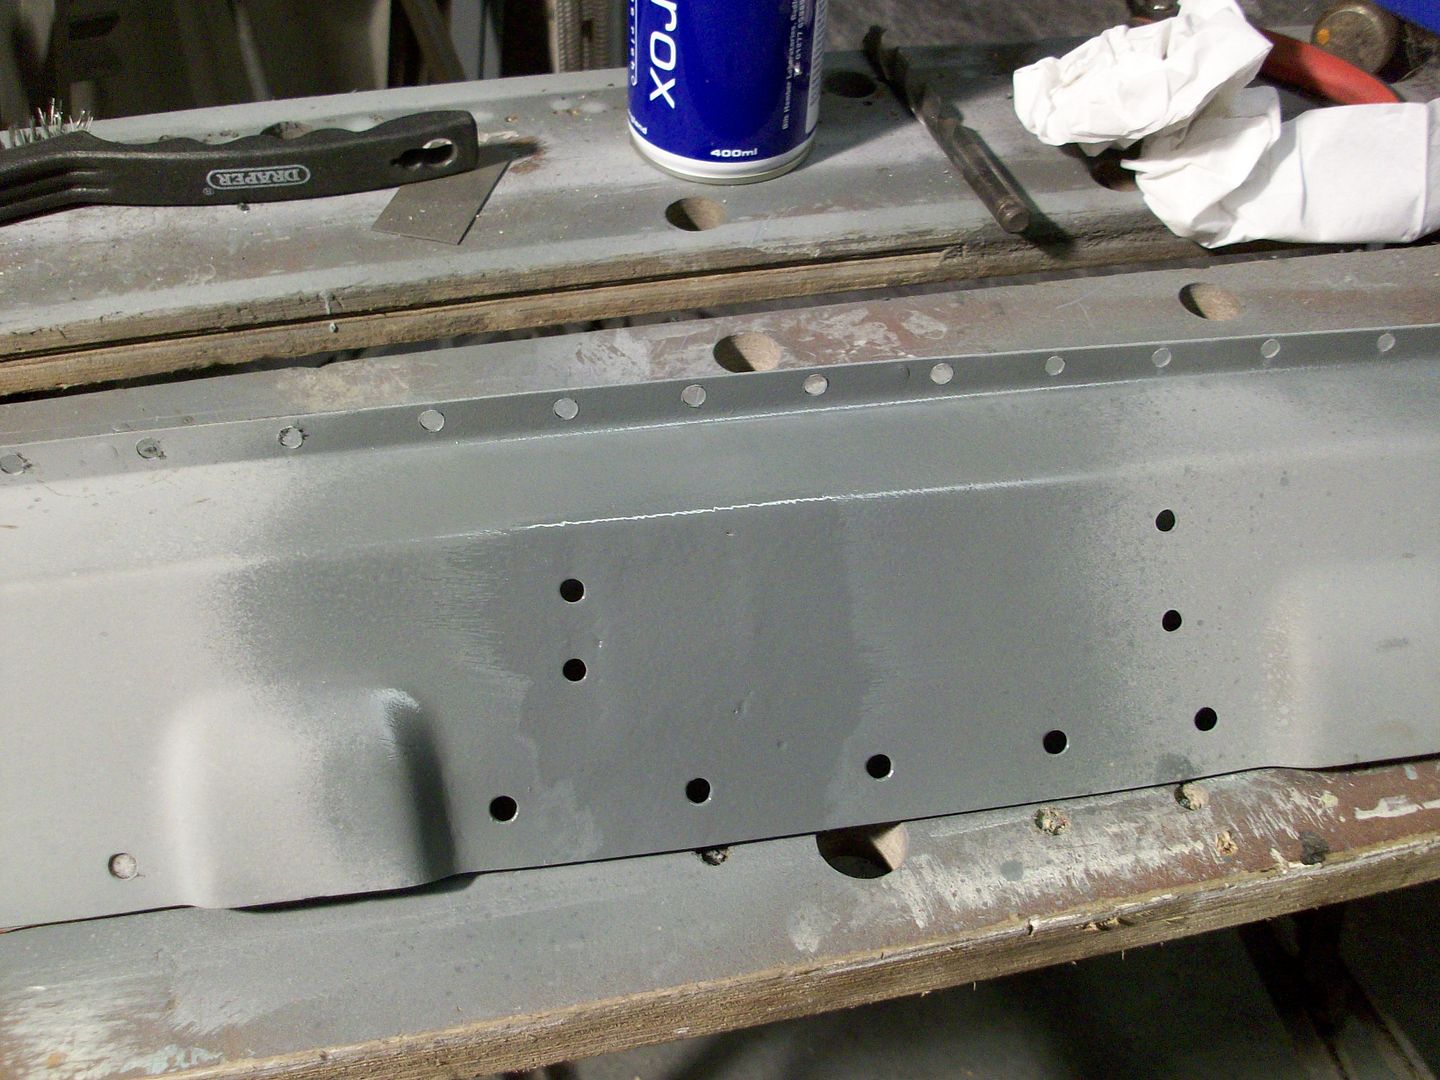
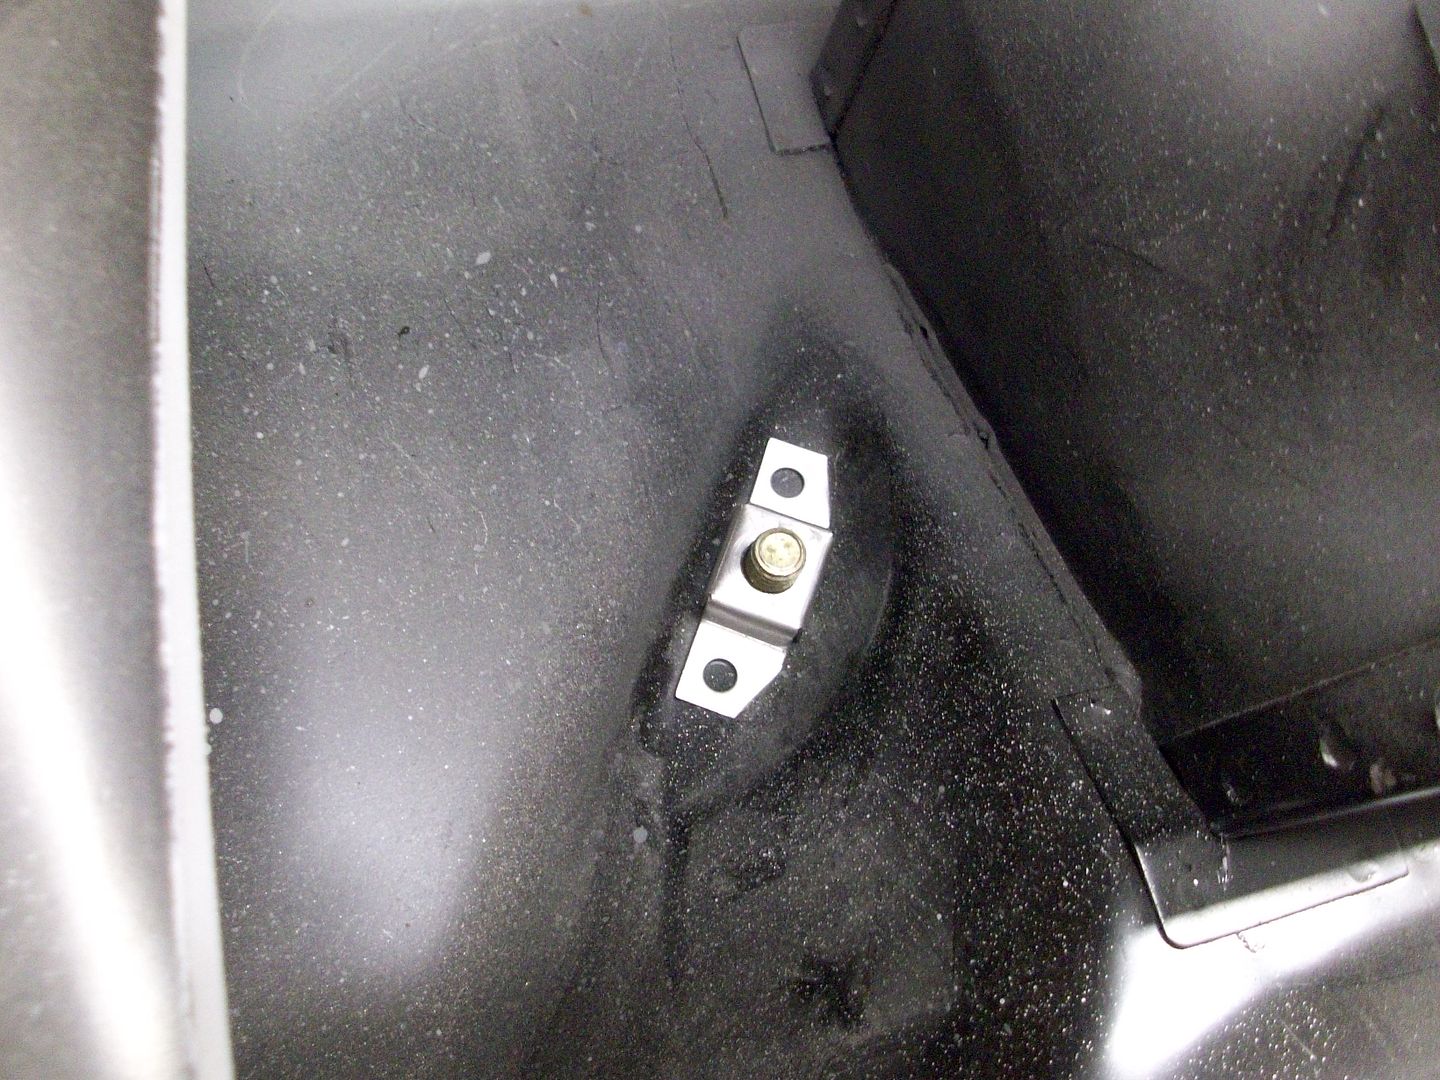
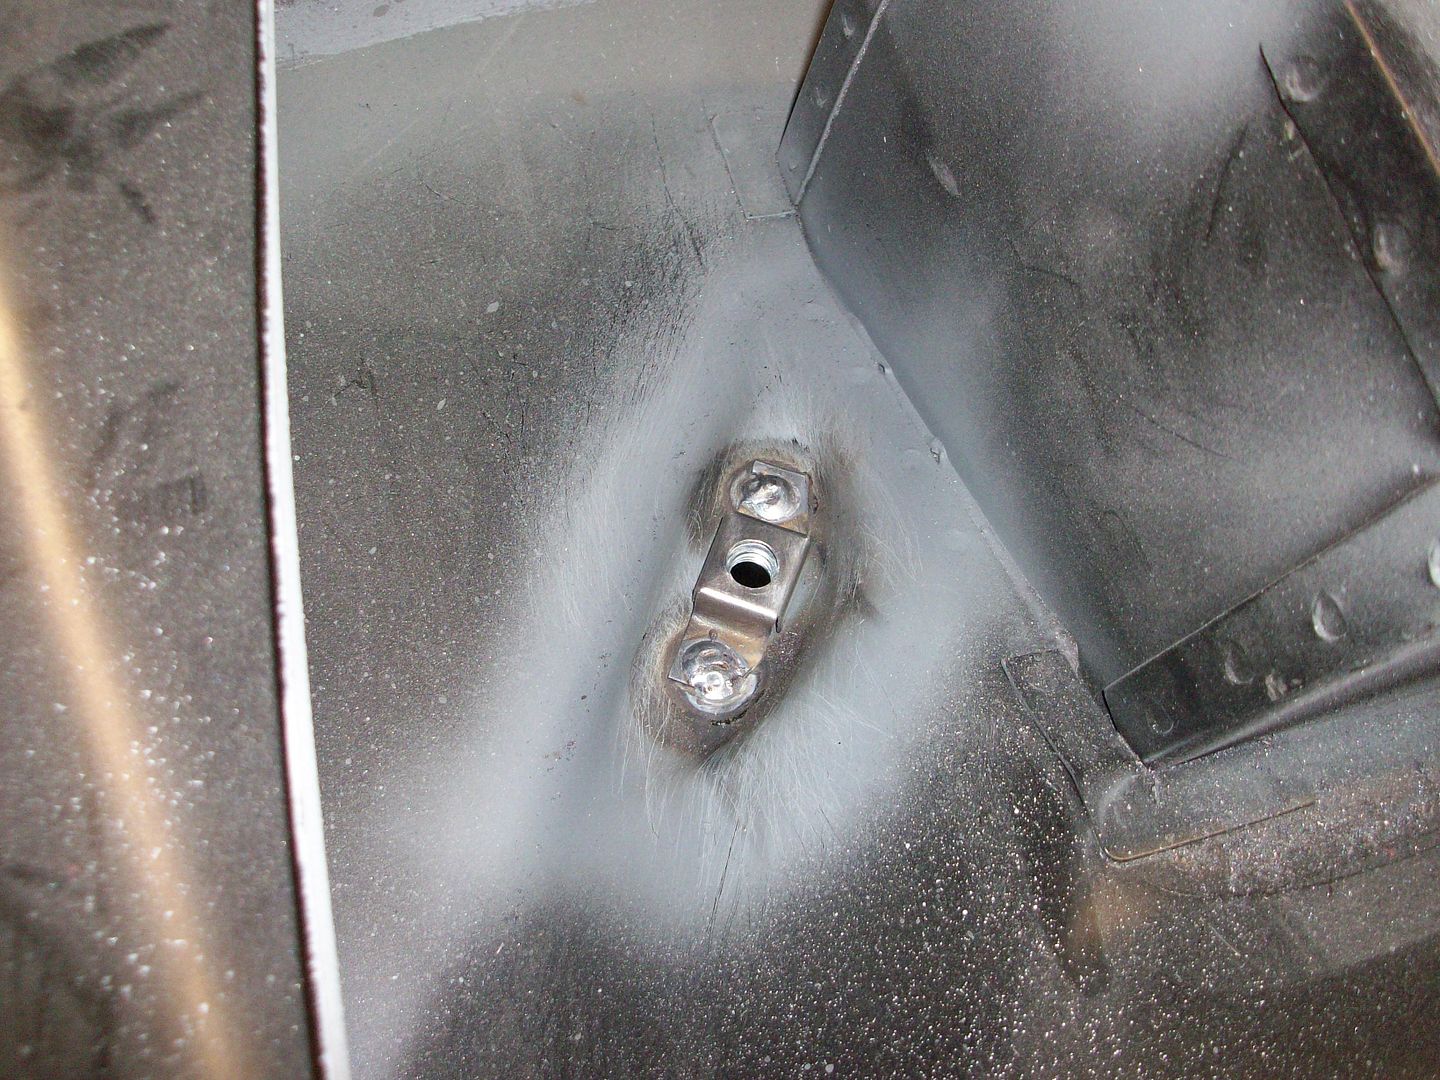
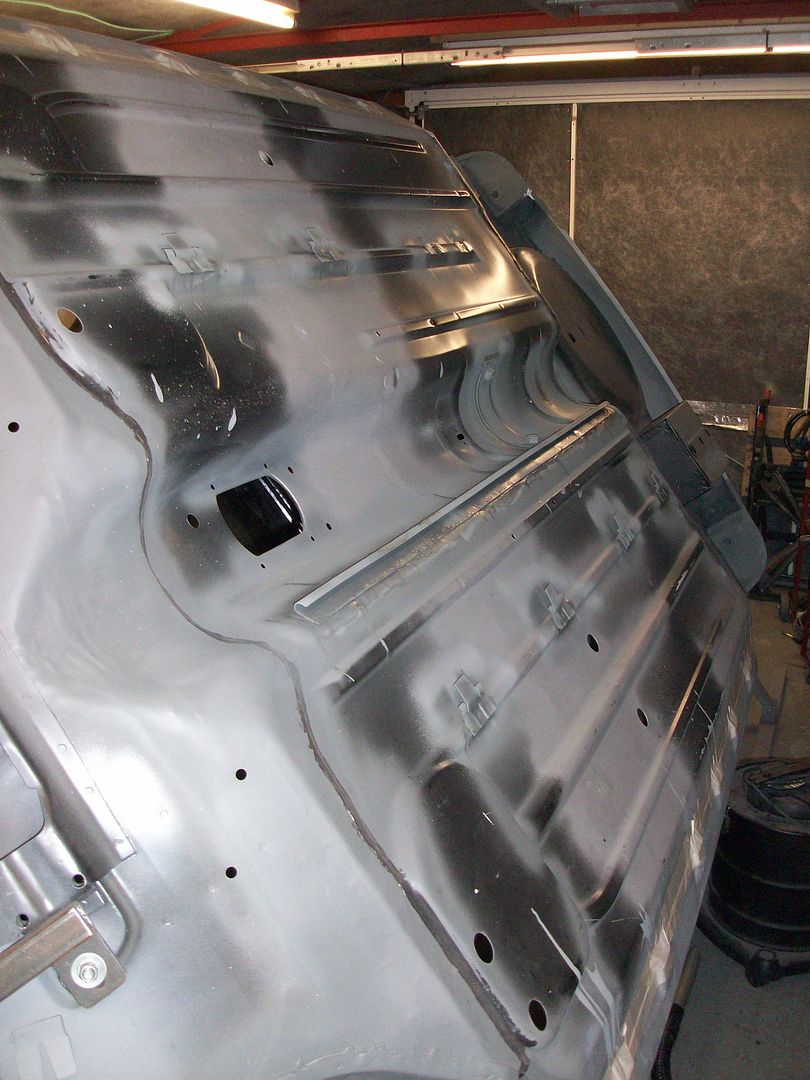
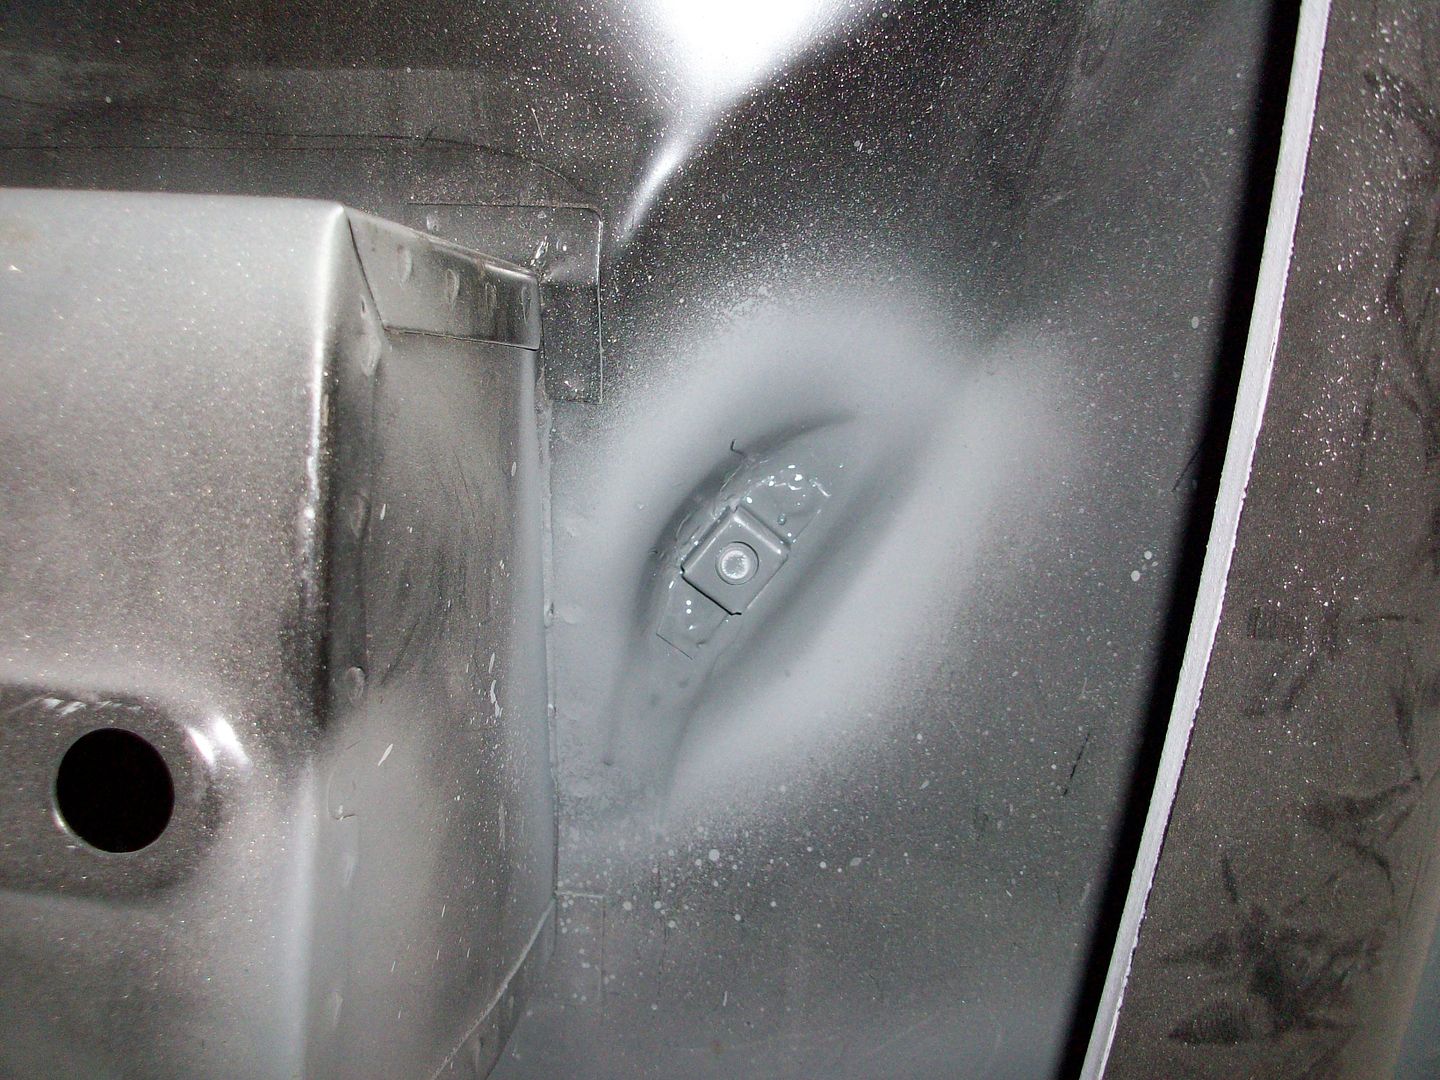
As I won't be ordering the front panels until April, I've made a start on the long list of small jobs that need doing.
First off brake pipe/fuel line brackets, battery cable channel and battery earth point.


Then removed all the old sound deadening from the roof.
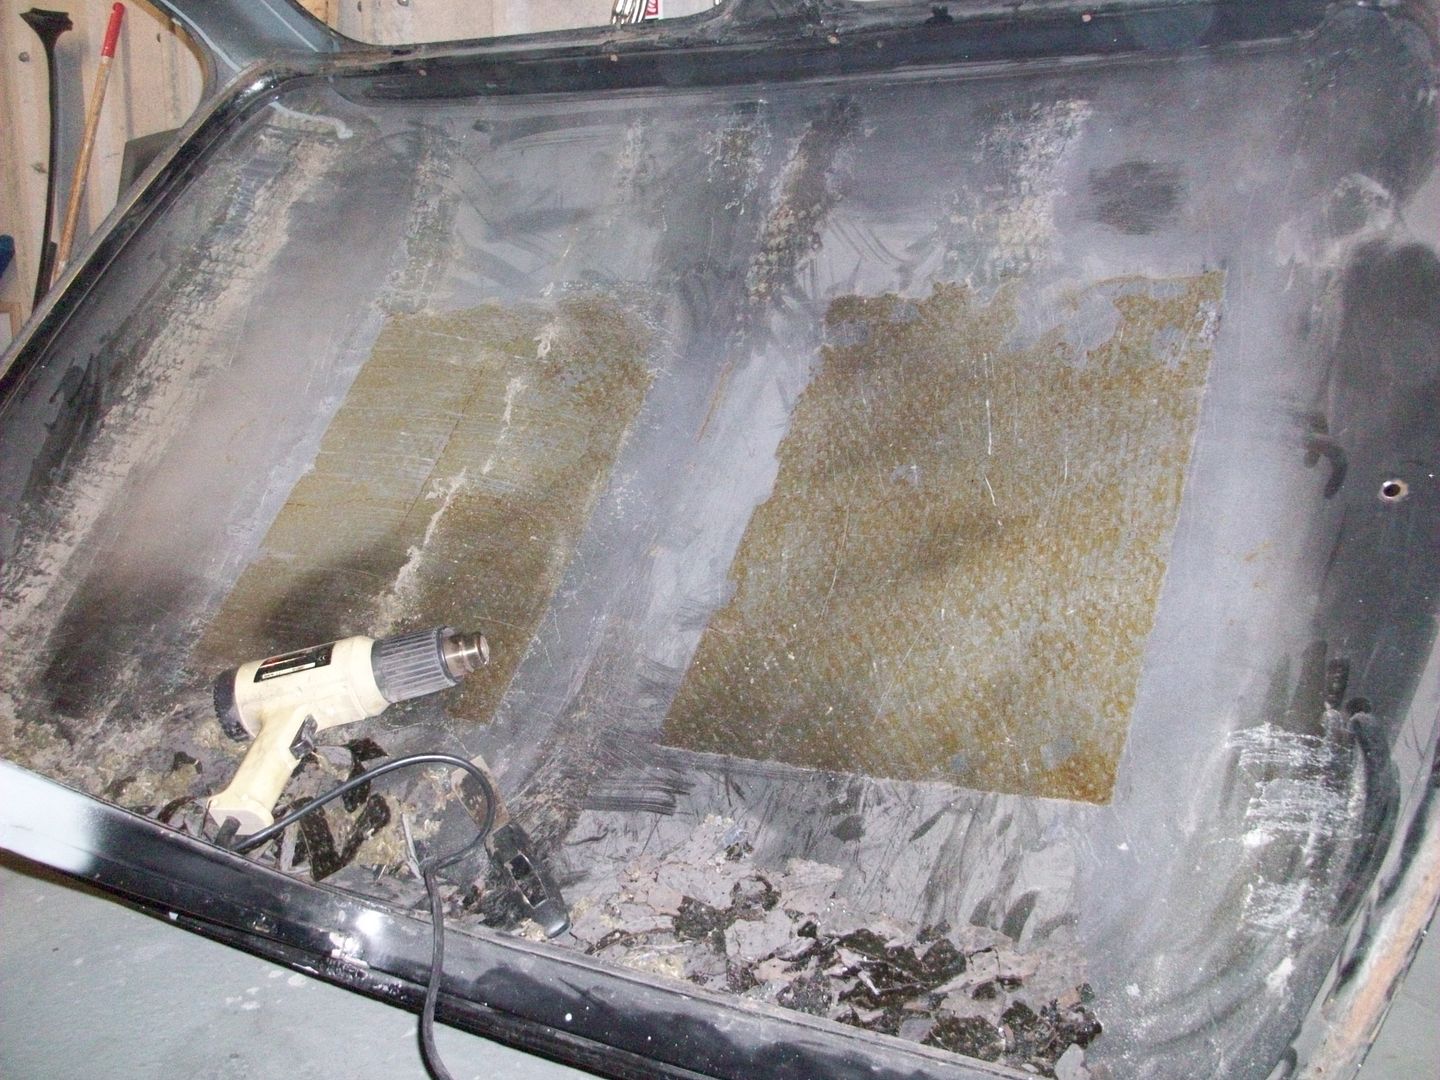
Ger
#206
Wupding
-
- Noobies
-
- 38 posts
On The Road
- Location: Chorley
Posted 22 February 2016 - 01:26 PM
Hi Wupding
1/8" skin pins http://www.ebay.co.u...LkAAOSwX~dWp8qG
I've also used Cleco Pins http://www.ebay.co.u...6AAAOSwFqJWpNh9
With the Cleco Pins you will need a tool to fit them http://www.ebay.co.u...B0AAMXQyY1TVkRG
The only thing with the first lot of skin pins is the plastic part of them does melt if you weld too near them. I seem to remember sonikk4 saying there are skinpins that are all metal and are tightened by a wingnut, but i think ther were expensive and I could find them on the interweb.
Oh and lots of clamps.
Theres a thread here http://www.theminifo...se-for-welding/ giving a general outline for tools/bits to get.
Along with my thread have a look at sonikk4 resto threads http://www.theminifo...howtopic=134178 and http://www.theminifo...3 Also Ben_O has a resto thread here http://www.theminifo...5-full-rebuild/
Those are the threads that I've been reading as both of them are more experienced than myself, as this is my first resto of any kind.
If you need any more info just let me know.
Regards
Ger
Wow... Thanks Ger
that is very helpful indeed.
Loving the Tart.. and hope fully Mr Hankey (seen as he is russett brown) will see Tart one day at a mini meet
for this year i have my 72 Gt called Cadbury that will be doing the rounds. Unfortunately being in the the other halves favourite colour.. She has adopted Cadbury as her own
Keep up the good work pal
Wez
#207
alchall
-

- Just Joined
-
- 604 posts
Super Mini Mad
- Location: Chorley
Posted 22 February 2016 - 02:24 PM
Did you make the earth point up yourself? I'm going to need one of these myself before too long.
Looks straightforward to make but do you know what size the nut is and does it just sit loose inside or is it welded in? (I failed to keep hold of mine from the old boot floor!)
#208
ger
-
- Just Joined
-
- 233 posts
Mini Mad
- Location: The Land Of Song
- Local Club: M4 Minis
Posted 23 February 2016 - 07:41 AM
Hi achall
Yer made it myself. as I didn't have any imperial nuts large enough I used a M10 BZP and yes its loose inside. A quick sketch of the one I made is attached.
Its satisfying to make bits yourself.
Ger
Attached Files
-
 Earth Point.pdf 70.75K
31 downloads
Earth Point.pdf 70.75K
31 downloads
#209
alchall
-
- Just Joined
-
- 604 posts
Super Mini Mad
- Location: Chorley
Posted 25 February 2016 - 10:35 AM
Hi achallYer made it myself. as I didn't have any imperial nuts large enough I used a M10 BZP and yes its loose inside. A quick sketch of the one I made is attached.
Its satisfying to make bits yourself.
Ger
Fantastic, thanks Ger.
And yes I agree, it is nice making your own parts, as long as they're successful of course 
#210
ger
-
- Just Joined
-
- 233 posts
Mini Mad
- Location: The Land Of Song
- Local Club: M4 Minis
Posted 07 March 2016 - 07:58 AM
As I had last week off from work, more of the small jobs list was done.
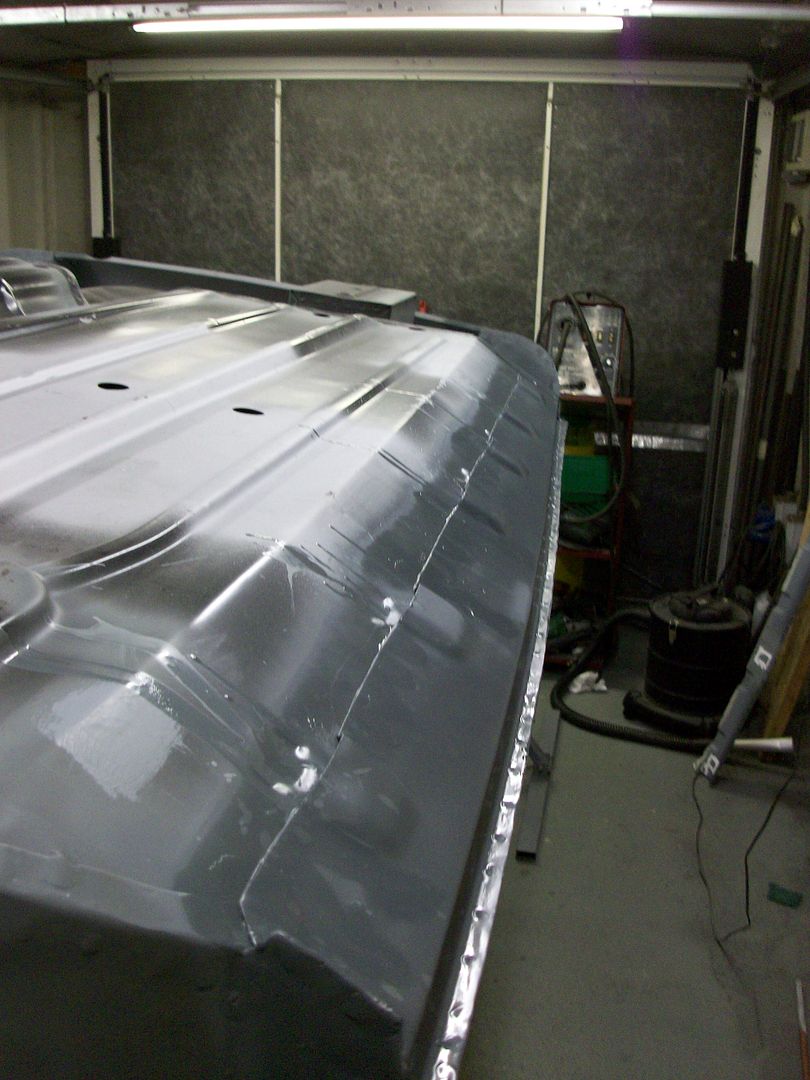
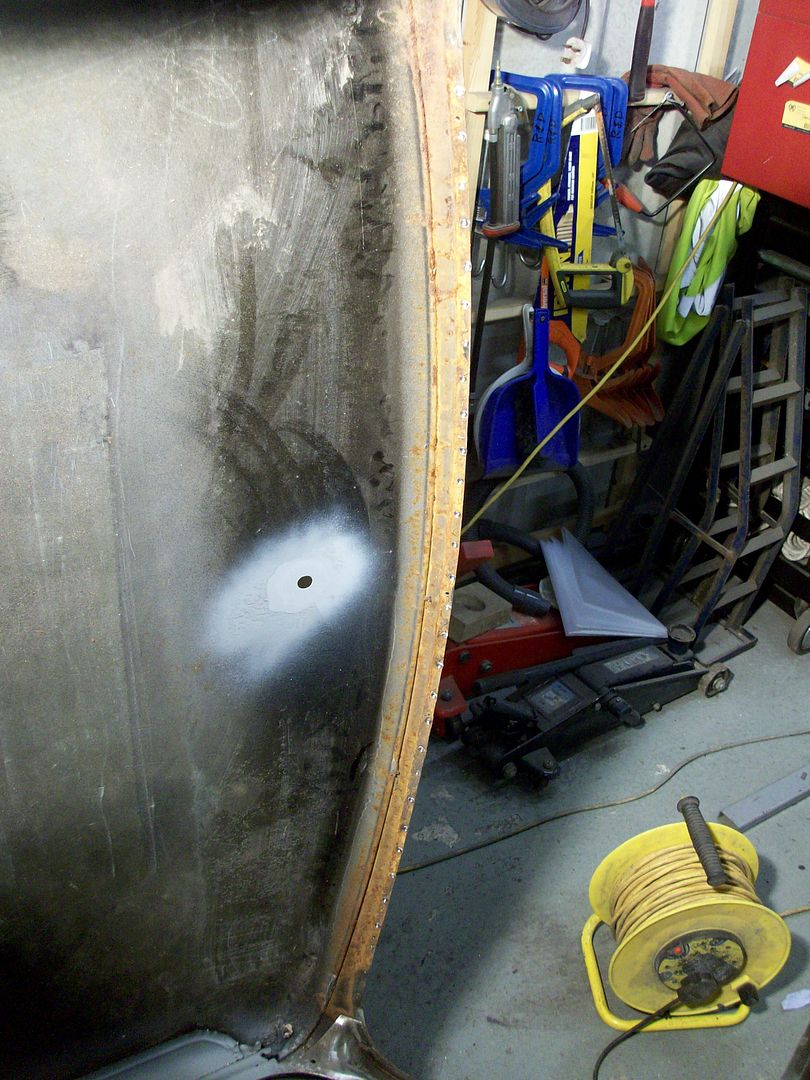
I started by wirebrushing the rust from off the front and rear cant rails.

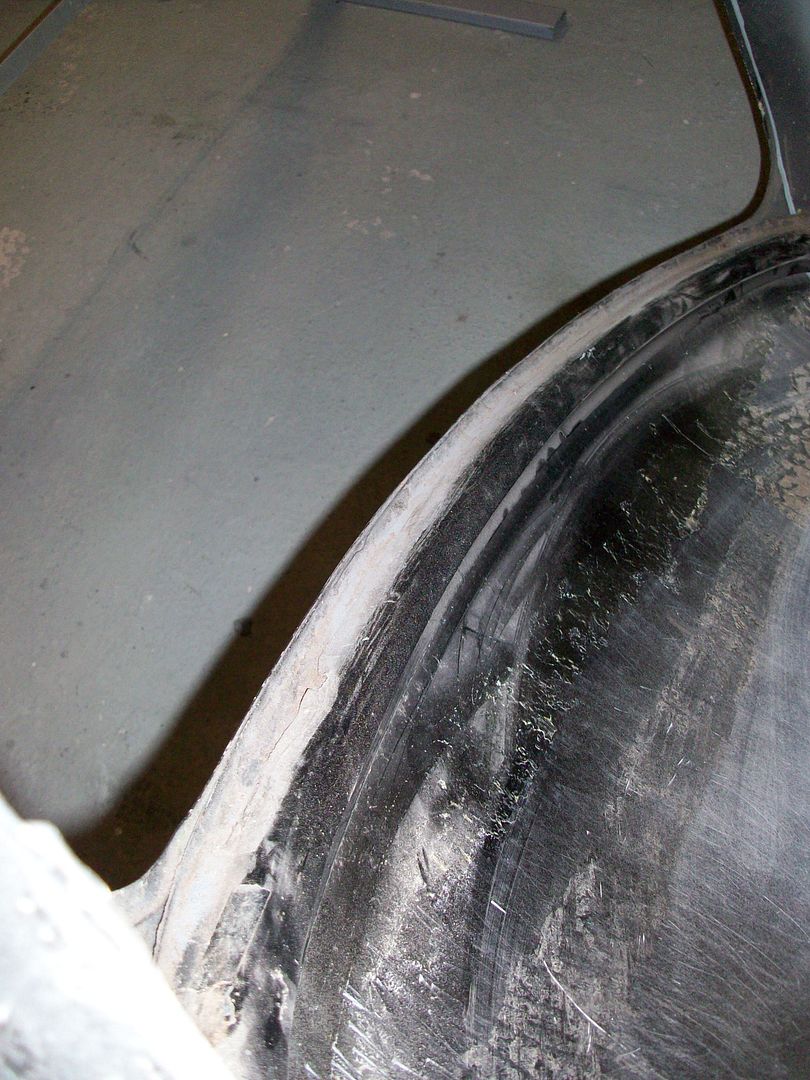
Also found a small hole in the upper door post.
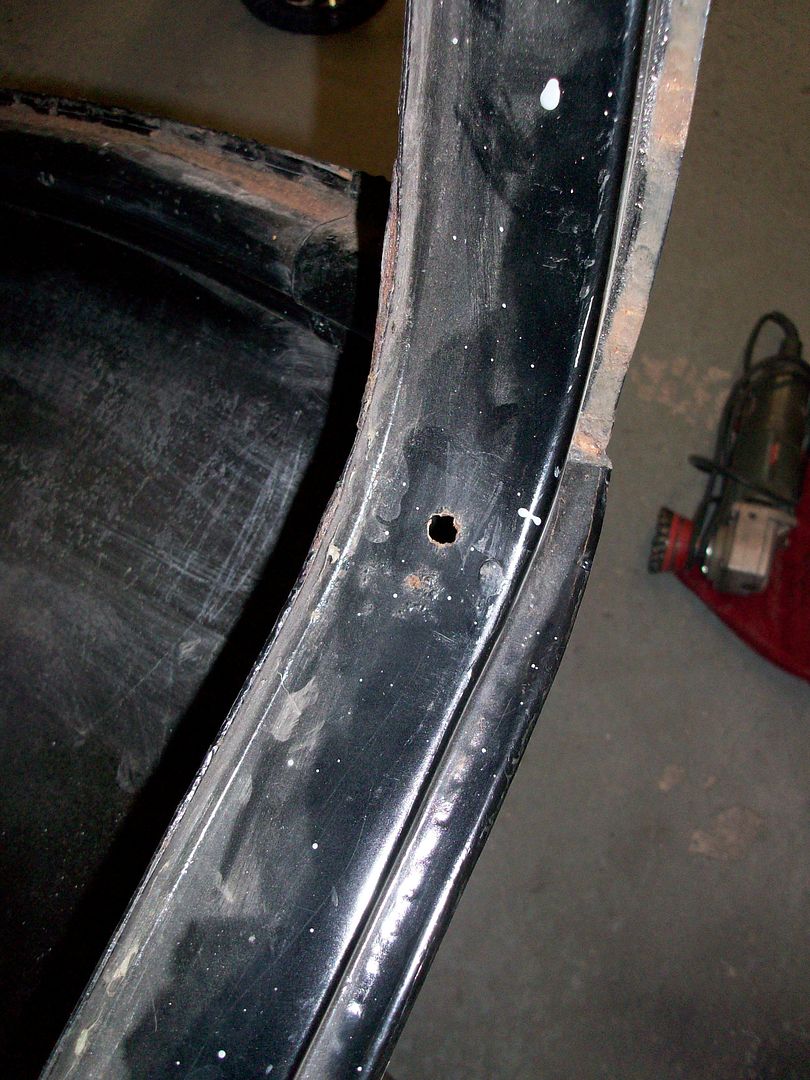
Which got bigger.

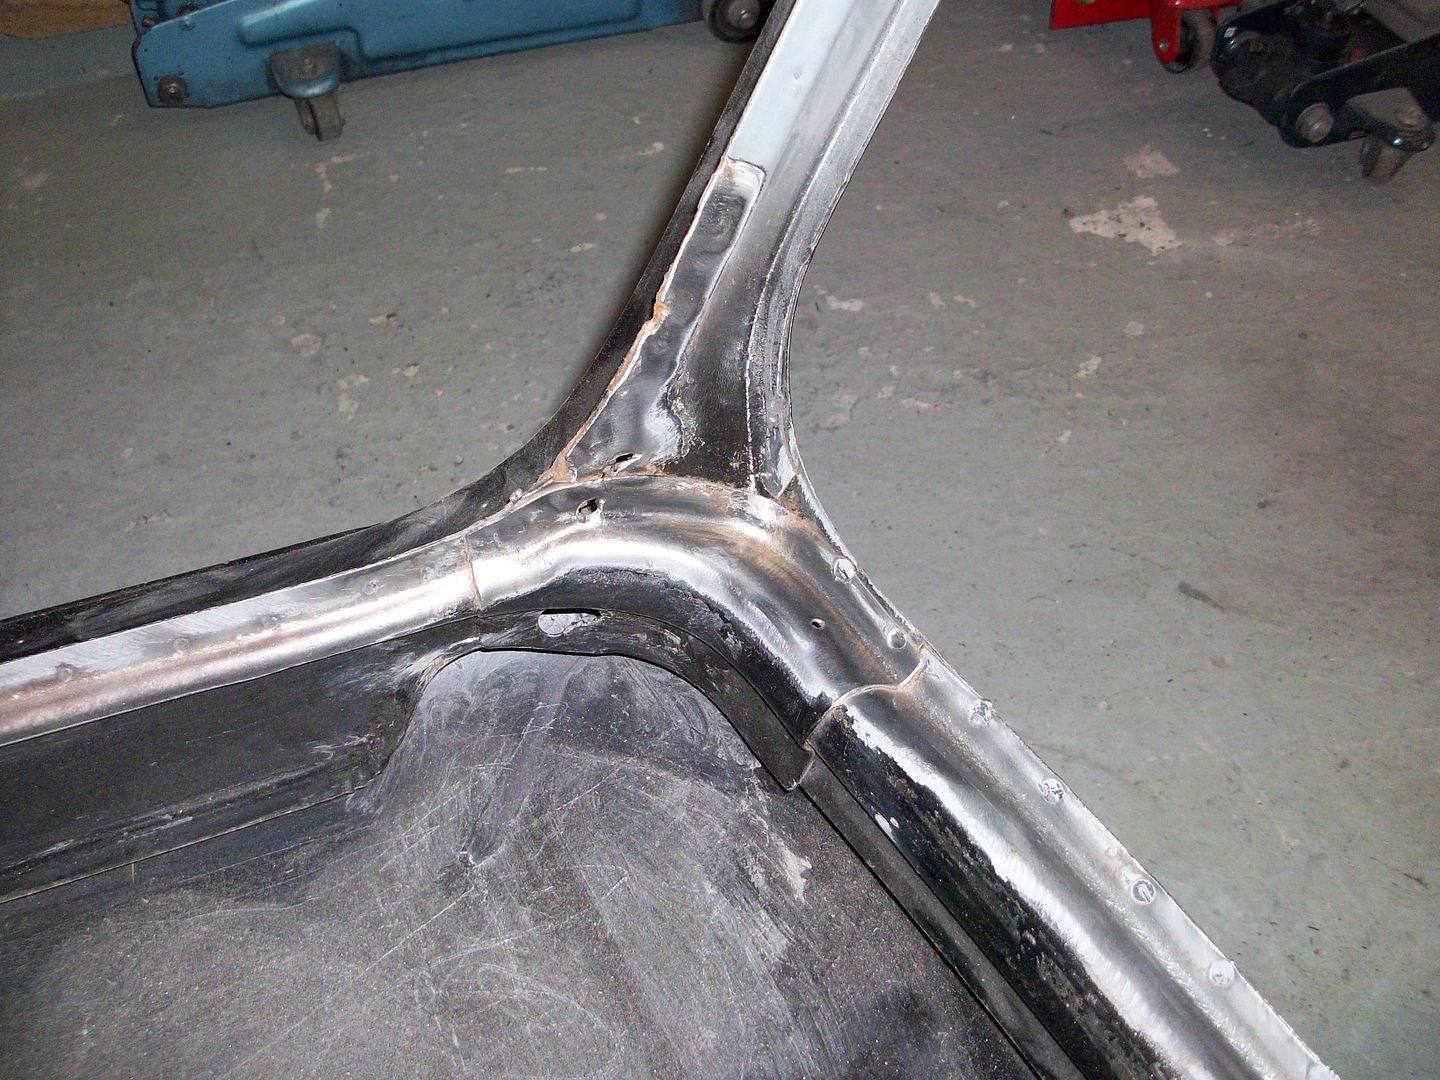
Looking at the ends when I took the corners off there was a lot of rust behind so off it came.
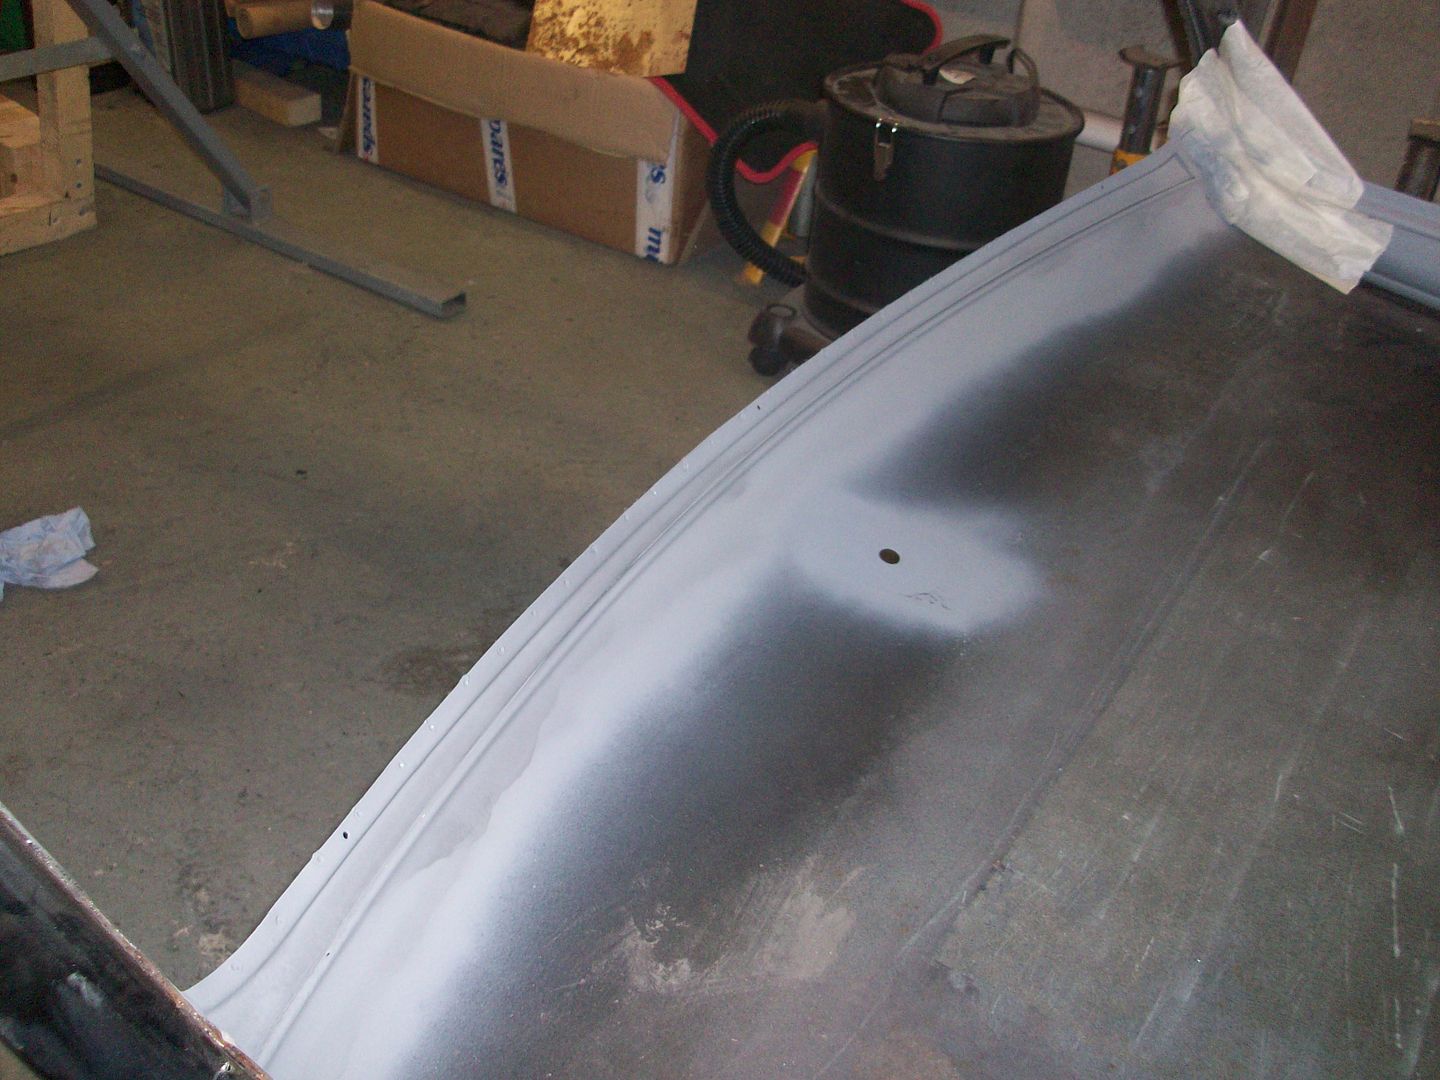
Front of the roof derusted and primed.
Now the damage on the front corners was tackled.

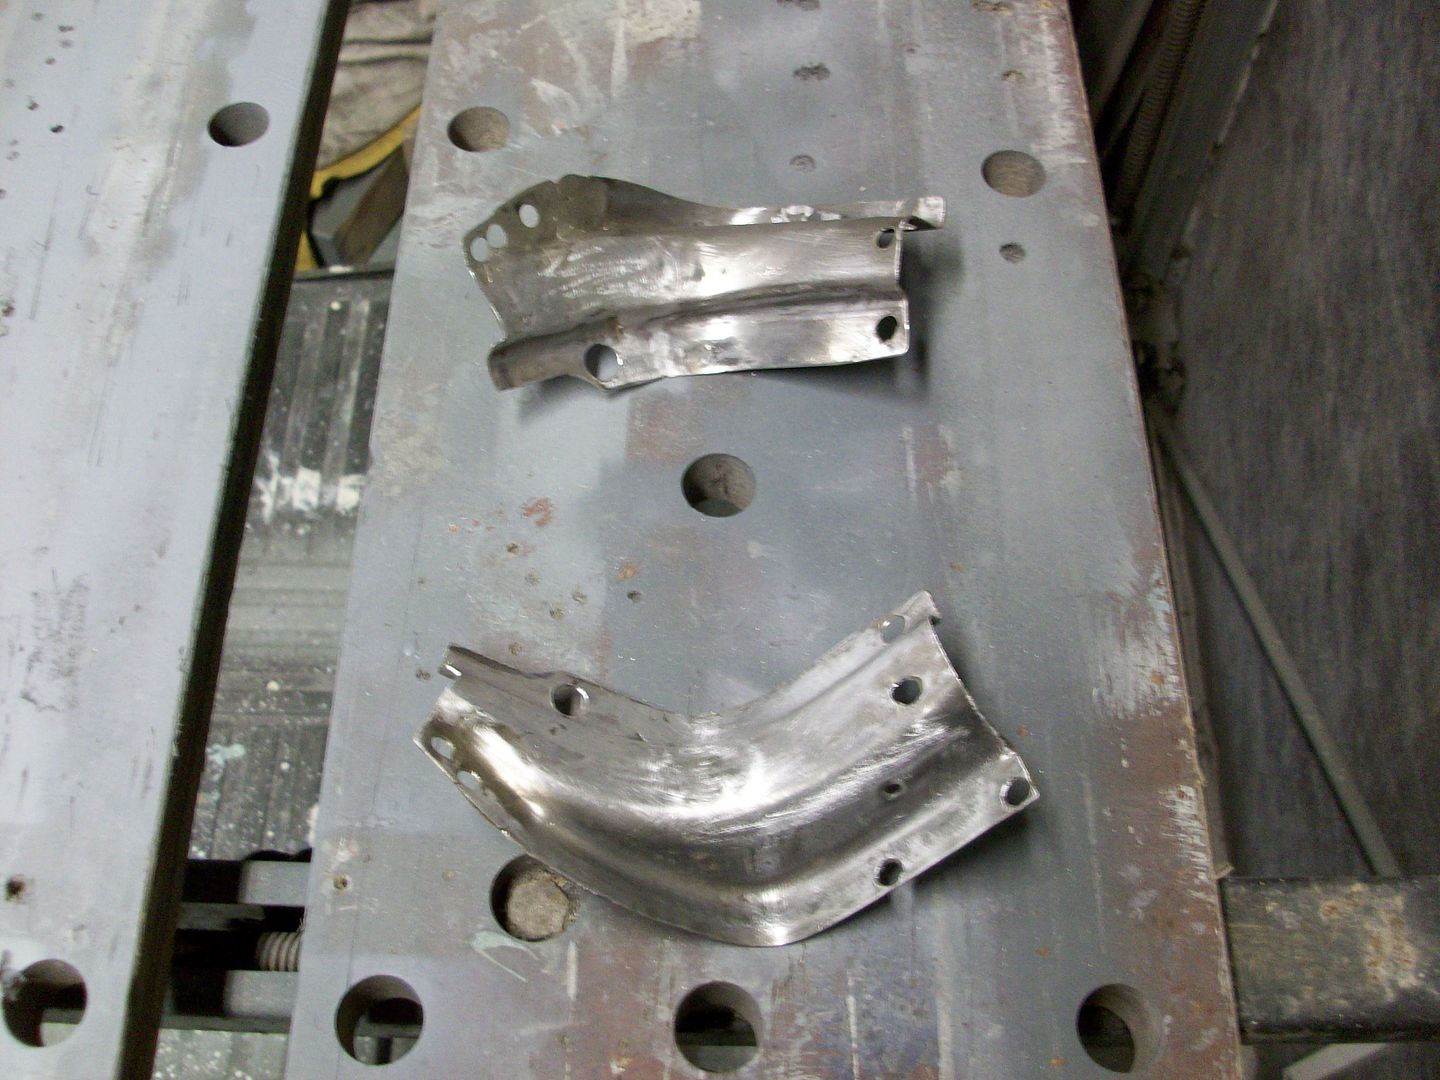
Cleaned and repaired.
Primed inside and out.
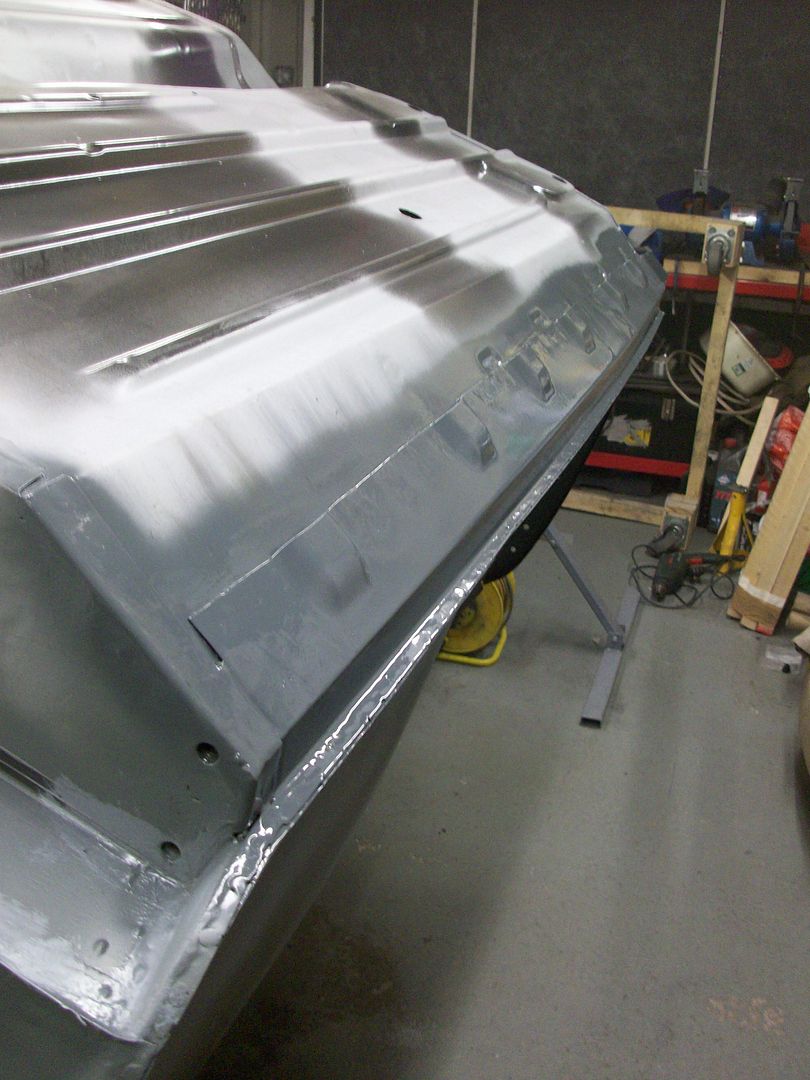
Rail.
Cleaned and primed inside and out.

So obviously the back one had to come off as well.

Rusty.
Shiny.
Primed.

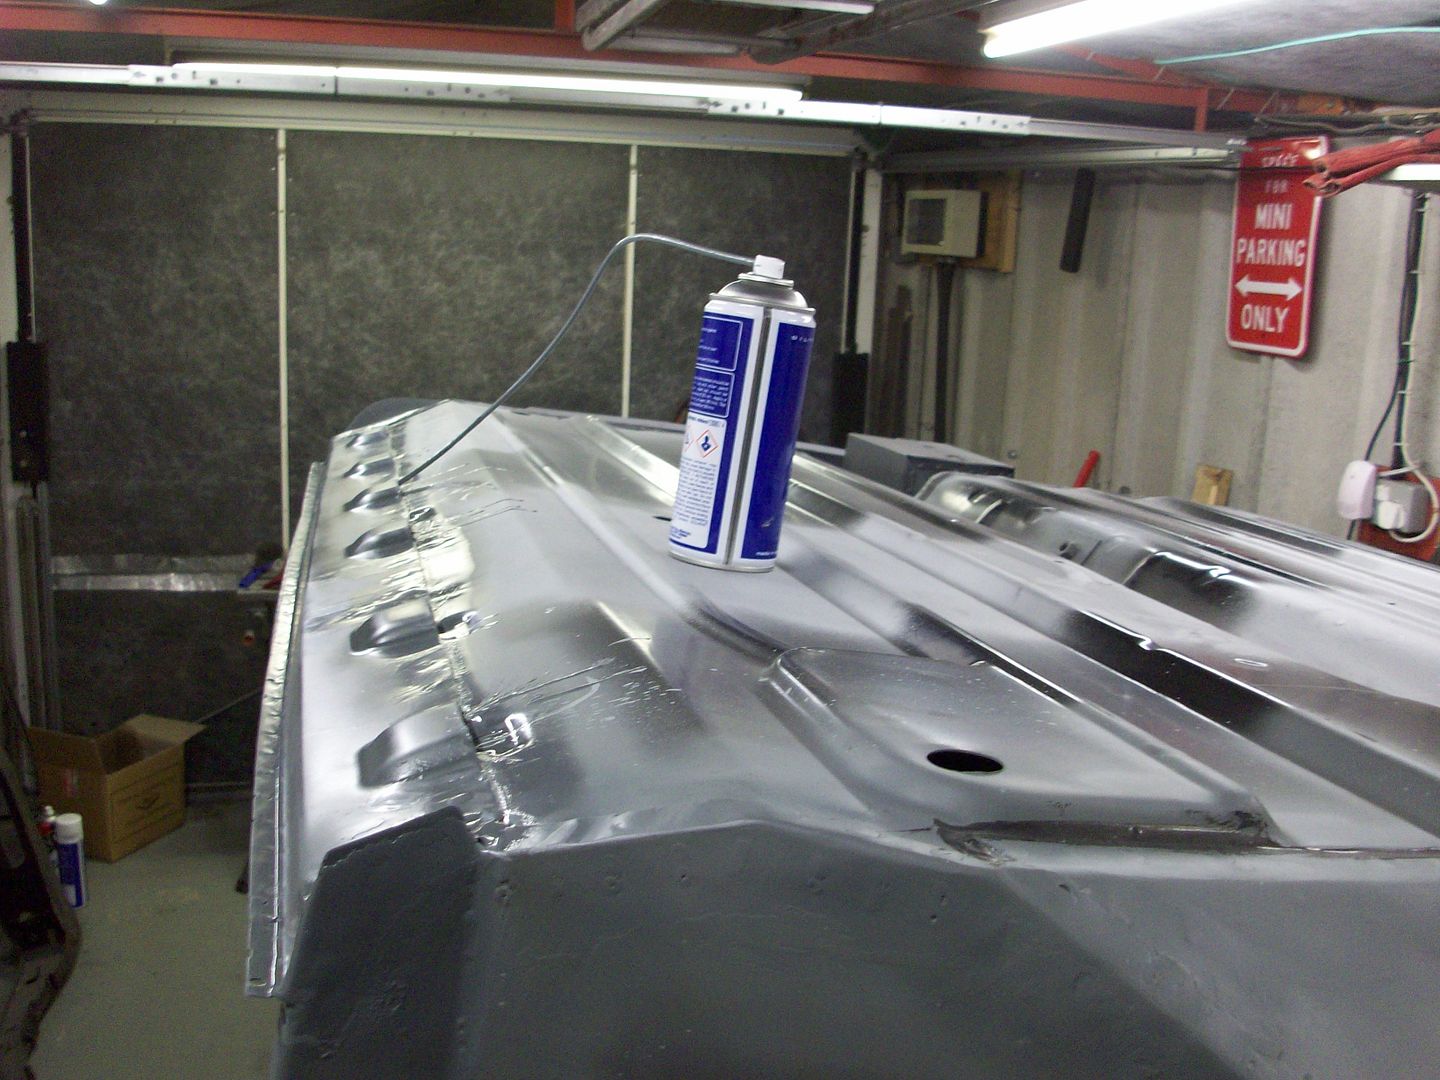
Fixed the hole in the upper door post as well.
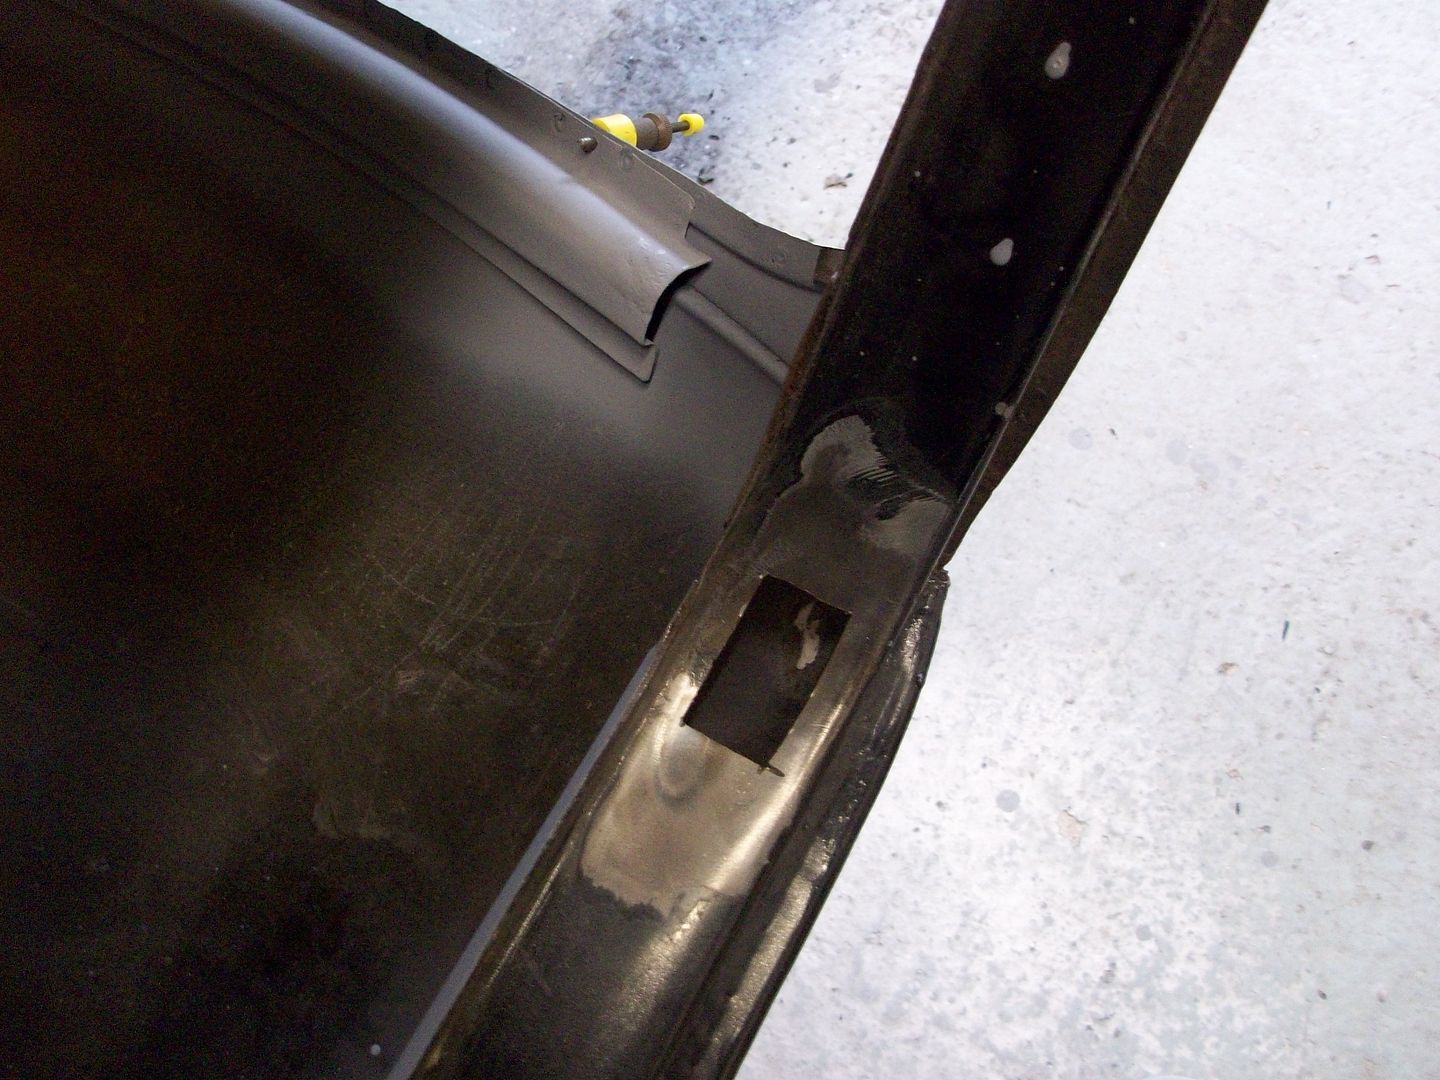
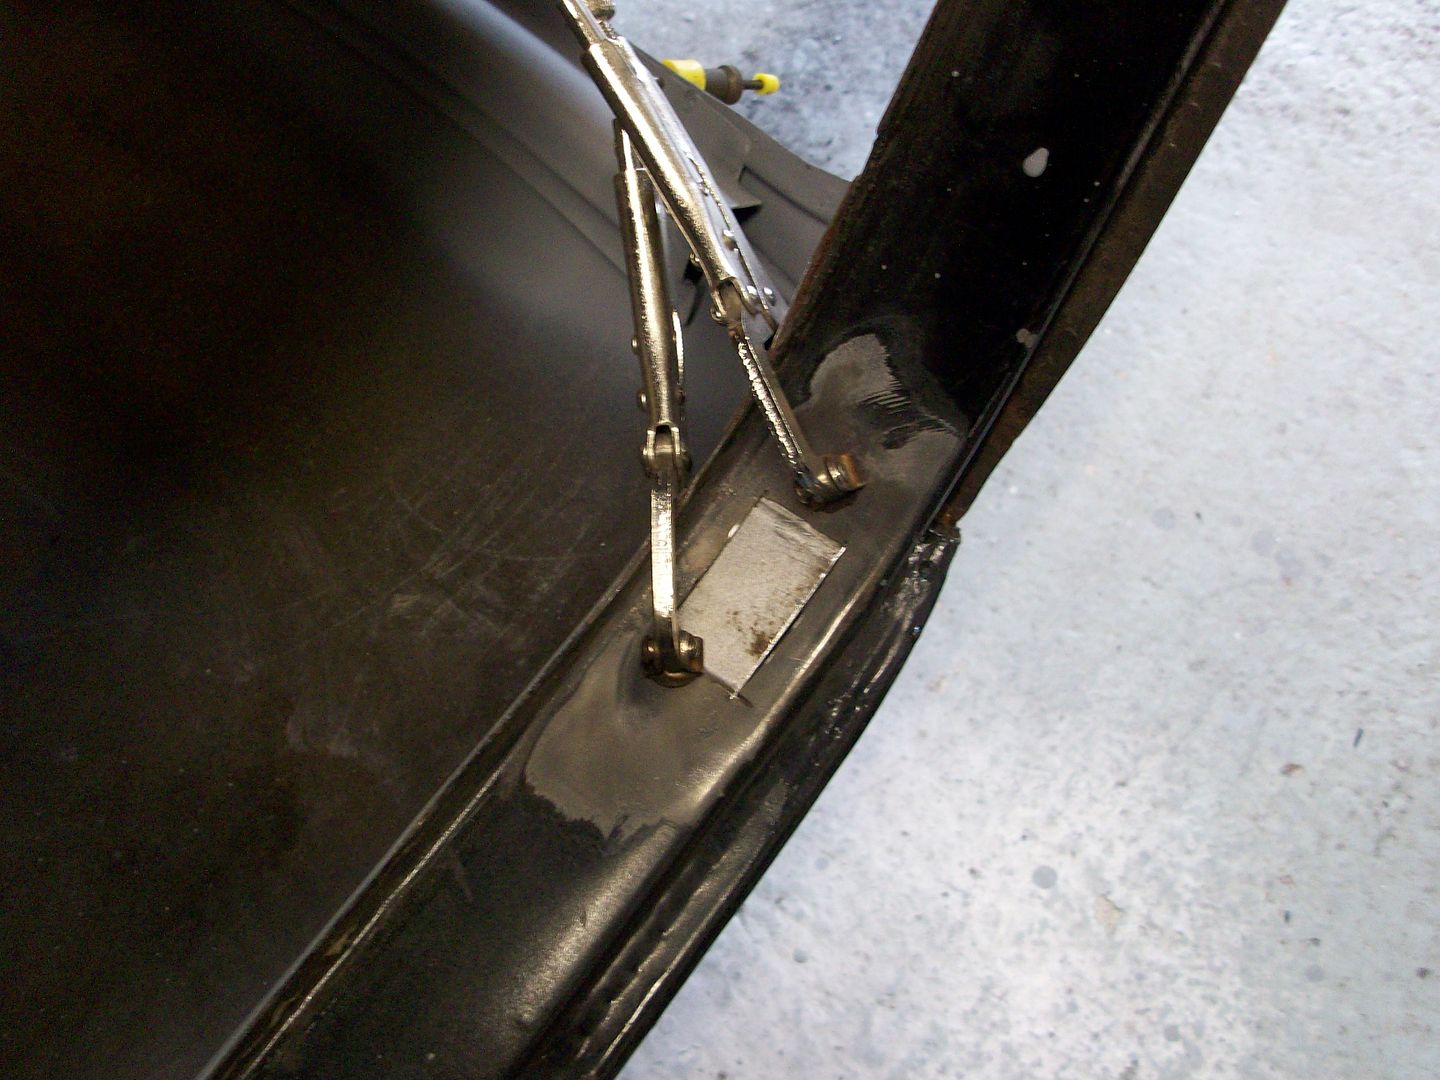
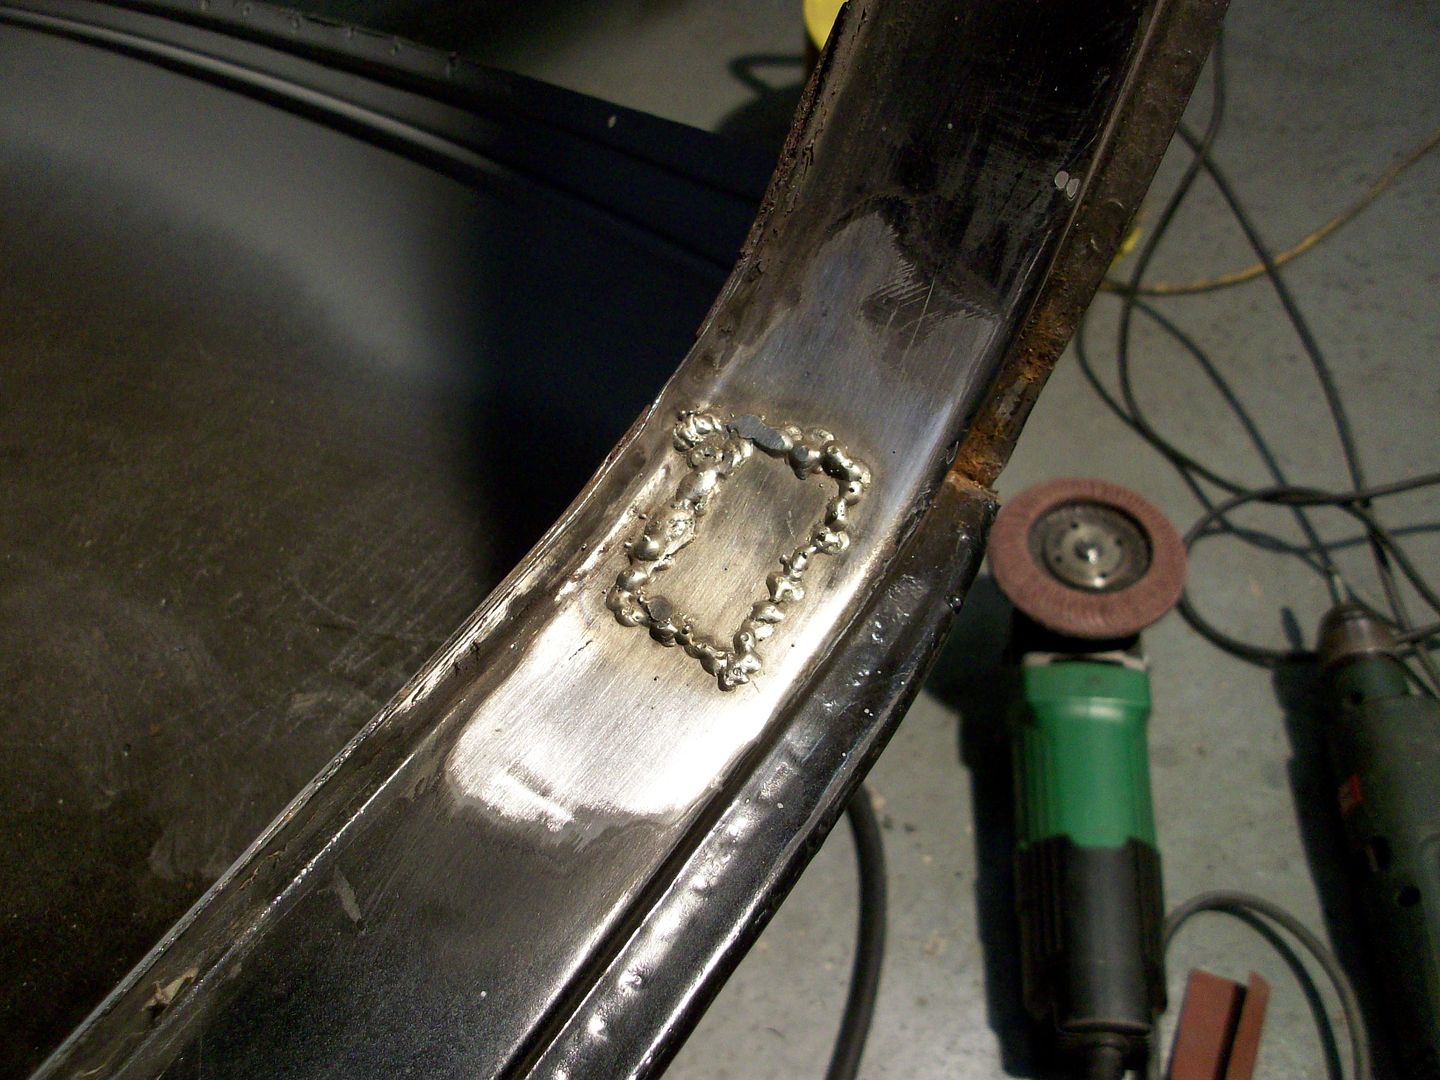
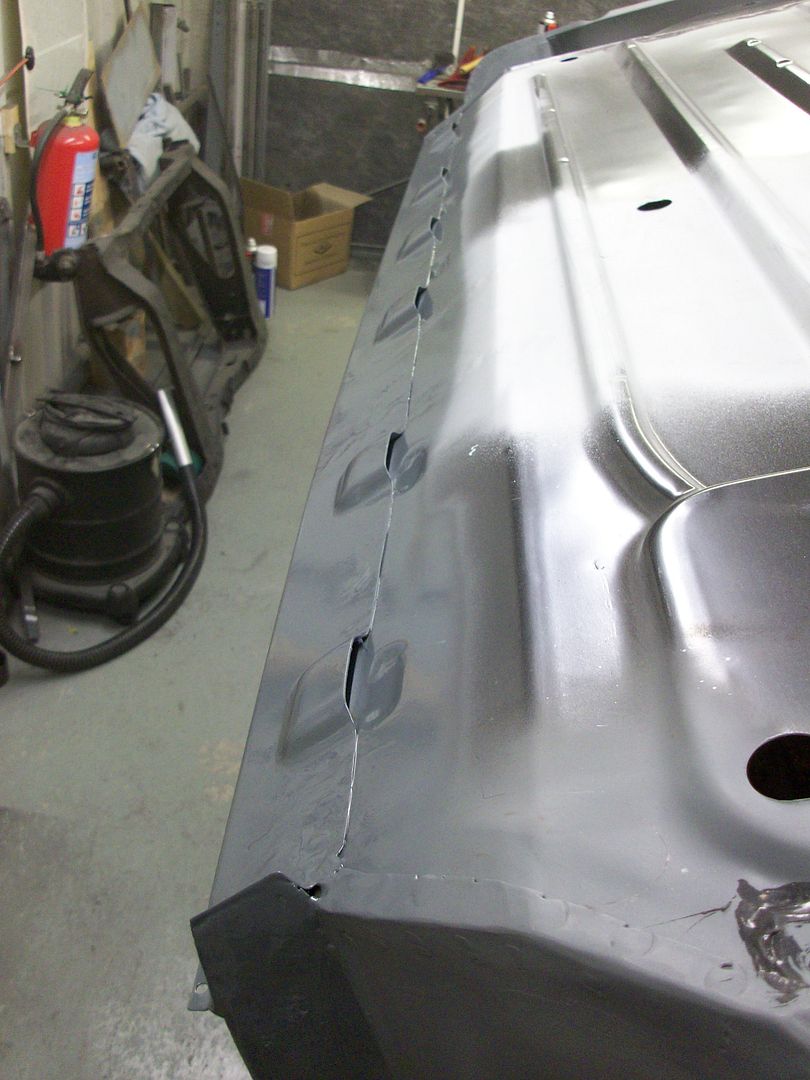
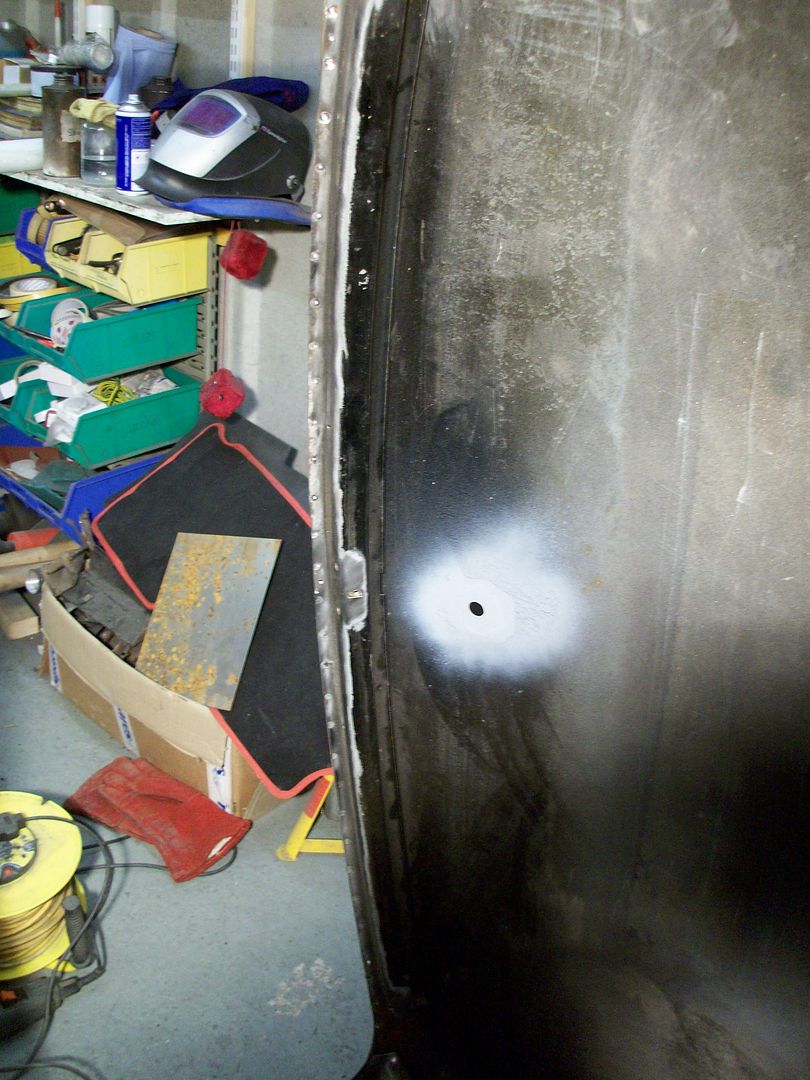
Made a start on cutting the rusty bits out of the top of both A-pillars.

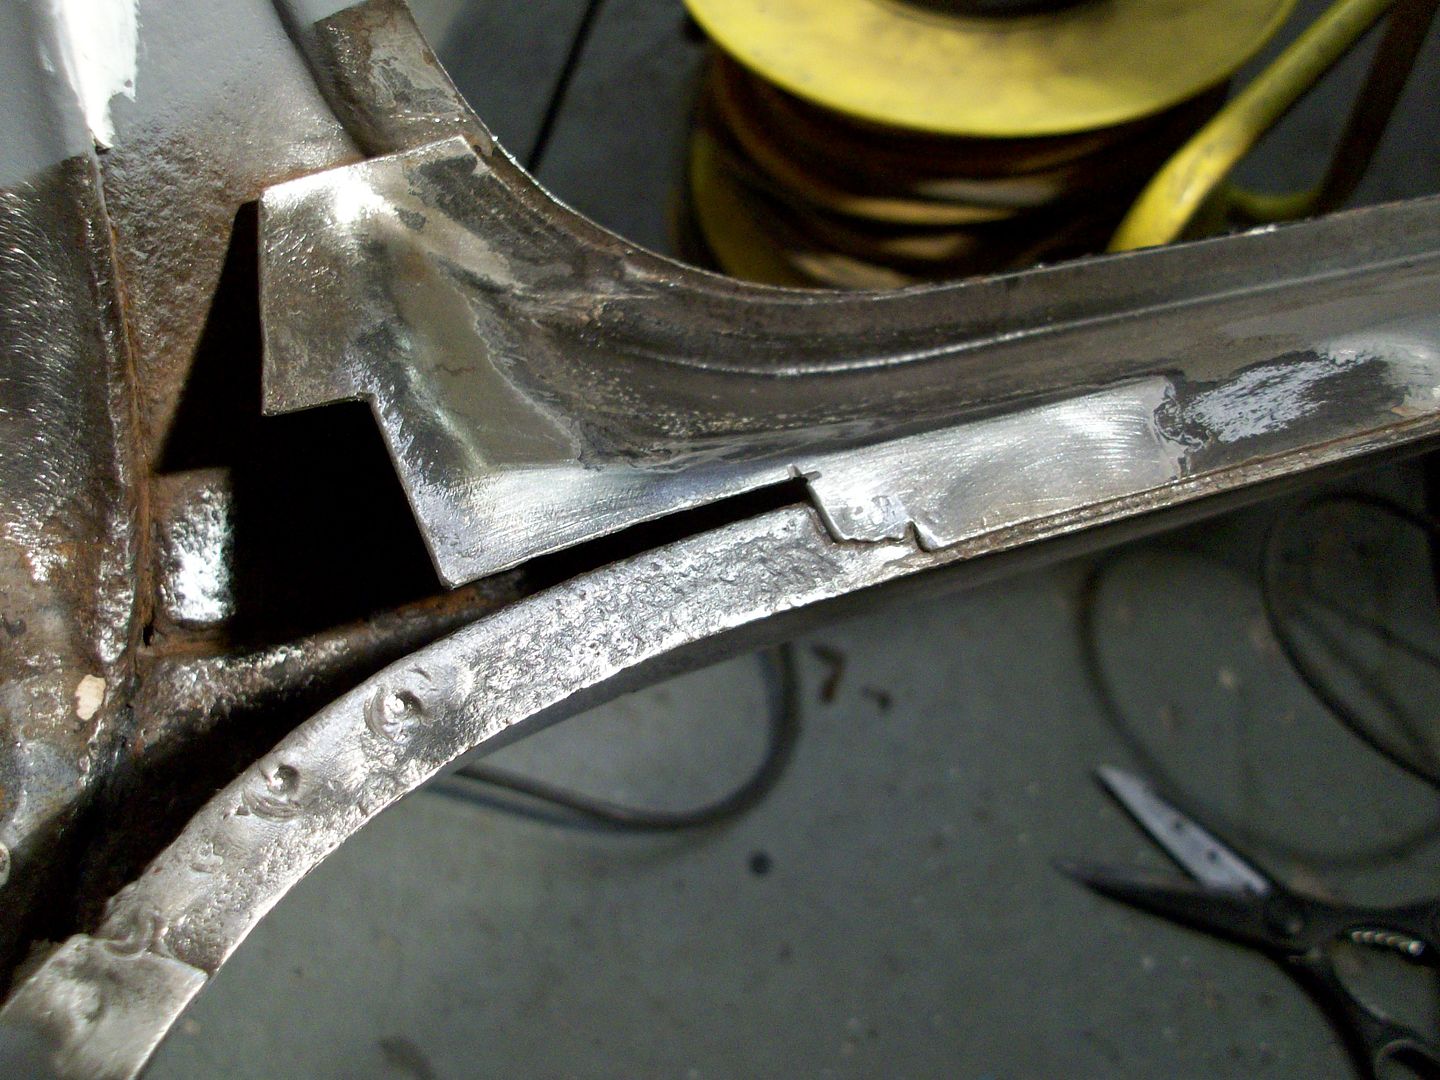
Not bad for a weeks work.
Ger
Edited by ger, 07 March 2016 - 07:59 AM.


Also tagged with one or more of these keywords: clubman
Projects →
Mini Saloons →
Black 1979 1275GtStarted by StuaR32t , 15 Feb 2025 |
|

|
||
Projects →
Mini Saloons →
Cape Town 🇿🇦 1275HleStarted by JAYO , 28 Feb 2021 |
|

|
||
Projects →
Mini Saloons →
Budget Mini Clubman Shell Restoration For £1500Started by minimissions , 13 Nov 2019 |
|

|
||
Projects →
Mini Saloons →
1275Gt Tarmac Rally Car - From ScratchStarted by KRM_Simon , 26 May 2019 |
|

|
||
Projects →
Mini Saloons →
1275Gt Resto - From Flip To FactoryStarted by Verderad , 12 Mar 2018 |
|

|
1 user(s) are reading this topic
0 members, 1 guests, 0 anonymous users


