
lovely work !
Thanks a lot, Rocket !
Edited by big-jay, 27 June 2014 - 10:41 AM.

Super Mini Mad

Posted 22 February 2014 - 09:58 PM
lovely work !
Edited by big-jay, 27 June 2014 - 10:41 AM.
One Carb Or Two?

Posted 23 February 2014 - 05:39 PM
Thanks a lot, Rocket !

One Carb Or Two?

Posted 23 February 2014 - 06:17 PM
Super Mini Mad
Posted 23 February 2014 - 07:41 PM
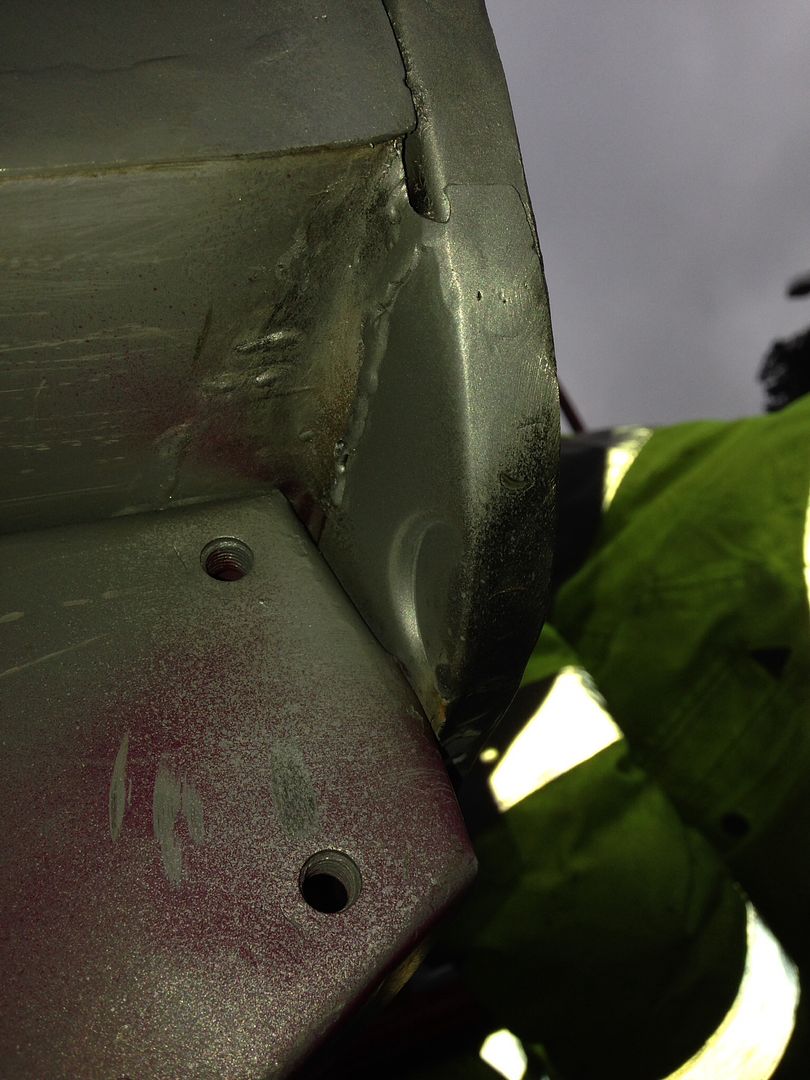
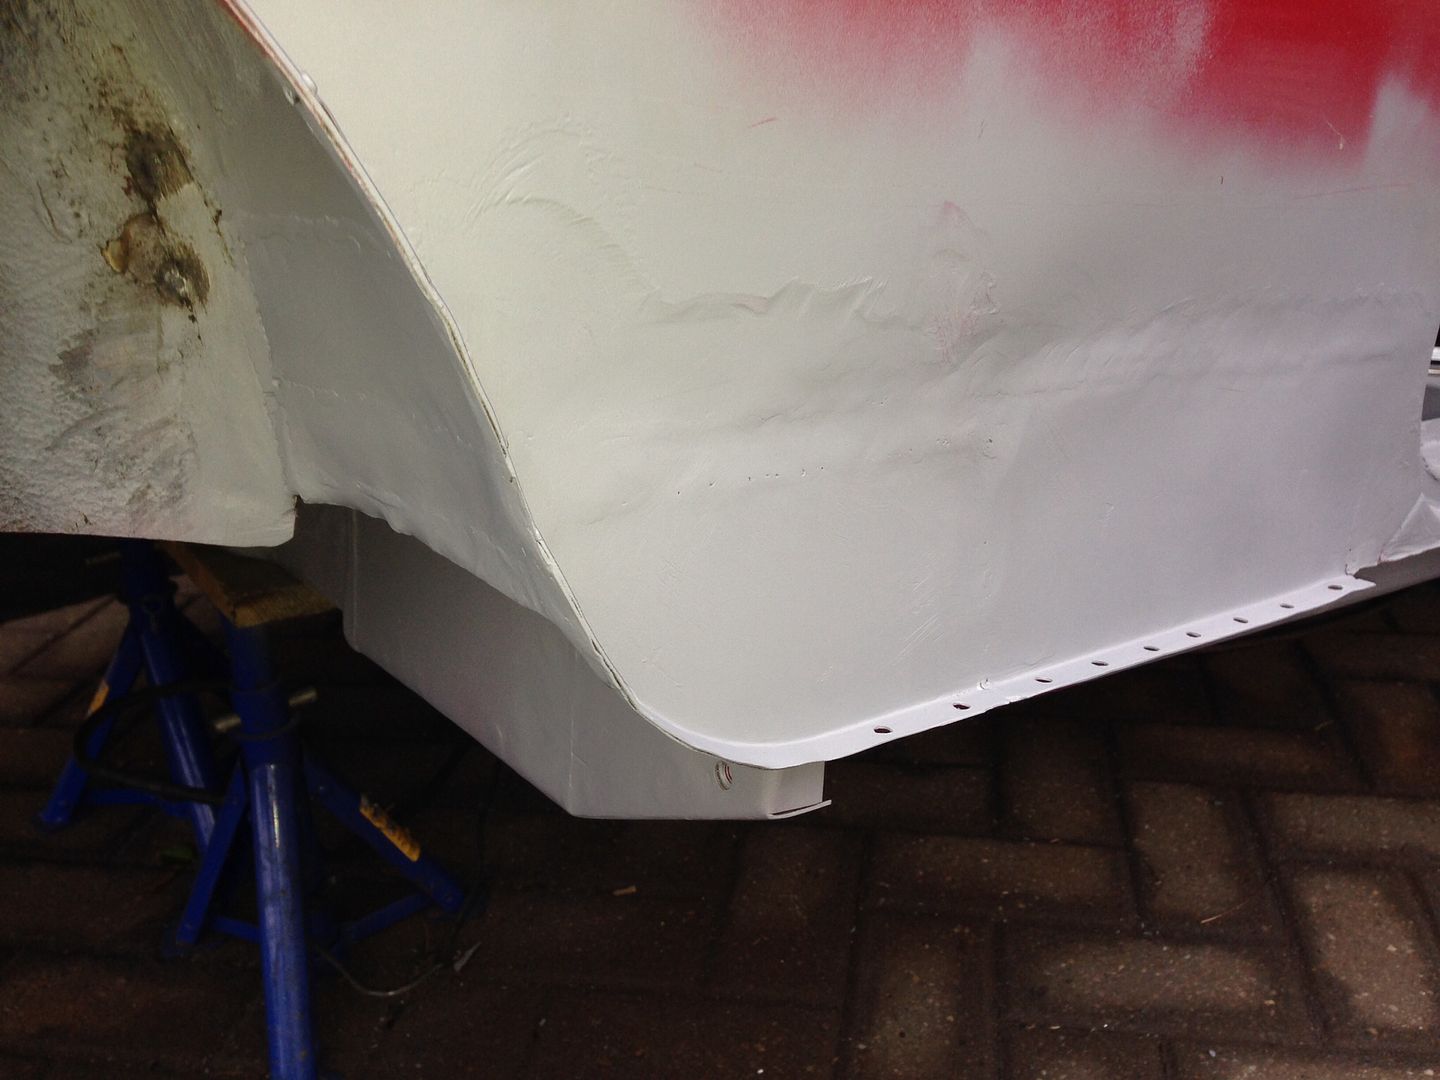
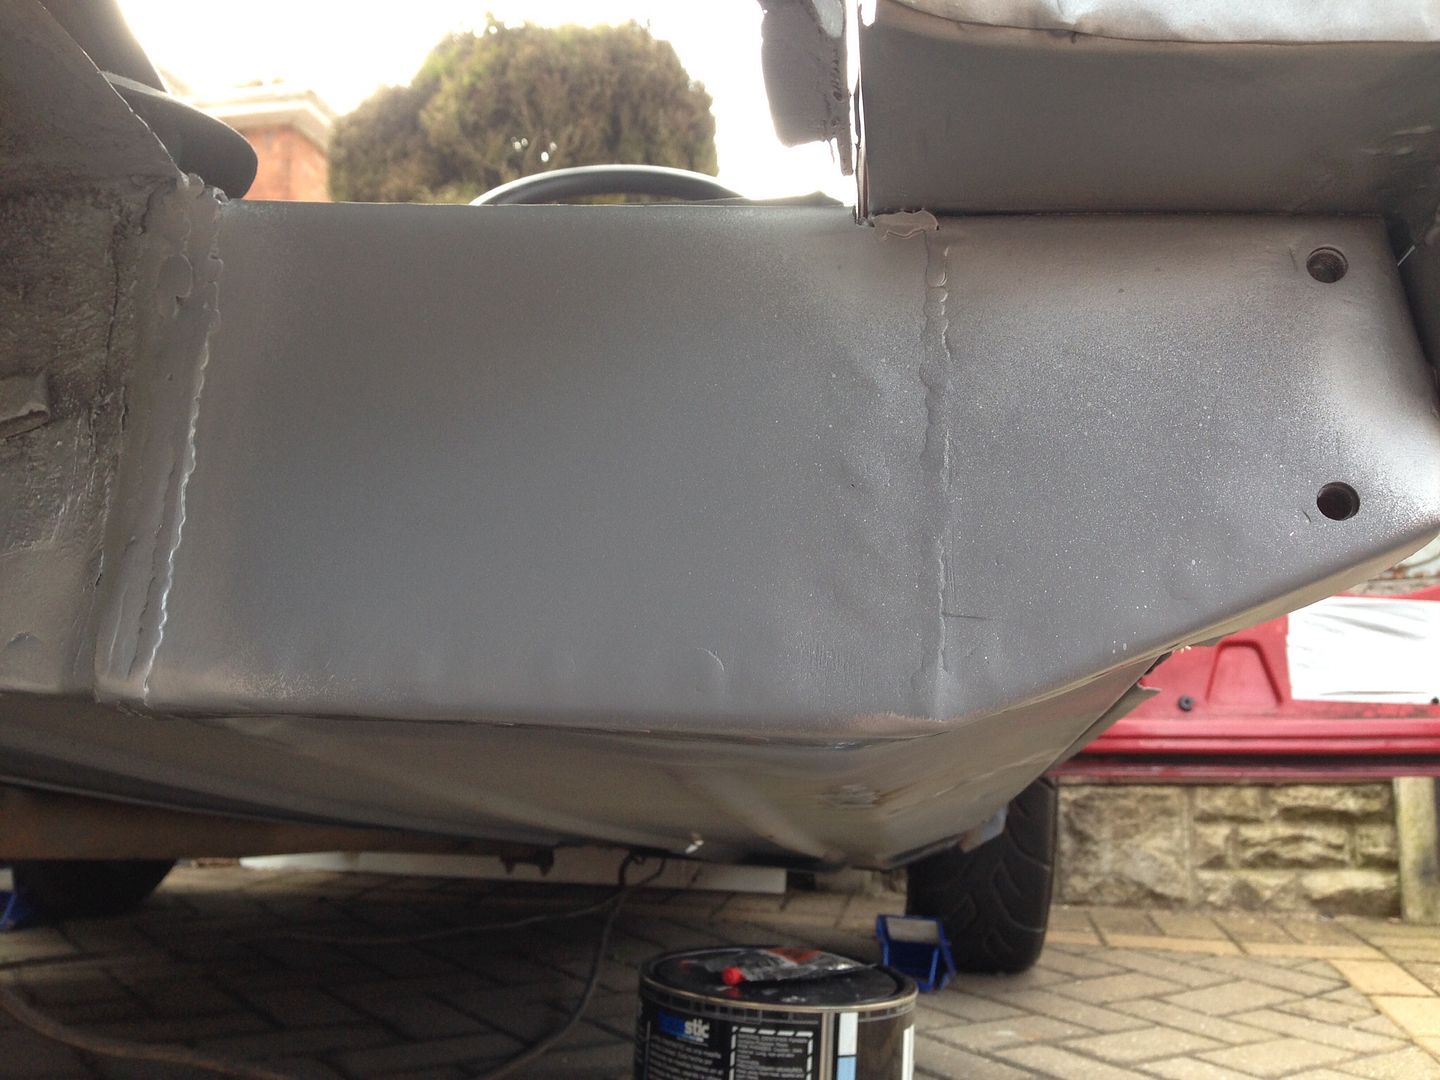
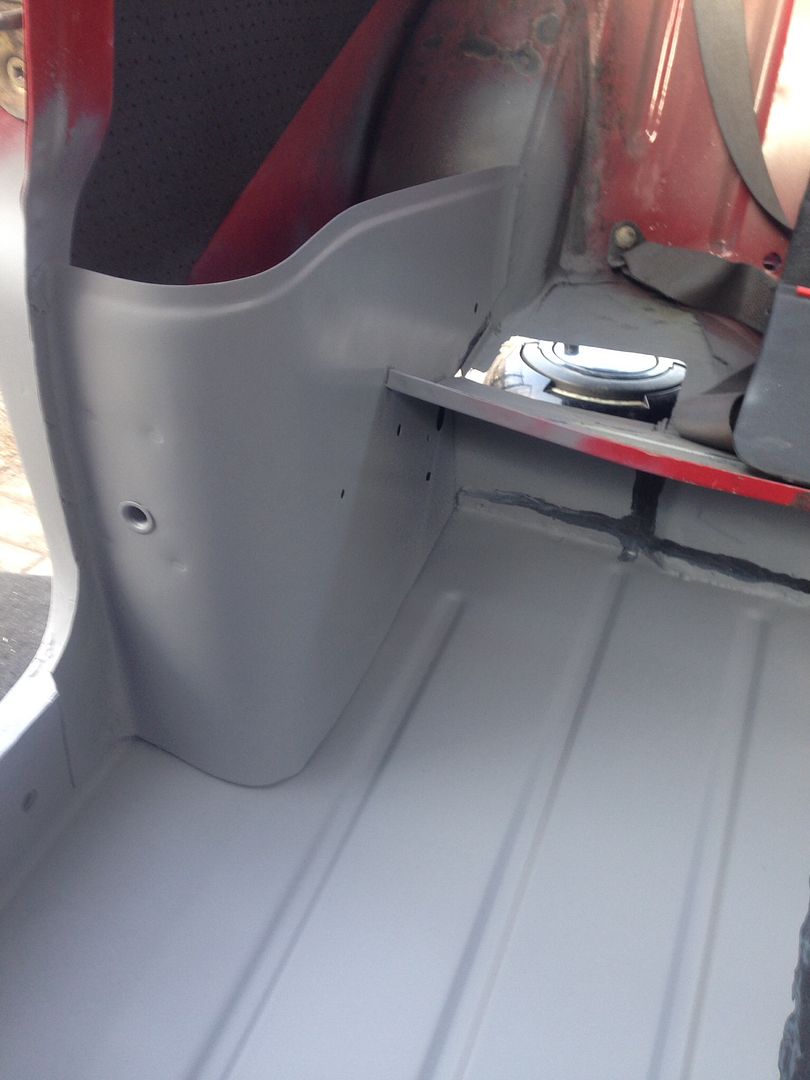
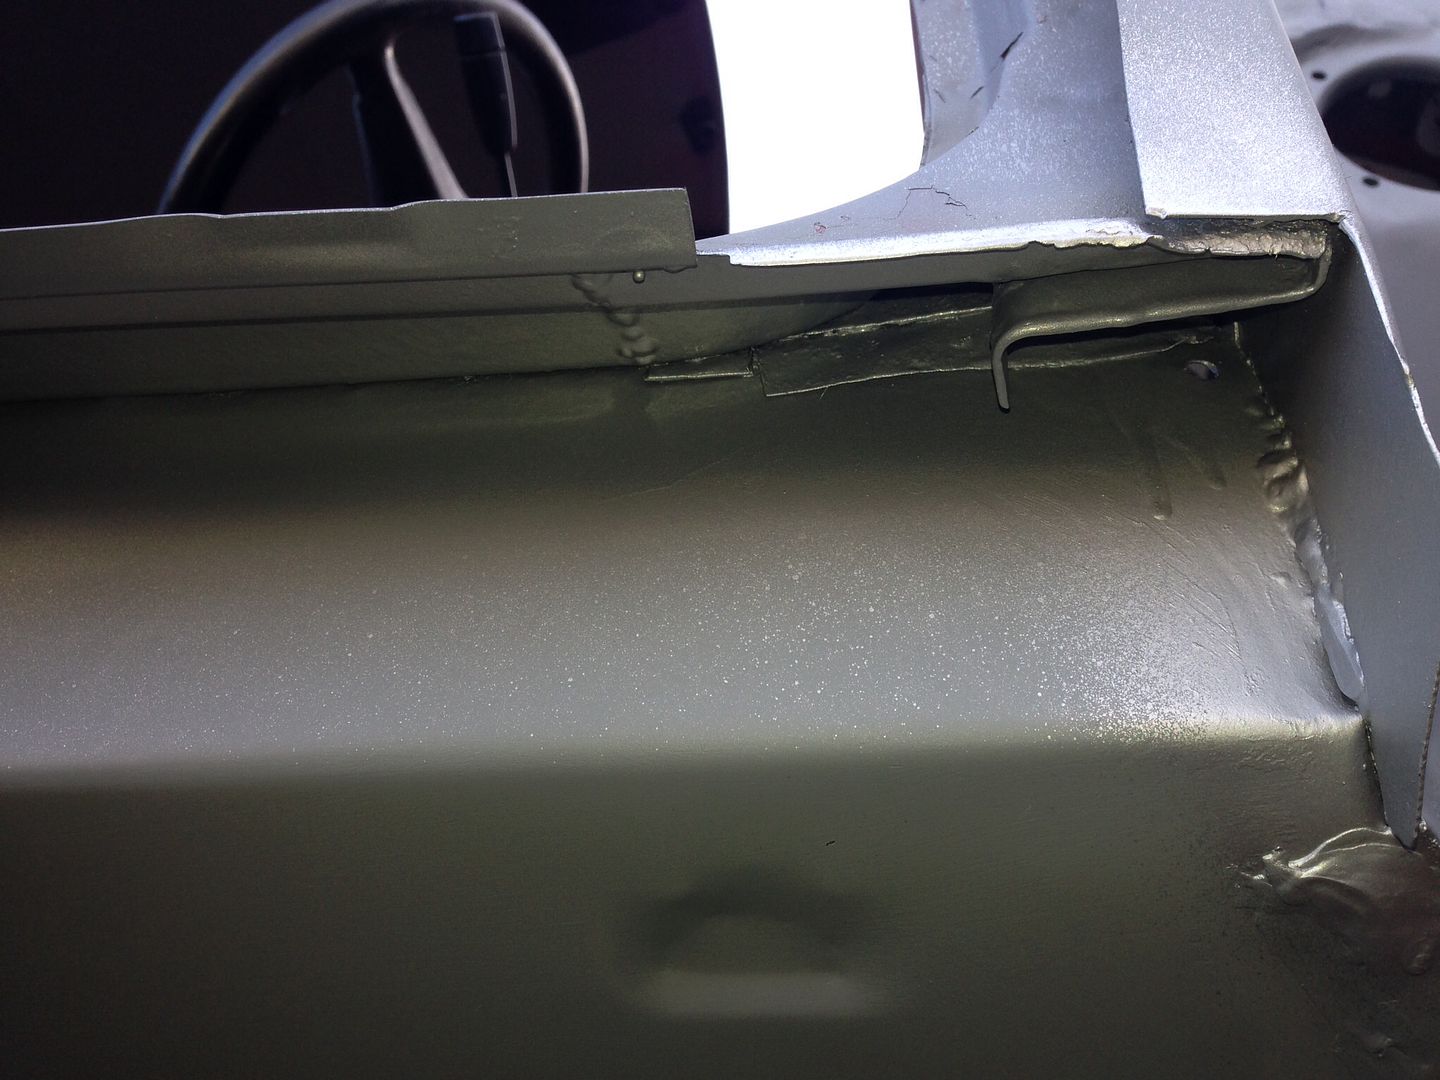
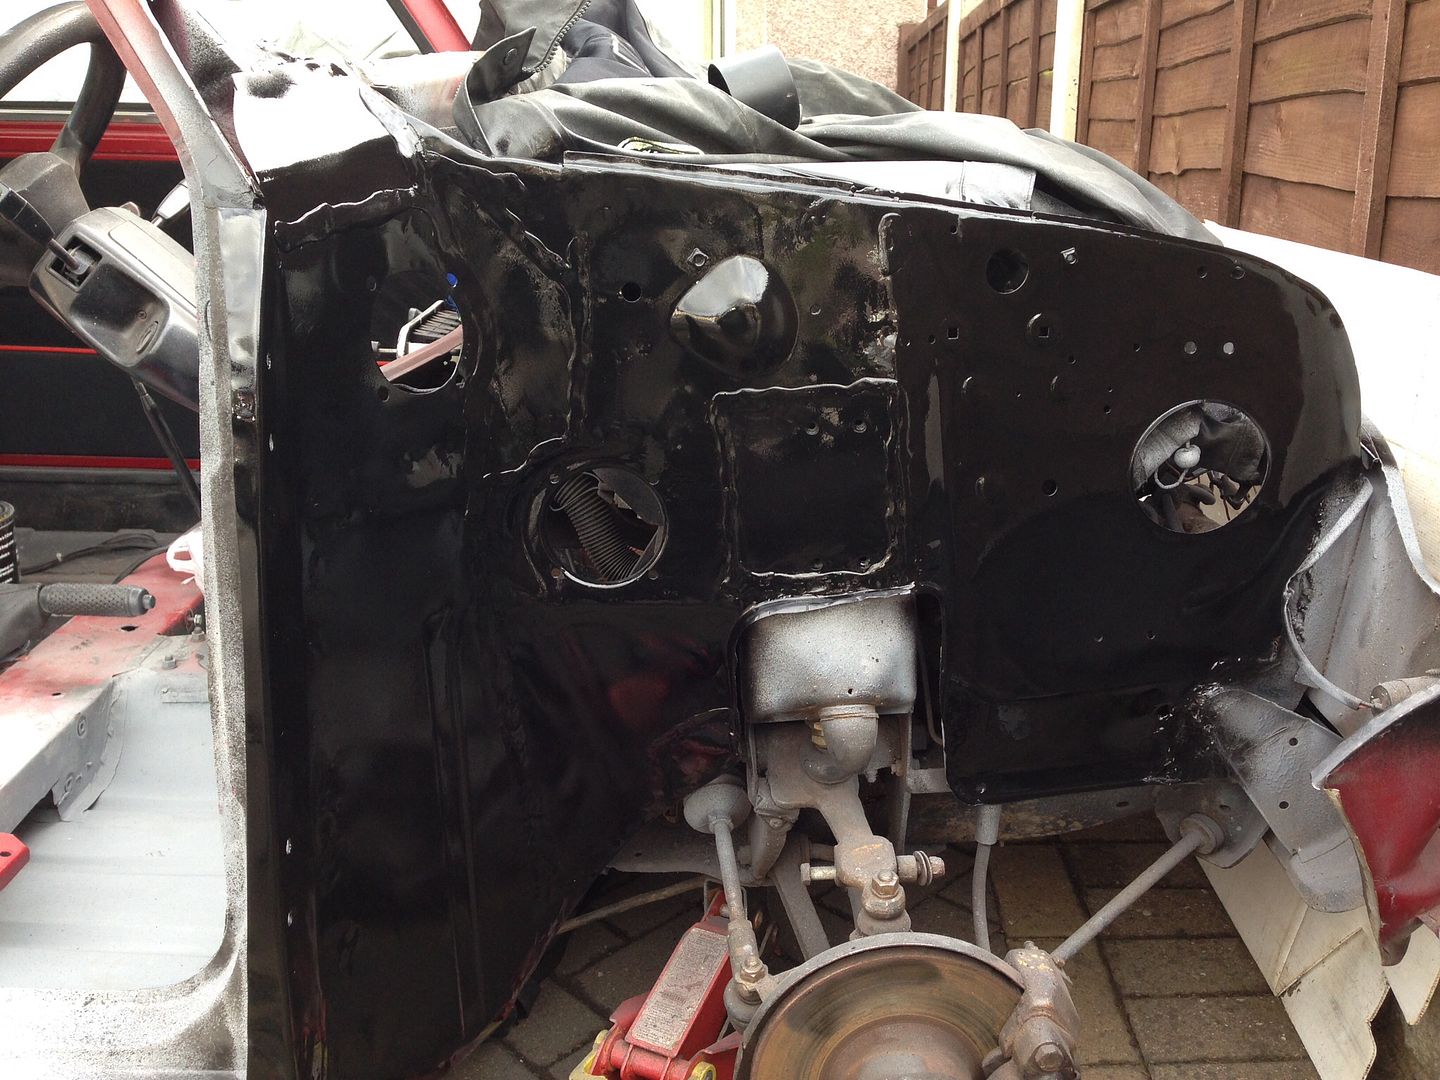
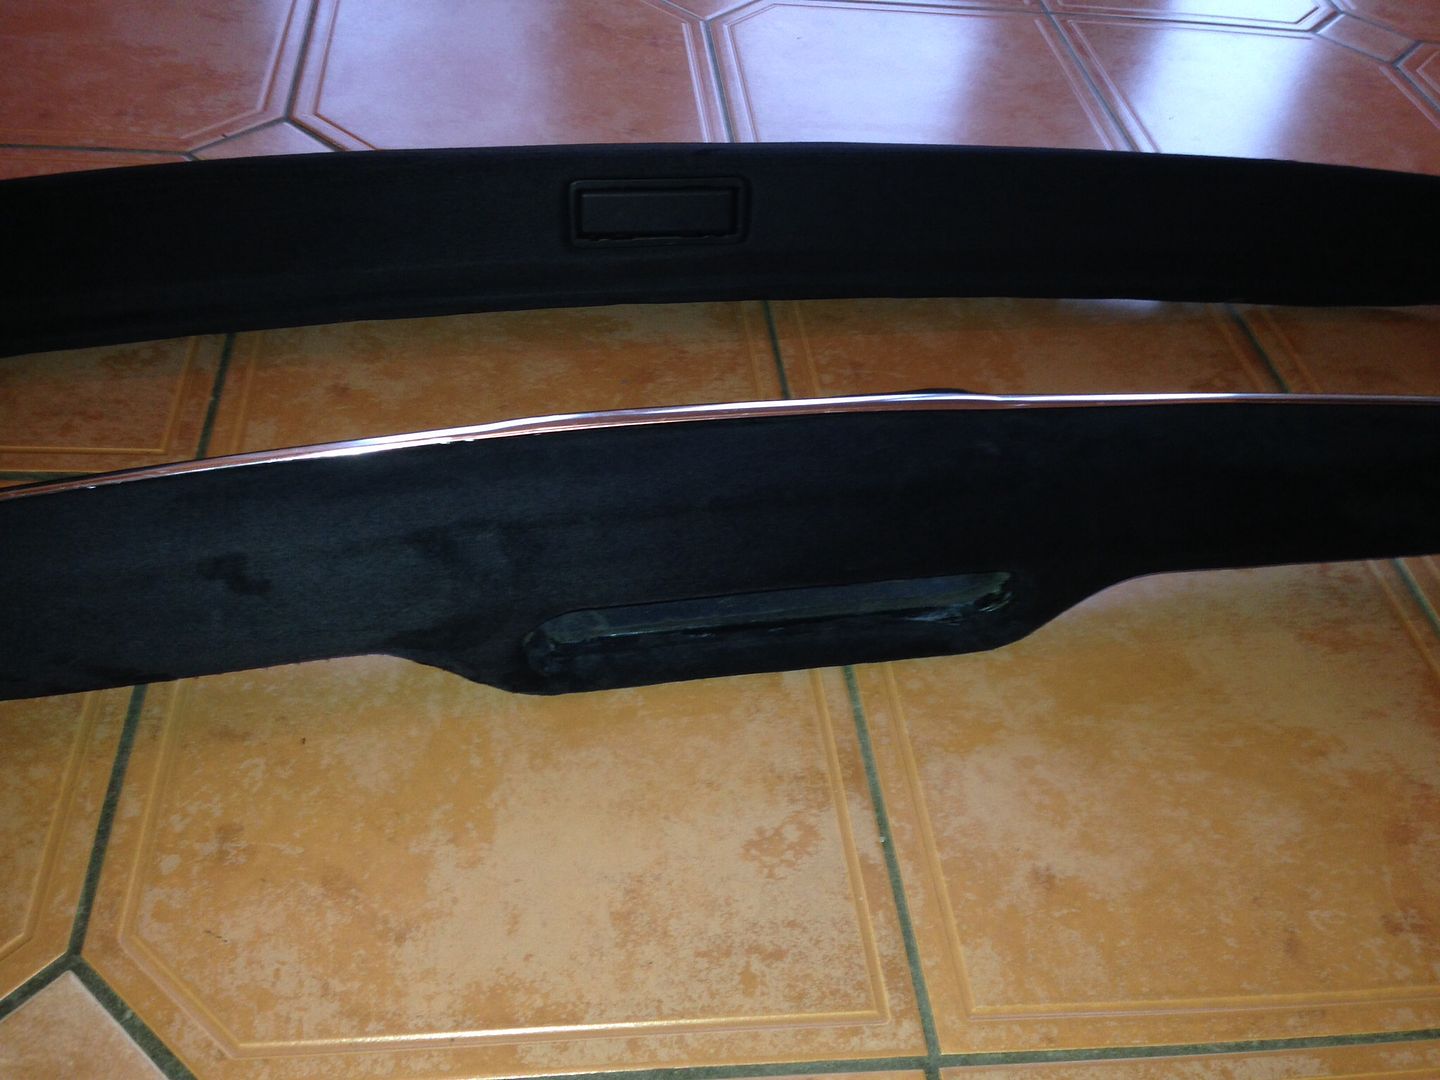
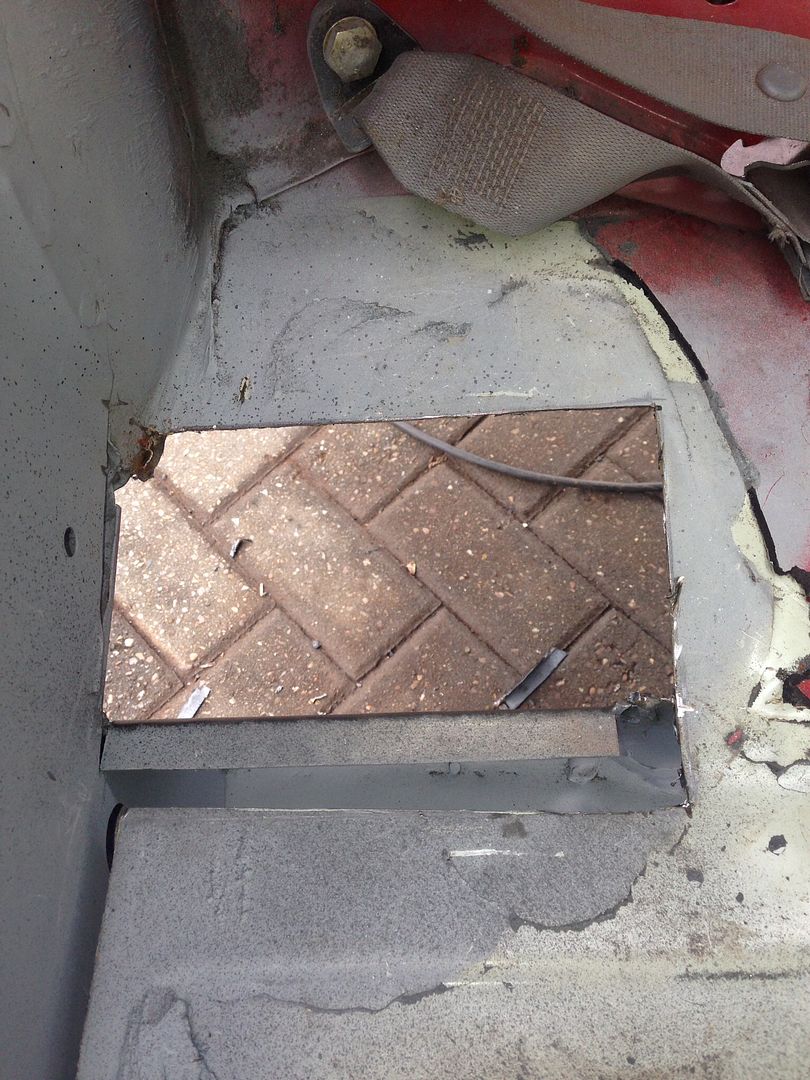
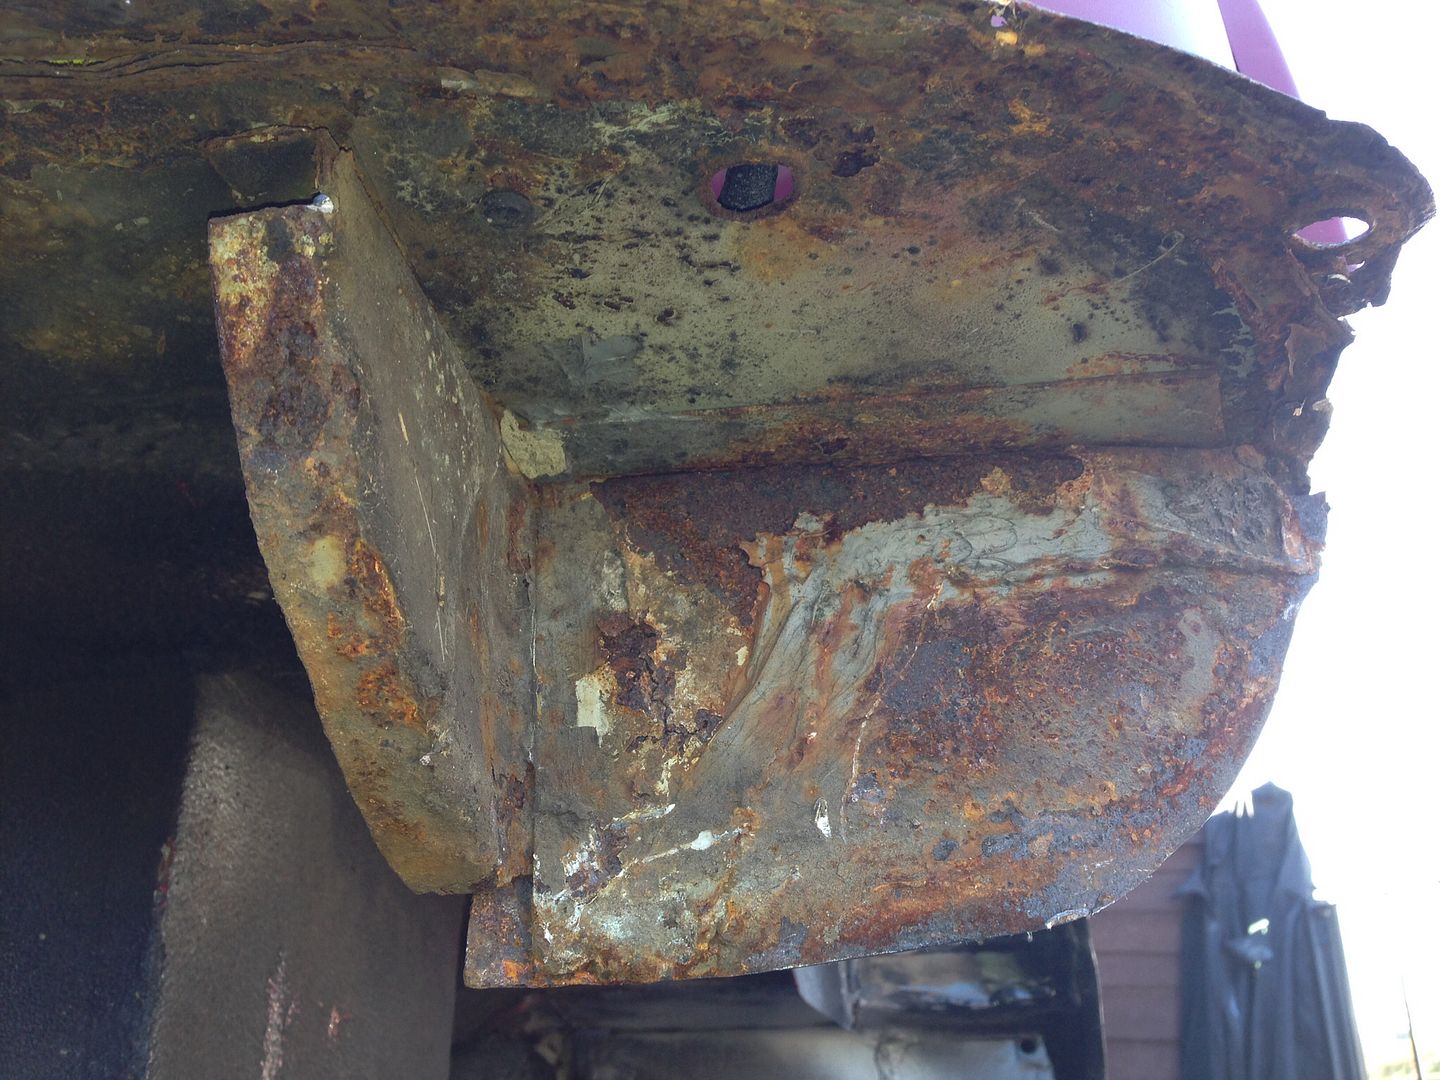
Seems you are also missing a closing panel that follows the curve of the outer panel and meets the wheel arch to seat pan panel...

Super Mini Mad
Posted 23 February 2014 - 08:10 PM

Edited by big-jay, 27 June 2014 - 10:44 AM.
Super Mini Mad
Posted 24 February 2014 - 05:49 PM

 -
-
Edited by big-jay, 27 June 2014 - 10:47 AM.
One Carb Or Two?
Posted 25 February 2014 - 07:04 PM
very tidy work !
Super Mini Mad
Posted 02 March 2014 - 09:00 PM
 -
-
Edited by big-jay, 27 June 2014 - 10:50 AM.
Mini Mad

Posted 02 March 2014 - 09:46 PM
Super Mini Mad
Posted 03 March 2014 - 10:34 AM
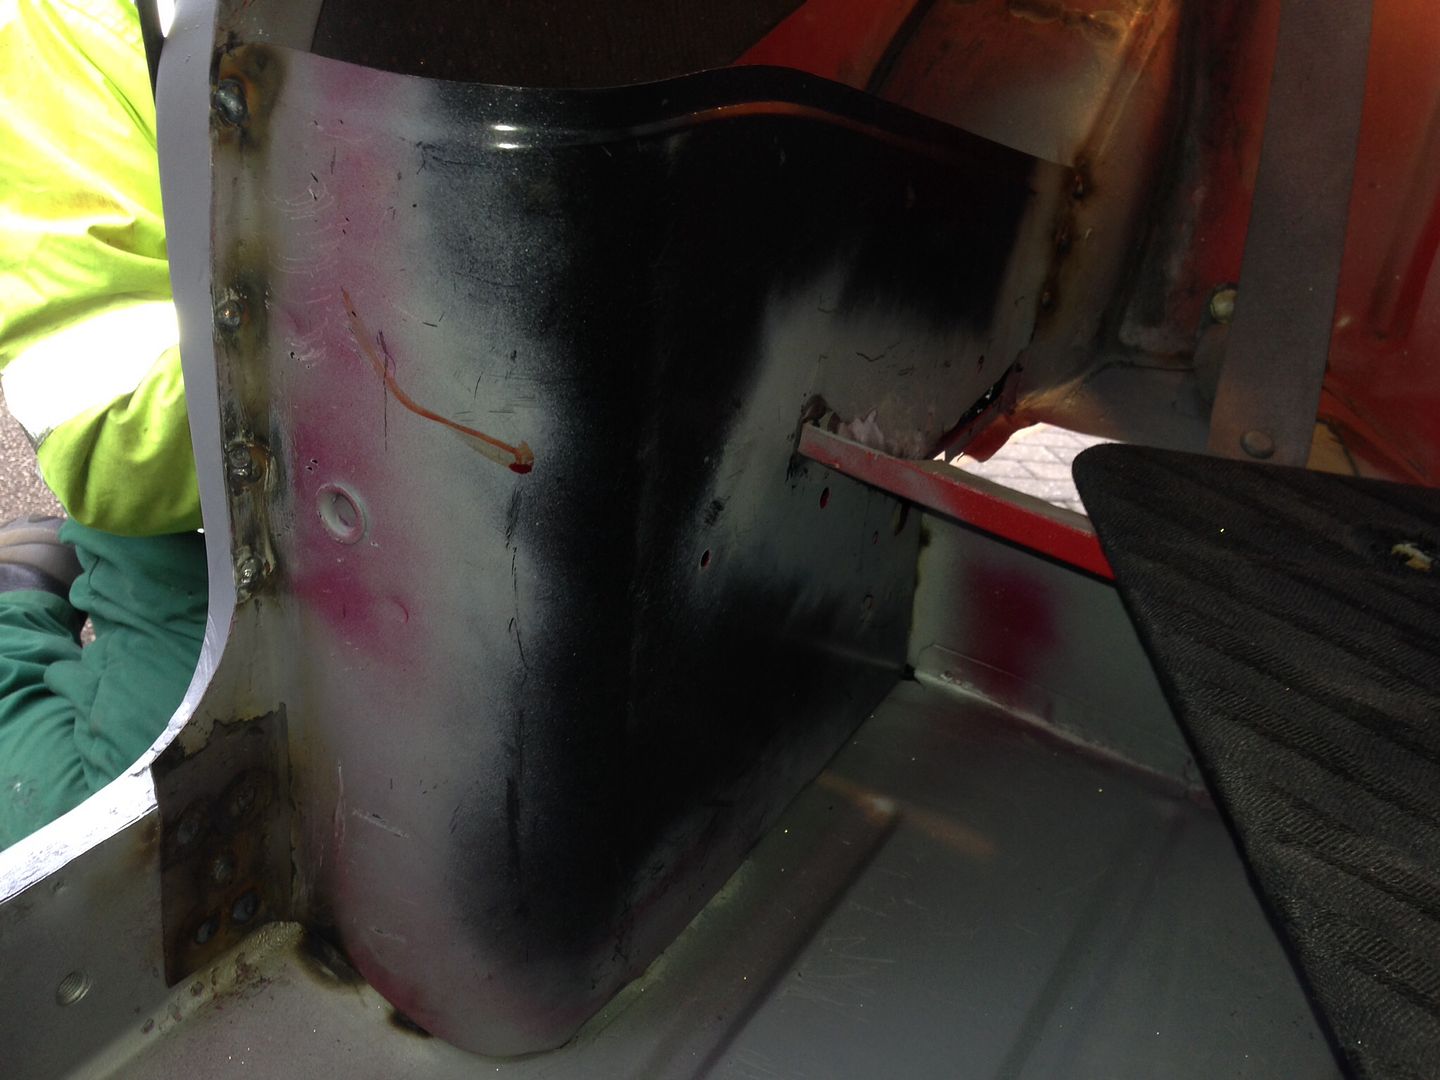
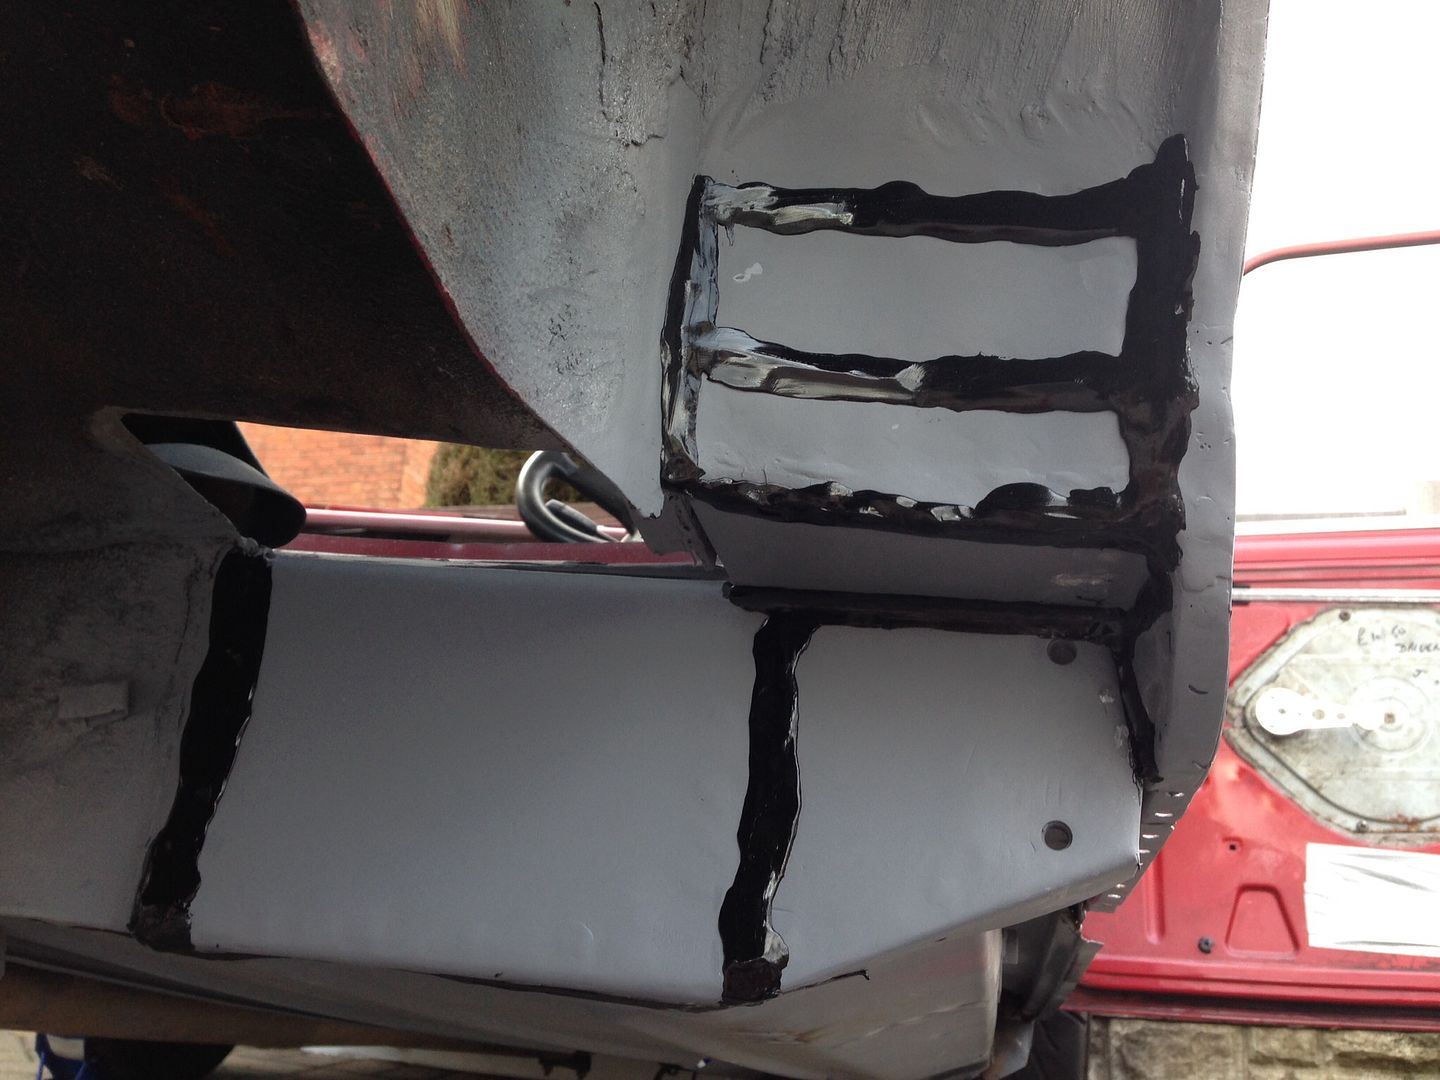
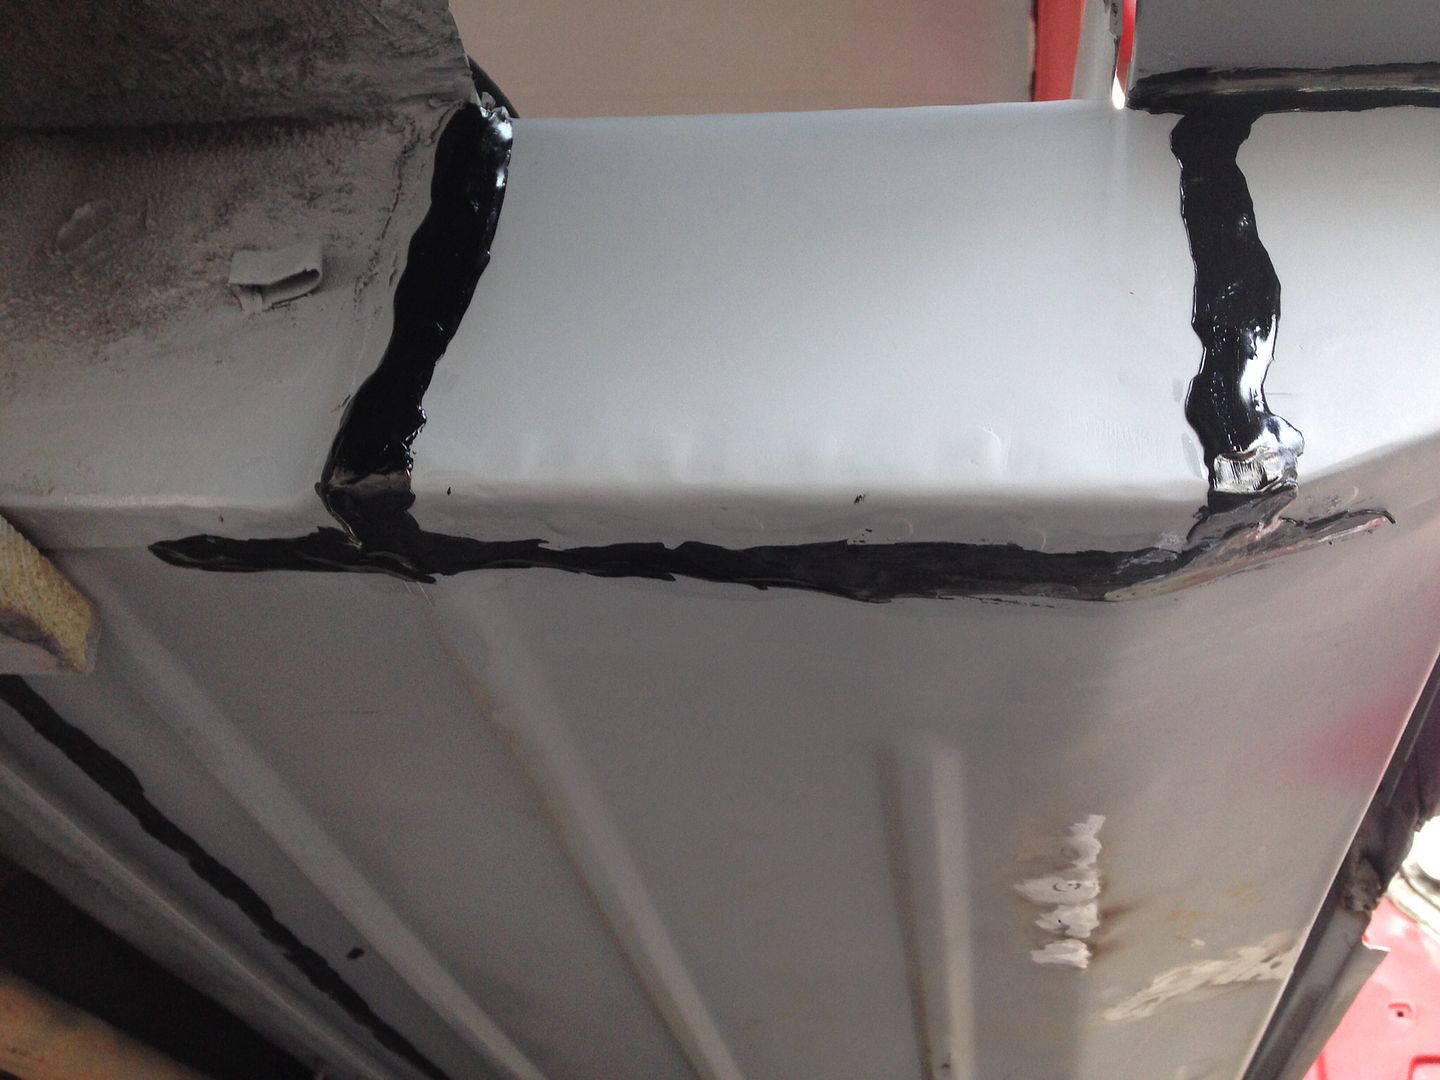
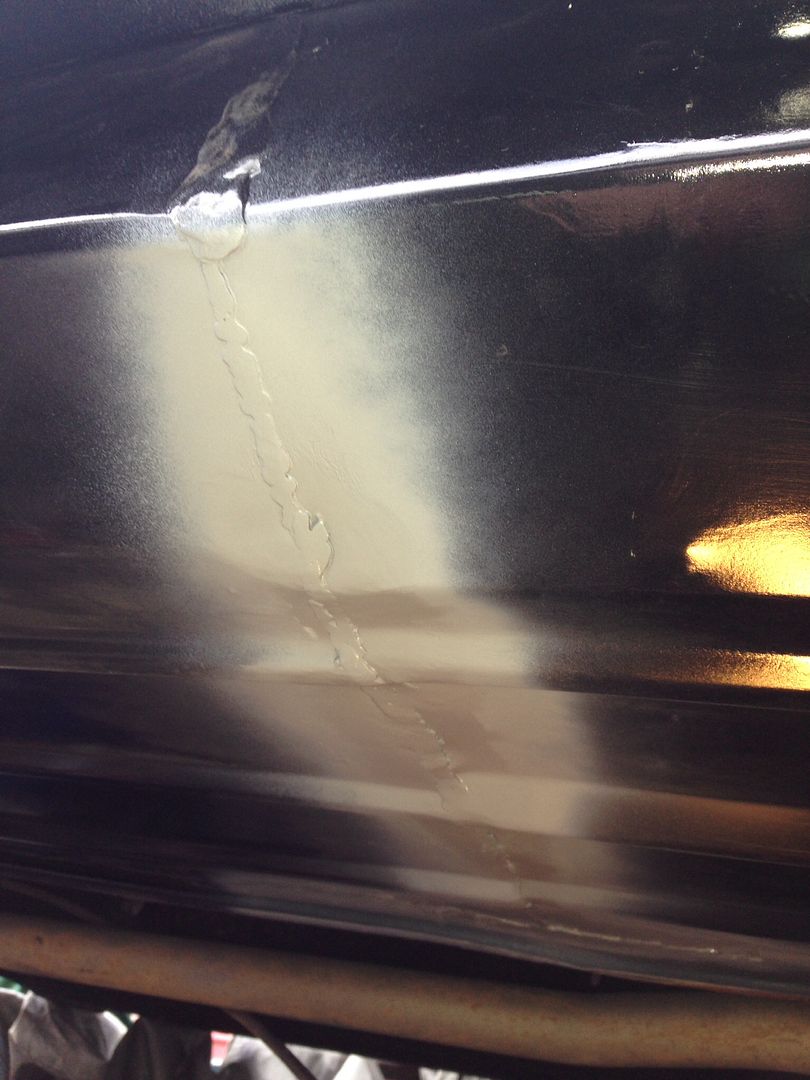
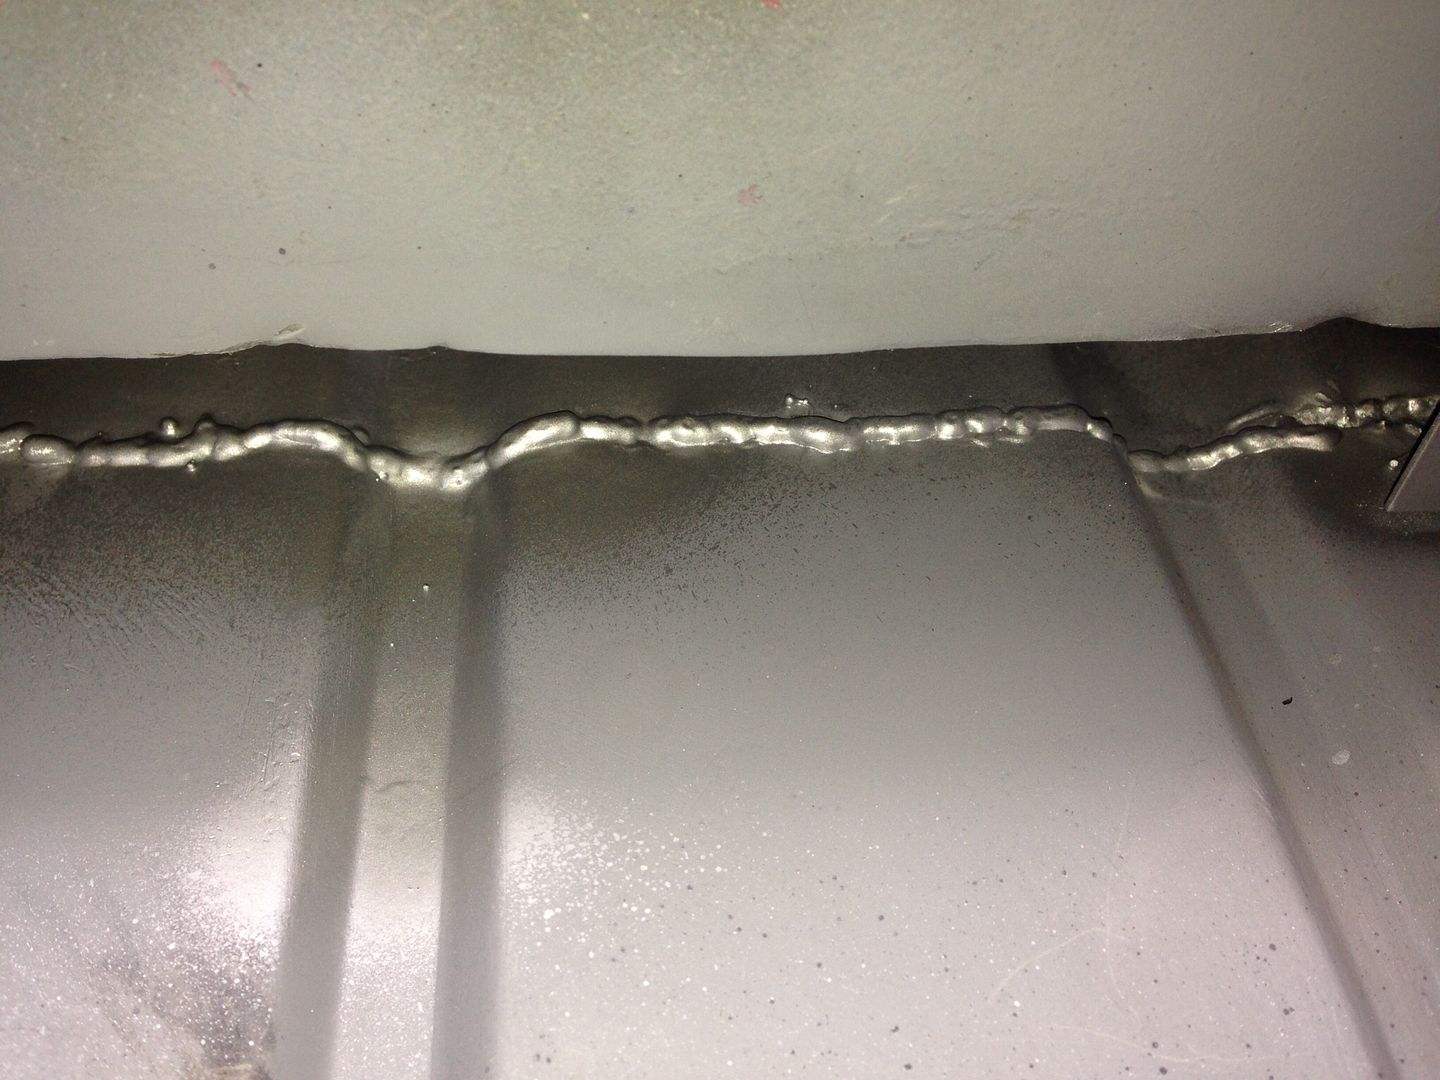
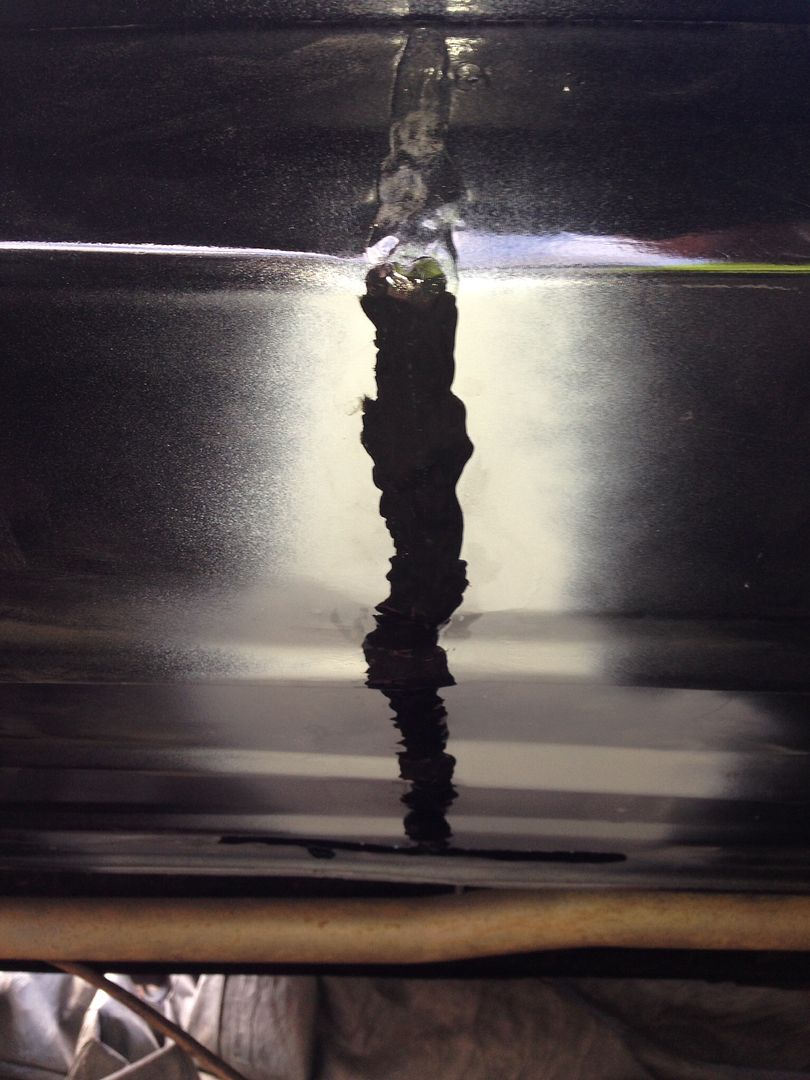
Wow! Theres a lot of grinding & welding going on here! Good luck with the project bud, keep up the good work
Edited by big-jay, 27 June 2014 - 10:51 AM.
Super Mini Mad
Posted 03 March 2014 - 02:48 PM

Edited by big-jay, 03 March 2014 - 03:00 PM.
Mill Road Garage

Posted 03 March 2014 - 10:28 PM
very good mate. Just read the whole thing.
great work happening here just like your dad's one.
Good luck with the rest of the resto
Ben
Super Mini Mad
Posted 04 March 2014 - 12:06 AM
very good mate. Just read the whole thing.
great work happening here just like your dad's one.
Good luck with the rest of the resto
Ben
Super Mini Mad
Posted 11 March 2014 - 06:24 PM
Edited by big-jay, 11 March 2014 - 06:25 PM.
Super Mini Mad

Posted 11 March 2014 - 08:28 PM


Projects →
Mini Saloons →
1976 Mini 1000 Le "stripey"Started by cafeclassic , 03 Sep 2025 |
|

|
||
Projects →
Mini Saloons →
Mini Cooper Project - Finally StartsStarted by piphatch , 08 Jan 2025 |
|

|
||
Projects →
Mini Saloons →
1965 Austin Mini Restoration - Canadian Mk1Started by DoubleEh , 14 Nov 2022 |
|

|
||
Projects →
Mini Saloons →
Project Joe - 1991 Mini Mayfair 998Started by Eggers , 02 Jun 2022 |
|

|
||
Projects →
Mini Saloons →
Mpi Dashboad ProblemStarted by mikeprez , 22 Dec 2021 |
|

|
0 members, 0 guests, 0 anonymous users


