Jump to content


Photo
- - - - -

92 City, My First Rebuild.

roundnose

  • Please log in to reply
670 replies to this topic

#76 big-jay

big-jay

    Super Mini Mad

  • Members
  • PipPipPipPipPipPip
  • 518 posts
  • Location: Birmingham
  • Local Club: British Mini Club

Posted 11 March 2014 - 09:12 PM

Just read it all. Very impressive and coming Along very fast.
Do you have any problems when welding the painted items (like sills). I can't weld but few welders I have spoken too say not too since it may catch fire or not penetrate. As I say, I can't weld just there comments. If it's ok, then I will get all mine painted. Normal paint?
Thanks


Hi Steve, thanks for the kind words.

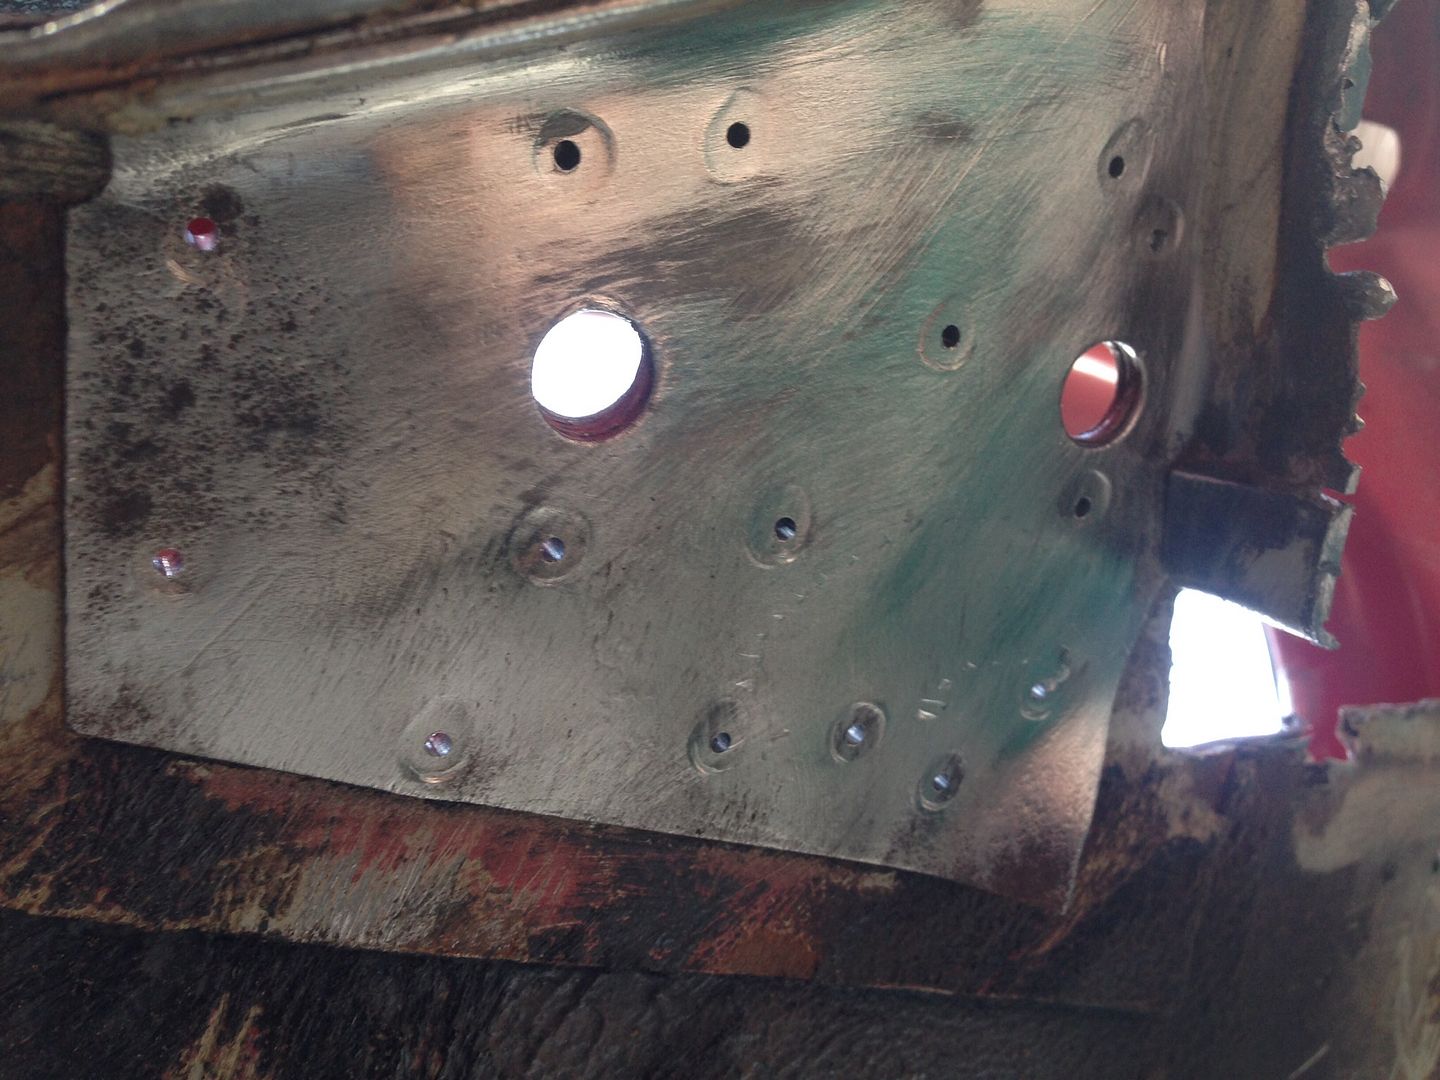
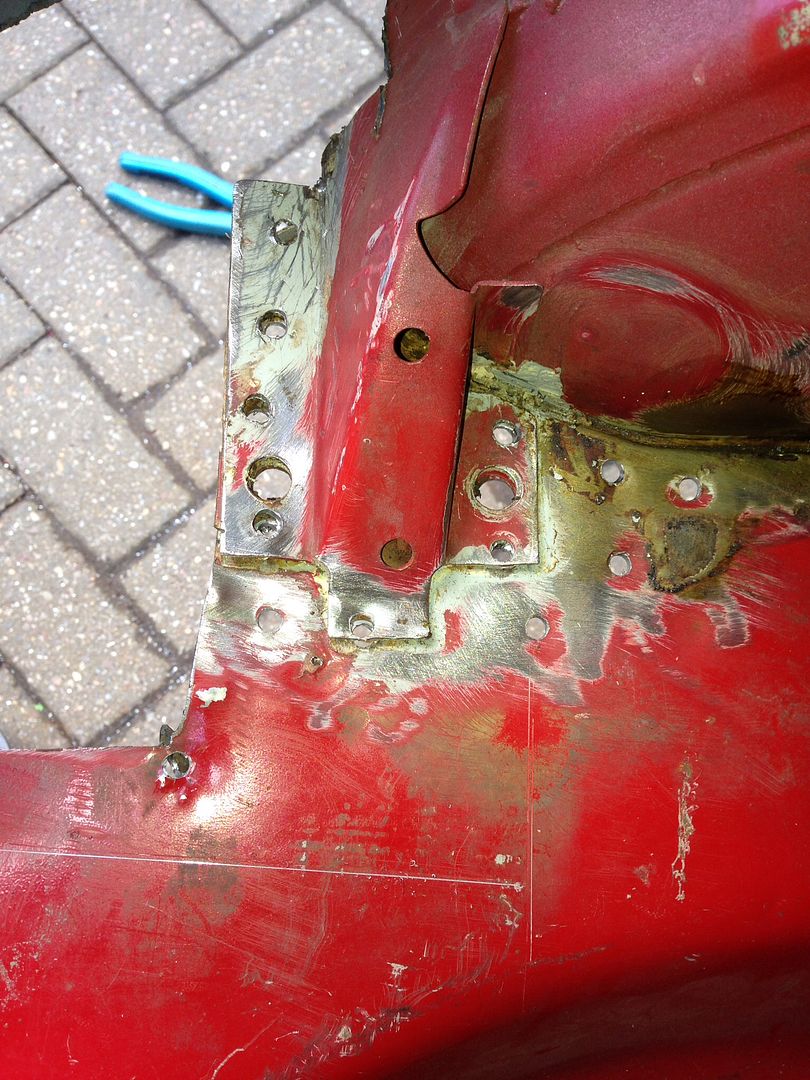
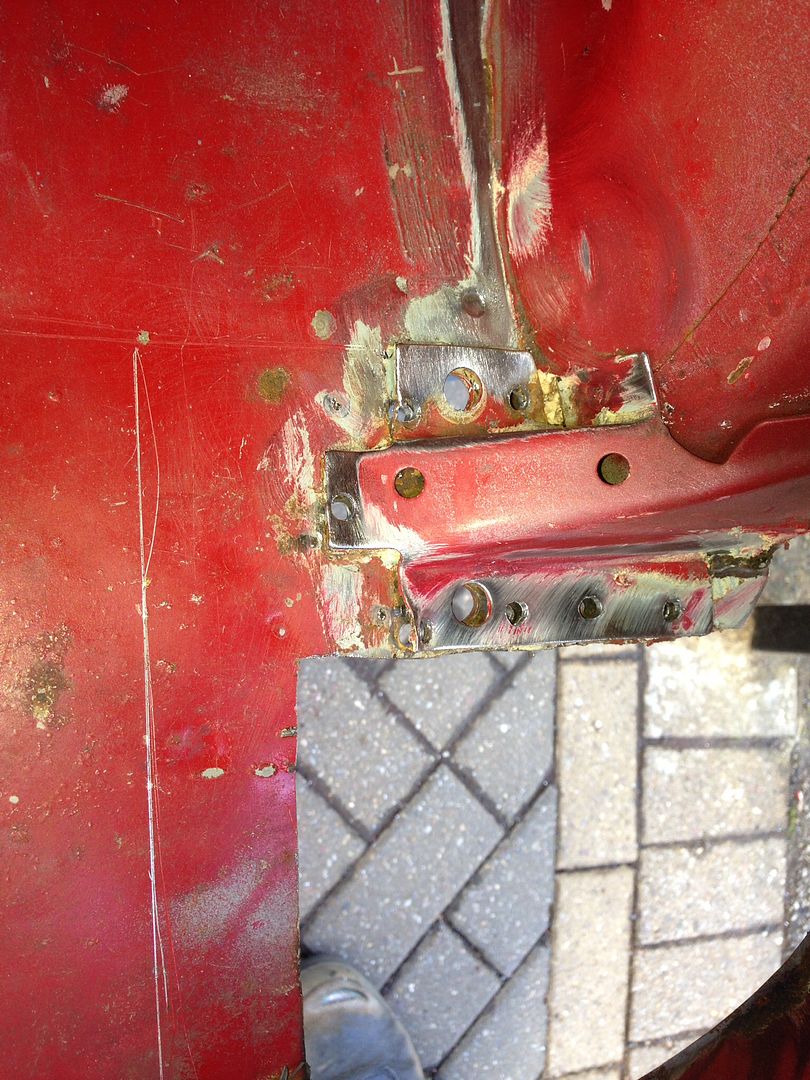
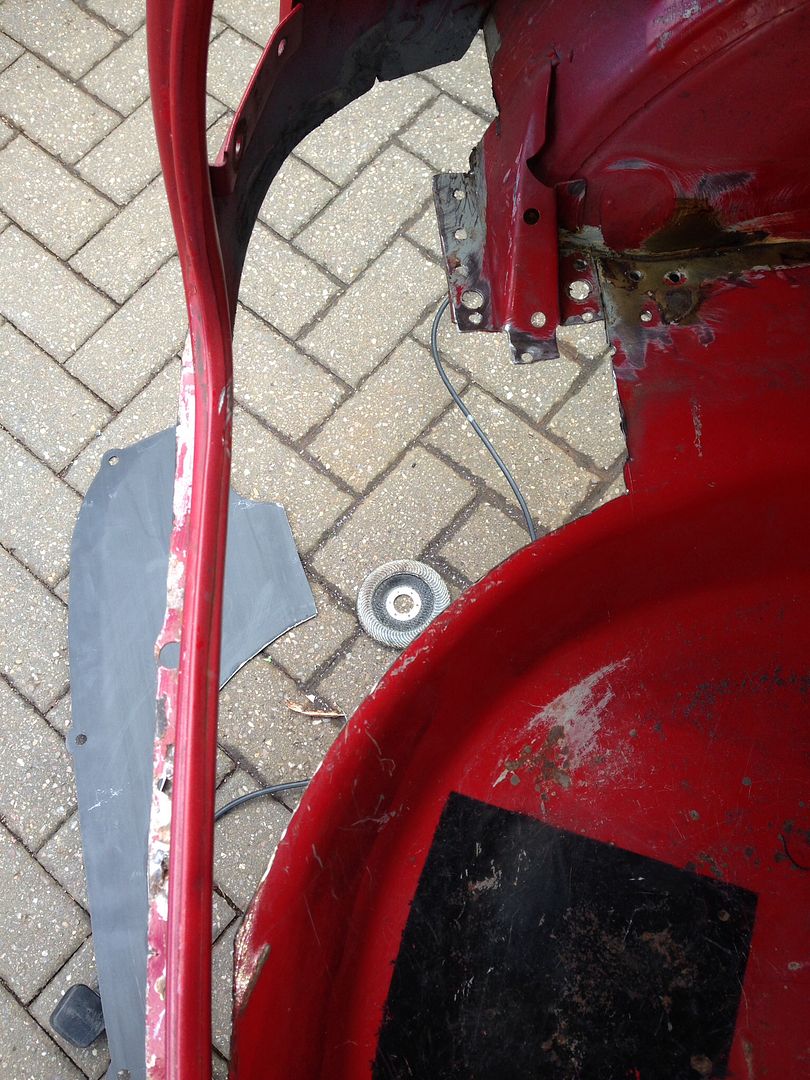
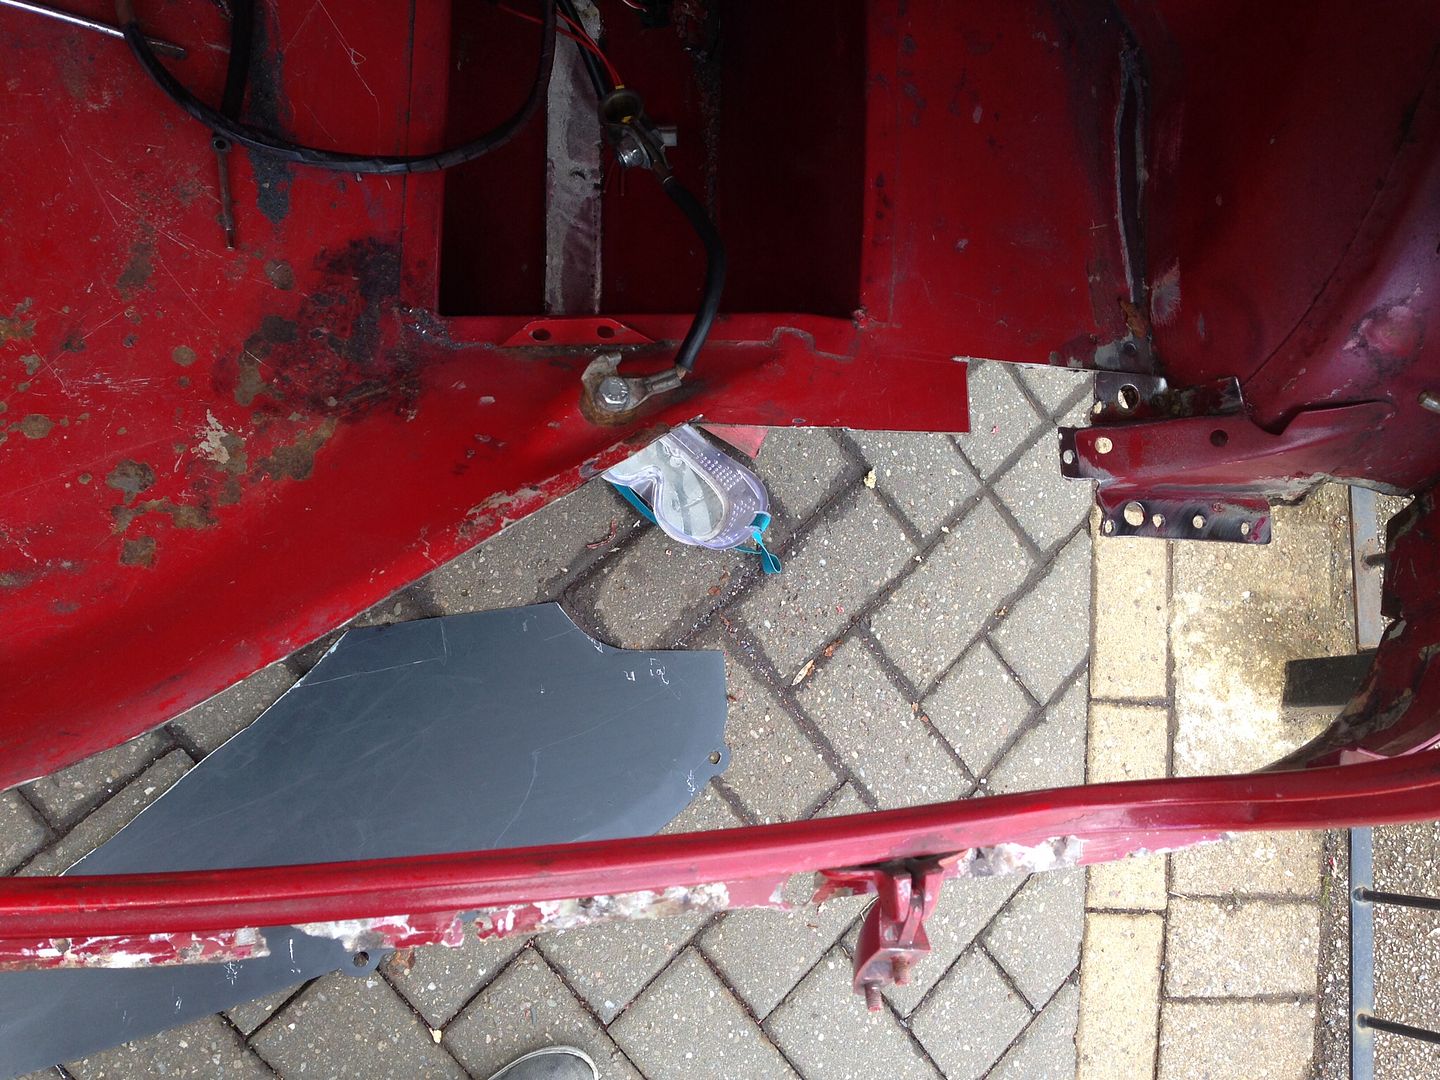
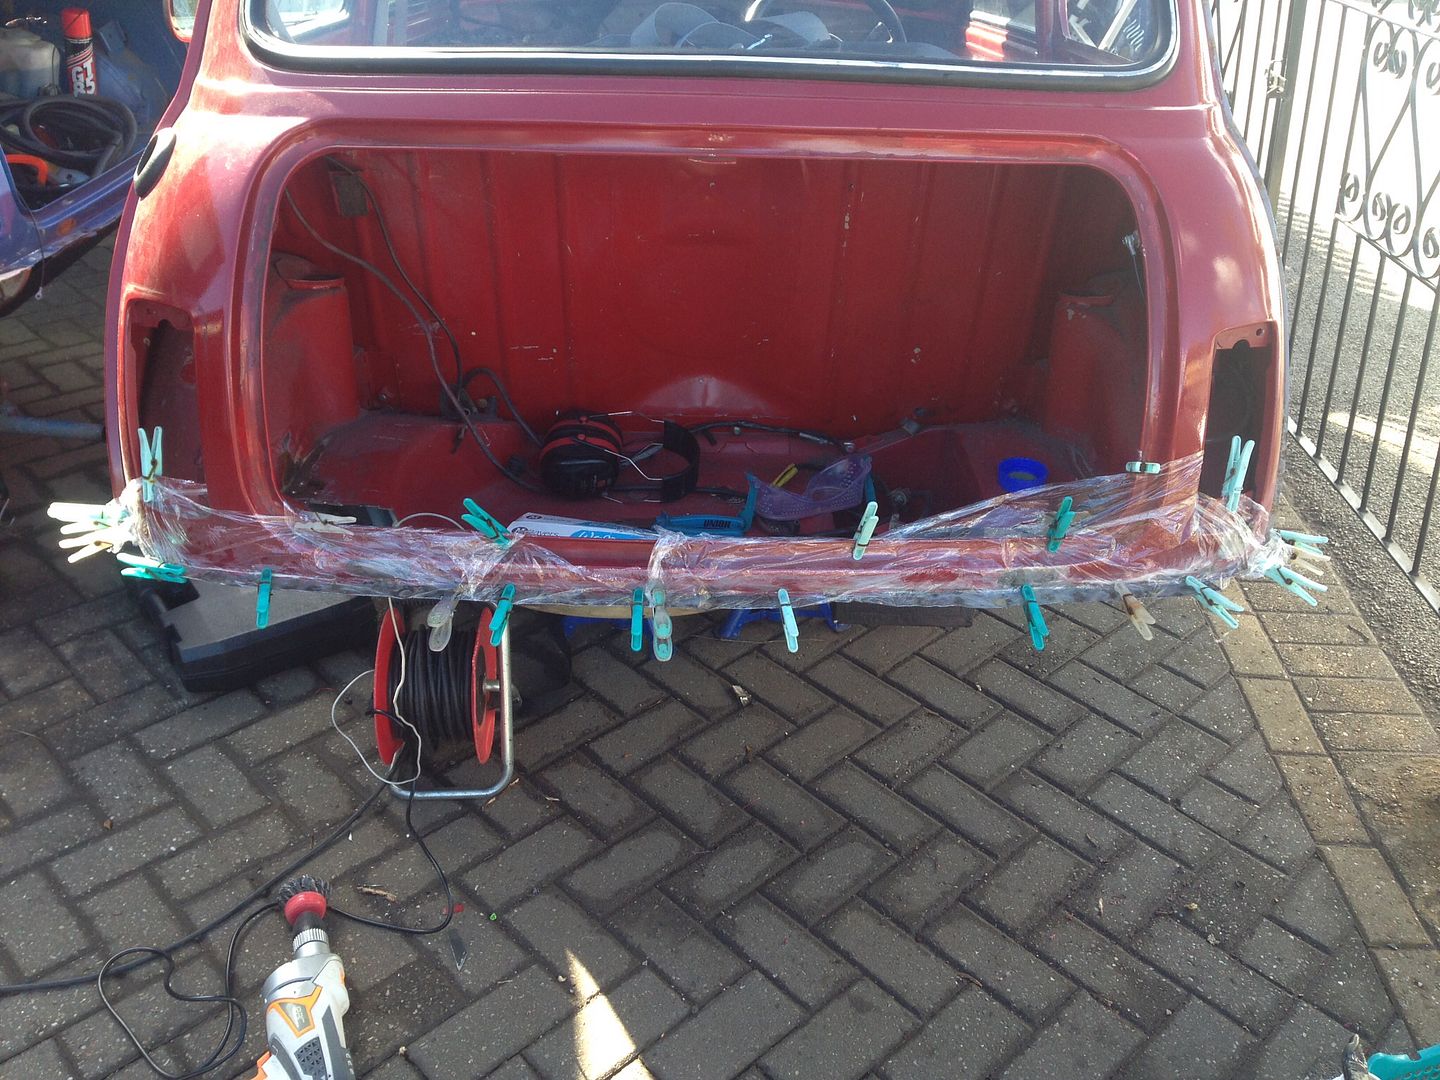
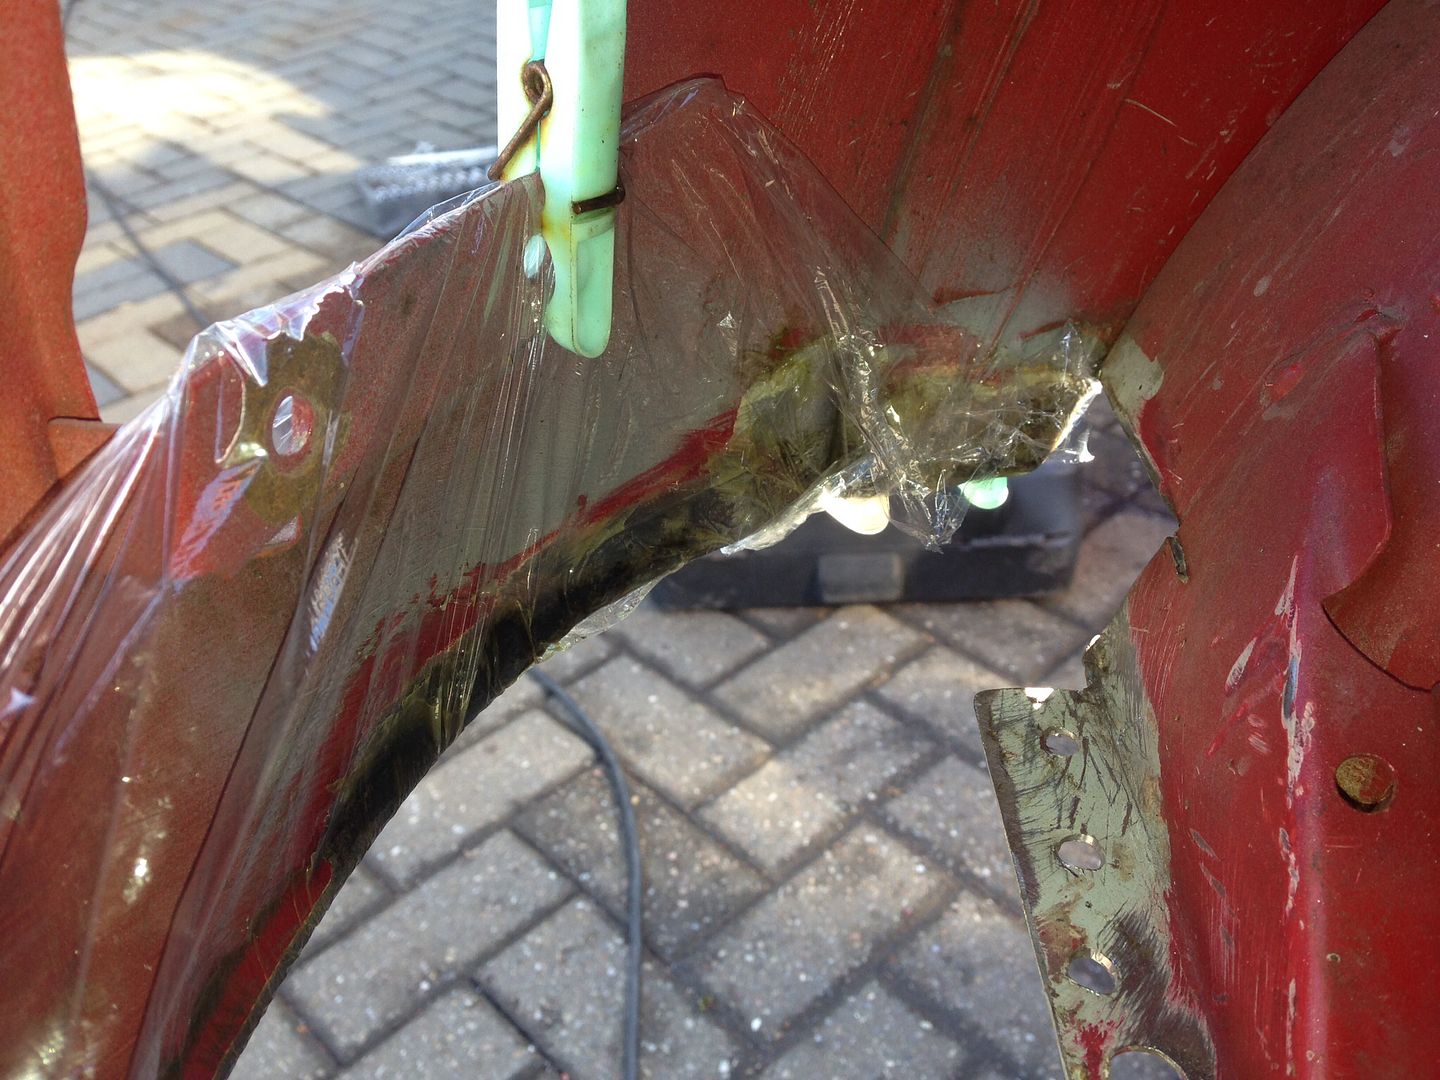
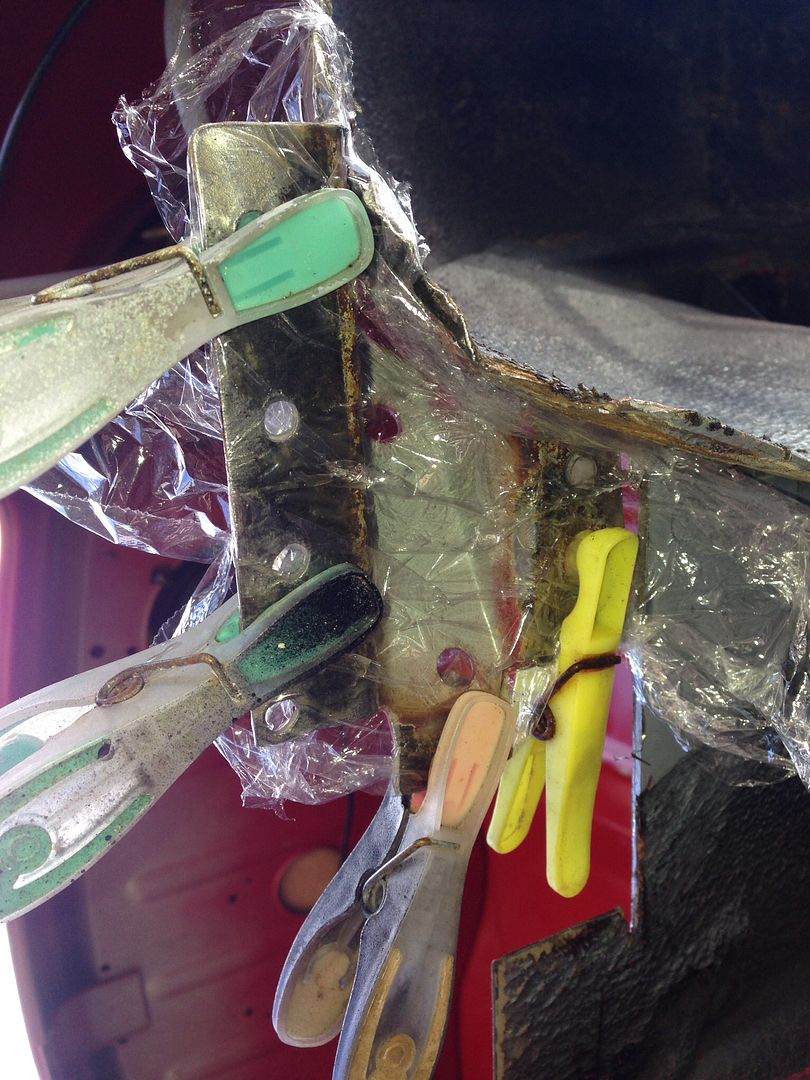
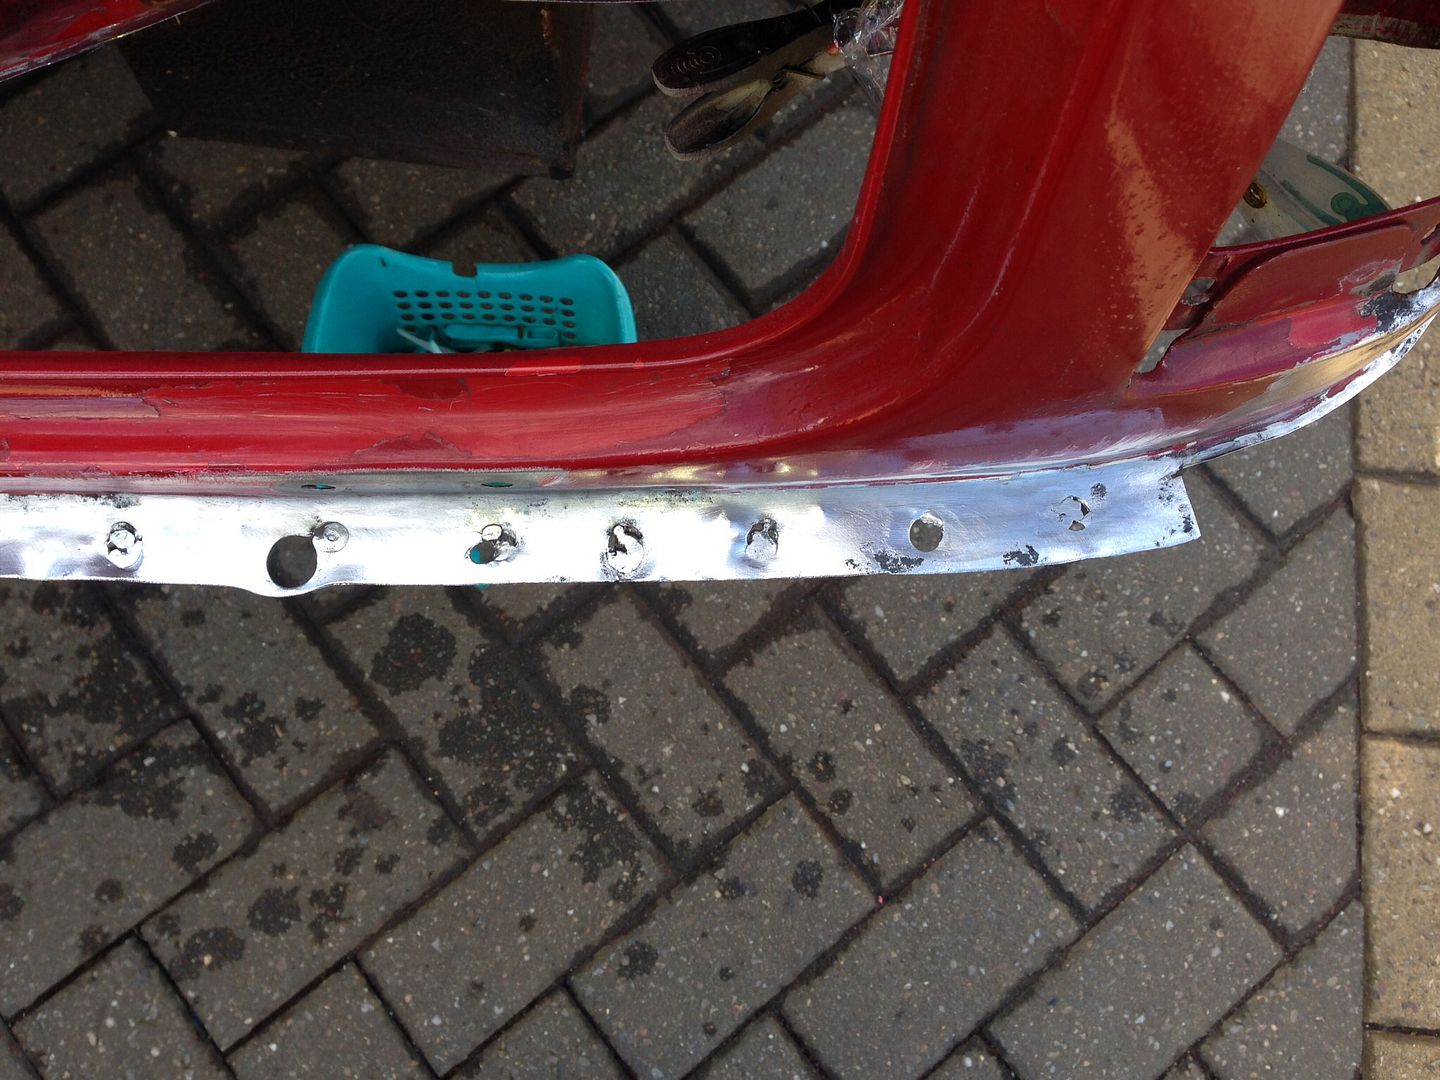
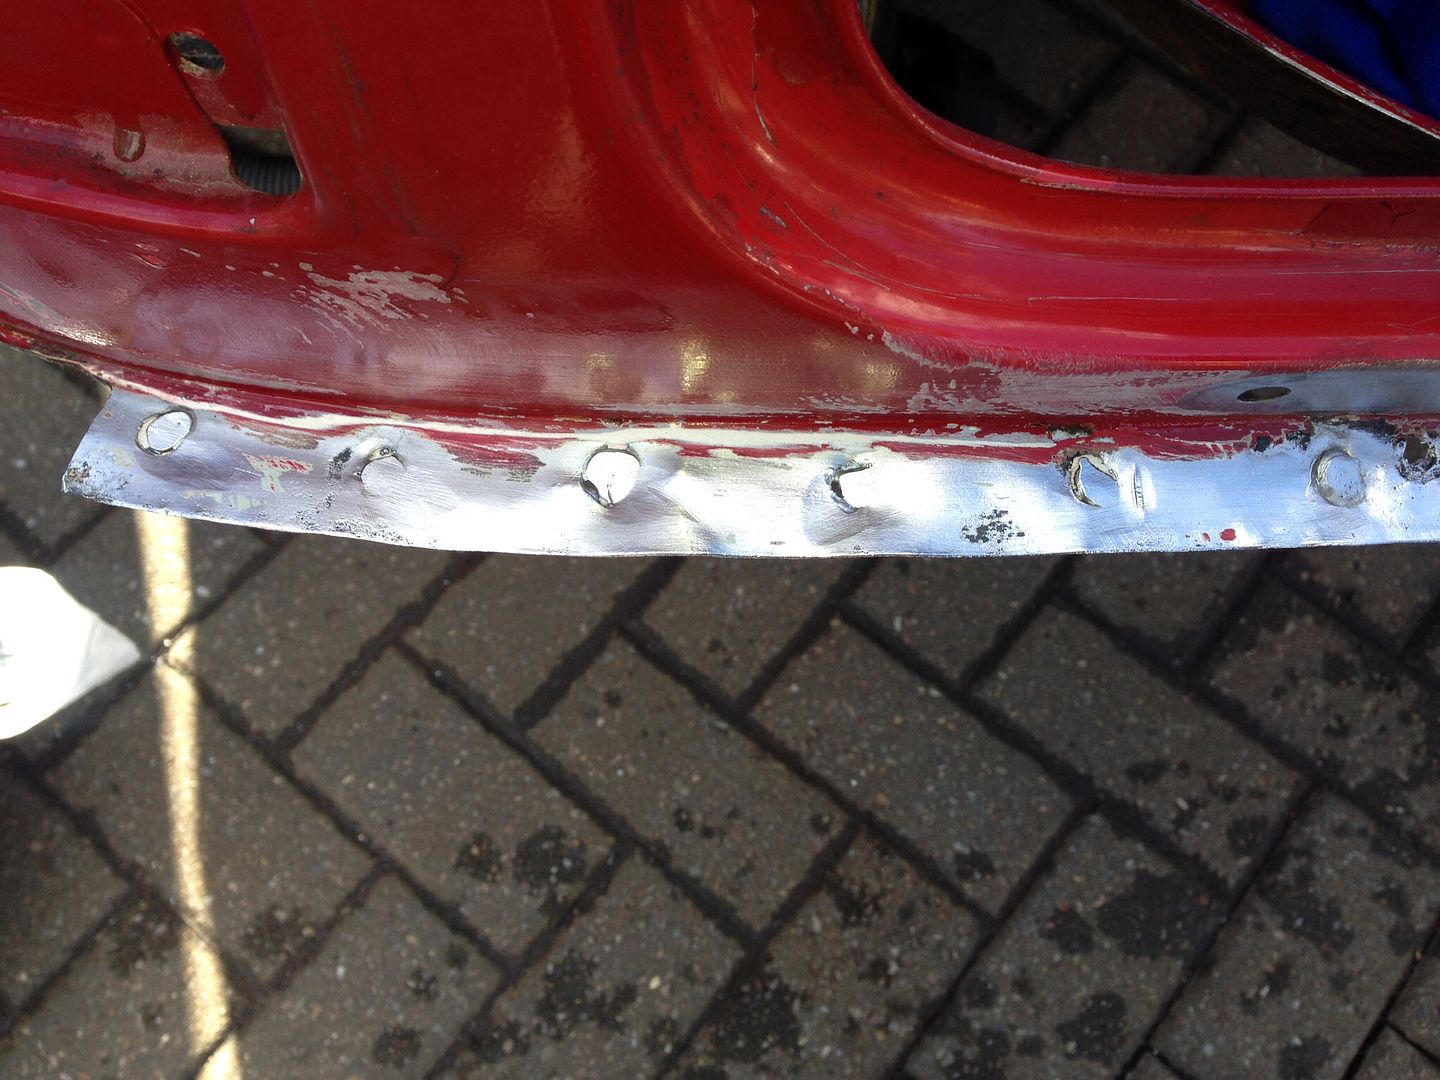
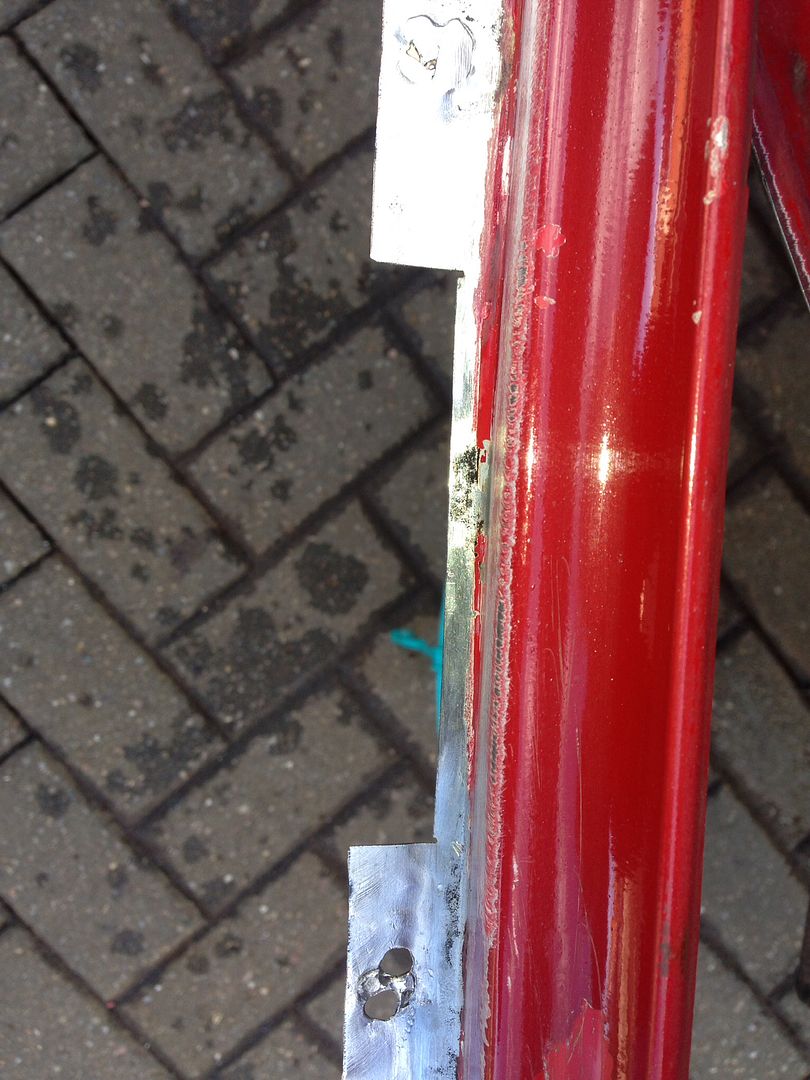
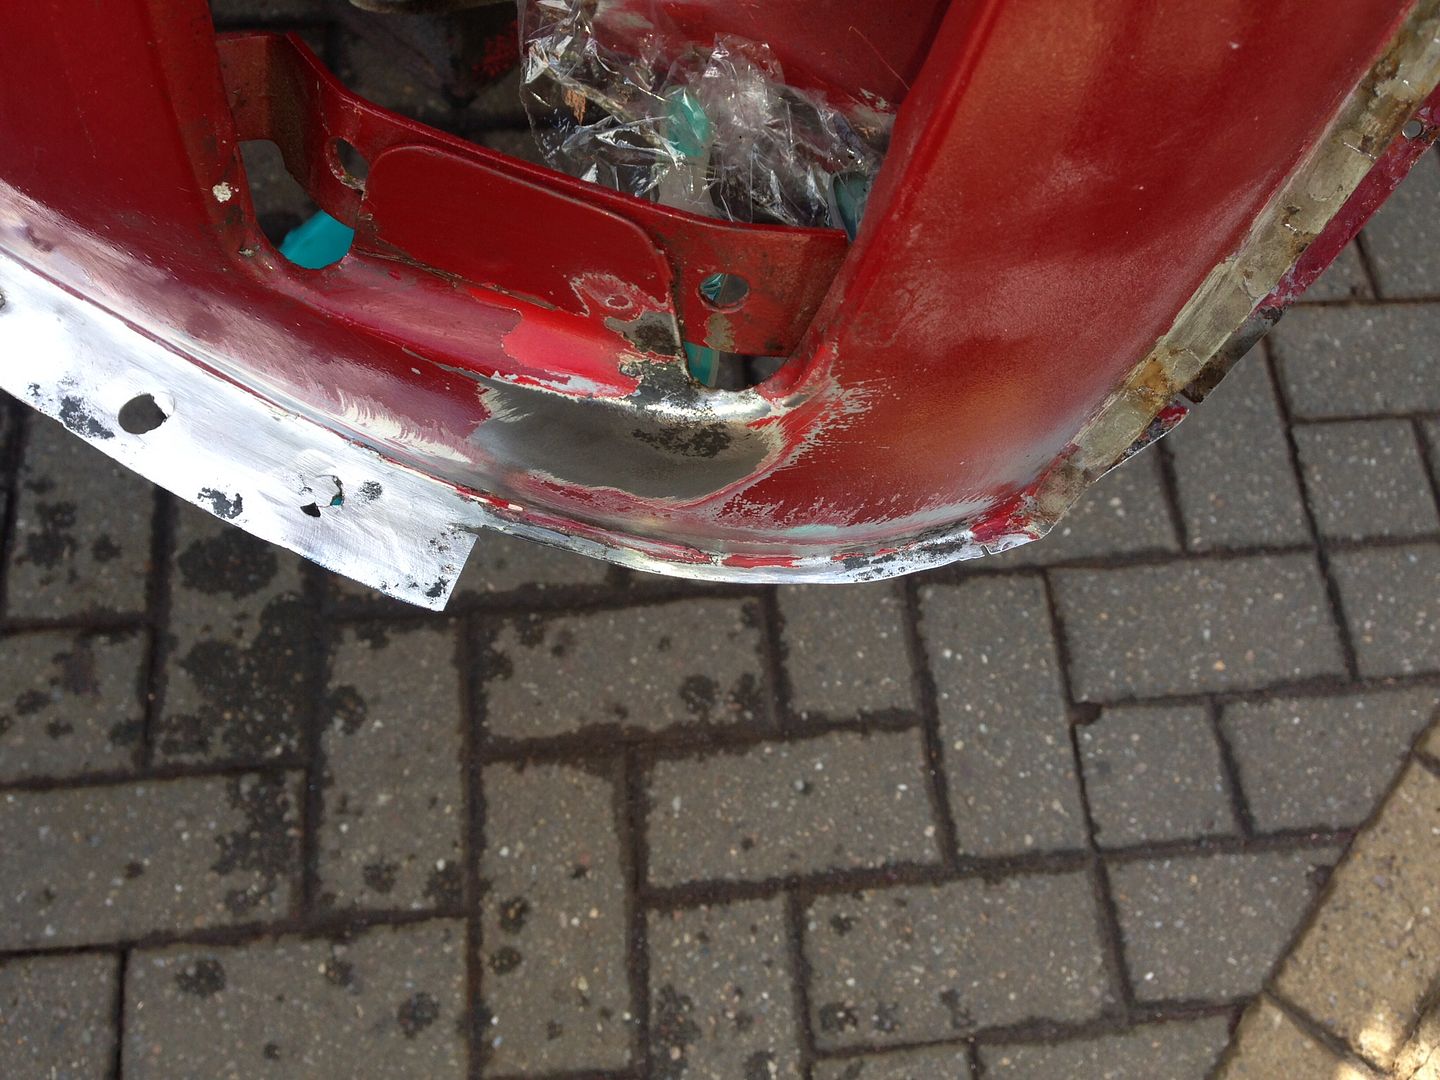
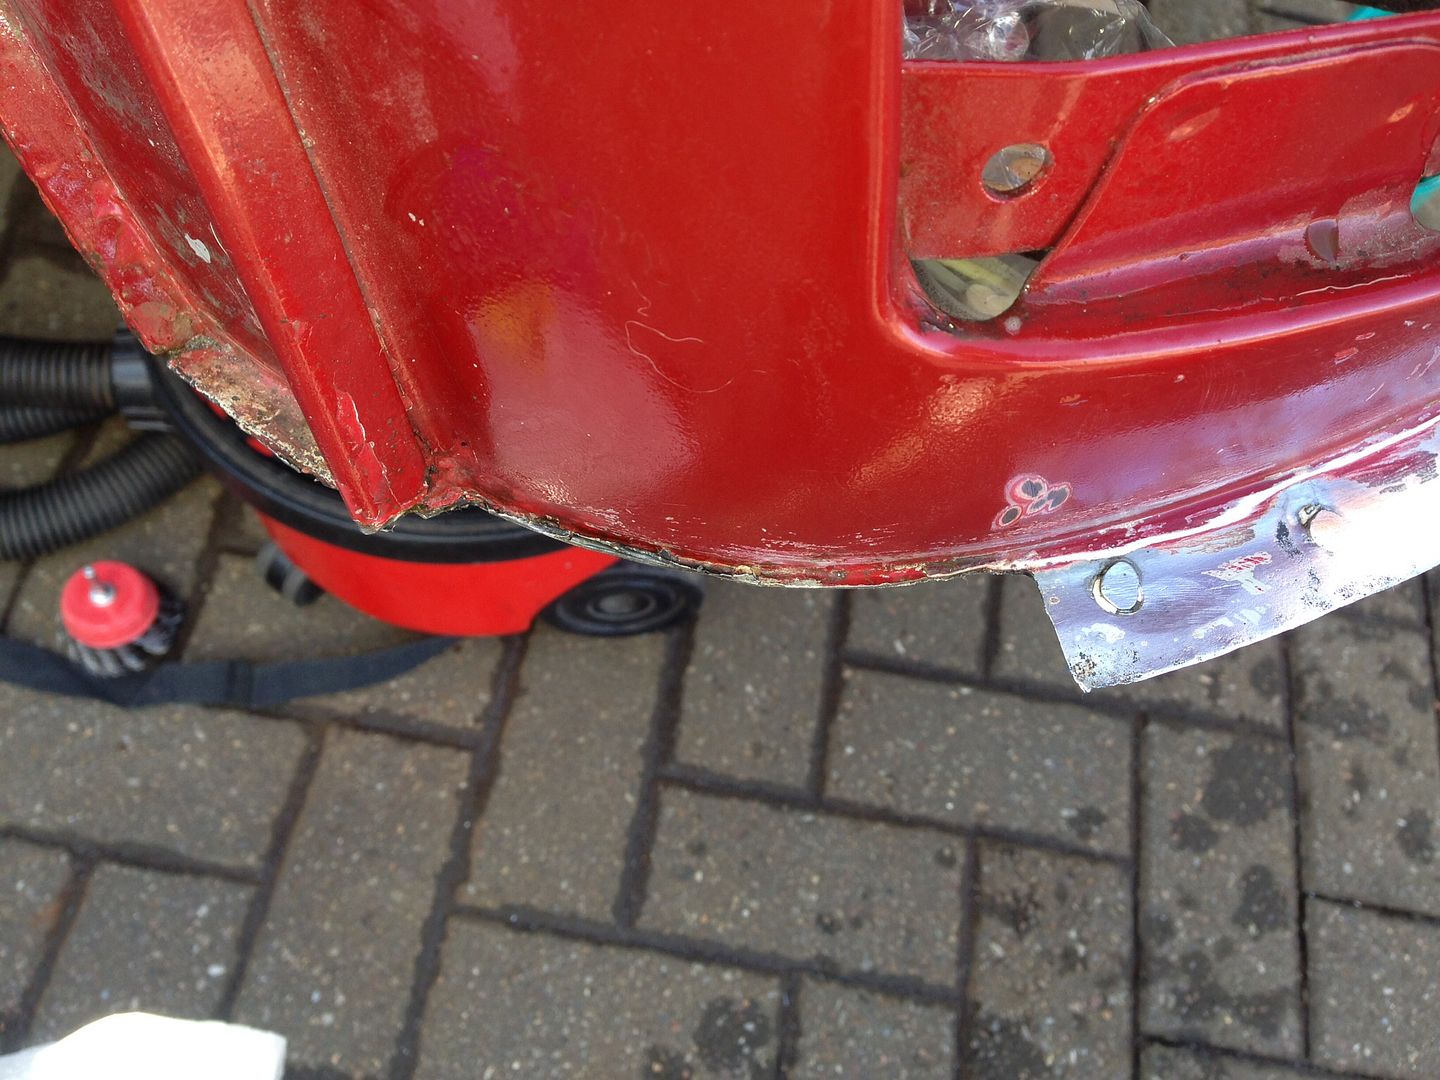
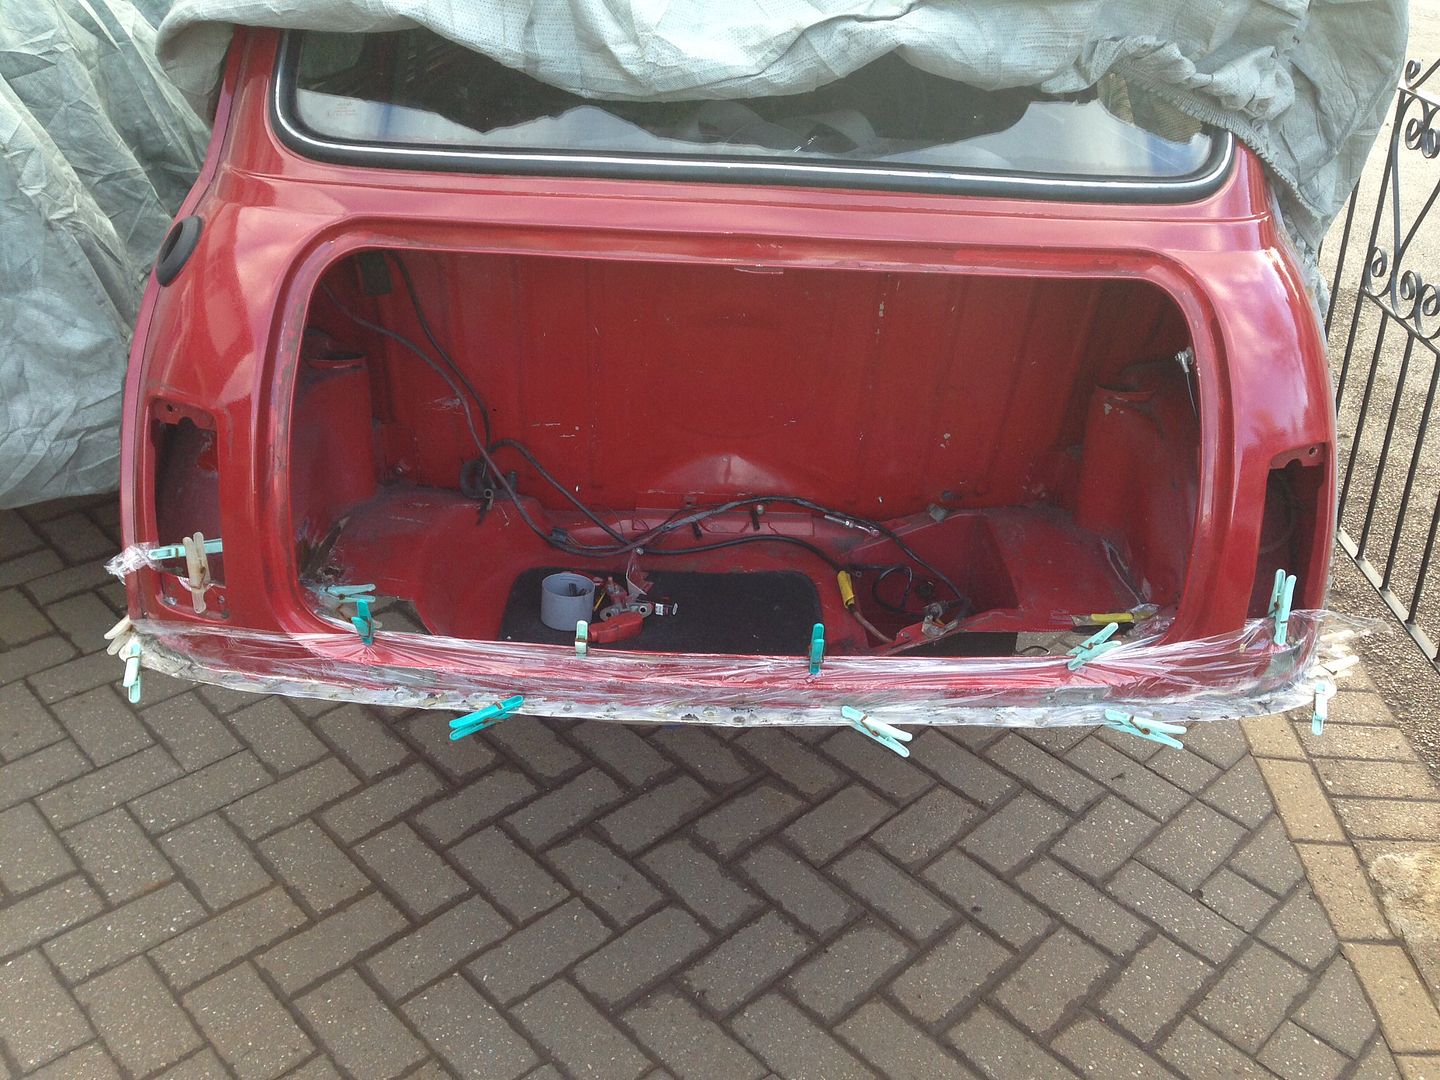
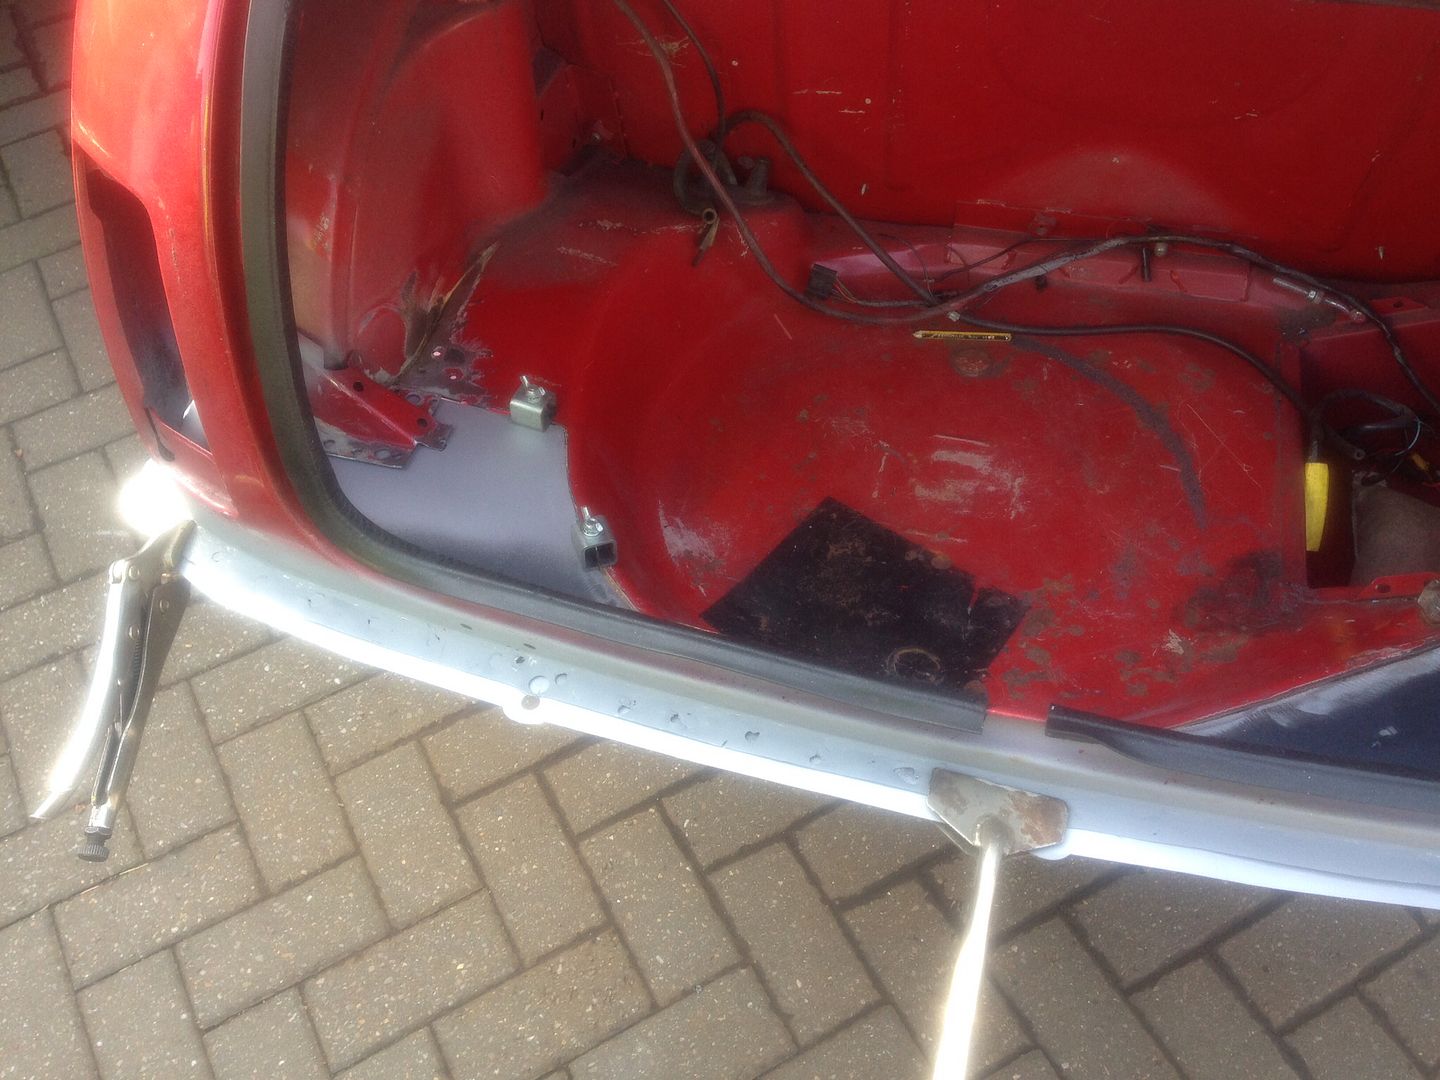
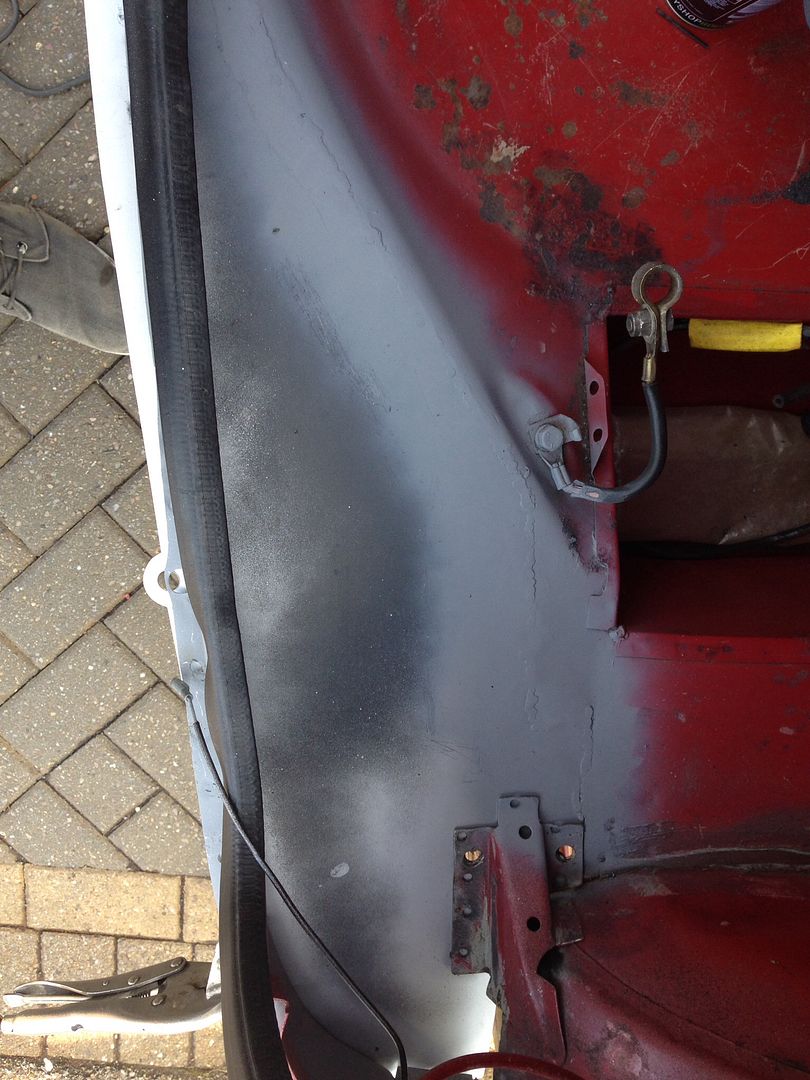
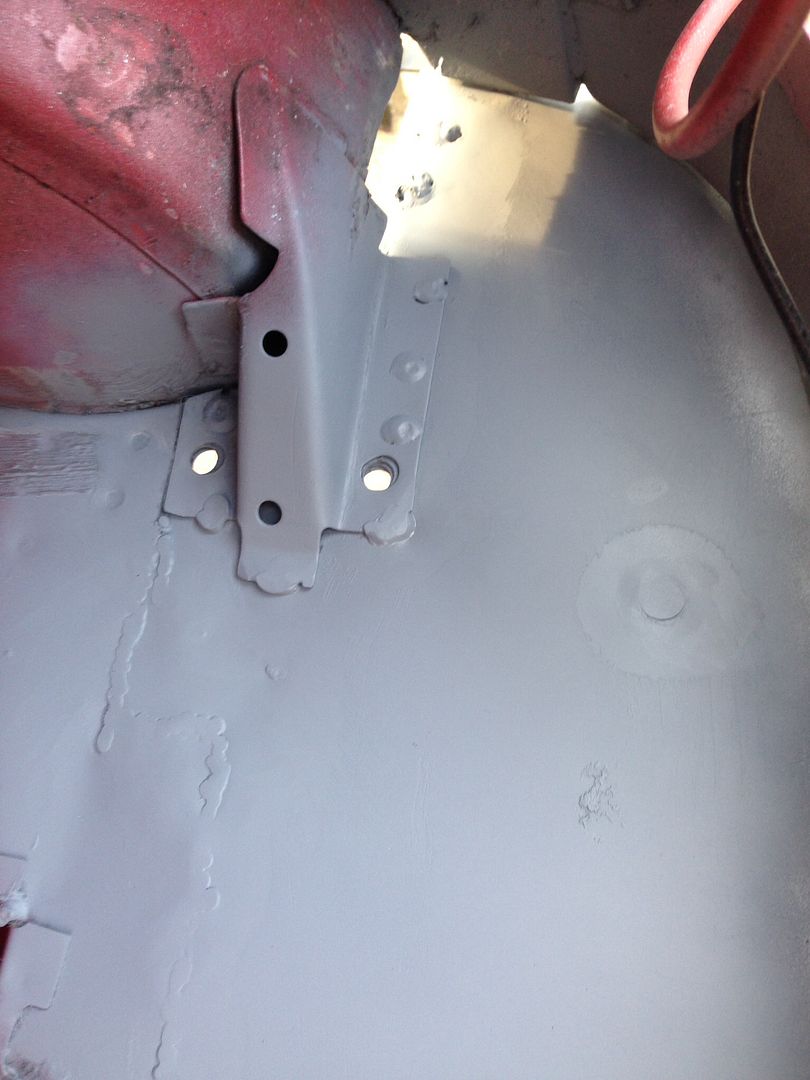
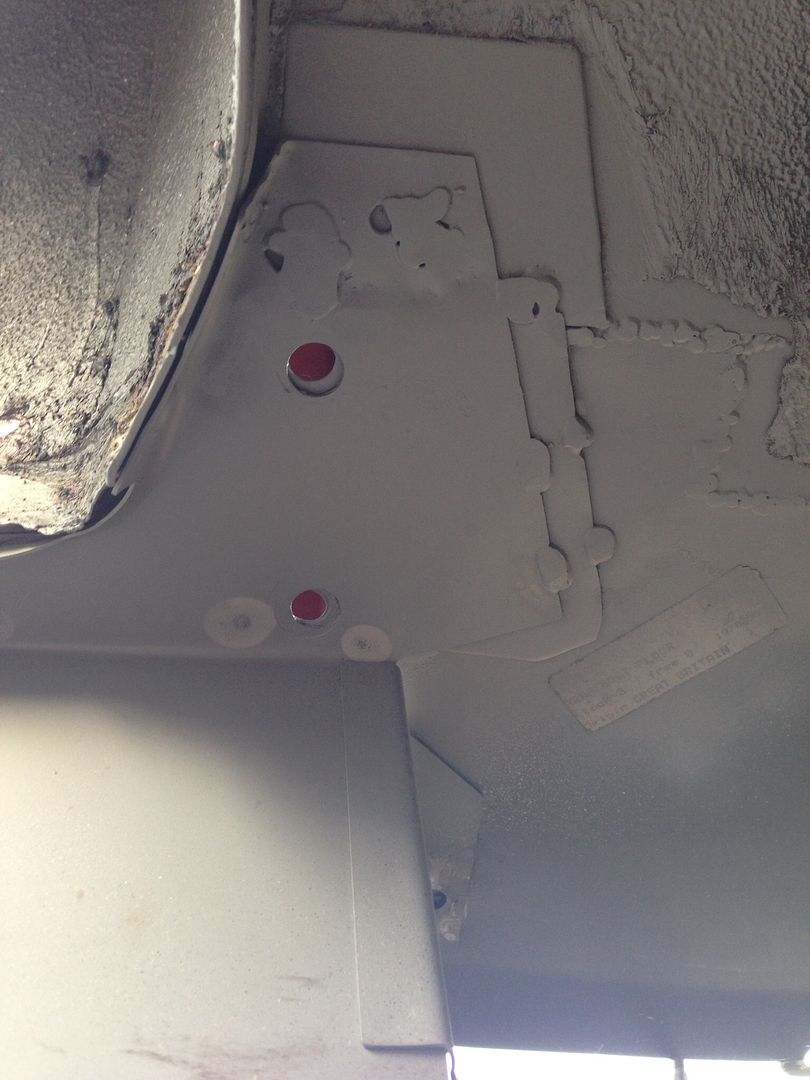
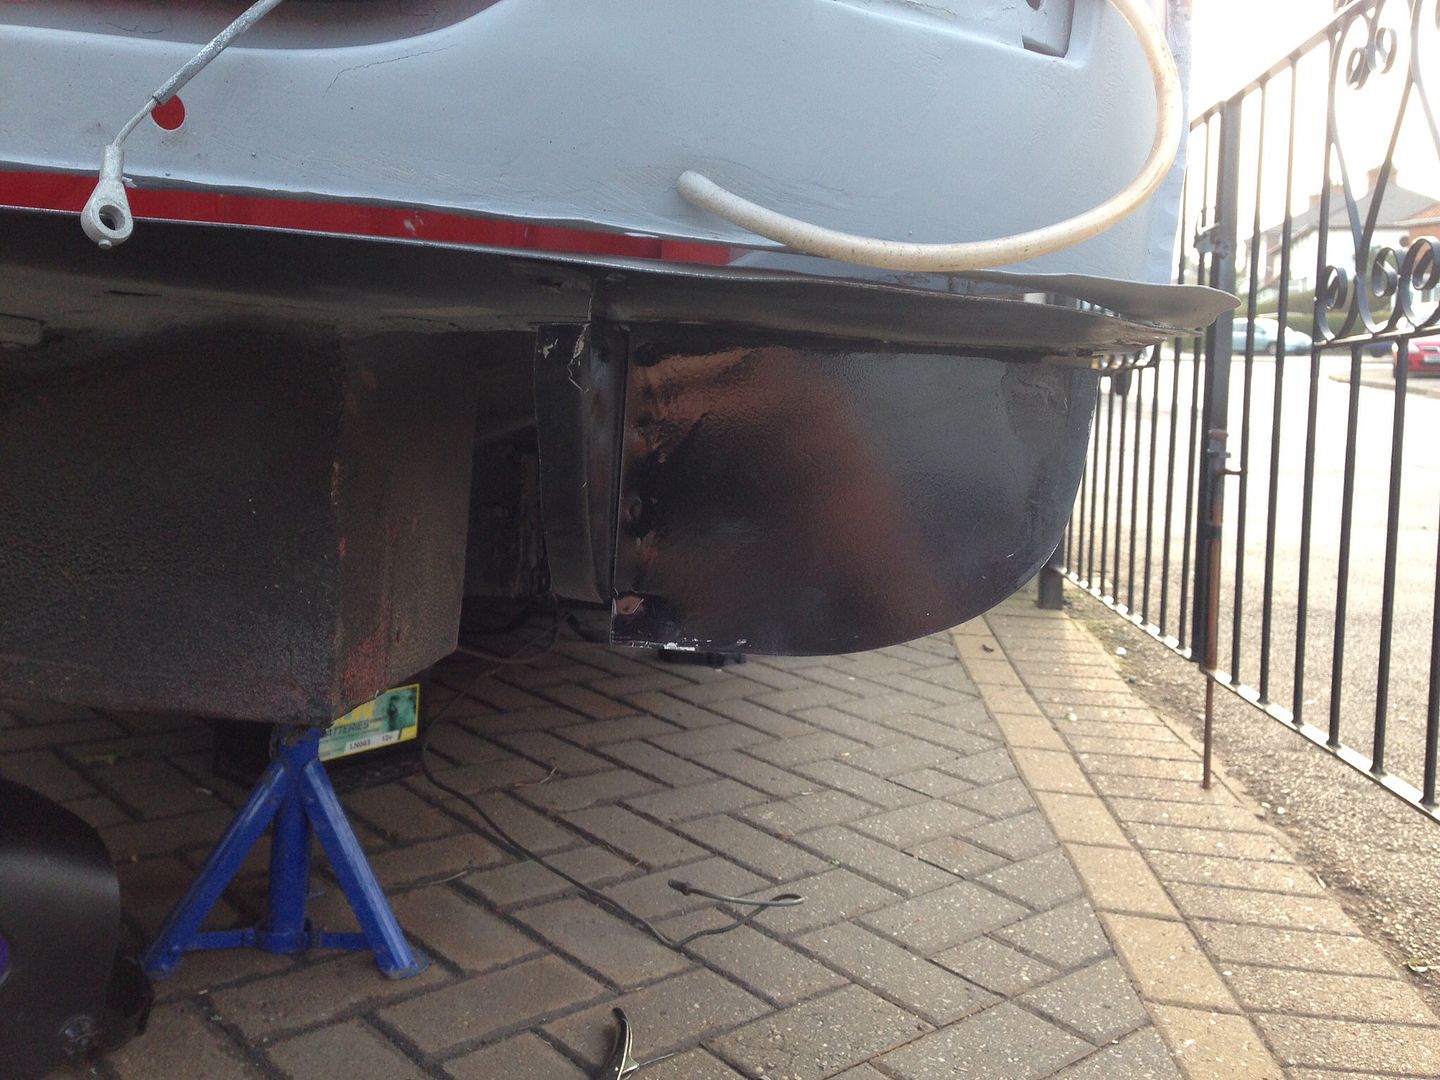
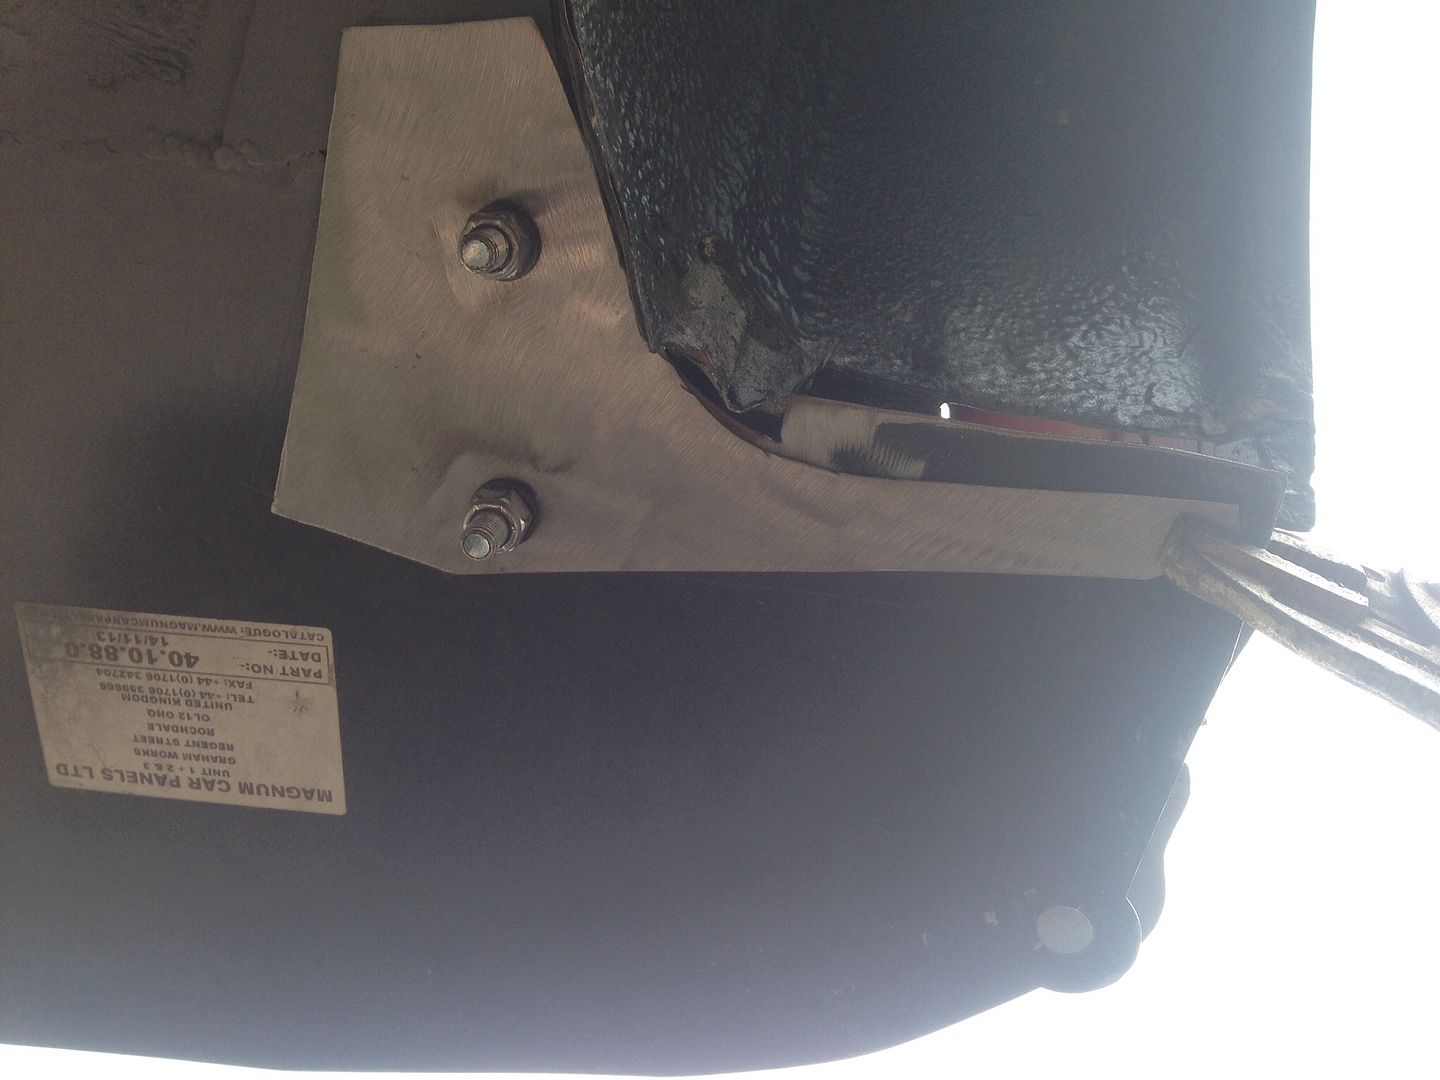
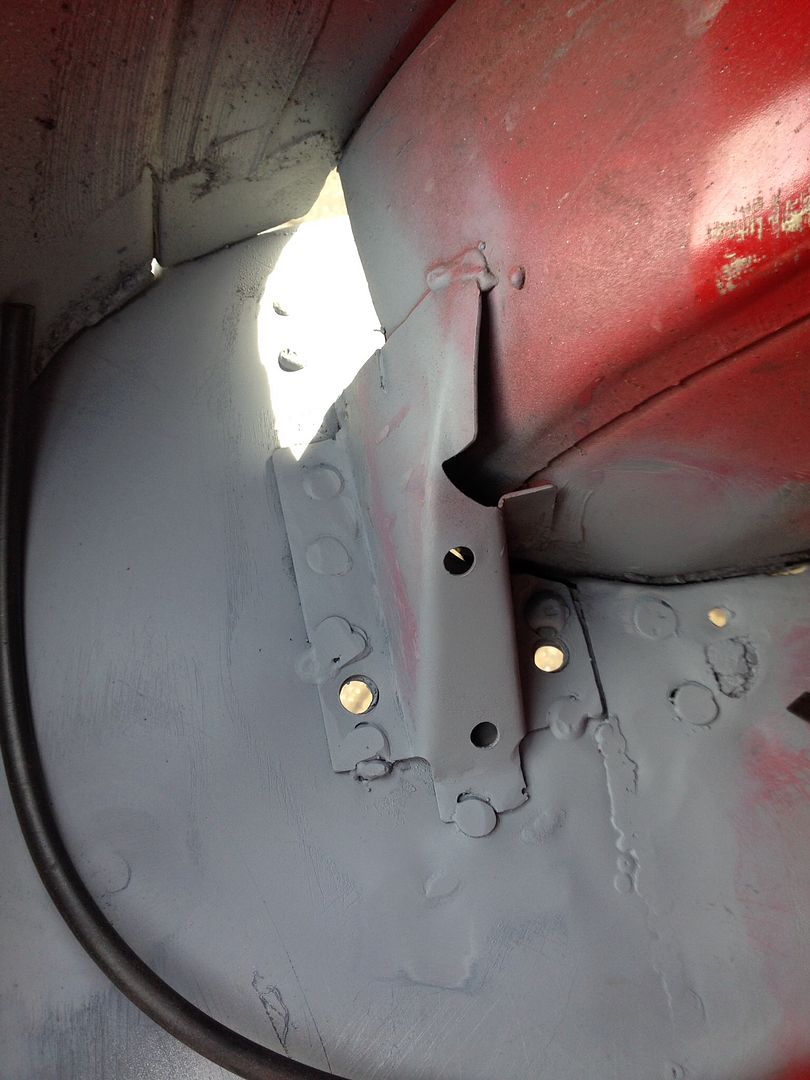
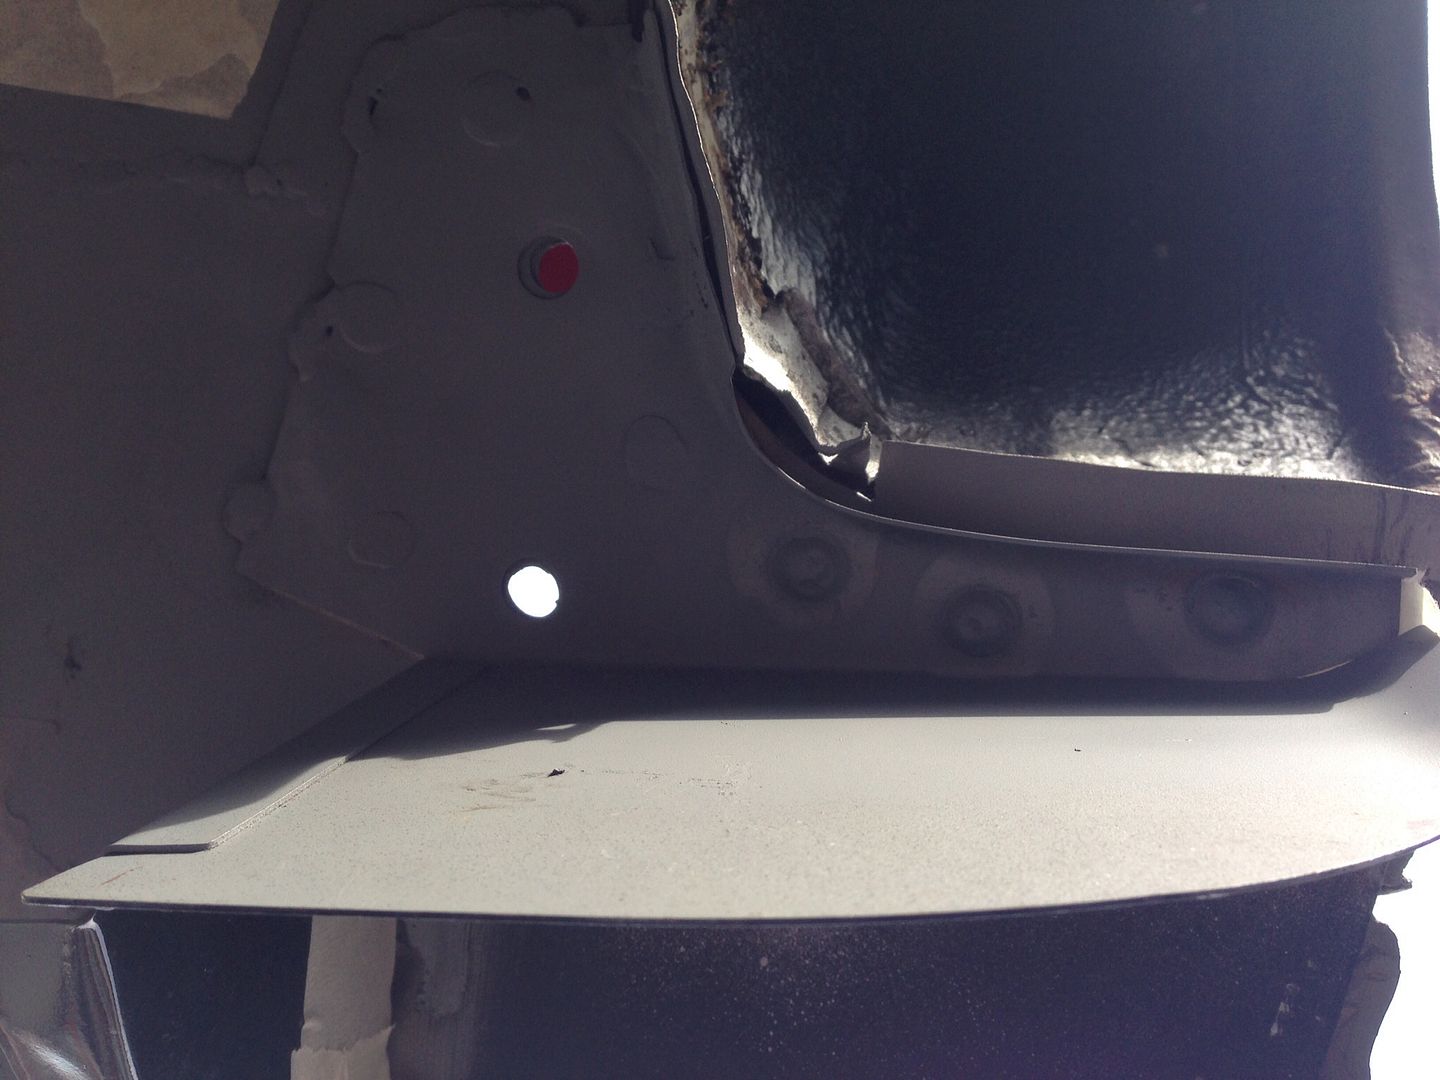
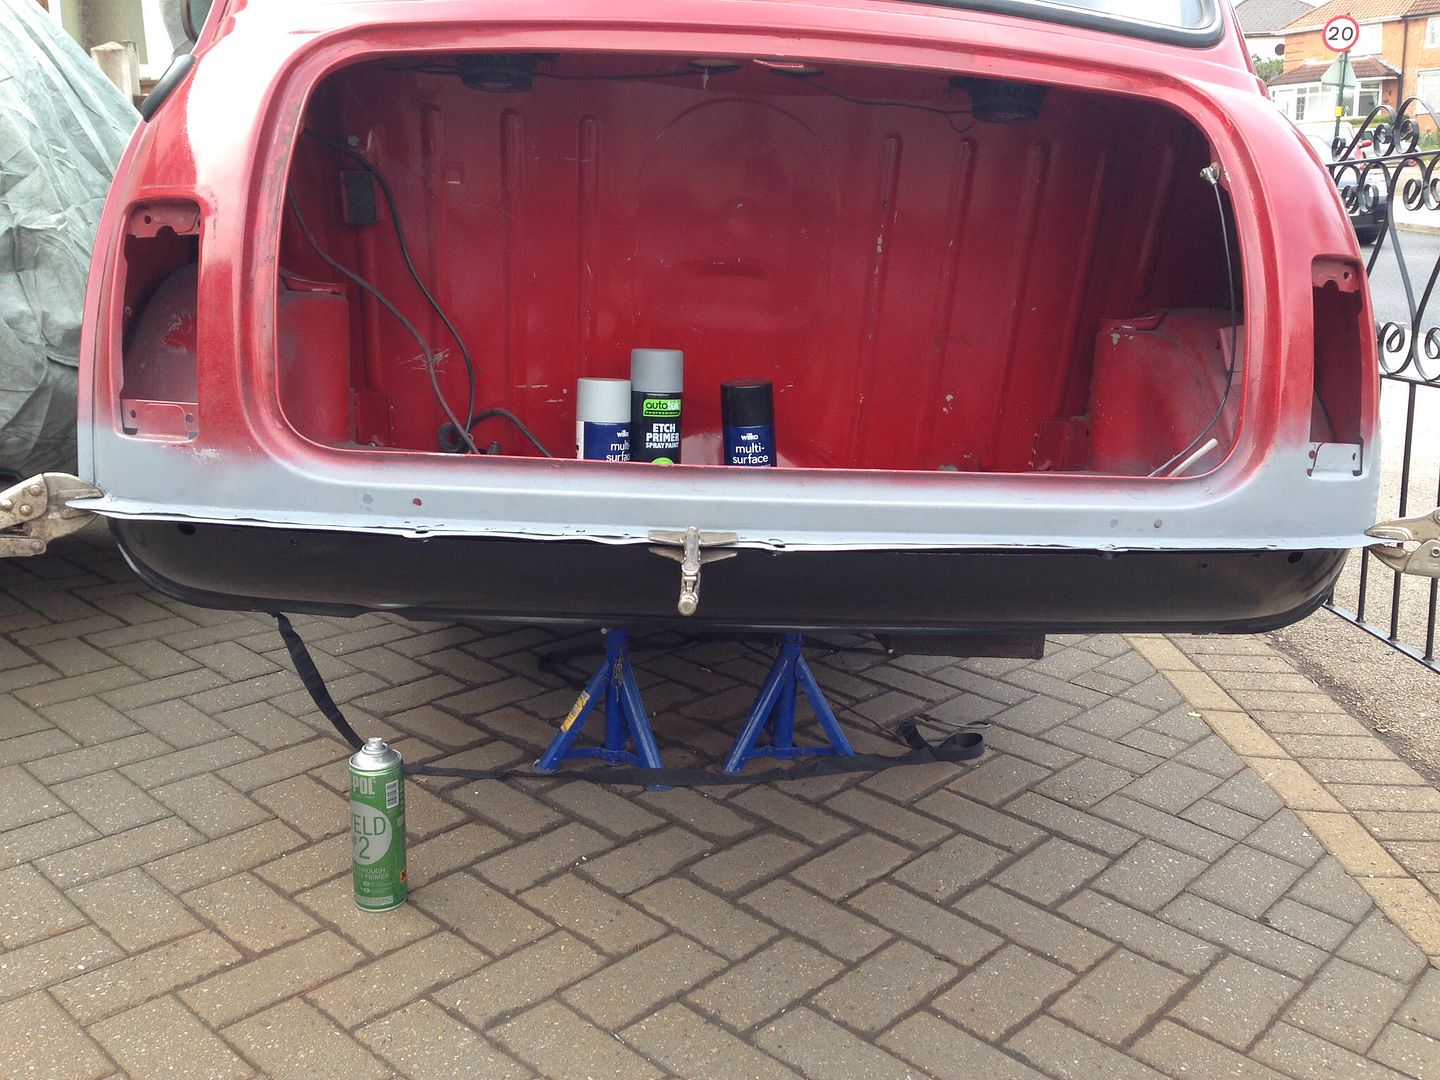
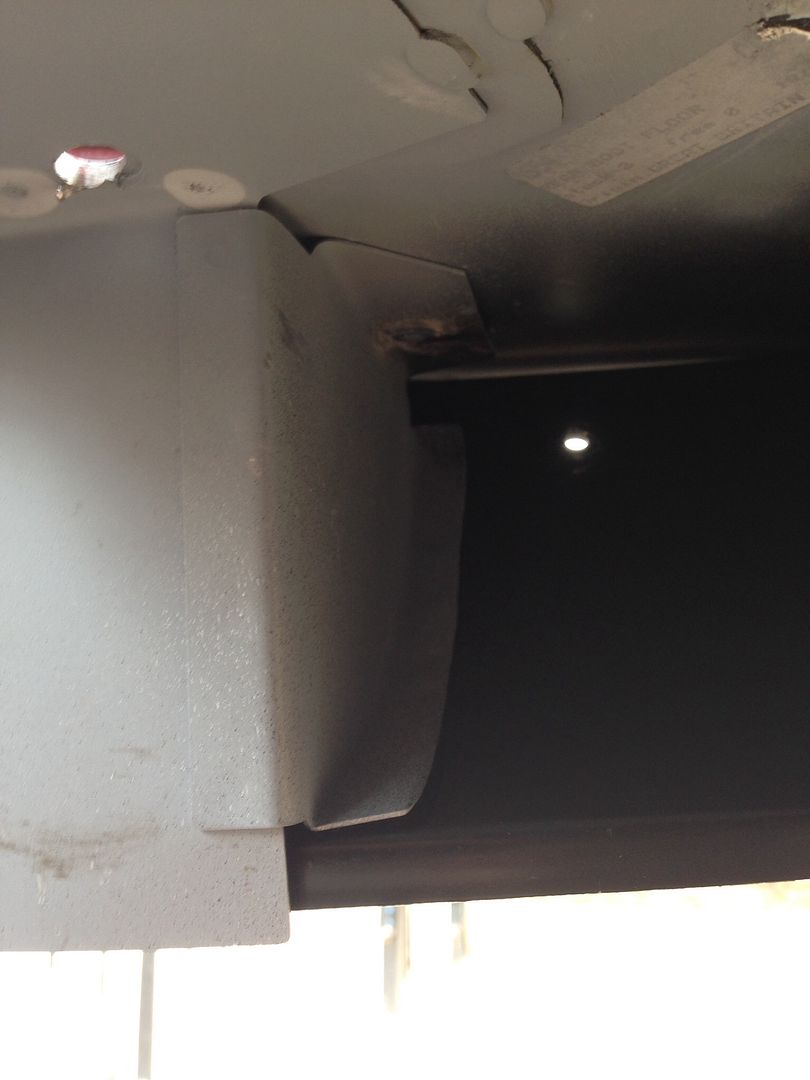
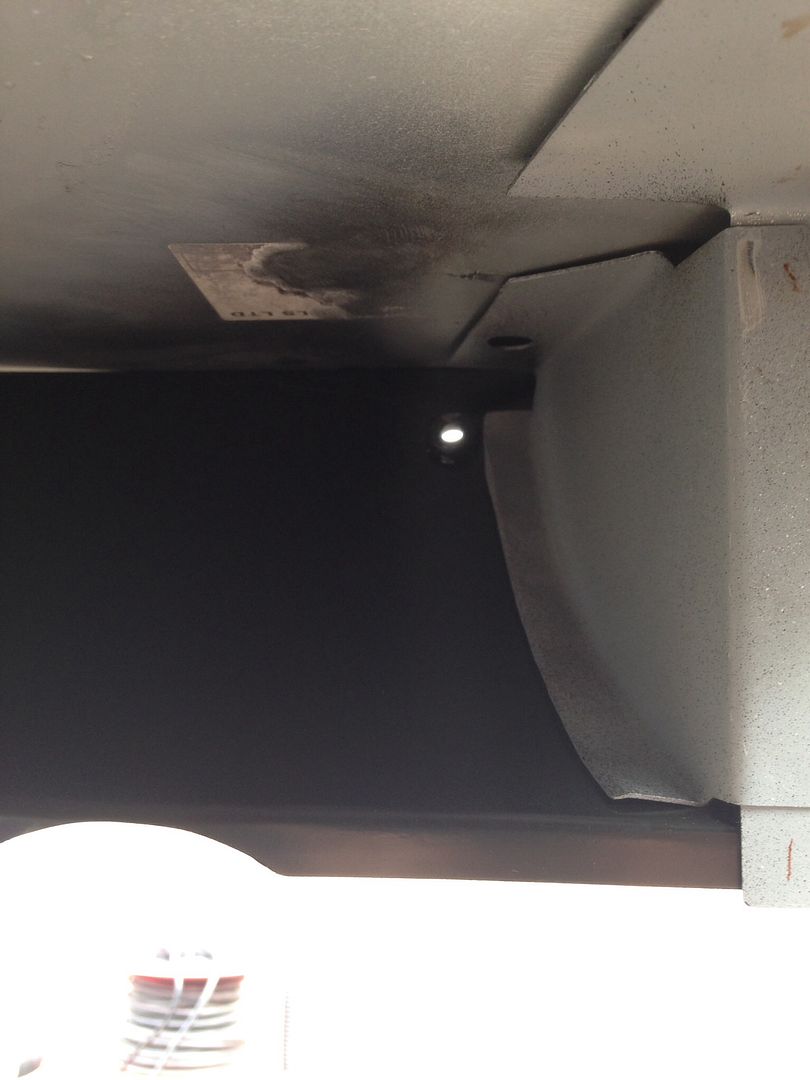
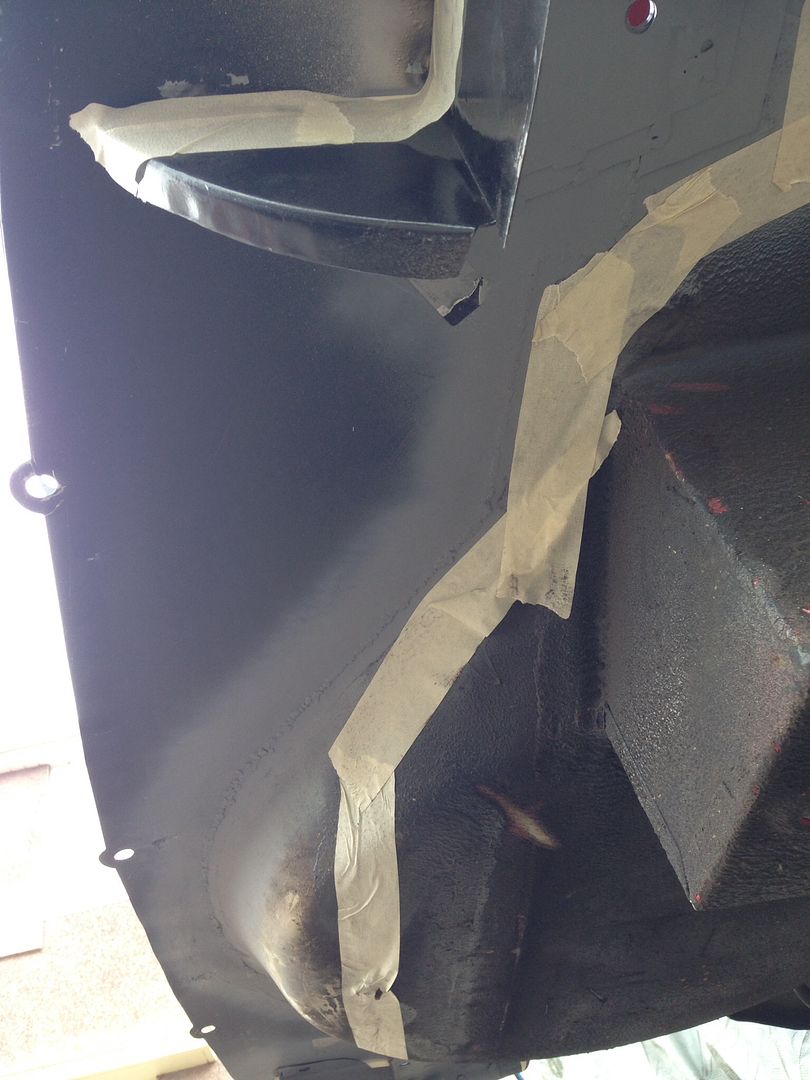
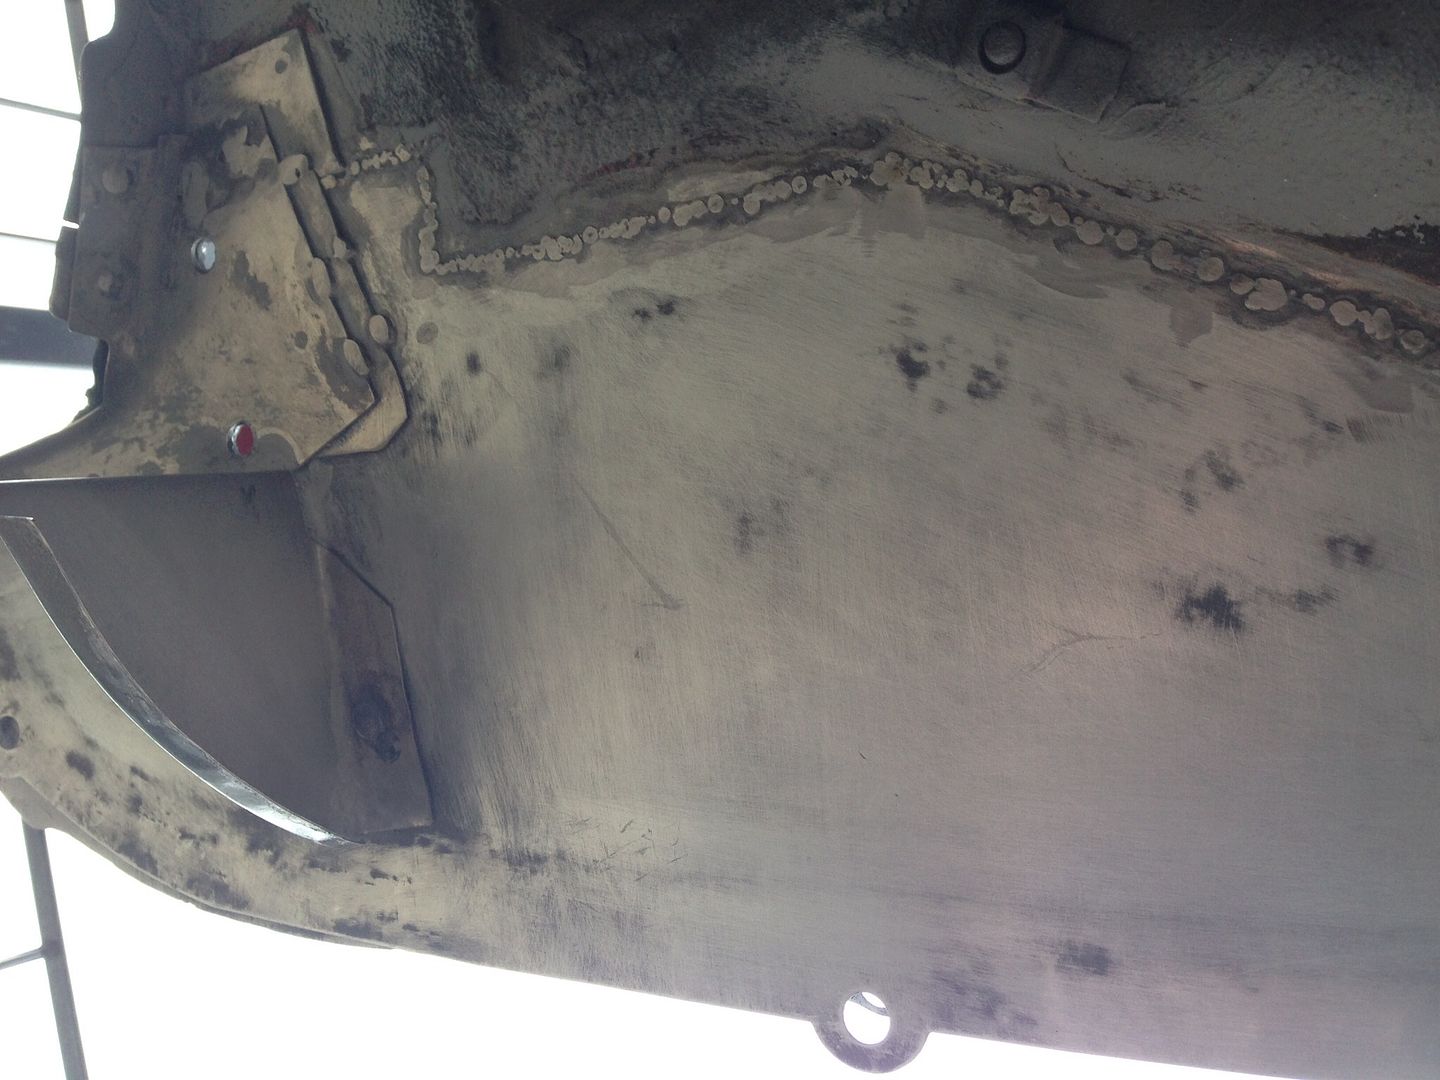
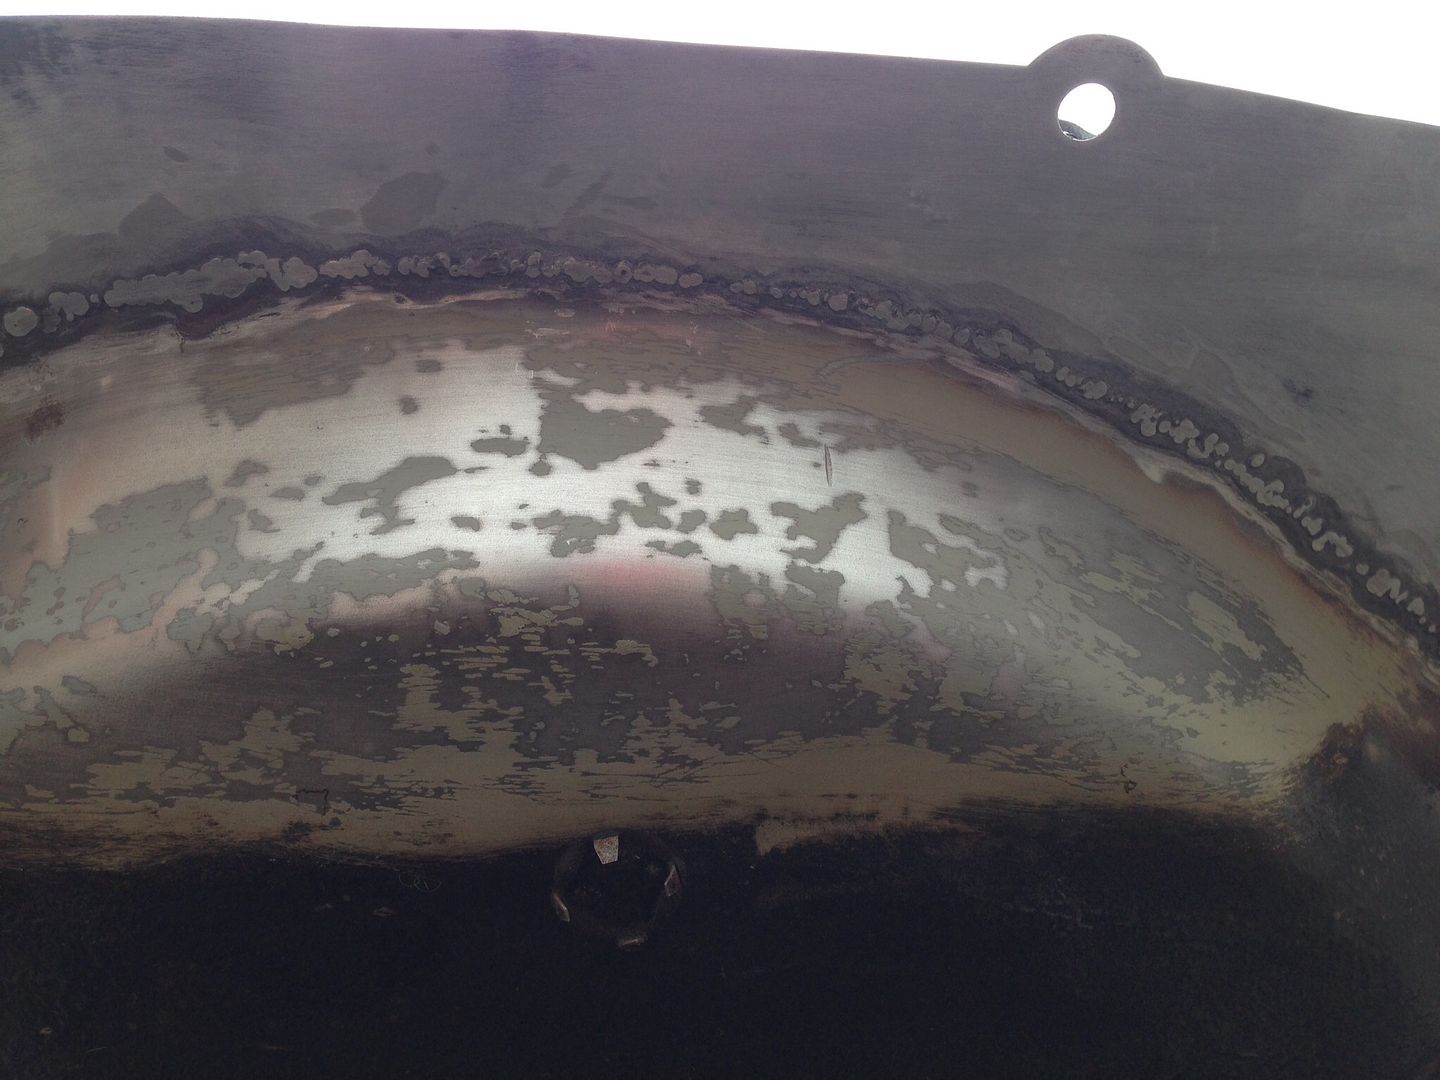
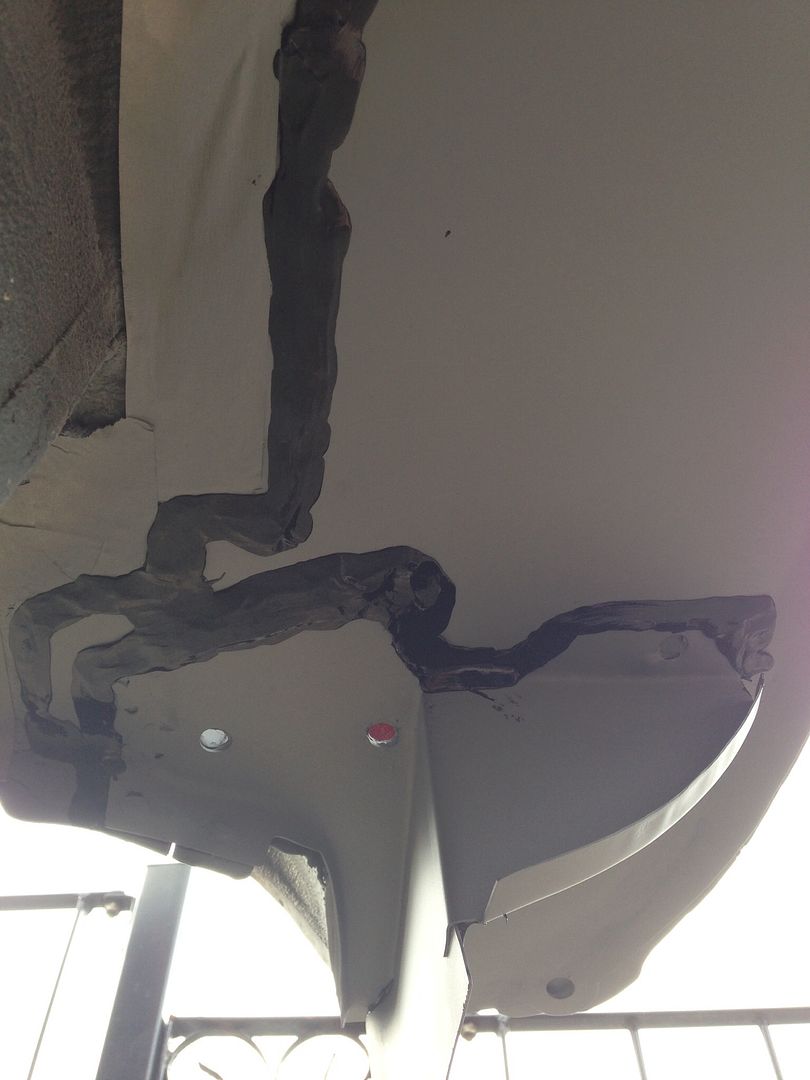
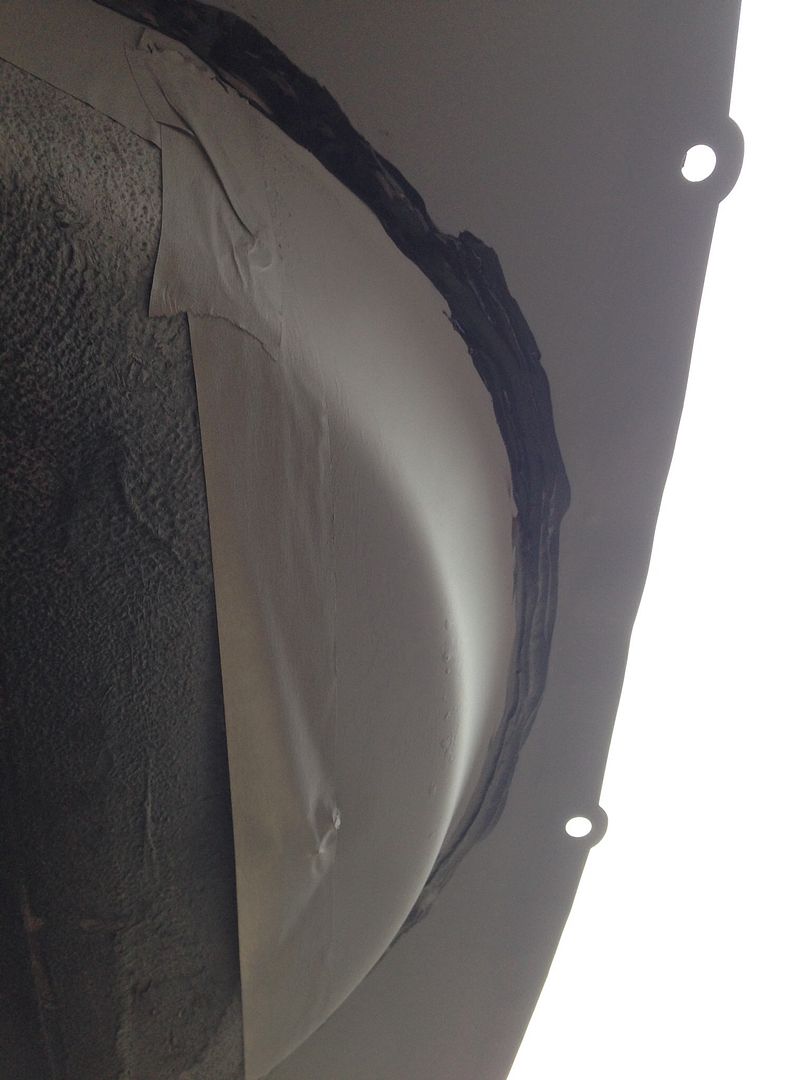
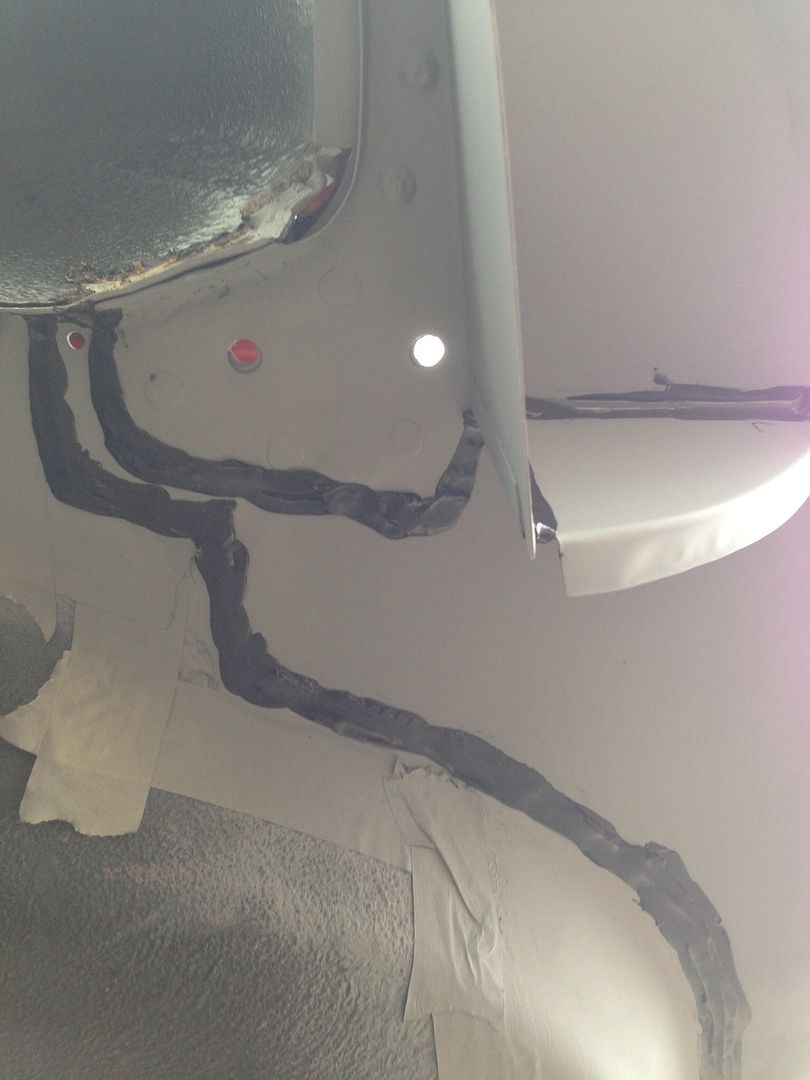
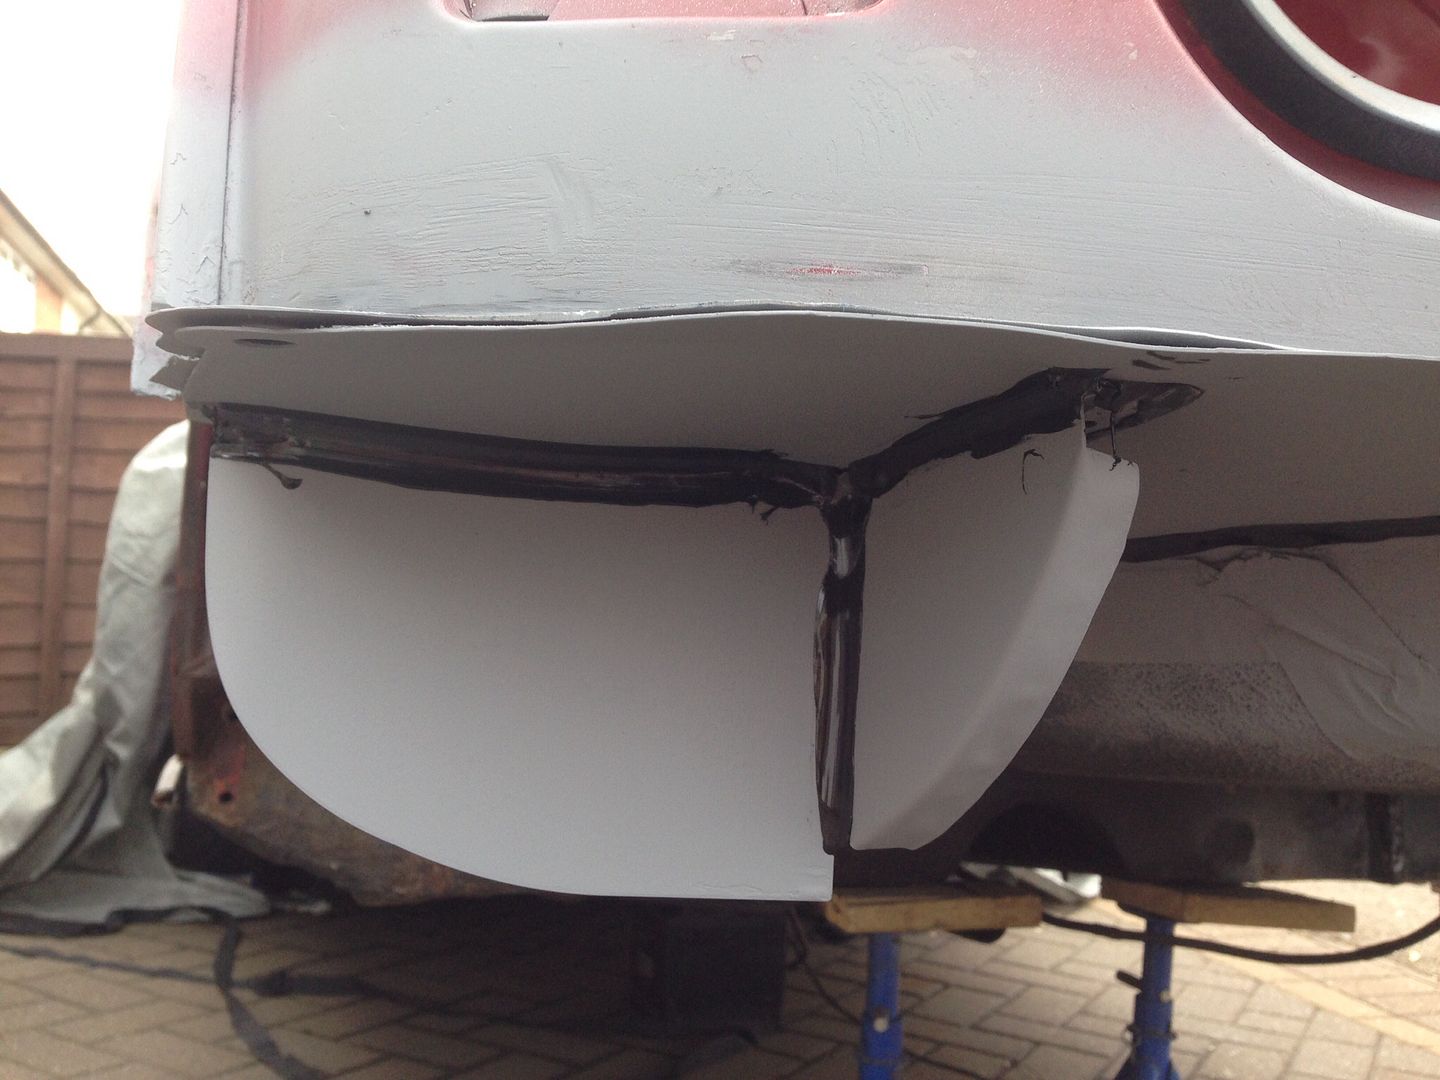
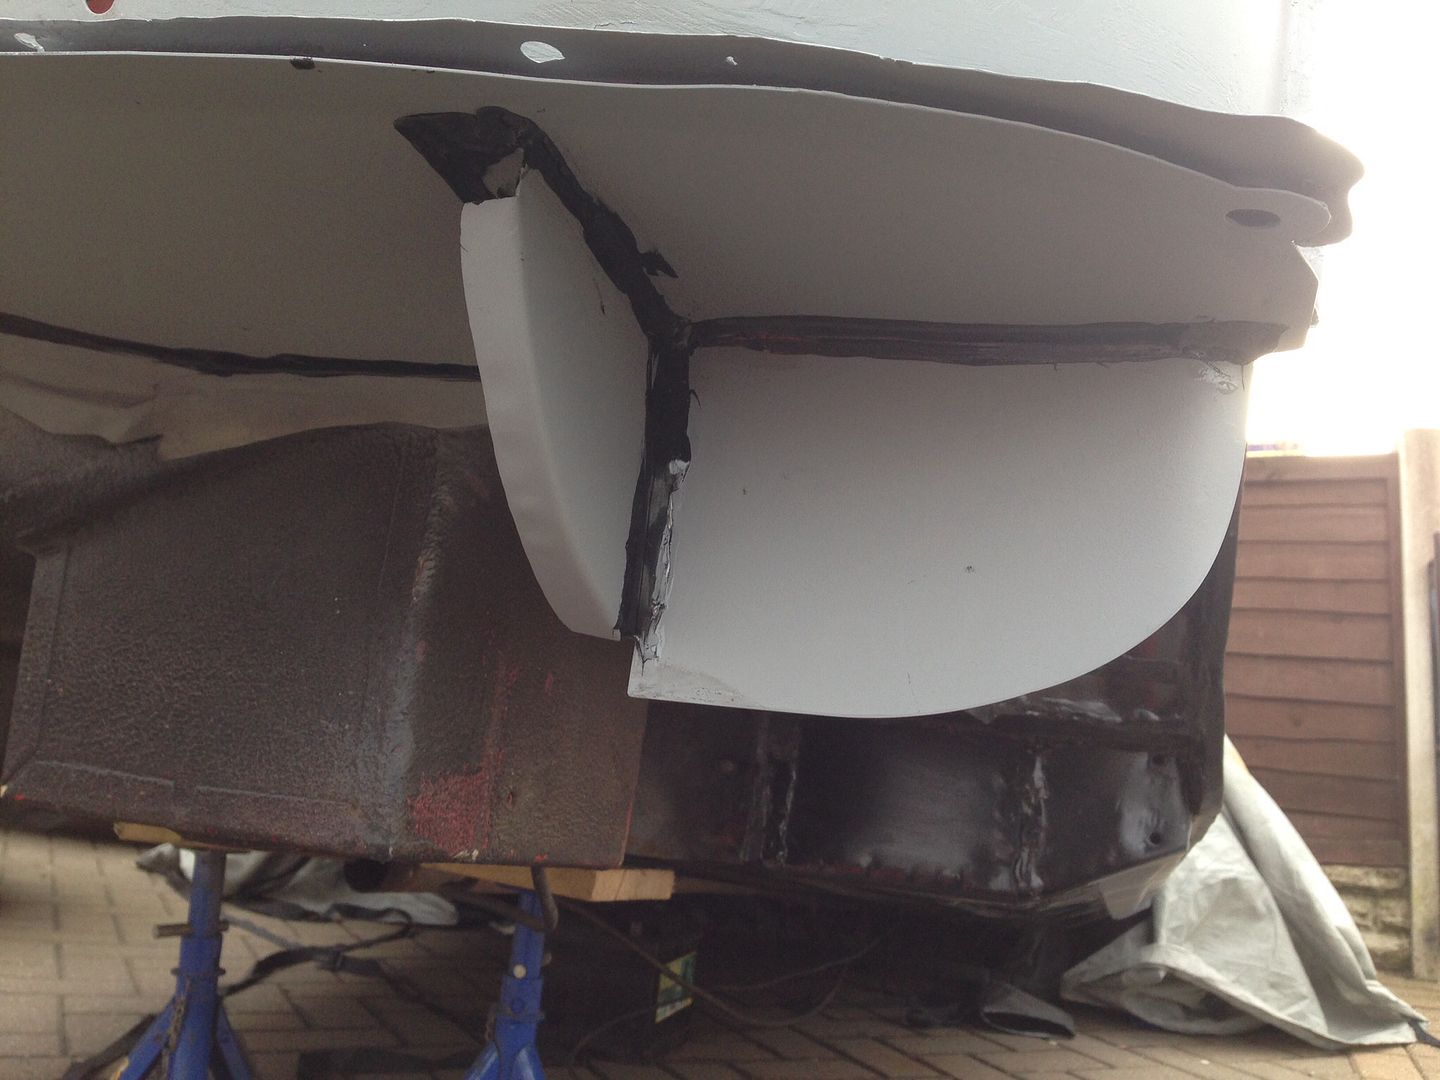
I always paint everything first if I'm going to be plug welding. I use a zinc based primer for flanges and then apply top coat, then when the two pieces are clamped together I scratch away the paint where Ill be welding the plug if that makes sense. If seam / pulse welding I don't use any paint until after. I painted the inside of the sills as I won't be able to get in there to do so after there welded on, you could just use some form of cavity wax instead but I opted to use both paint and wax as I want this car to last ! As for catching fire, I've never really had that happen to me, I usually just get a small amount of bubbling in the paint around the weld which I easily sand back down and re-paint after. I hope I've been some form of help to you :-)

Jay

Edited by big-jay, 27 June 2014 - 10:56 AM.


#77 Minimad100

Minimad100

    Speeding Along Now

  • Members
  • PipPipPipPipPip
  • 416 posts
  • Location: Norwich

Posted 12 March 2014 - 11:08 AM

Just read it all the way through!! You're making good progress!! I'm looking foreword to see the finished car!! Keep it up!!!

#78 Minimoke8394

Minimoke8394

    Mini Mad

  • Members
  • PipPipPipPip
  • 223 posts

Posted 12 March 2014 - 01:29 PM

Making good use of the workout bench there mate ;) Awesome work as per usual. Have you got a date in mind for completion or are you just taking it as it comes? 


#79 big-jay

big-jay

    Super Mini Mad

  • Members
  • PipPipPipPipPipPip
  • 518 posts
  • Location: Birmingham
  • Local Club: British Mini Club

Posted 12 March 2014 - 04:30 PM

Just read it all the way through!! You're making good progress!! I'm looking foreword to see the finished car!! Keep it up!!!


Minimad100 - Thanks, So am I !

Making good use of the workout bench there mate ;) Awesome work as per usual. Have you got a date in mind for completion or are you just taking it as it comes?


Minimoke8394 - Workout benches work very well as a parts holder haha, and I would like to try and get it done for Himley Hall but we will have to wait and see !

#80 big-jay

big-jay

    Super Mini Mad

  • Members
  • PipPipPipPipPipPip
  • 518 posts
  • Location: Birmingham
  • Local Club: British Mini Club

Posted 16 March 2014 - 09:02 PM

Update,

I've started chopping out the rot in the rear, there is more than I was hoping, but it's not too major.

The problem area -

6335e5a3183c0e3b2a3f25efcb7fc37f_zpse0f4

It wasn't too bad in the other corner but I've chopped it out for peace of mind.

Chopped out the rot -

e2fcd3d9b37fada3e944cc198f921c00_zpsa7ae

780ce2093893febdb026be80b5148746_zps9885

I wasn't planning on removing the boot floor lip flange but the other guy who fitted the valence cut it too short so it wasn't actually attached to anything.

Then I had to go about removing the valence closing panels, what a NIGHTMARE ! There's like 20 spot welds that hold it on to the subframe strengthener, so lying on your back on the floor trying to drill them all out was....interesting to say the least :D

Some pictures -

8ab18ea7f99255f5a17960295c2fb800_zps6852

70e529322a0d49d65aebe186a806ff9f_zps5d2d

I may actually remove these strengthening plates and replace them with fresh metal but will have to wait and see what sort of size the boot floor repair panel is. I also removed the other closing panel but didn't take any pictures of this.

I also purchased some of this to get rid of some of the surface rust -

4aa459a08dd78e4c04012d97959be9ff_zpsdf40

Now I did mention a while back that I would have a big purchase arriving at some point this month, and I have indeed.

Here's some pictures -

9e3126526adf6c07719548519b76ca97_zps2179

a7124bba816b9754cc5b817f8c47a70c_zpsde92

7c4df6308726dd1110ebf251a220eede_zps2884

0015de29e92e028215156804a14abc3d_zps7c5a

c1c7481d481bf333dabb8ab19af07313_zps2f77

914c4c8ee6314b30436e2c3653980294_zps5617

I sent my whole interior of to be re-trimmed by a guy on here. His company is called JCS Custom Trims and his work is top notch and his prices are more than reasonable !

I had them trimmed in black vinyl and black suede with red stitching and red piping, same with the door covers. I'm very happy with them and the pictures do not do them justice !

Couldn't resist trying them in the Mini -

75cc467aa52fd1af98c6a6c44f4fc3aa_zps2d78

d1b4cf1e089077aeac171253ee1139a5_zpsd011

It still looks like a Mini from this side :D -

8b9582d89c71043e7342f9fdab855b96_zpsd655

Well that's all I got done this weekend, not one of my most productive weekends I must admit, but have been quite busy. Anyway more updates next weekend !

#81 big-jay

big-jay

    Super Mini Mad

  • Members
  • PipPipPipPipPipPip
  • 518 posts
  • Location: Birmingham
  • Local Club: British Mini Club

Posted 23 March 2014 - 09:23 PM

Update,

Got some more done on the rear end this weekend.

I brought the magnum boot floor repair panel and cut out the piece I won't be using -

67f5b35b1e5b8bdd87de05a8af7954b8_zpsf0bb

Then I drilled out the spot welds from the arch brackets as I want to leave these in place to act as a datum point for re-drilling the subframe mounting holes -

9b0cb46ec40ba0c3367201cb082ec60e_zps4cda

af98fe1911fb3cc680fe1f33dcbae437_zpsd1d5

Then I removed the rest of the rotten floor -

59b4c1c3dc06c32c1eca32fb07d42a54_zps11d2

c628ac0c2eca1bb990e112004887445a_zps7d60

Then it was time to get the Deox Gel out -

488b67e23718b5a5eab16ad0862586c0_zpsdd80

352558ac864981fc6abd48f2a6c15f02_zpsf3c4

433e41e97c56d7fe6055ad127adee615_zpse720

So I give that a couple of hours to do its thing, and then agitated it with a wire brush and washed it off. I'm quite pleased with the results as this was well rusty.

816bb7f64d1a63aa5b4f278c9ae38827_zps021e

450c82029c6f6969f5bf591042e6e16f_zpsd244

There's still a small amount of rust in the pitted areas but I did apply some more gel which I'll get to later. So I decided to make a few pieces to repair the boot flange.

The places that needed repairing -

0e3eba23156761cce3cc2f3e8aba4eac_zps0c23

1262eb3574aae9609d274872da873696_zpsb16a

3bccd019f79ffe1d30bd608449c9d5b4_zpsfbb1

Rusty sections cut out -

21ef5428578da91fab6739f1fb77cb54_zpsbb69

Repair pieces -

1192ef9ebfb9e9842c69d50c97384c55_zpsc16b

a72cbfa7f13ae7058c05a45c2d4d5bdf_zps6b4c

Welded in and tidied up a bit, still needs more work which I'll finish next weekend. It's covered in Deox Gel in case anyone was wondering, forgot to take pictures before I applied this -

6035b57a9f397fd2da651d59060deda9_zpsdd0f

9f19e2ea0e62ec2f045c12a50061ab44_zpsc0d1

cd263d09cf7ce5549cd0433cd35a580e_zps5a33

I've left it to soak in the gel overnight to remove the last bits of rust -

63cf32cce6b0cb22f3f5e572514b2e9f_zpsafc6

That's all I got done this weekend as the weather has been terrible, suns shining and then massive hail storms come from no where, British weather !!!

Edited by big-jay, 27 June 2014 - 11:02 AM.


#82 big-jay

big-jay

    Super Mini Mad

  • Members
  • PipPipPipPipPipPip
  • 518 posts
  • Location: Birmingham
  • Local Club: British Mini Club

Posted 28 March 2014 - 06:06 PM

Parts update,

I've purchased two valance closing panels and a Heritage valance from M-Machine, they arrived today and I'm very happy with them.

Some pictures -

5b6e73e4f9acf6d97cf8aa09bea443d8_zpsf18d

d27037ba57a2373a1657d3779c70c6cc_zps2a96

42ca480597e0423e6ce12bd19c5d5d54_zps04b0

70696673a8bc1417e50265529fc16b9a_zps76a1

I wasn't to sure if the closing panels came with the strengthening panels already attached like the Heritage ones do but unfortunately they don't so I'll have to fab some up myself out of thicker gauge steel.

I'll be cracking on with this tomorrow, hopefully I'll get all the welding on the back end finished this weekend as I want to make a start on the passenger side.

#83 big-jay

big-jay

    Super Mini Mad

  • Members
  • PipPipPipPipPipPip
  • 518 posts
  • Location: Birmingham
  • Local Club: British Mini Club

Posted 29 March 2014 - 06:38 PM

Update,

I've got quite a bit done today, the one corners now finished and there's not a lot left to do on the other. Here's some pictures of today's progress.

I started off by getting the closing plates in primer -

d637cc31dc582421ddf0112aa316ef95_zps8063

Then some black paint was applied -

a1667a89fa8254587122f499c7abc48d_zpse3de

Next I trimmed the boot repair piece, applied some zinc primer and fitted it into place with some inter grips -

4ed6156f5d8fbbcbb89f62d85a36b6d2_zpsf418

fd93bd3f7a9de2279e27eaf3641d94d9_zps9fa7

4f395134f95ea16088a5b59d4dd8b29c_zpsf26d

Welded in and tidied up a bit, this Magnum panel is a terrible fit by the way, i know it an aftermarket panel and all but it's shocking how they can get away with it, will be the last Magnum panel I buy if I can help it -

4608e8e77f4b1055812afe01197e1cdd_zps49a9

dcd4498a401df8f807db4fd62f954cac_zpsc0bd

Next I drilled the holes for the subframe bolts into the boot floor and made some stiffener plate -

8df9722e55b8058eed865c6034fabb1a_zpsa48c

cfe410d31a91a9a5b0fca48652d1836f_zpsdba9

You may notice it's short at the top but that's because some of the original strengthening plate is still in place and I wanted to keep it as there's nothing wrong with it.

Next I welded it all together -

0cbeb56155cd5c4a3c7e54ebc62a6249_zpse9e9

5bf4cb6f5f1b115ddc57cdf3cd392672_zpsce3f

a20126a5dfb7af9a700972dbff5ce4c5_zps1320

I've still got a few pin holes to fill up and I'm not welding the hinge panel to the boot floor until the very end as I need to put the boot lid back on to check the fit and make sure everything's where i need it to be.

All in all not a bad days progress, will hopefully be getting this finished off tomorrow.

Edited by big-jay, 27 June 2014 - 11:05 AM.


#84 alex-95

alex-95

    I am THE CLAMP MAKER

  • TMF+ Member
  • PipPipPipPipPipPipPipPipPipPip
  • 6,017 posts
  • Location: l

Posted 29 March 2014 - 08:52 PM

excellent work, the seats look great.


#85 big-jay

big-jay

    Super Mini Mad

  • Members
  • PipPipPipPipPipPip
  • 518 posts
  • Location: Birmingham
  • Local Club: British Mini Club

Posted 30 March 2014 - 08:36 PM

excellent work, the seats look great.


Thanks a lot !

Edited by big-jay, 27 June 2014 - 11:06 AM.


#86 big-jay

big-jay

    Super Mini Mad

  • Members
  • PipPipPipPipPipPip
  • 518 posts
  • Location: Birmingham
  • Local Club: British Mini Club

Posted 30 March 2014 - 08:50 PM

Update,

I've got the other closing panel fitted but didn't get chance to put the valance on as I had to paint and seal everything. Anyway here's some pictures of today's progress,

I made another strengthening piece and test fitted it to the car -

9b92bf57d55493a74de18acf237acf0b_zps4271

I then drilled the holes for plug welding and welded the closing panel on, it's not particularly pretty but it's strong -

9b6c79c75a48edae1fd6c21ceabad5ab_zpse169

14ddb440d5068a66f4607b3f73ca74be_zpsb5de

Mocked the valance up and it fits beautifully -

b2f2d77a899f8a8aa77a03cd73eab797_zpsf603

5301d327105e47bdee4ce74001d707af_zpsa087

659f21fe2be280fc0716a8a588ddd744_zps2a55

Then I got the Nitromors out and stripped the paint from the whole area that's been repaired, never used this before but I'm quite impressed -

036f7228e669826e3ac31e2185dd57a3_zps4f09

54e55a91bcb627face2b22874cdea4b3_zpsbe19

b4036c6df19f0793b037bc63d6573d90_zpsc5ef

0b1bed88d358b529afddb23cf57f5573_zps0506

Then Etch Primed and Tiger Sealed -

2d83514477fe5afba673b1930e496692_zpsba13

2f879729ba28aeeb28636edfb04ca523_zps59b8

494076b7d20e24b6cdd4270b19983b9d_zps9b99

d75a0e44215a99023d04704c008a5139_zps28c3

b2307949fd516bbdb1c4022292c0fbaf_zpse127

That's it for today but may go outside and top coat it before work tomorrow. I will be stripping the rest of the underseal of the boot floor at some point as I want to use Dynax UB underneath the whole car.

I know my works nothing amazing but at least I'm having a go, I don't think I'm doing to badly for an amateur :-)

Edited by big-jay, 30 March 2014 - 08:57 PM.


#87 Rocket.

Rocket.

    One Carb Or Two?

  • Members
  • PipPipPipPipPipPipPip
  • 1,441 posts
  • Location: UK

Posted 30 March 2014 - 08:56 PM

Very nice work


#88 Marco1972

Marco1972

    One Carb Or Two?

  • Members
  • PipPipPipPipPipPipPip
  • 822 posts
  • Location: Birmingham

Posted 30 March 2014 - 09:57 PM


looking good son

Much better than it was before you now have metal where there was rust :-)

Keep at it ..

#89 Minimoke8394

Minimoke8394

    Mini Mad

  • Members
  • PipPipPipPip
  • 223 posts

Posted 31 March 2014 - 03:54 PM

Sweet dude. This is going to be one well sorted Mini when you're done. 


#90 Jacks

Jacks

    Mini Mad

  • Noobies
  • PipPipPipPip
  • 102 posts
  • Location: Hull

Posted 02 April 2014 - 08:26 PM

Are those seats real leather and suede?
Or are they vinyl and suede?


Also tagged with one or more of these keywords: roundnose

0 user(s) are reading this topic

0 members, 0 guests, 0 anonymous users