loving it! wish i had put more sound deadening on my roof when i did my car. it would have quietened the bangs as my head hits it down a bumpy road

Project Wombie - 96 Sprite With A Split Identity
Started by
Richie83
, Oct 26 2014 05:36 PM
roundnose
87 replies to this topic
#31

MrElliott
-

- Members
-

- 419 posts
Speeding Along Now
- Location: Surrey
- Local Club: Box Hill Mini Club
Posted 19 December 2014 - 09:37 PM
#32
Richie83
-
- Members
-
- 1,495 posts
One Carb Or Two?
- Location: Somerset
Posted 19 December 2014 - 09:51 PM
The recommended coverage was 50%. I decided on 80% with the silent coat and it produced a dull thud now. Not that I have a head hitting problem at 5 ft 6 😂loving it! wish i had put more sound deadening on my roof when i did my car. it would have quietened the bangs as my head hits it down a bumpy road
#33
Richie83
-
- Members
-
- 1,495 posts
One Carb Or Two?
- Location: Somerset
Posted 05 January 2015 - 08:37 PM
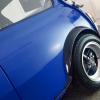
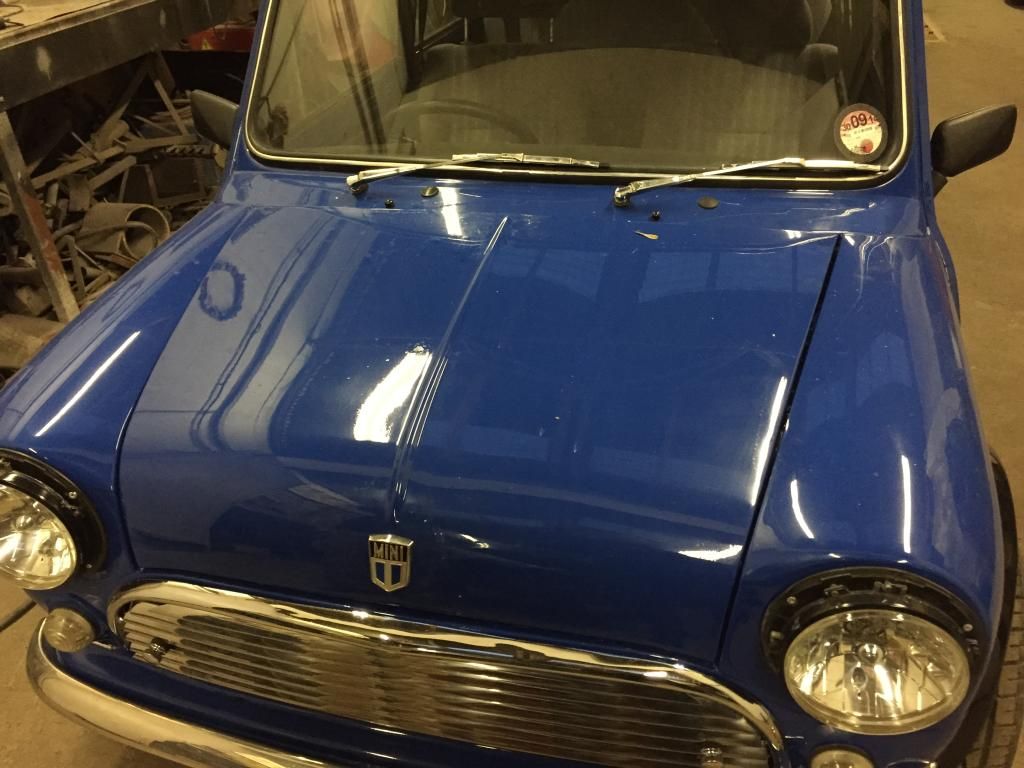
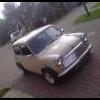
Getting very close now. The new grille is on with buttons for quick access:
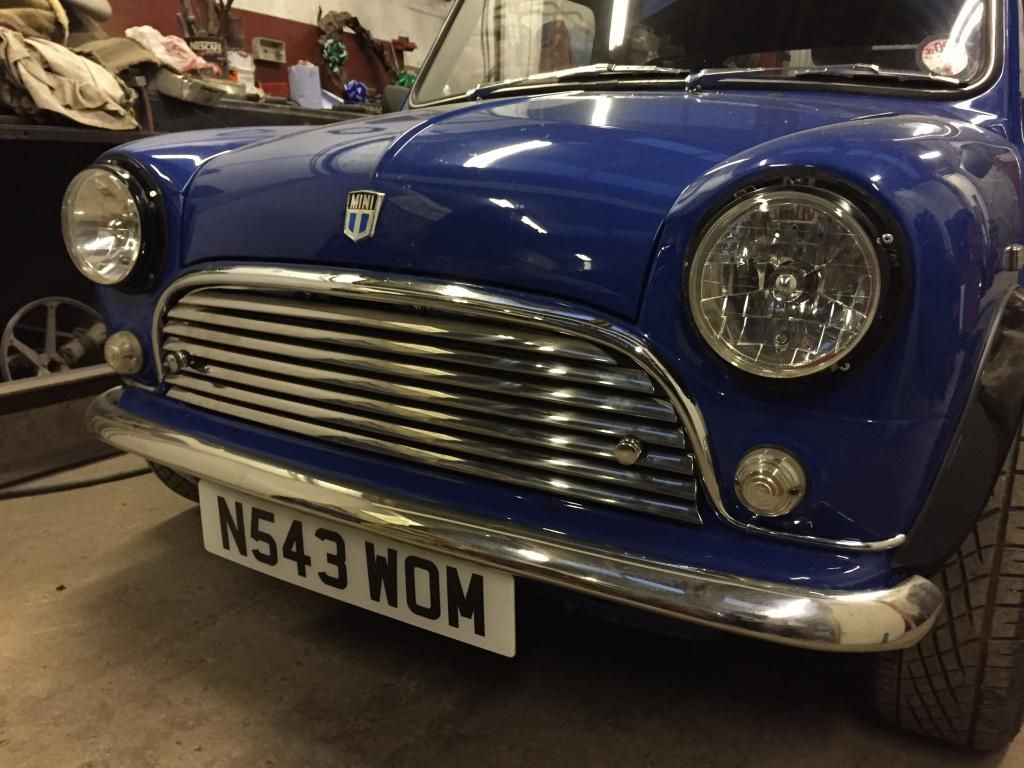
As are the arches, doors, windows etc:
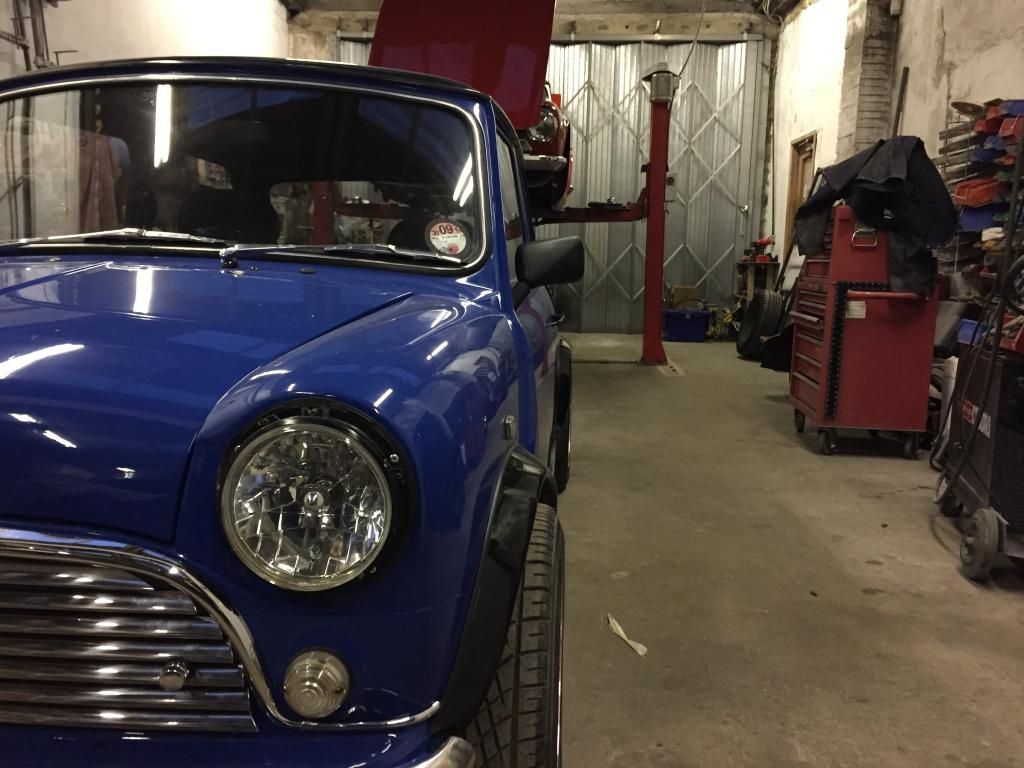
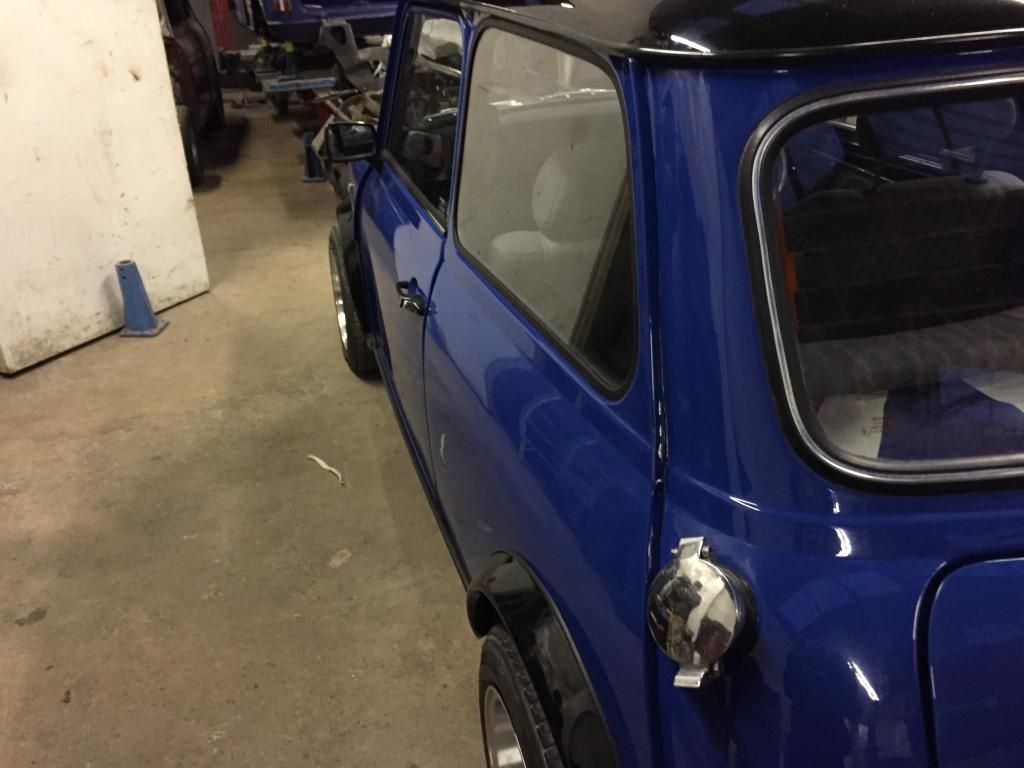
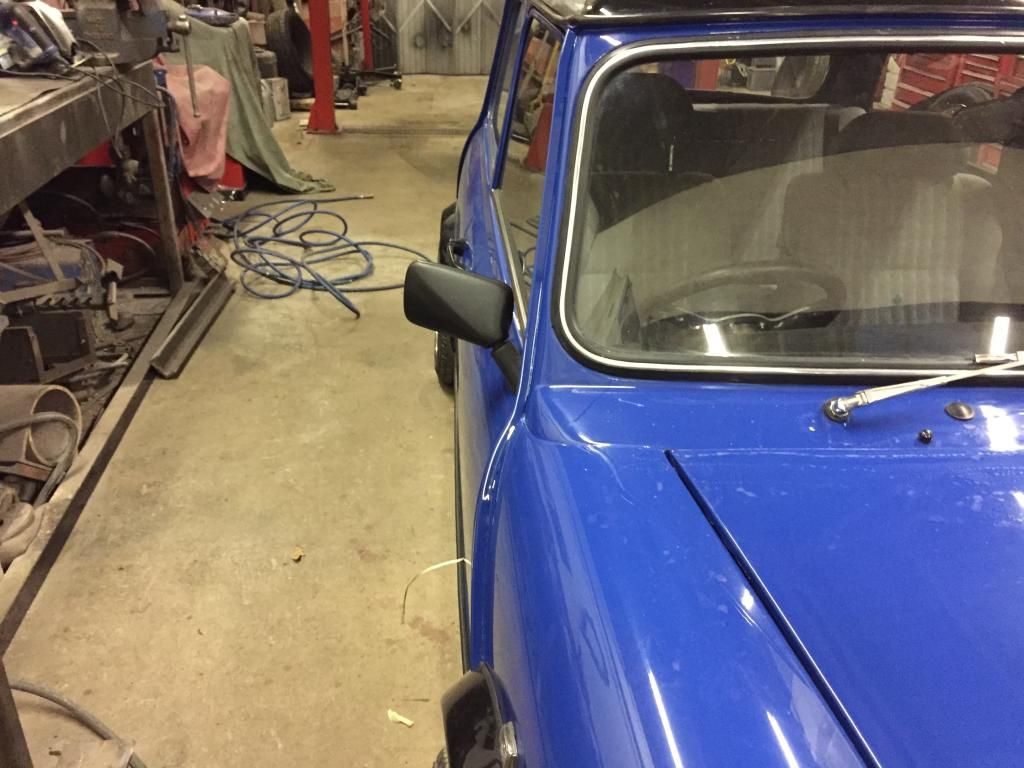
It looks very dusty in these photos. So I'll get more once we get a little closer:
Next:
- apply Bilt Hamber UC underneath
- do the box sills, doors efc with S50
- finish headliner (wrong c pillars were supplied so have to take windows out again)
- install door cards and trim for journey home
You'll note that the bonnet also has an unusual amount of curve on it. This could be because the bonnet isn't orginal, or the MiniVation hinges (or a combo). Will need to look into this further.

As are the arches, doors, windows etc:


It looks very dusty in these photos. So I'll get more once we get a little closer:

Next:
- apply Bilt Hamber UC underneath
- do the box sills, doors efc with S50
- finish headliner (wrong c pillars were supplied so have to take windows out again)
- install door cards and trim for journey home
You'll note that the bonnet also has an unusual amount of curve on it. This could be because the bonnet isn't orginal, or the MiniVation hinges (or a combo). Will need to look into this further.
#34
Midas Mk1
-

- TMF+ Member
-
- 5,837 posts
Crazy About Mini's
- Location: Manchester
- Local Club: S.U.N.M.C
Posted 05 January 2015 - 09:20 PM
Looking Good! Bonnet curve could also be down to the scuttle replacement too
#35
Richie83
-
- Members
-
- 1,495 posts
One Carb Or Two?
- Location: Somerset
Posted 18 January 2015 - 08:48 PM
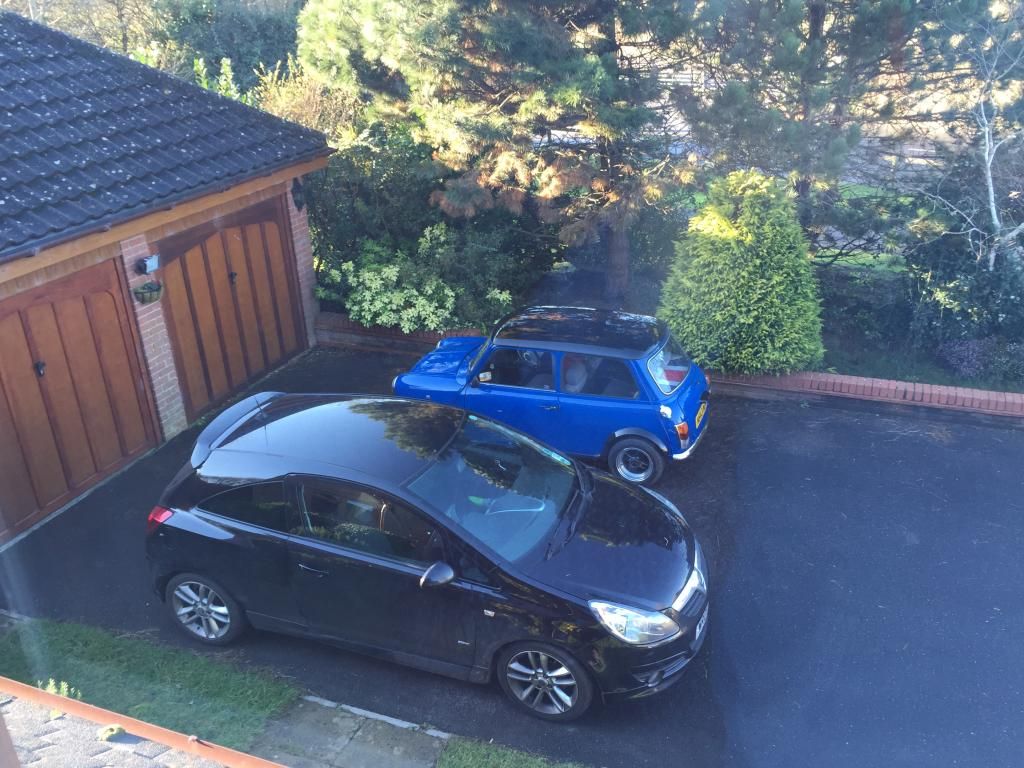
Got the mini back today. Forgot how small it looks in comparison to other cars. The drive home was ace.
Next up:
- seats out
- clean up
- deadening
- closed cell foam
- wiring
- carpets
Etc. More photos to come of the completed bodywork.

Next up:
- seats out
- clean up
- deadening
- closed cell foam
- wiring
- carpets
Etc. More photos to come of the completed bodywork.
#36
Richie83
-
- Members
-
- 1,495 posts
One Carb Or Two?
- Location: Somerset
Posted 20 January 2015 - 10:57 PM
As part of the build we fitted brand new red dot cones and KYB dampers all round, as well as genuine hi-los. Visually this isn't all that exciting, but I can honestly say that the ride is a million times better. It irons out the road now (as much as a mini can) and still handles and holds beautifully. Highly recommended.
#37
Richie83
-
- Members
-
- 1,495 posts
One Carb Or Two?
- Location: Somerset
Posted 24 January 2015 - 08:10 PM
Made a good start on the interior today. Tested the central locking, took off the lower dash rail and removed the centre switches (a pig of a job) to make way for Savage switches. A few things have also arrived this week, which give a taste of things to come:
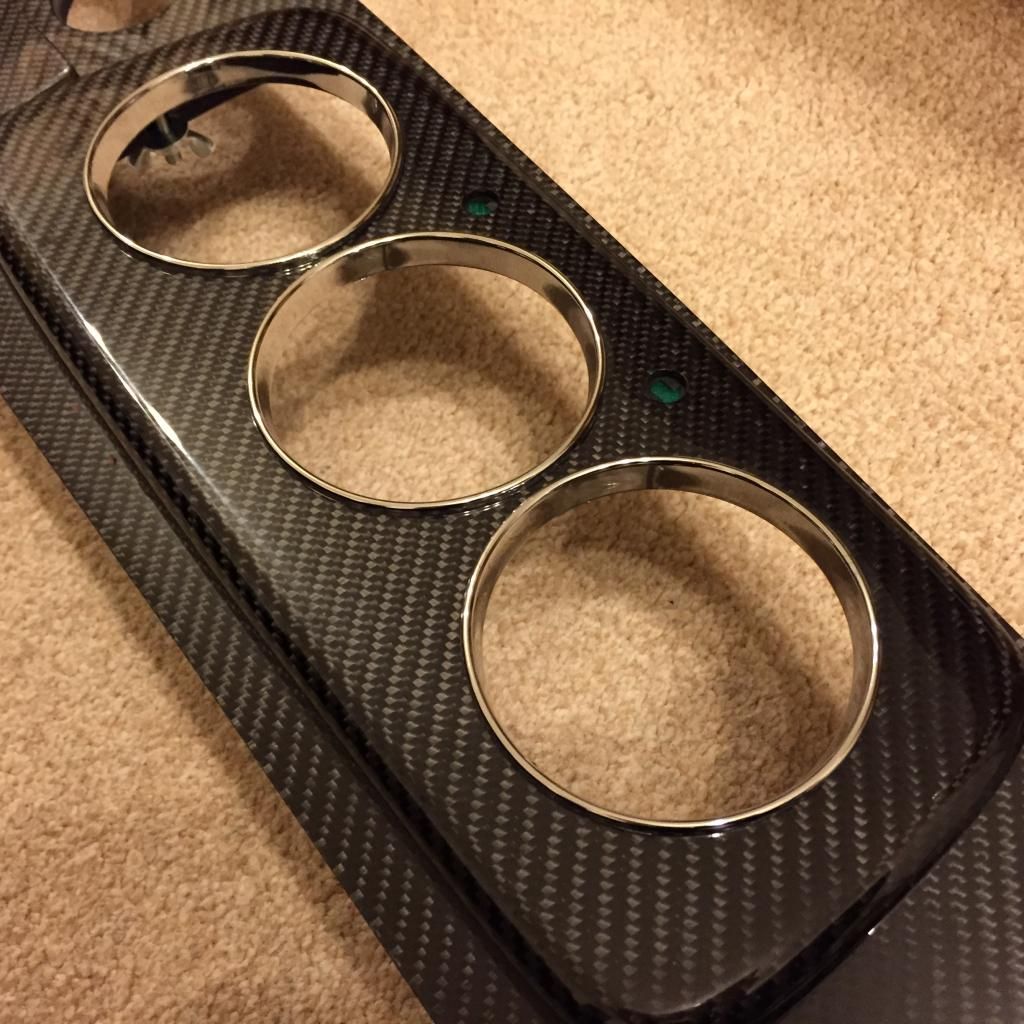
I also removed the 2 clock binacle and tested my magnolia ones. Works a treat, even with the updated LED bulbs. More photos to follow.


I also removed the 2 clock binacle and tested my magnolia ones. Works a treat, even with the updated LED bulbs. More photos to follow.
Edited by Richie83, 24 January 2015 - 08:13 PM.
#38
Richie83
-
- Members
-
- 1,495 posts
One Carb Or Two?
- Location: Somerset
Posted 28 January 2015 - 07:42 PM
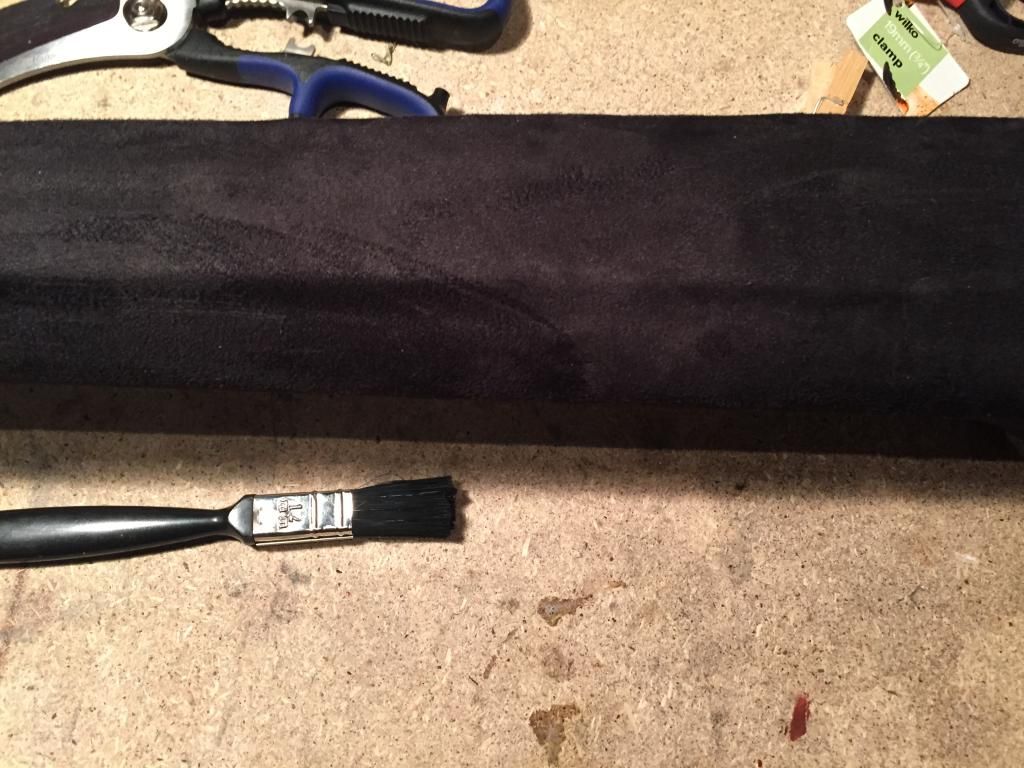
Today I set about covering my bottom dash rail. I have opted for a suede like material:
Trim fix was used as its heat resistant. Here's the tacky up faze:
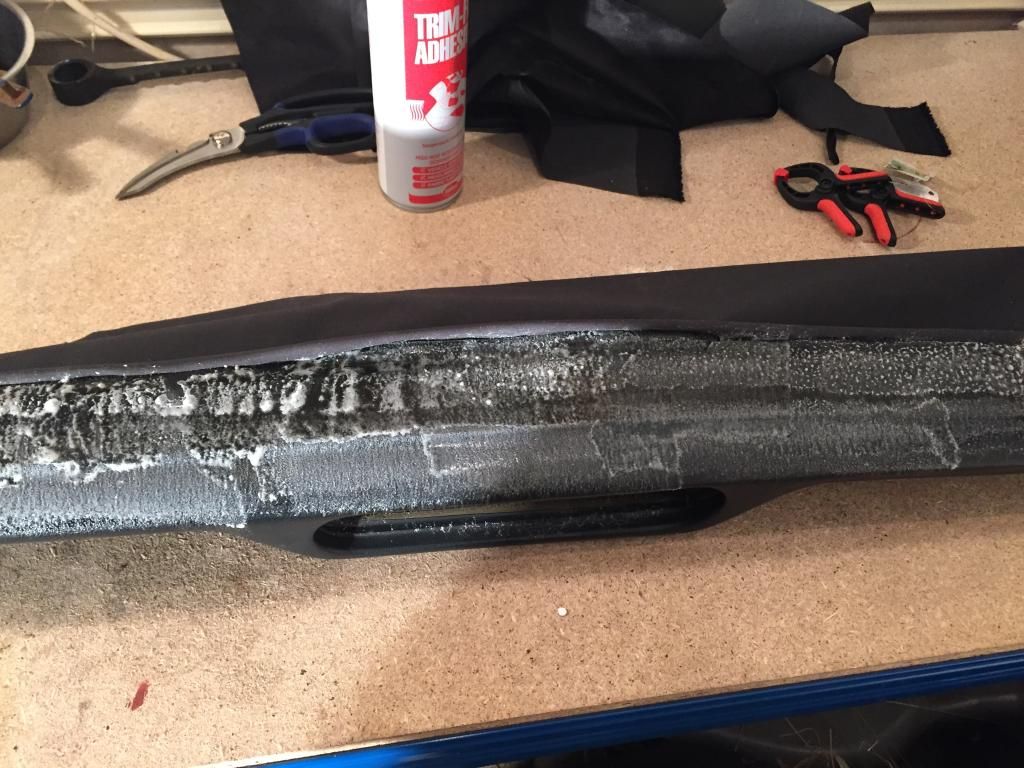
Trim fix was used as its heat resistant. Here's the tacky up faze:

#39
Richie83
-
- Members
-
- 1,495 posts
One Carb Or Two?
- Location: Somerset
Posted 28 January 2015 - 07:43 PM
Managed to get a double post. So will edit and continue here. This is how the bottom dash rail came out, not 'trimmer' perfect but I felt I'd done a good job:
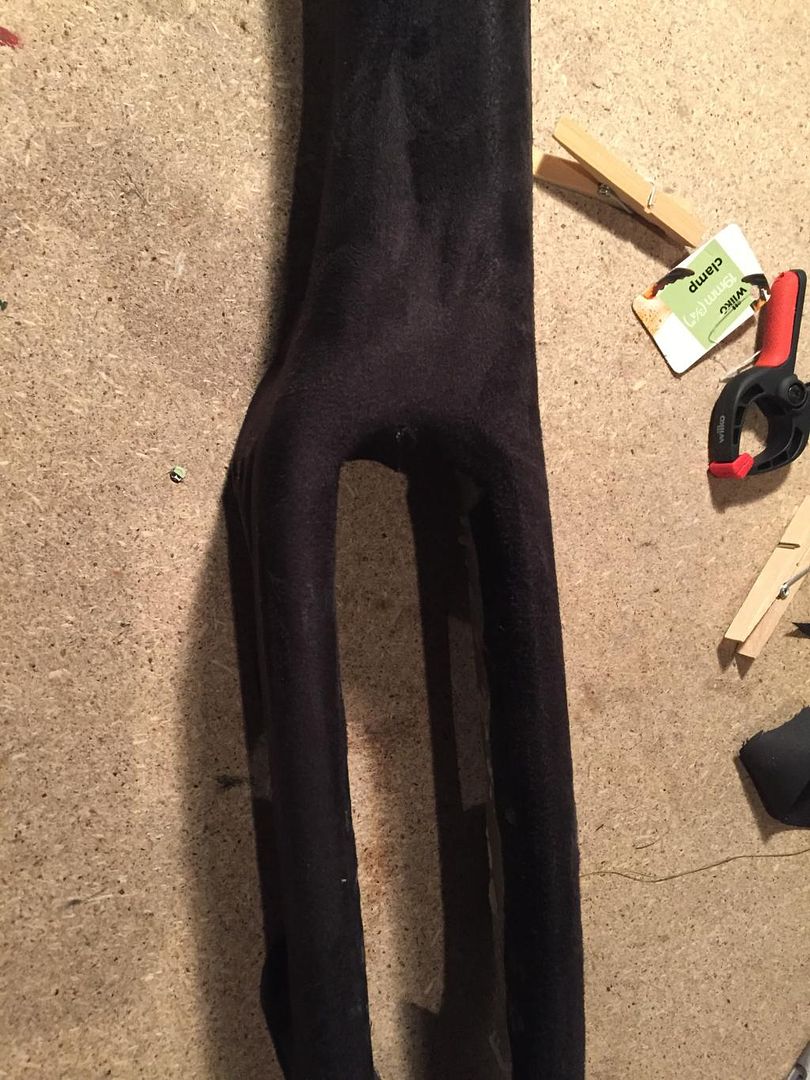
The top dash rail is trimmed in the same stuff with Tweeters mounted on it. I'll get some better photos ones the dash goes in.


The top dash rail is trimmed in the same stuff with Tweeters mounted on it. I'll get some better photos ones the dash goes in.
Edited by Richie83, 28 January 2015 - 07:46 PM.
#40
Rocket.
-

- Members
-
- 1,444 posts
One Carb Or Two?
- Location: UK
Posted 28 January 2015 - 08:58 PM
Nice work !
#41
Tata Steva
-
- Noobies
-
- 19 posts
Learner Driver
- Location: Toronto
Posted 28 January 2015 - 09:05 PM
Looking forward to feedback on those Savage kit... Looks great so far!
#42
Richie83
-
- Members
-
- 1,495 posts
One Carb Or Two?
- Location: Somerset
Posted 11 February 2015 - 09:05 PM
Okay, so a couple of weekends ago I set about deadening the interior. But first I had to tidy up the loom:

I used some Tessa loom tape:

Next I painted the floor with Hammerite (not pictured) and laid down some SilentCoat (Not full Ruckus, but more than the recommended dose):

I then took some time to plan out and lay down some 8mm closed cell foam:

back:

And then some Cloud 9 underlay (front to do next):

#43
Richie83
-
- Members
-
- 1,495 posts
One Carb Or Two?
- Location: Somerset
Posted 11 February 2015 - 09:06 PM
The following weekend:
Installed lower dash rail:

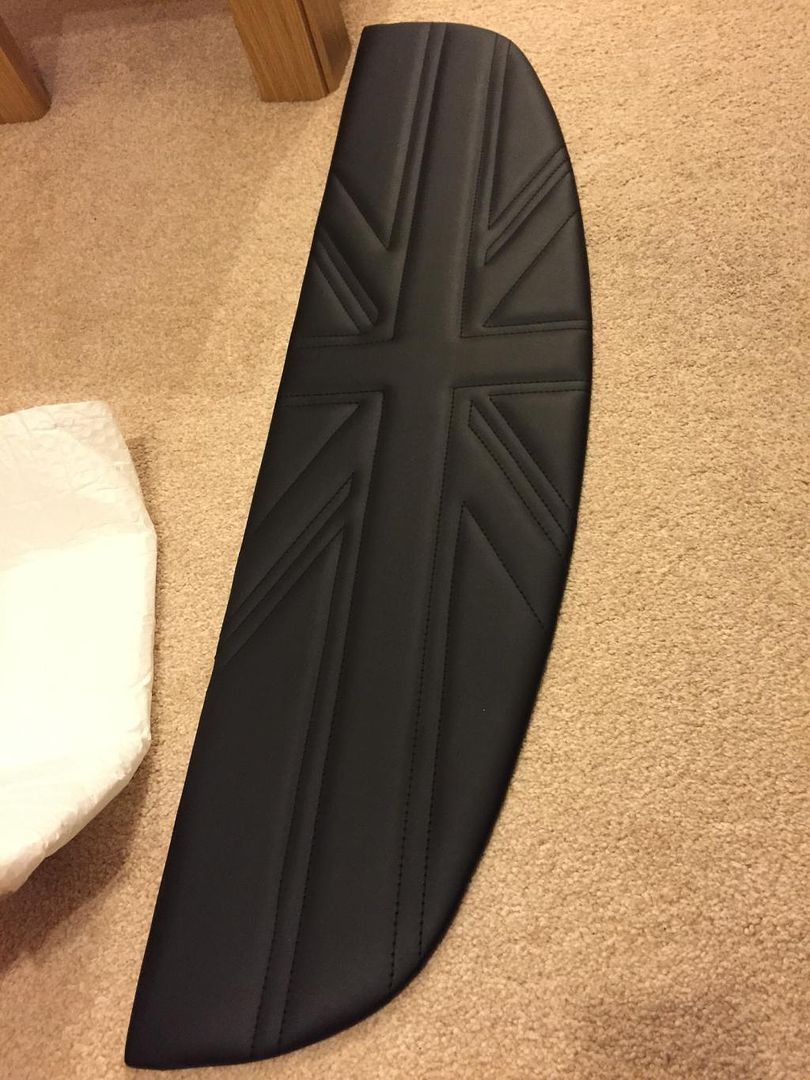
A shot of my swanky new headliner from Optimise Automotive:

Next I need to finish the underlay, take up to lay cables for Amp/speakers and fit Newton Carpets.
#44
Richie83
-
- Members
-
- 1,495 posts
One Carb Or Two?
- Location: Somerset
Posted 22 February 2015 - 07:59 PM
Okay so I've been busy getting things sorted for the ICE. Bought a new headunit, two Genesis amps and 4 JL subs to go with my Focal components. I've ran all the cable for this install and am drawing up plans for a nifty under bench Sub enclosure.
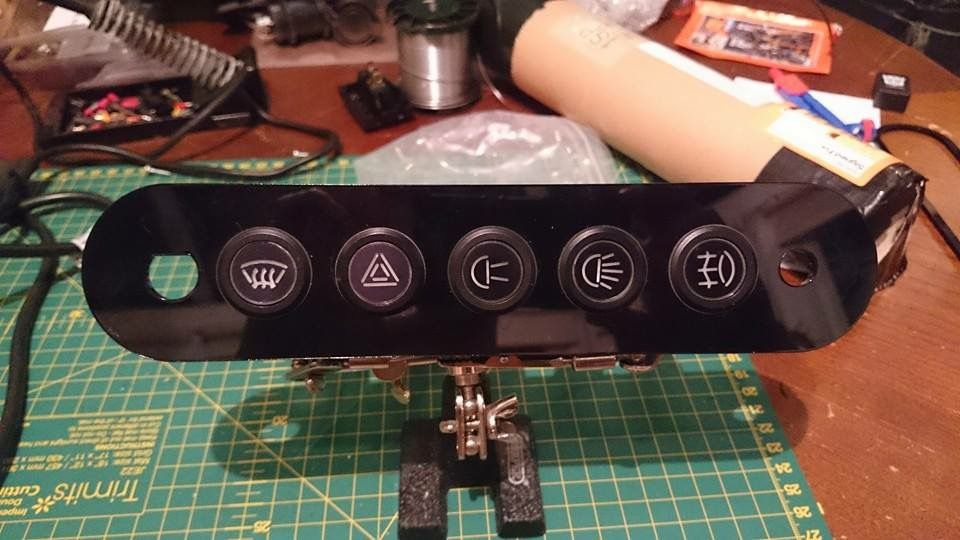
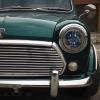
I've also installed Savage Switches:
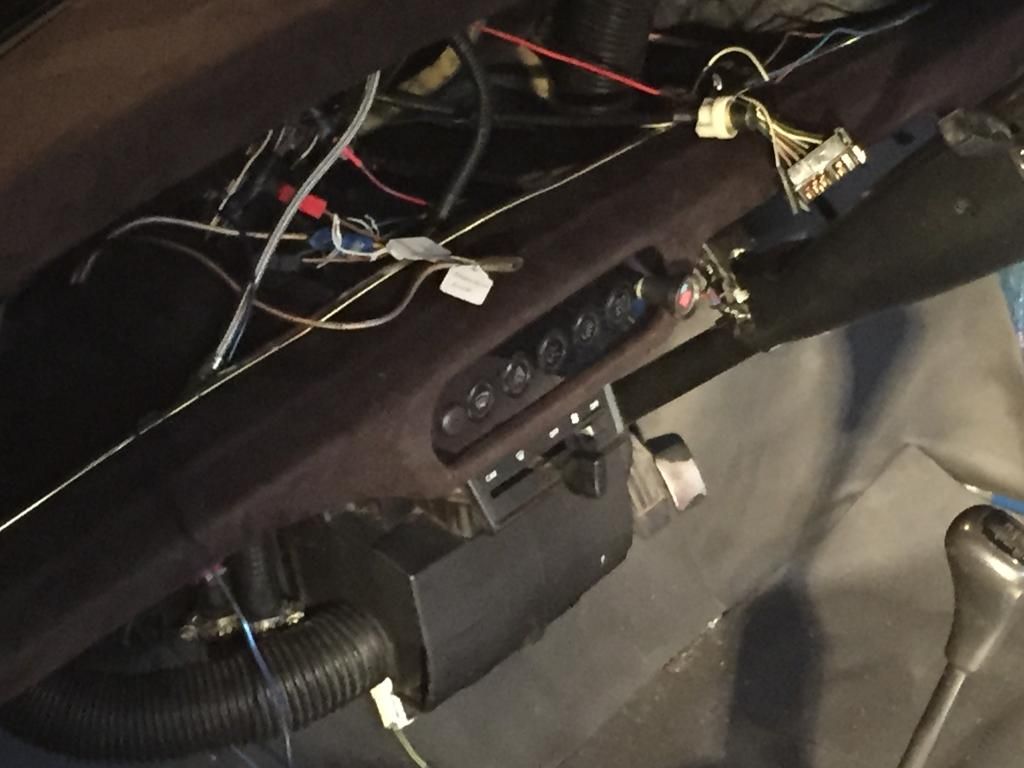
They are wired to come on with sidelights:
I've also installed Savage Switches:

They are wired to come on with sidelights:

Edited by Richie83, 22 February 2015 - 08:02 PM.
#45
Mini_Matt
-
- Noobies
-
- 96 posts
Stage One Kit Fitted
Posted 03 March 2015 - 10:58 AM
I like what you have done the dash rails. I was also thinking of doing this. Just wondered, do you remove the old covering or cover straight over the top?
by the way love the button switches.
by the way love the button switches.


Also tagged with one or more of these keywords: roundnose
Projects →
Mini Saloons →
1976 Mini 1000 Le "stripey"Started by cafeclassic , 03 Sep 2025 |
|

|
||
Projects →
Mini Saloons →
Mini Cooper Project - Finally StartsStarted by piphatch , 08 Jan 2025 |
|

|
||
Projects →
Mini Saloons →
1965 Austin Mini Restoration - Canadian Mk1Started by DoubleEh , 14 Nov 2022 |
|

|
||
Projects →
Mini Saloons →
Project Joe - 1991 Mini Mayfair 998Started by Eggers , 02 Jun 2022 |
|

|
||
Projects →
Mini Saloons →
Mpi Dashboad ProblemStarted by mikeprez , 22 Dec 2021 |
|

|
0 user(s) are reading this topic
0 members, 0 guests, 0 anonymous users


